
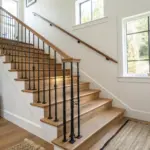
That long staircase wall is basically free real estate for adding character, and trim is the quickest way to make it feel custom.
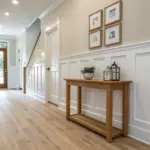
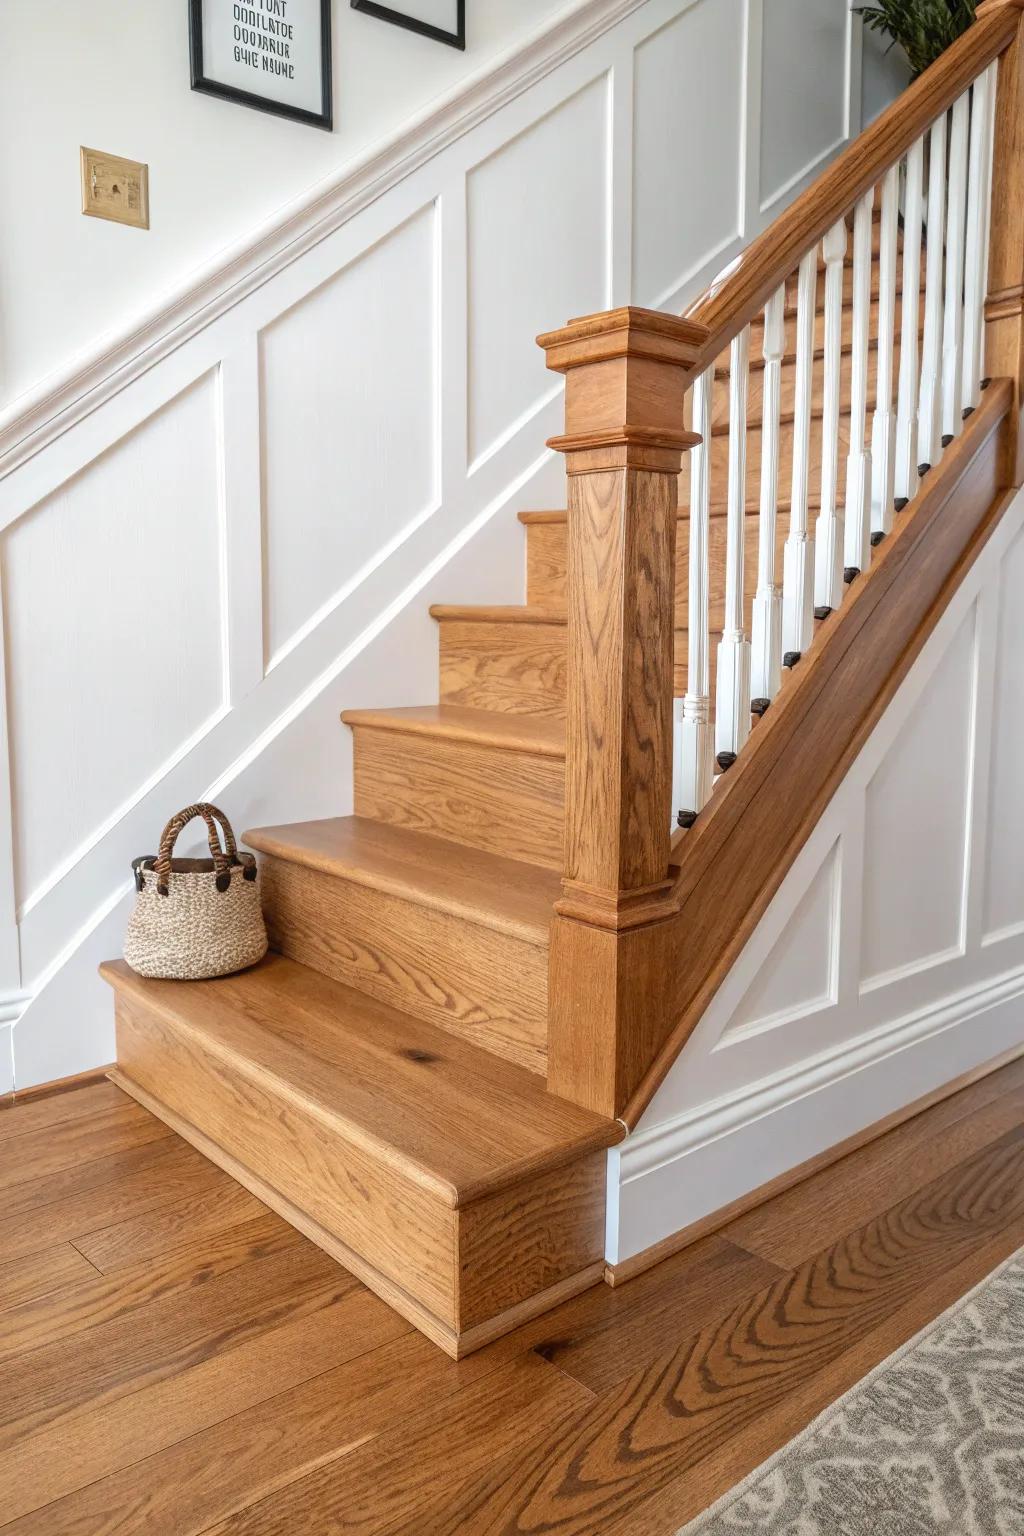
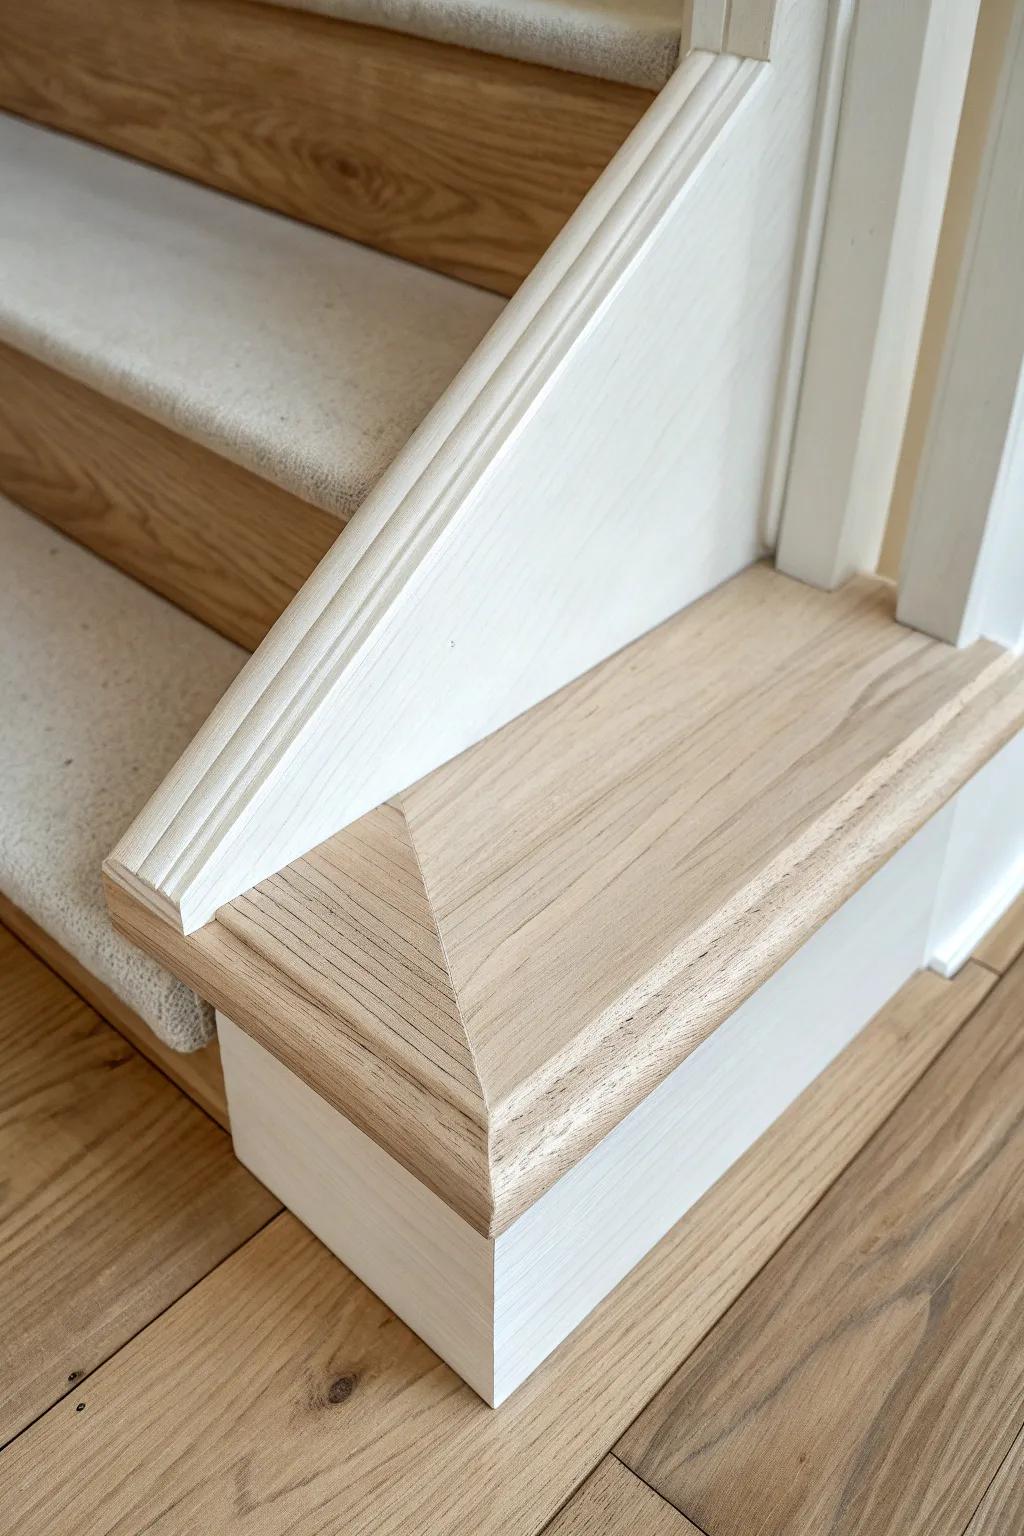
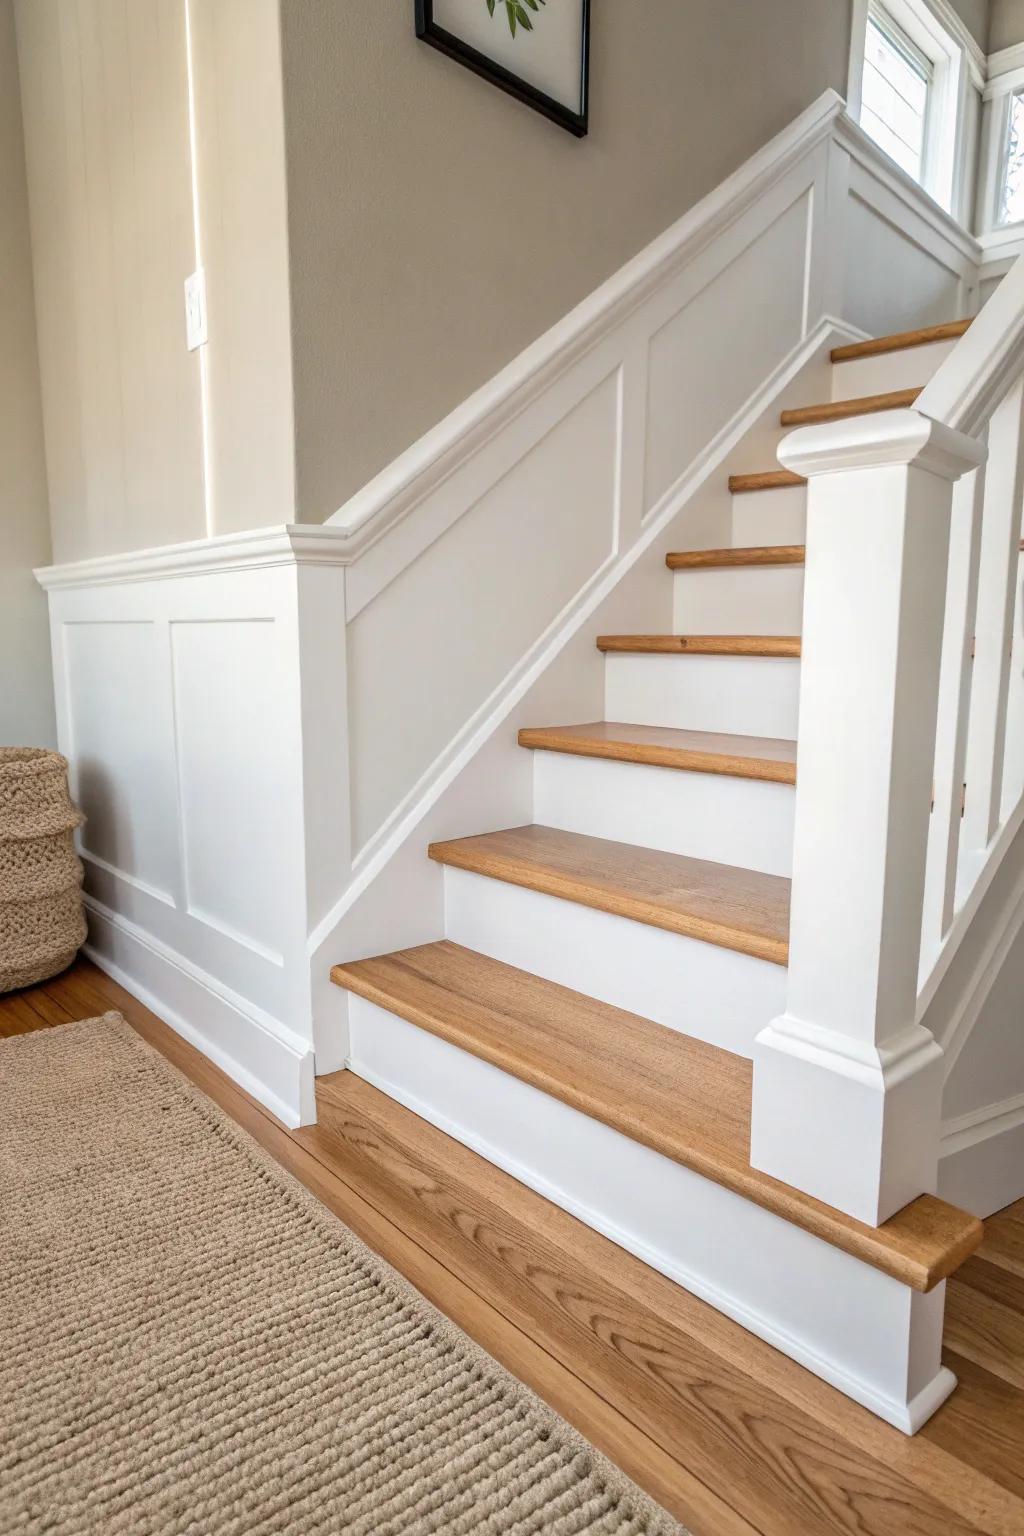
Extra-Tall Baseboard Into Stair Trim
Blending tall baseboards into the staircase trim creates a seamless flow from the foyer into the stairwell. I’ve used this trick in older homes where mismatched trim was driving me crazy, and it unified everything fast.
May just do the trick:
- Modern White Baseboard Molding: Upgrade your hallway with sleek, tall molding that visually bridges the gap between walls and stairs seamlessly.
- Multi-Angle Miter Shears: Ensure perfectly angled cuts for tricky transition points between your new baseboards and existing stair stringers easily.
- Paintable Wood Filler & Caulk Kit: Fill gaps and nail holes effectively to create that unified, professional finish where trim pieces meet.


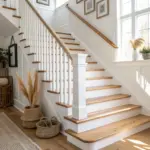
Classic Board and Batten Run-Up
When I want the biggest impact with the simplest cuts, I go straight to board and batten that climbs the stair angle. I’ve installed it with evenly spaced vertical battens, then capped it with a clean top rail that mirrors the rise.
Explore these options:
- Primed MDF or Wood Flat Trim Boards: Use these pre-primed boards to easily create vertical battens and horizontal rails for your wall treatment.
- Construction Adhesive: Secure your board and batten trim firmly to the drywall to minimize nailing and strengthen the hold.
- Caulk Gun and Paintable Caulk: Achieve a seamless, professional finish by filling gaps between the trim and wall before painting.
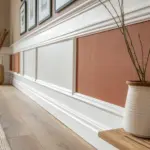
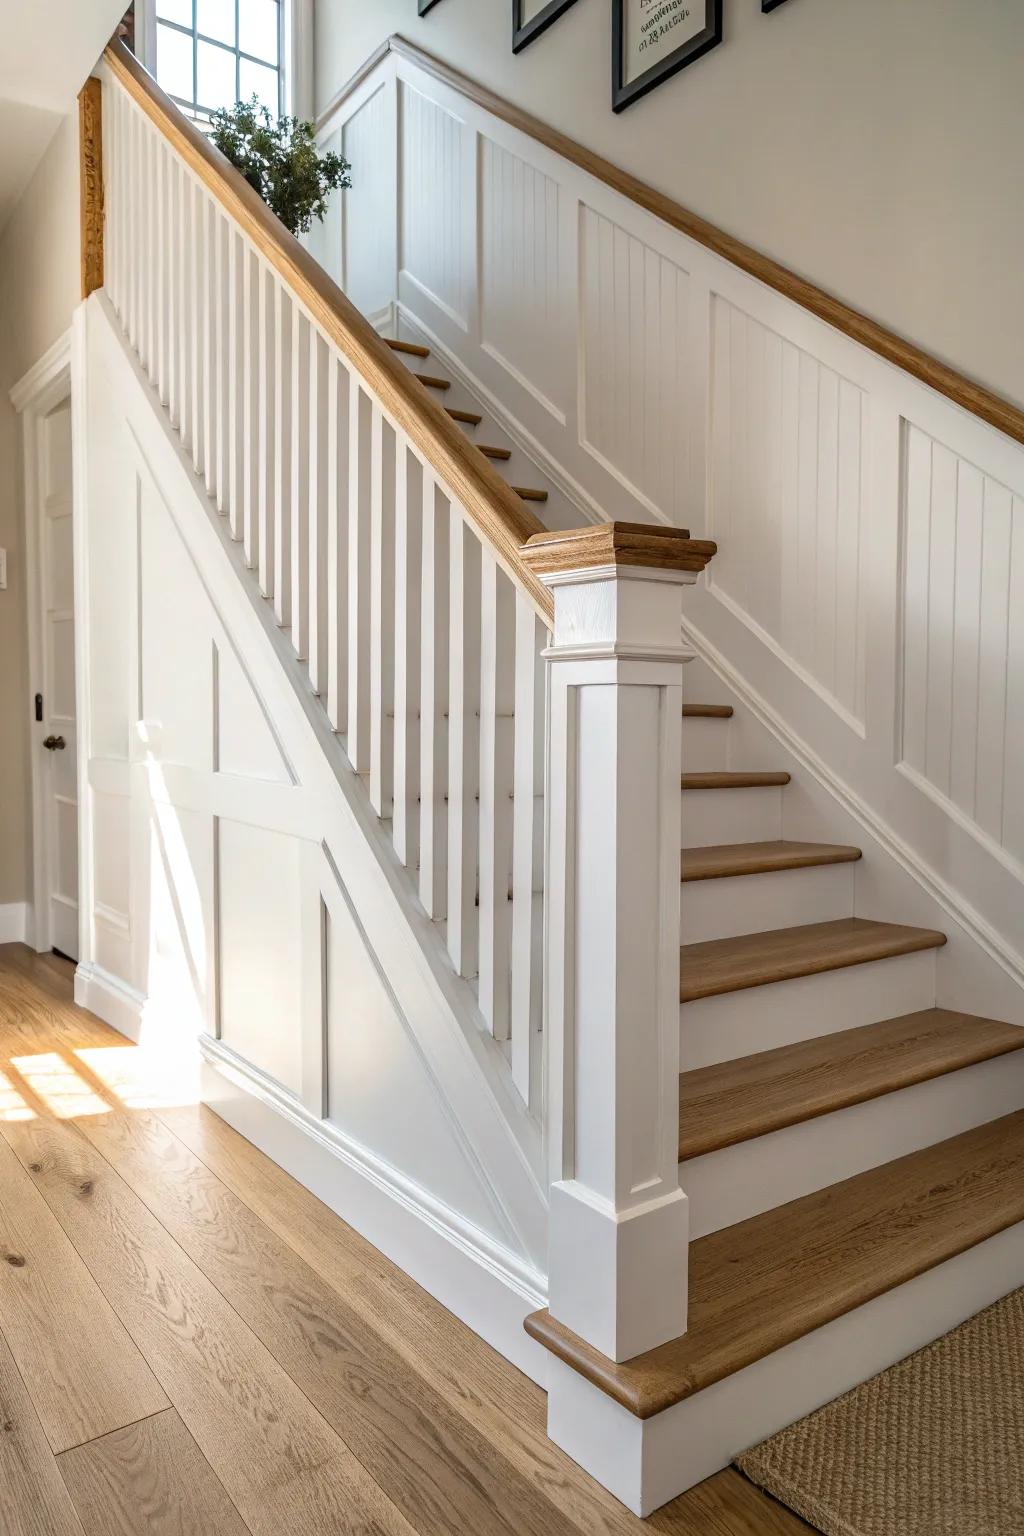
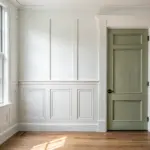
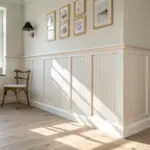
Simple Shaker-Style Box Trim
If you like modern farmhouse vibes, I’ve done Shaker-style trim boxes along the stair wall using flat stock and clean rectangles. Keeping the spacing consistent from the first tread to the top step is what makes it look polished.
Check if these fit your needs:
- Pre-Primed MDF Boards: Create crisp, clean Shaker boxes easily with smooth, pre-primed boards ready for your paint finish.
- Brad Nailer Kit: Secure your trim pieces neatly and efficiently with a reliable nailer that leaves minimal marks.
- Paintable Wood Filler: Hide nail holes and gaps seamlessly for that professional, polished look before your final painting.

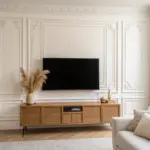
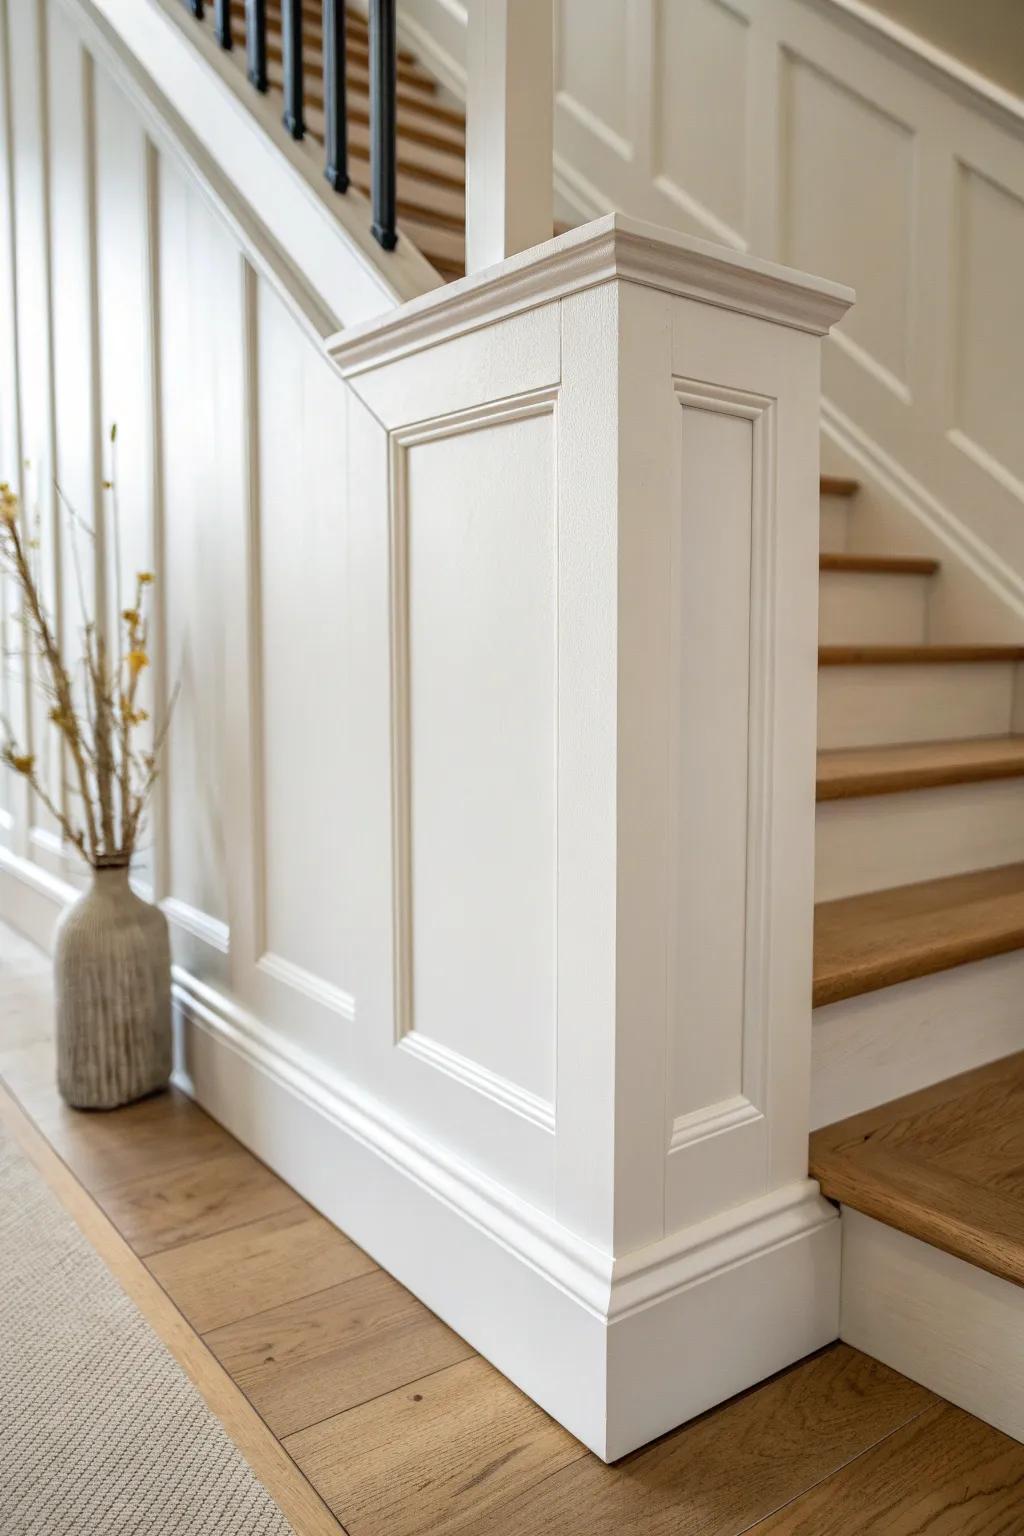
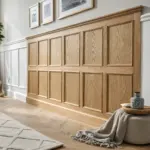
Raised Panel “Old House” Look
For a more formal vibe, I build raised panel molding sections that track the incline like classic judge’s paneling. The first time I tried this, I was shocked how much it upgraded the whole staircase without changing the stairs themselves.
Some handy options:
- Pre-made Wainscoting Panel Kits: Simplify your renovation by using ready-to-assemble molding kits that create immediate architectural depth and classic elegance.
- Brad Nailer with Compressor: Secure your new molding pieces cleanly and efficiently with a reliable brad nailer for professional-looking results.
- Paintable Decorator’s Caulk: Create seamless transitions between your molding and walls by filling gaps before painting for a flawless finish.
Picture Frame Molding Along the Rise

I love picture frame molding on stairs because it gives you that tailored, architectural feel without bulky depth. I’ve laid out frames so the top edges visually “step” upward, which makes the wall feel like it’s moving with you.
A few suggestions:
- Pre-Primed Wall Trim Molding Kit: Create elegant picture frames easily with pre-cut trim pieces to instantly elevate your stairway’s architectural style.
- Self-Adhesive Molding Trim: Use flexible peel-and-stick molding for a quick, mess-free update that mimics traditional carpentry without the tools.
- Laser Level Tool: Ensure perfectly parallel lines and angles along your staircase wall for a professional, flawless molding installation.
Shiplap With a Crisp Top Cap
A shiplap stair wall feels calm and structured, especially when you finish it with a sturdy cap molding that follows the slope. I’ve done this in tight stairwells where panels felt too busy, and it instantly made the space brighter.
Maybe worth checking out:
- Primed/White Shiplap Boards: Create a clean, structured look on your stair wall by installing these ready-to-paint uniform wood planks.
- Angled Cap Molding: Finish the top edge of your shiplap perfectly with this trim piece designed to transition materials smoothly.
- Construction Adhesive: Ensure your new wall planks and trim stay securely in place on the staircase with strong adhesive.
Beadboard Wainscot for Cozy Texture

When I want cottage warmth, I use beadboard wainscoting below a stair-angled rail, then trim the edges super clean. I’ve found beadboard is forgiving on older walls that aren’t perfectly flat.
Might be a good match:
- Paintable Beadboard Paneling Kit: Instantly add cottage charm to your stairway with easy-to-install panels that hide wall imperfections beautifully.
- Classic Chair Rail Moulding: Finish your wainscoting project with a crisp, angled top rail that creates a clean, professional transition.
- Construction Adhesive for Paneling: Ensure a durable, long-lasting hold for your new trim and panels without excessive nailing or damage.
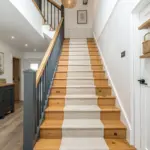
Crisp Two-Tone Trim and Wall Color
A two-tone paint setup—trim one color, wall another—makes the stair treatment pop even if the trim design is simple. I’ve done warm neutrals above with bright trim below, and the staircase suddenly feels taller.
Items that may come in handy:
- Painter’s Tape for Crisp Lines: Achieve professional-looking edges between your trim and wall color by masking off areas before painting.
- Semi-Gloss White Interior Paint: Refresh your wainscoting and baseboards with a durable, bright finish that stands out against neutral walls.
- Angled Sash Paint Brush: Use a high-quality angled brush to cut in precision lines along stairs and intricate molding details.
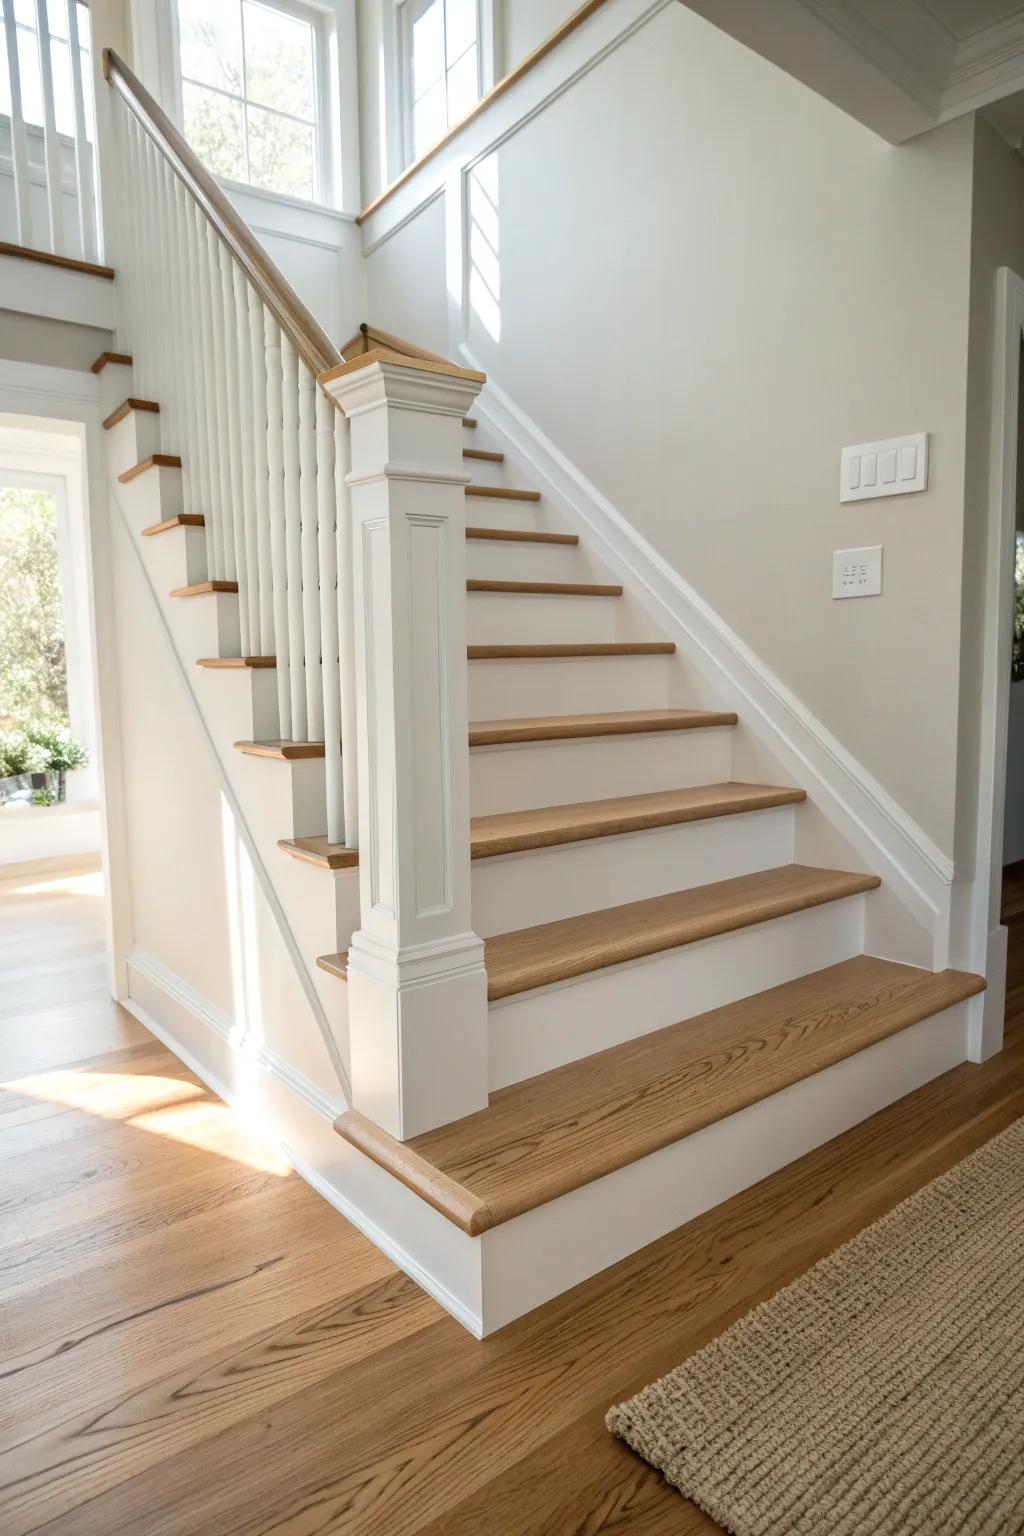
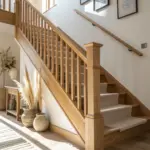
Newel Post Paneling to Match the Wall
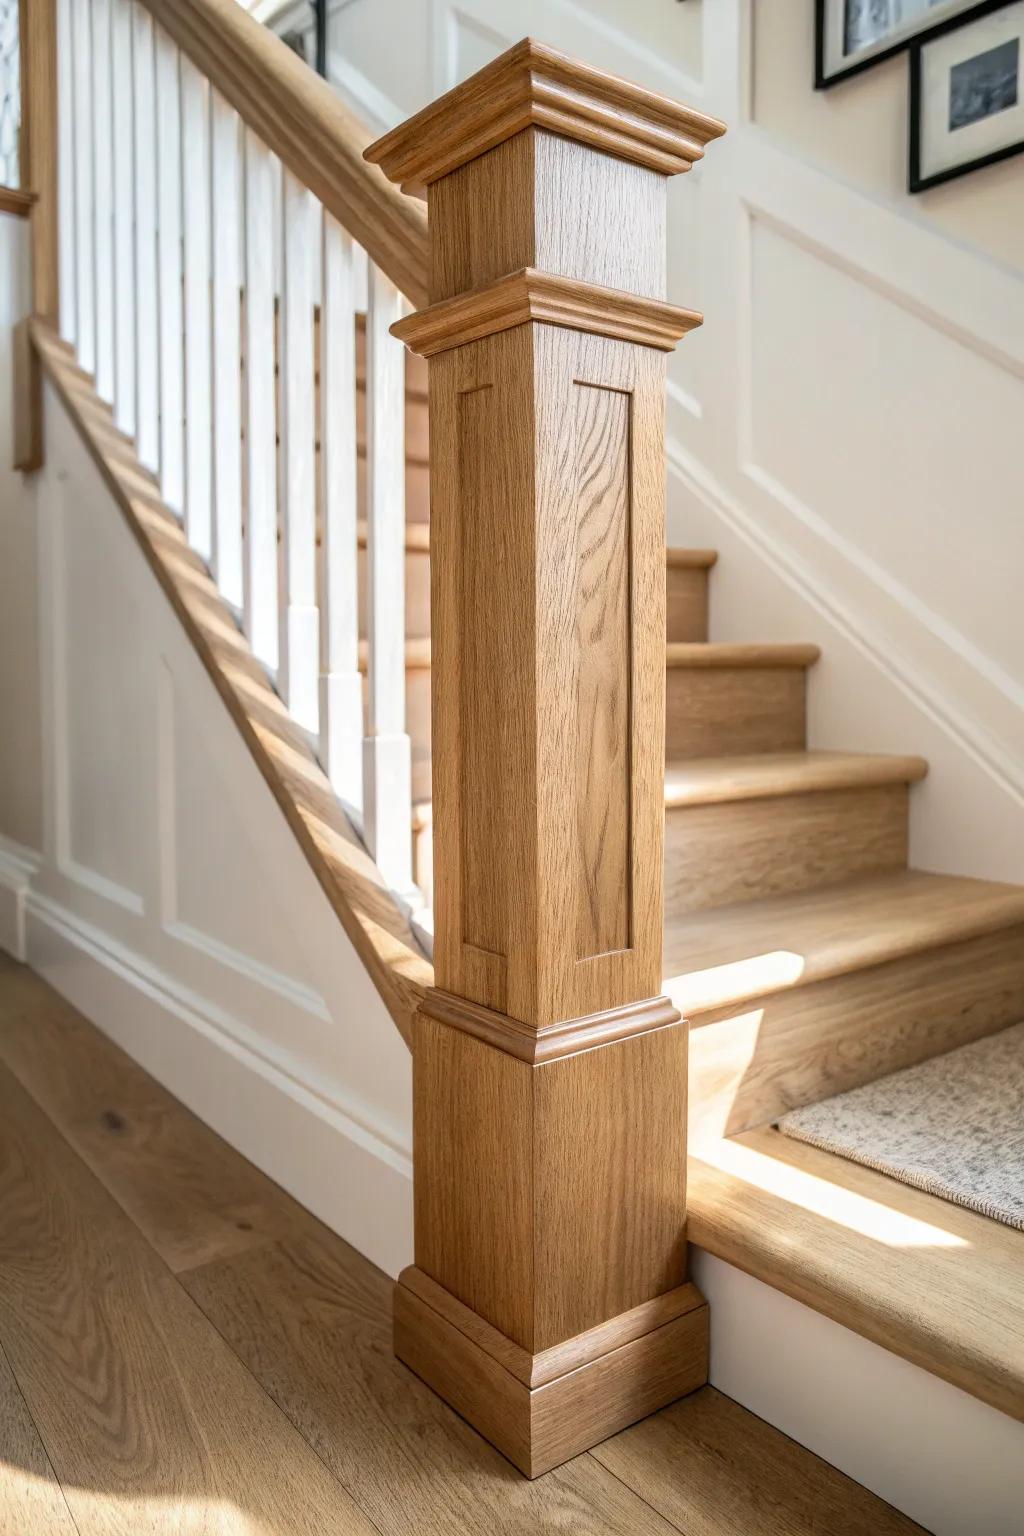
If you’ve got a chunky newel, I like to add panel trim on the newel face that echoes the stair wall molding. I did this on a remodel and it tied the whole bottom-of-the-stairs moment together like a finished set.
Possibly helpful picks:
- Decorative Wood Box Newel Post: Upgrade your stairway instantly with a sturdy box newel post ready for staining or custom panel trimming.
- Stock Base Cap Molding: Create elegant framed panels on your existing posts using this versatile molding for a custom, high-end look.
- Natural Wood Stain and Sealer: Protect your woodwork and enhance the grain with a stain that matches your stairs for a cohesive finish.
Diamond Grid Panel Molding
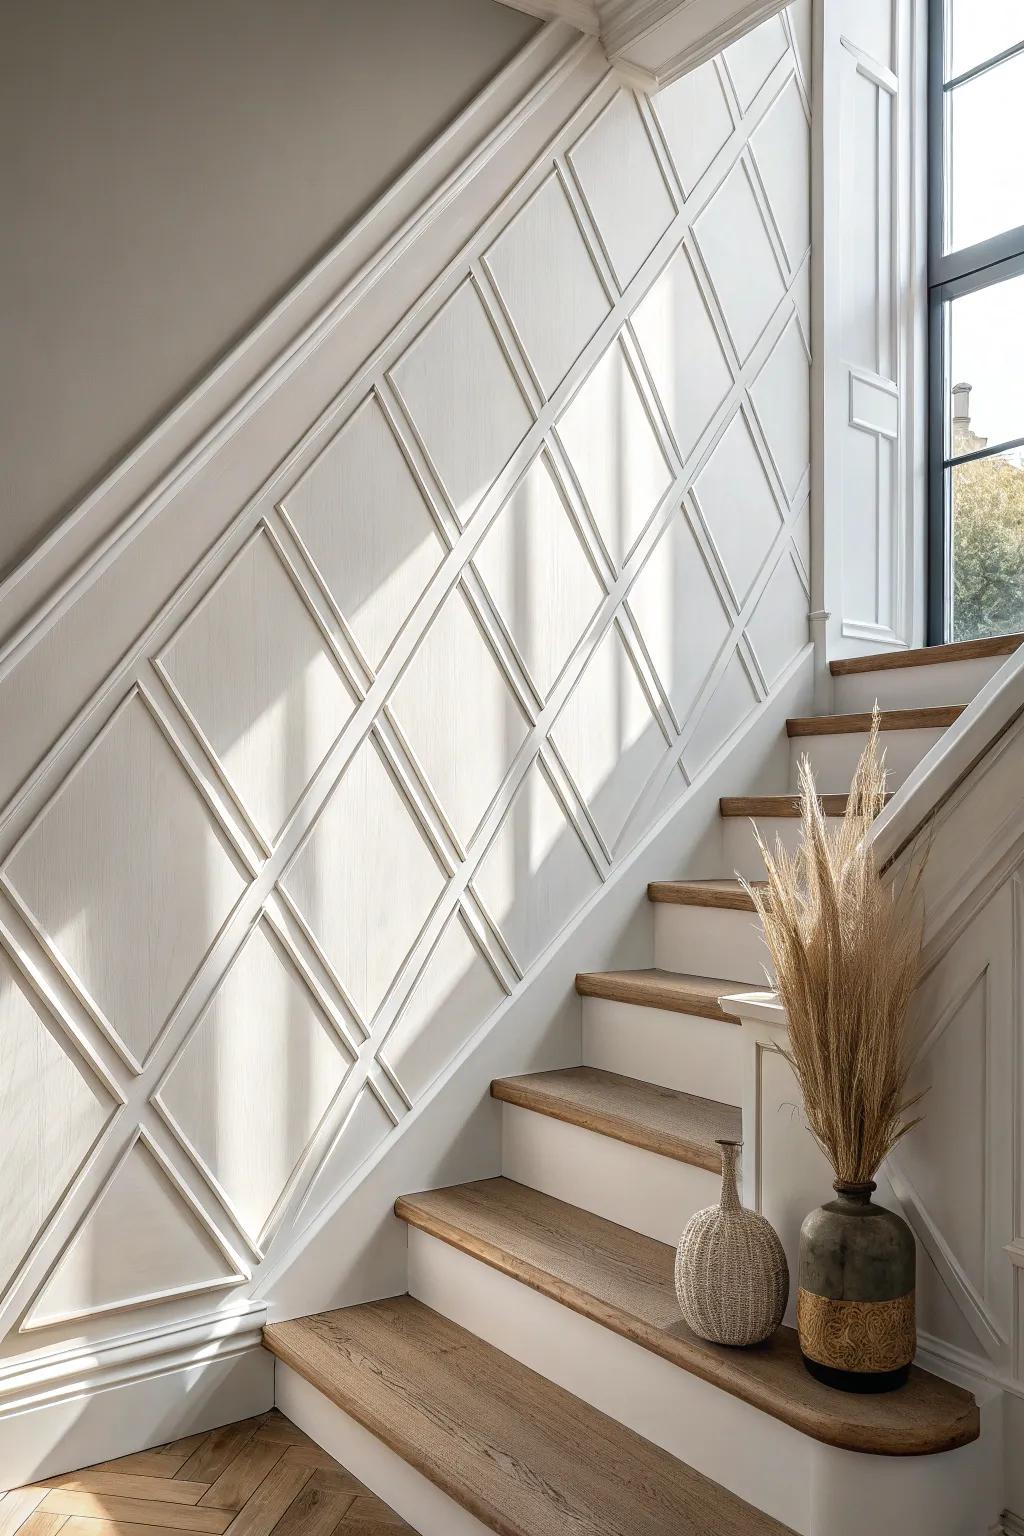
For a “whoa” moment, I’ve laid out diagonal panel molding into a diamond pattern that climbs the stair wall like a trellis. It takes more measuring, but the payoff is huge when light hits those angles.
A few choices to try:
- Primed Wood Molding Strips: Use these versatile primed strips to create the crisp, professional grid lines needed for your elegant diamond pattern wall.
- Digital Angle Finder Tool: Ensure every diamond shape is perfectly uniform by accurately measuring corner cuts and joining angles on your staircase wall.
- Brad Nailer Kit: Secure your delicate trim pieces quickly and neatly without splitting the wood, speeding up this detailed installation project noticeably.
Metal Inlay Accent on the Cap Rail
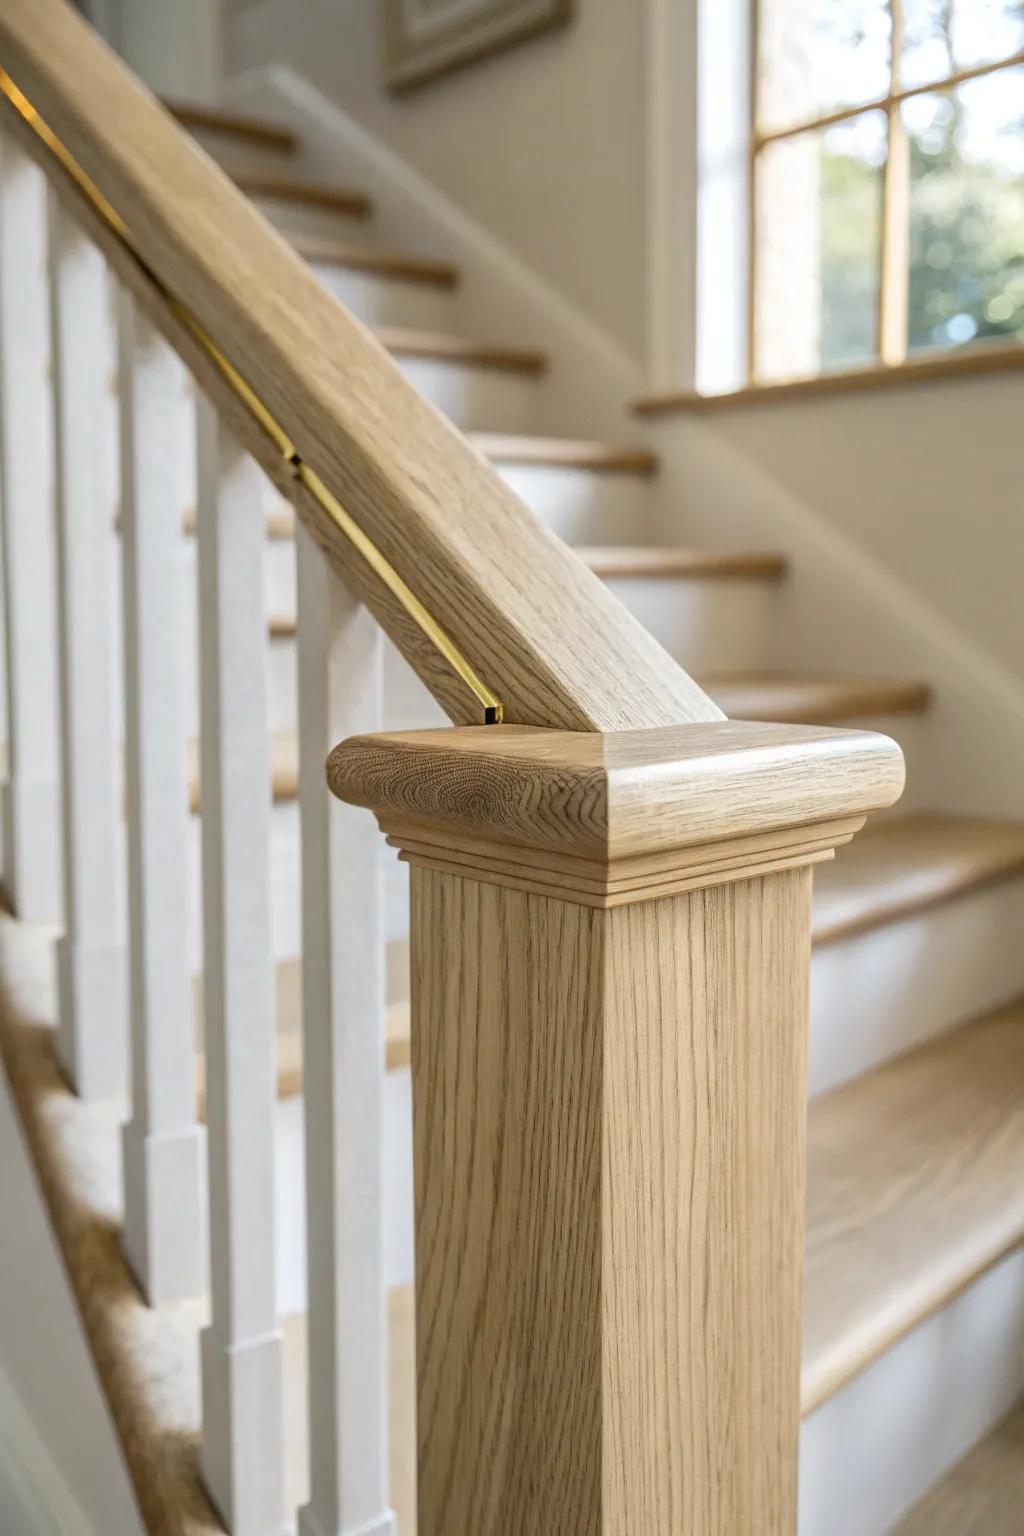
For something unexpected, I’ve routed a tiny groove in the cap molding and set in a thin metal inlay strip that catches the light on the way upstairs. It’s a small detail, but it reads like custom architectural work when you walk by.
Consider these options:
- Thin Brass Flat Bar Strip: Add a sophisticated shine to your railing by inserting this durable metal strip into a routed groove.
- Handheld Palm Router Tool: Create the precise, clean channel needed for your metal inlay with this essential and maneuverable woodworking tool.
- Straight Router Bit 1/8 Inch: Ensure a perfect fit for your metal accent strip by cutting an accurate, smooth groove into the wood.


