
A TV can be the heart of a living room, but that big black rectangle doesn’t have to be the only thing your eyes land on. With the right TV wall molding, you can make your screen look intentional—like it belongs in the architecture of the room.
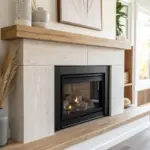
Crown Molding to “Cap” the TV Wall
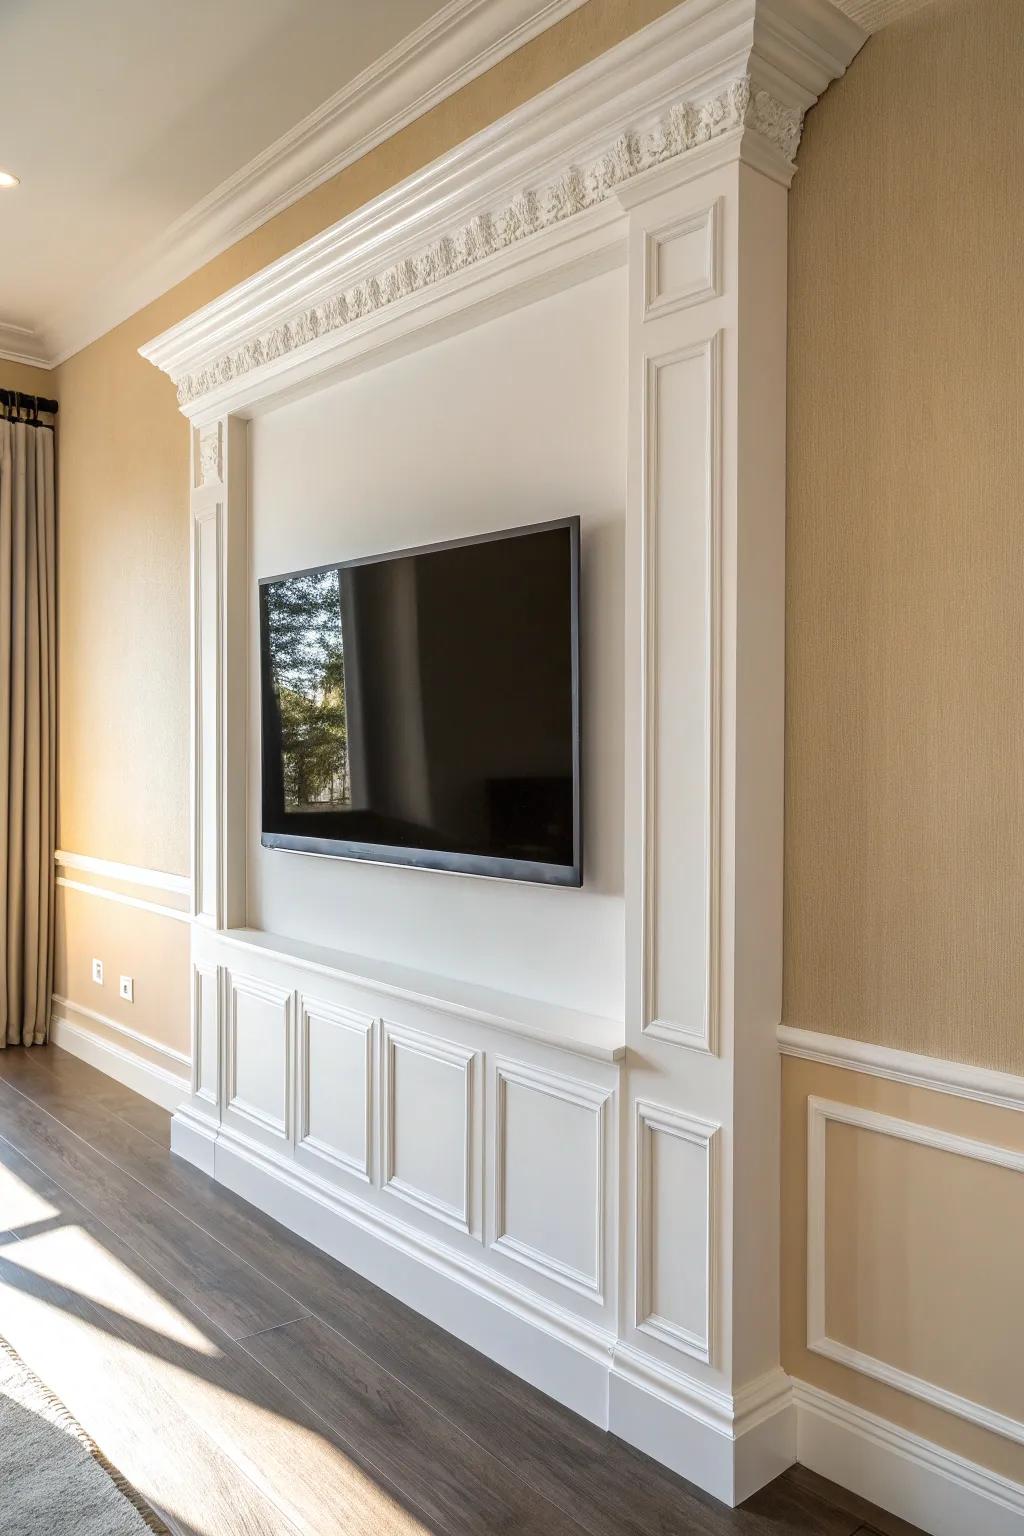
Running crown molding across the TV wall makes the whole setup feel more architectural, especially if your ceilings are on the taller side. I added crown above a framed TV section once, and it tied the wall into the rest of the room like it belonged there all along.
Might be a good match:
- Ornate Crown Molding: Add architectural elegance to your ceiling line with detailed molding that beautifully frames your entertainment center.
- Decorative Pilaster Columns: Create a built-in look by flanking your TV area with fluted or paneled vertical trim elements.
- Miter Saw for Angled Cuts: Ensure professional, tight corners on your molding project with a saw designed for precise angled cutting.
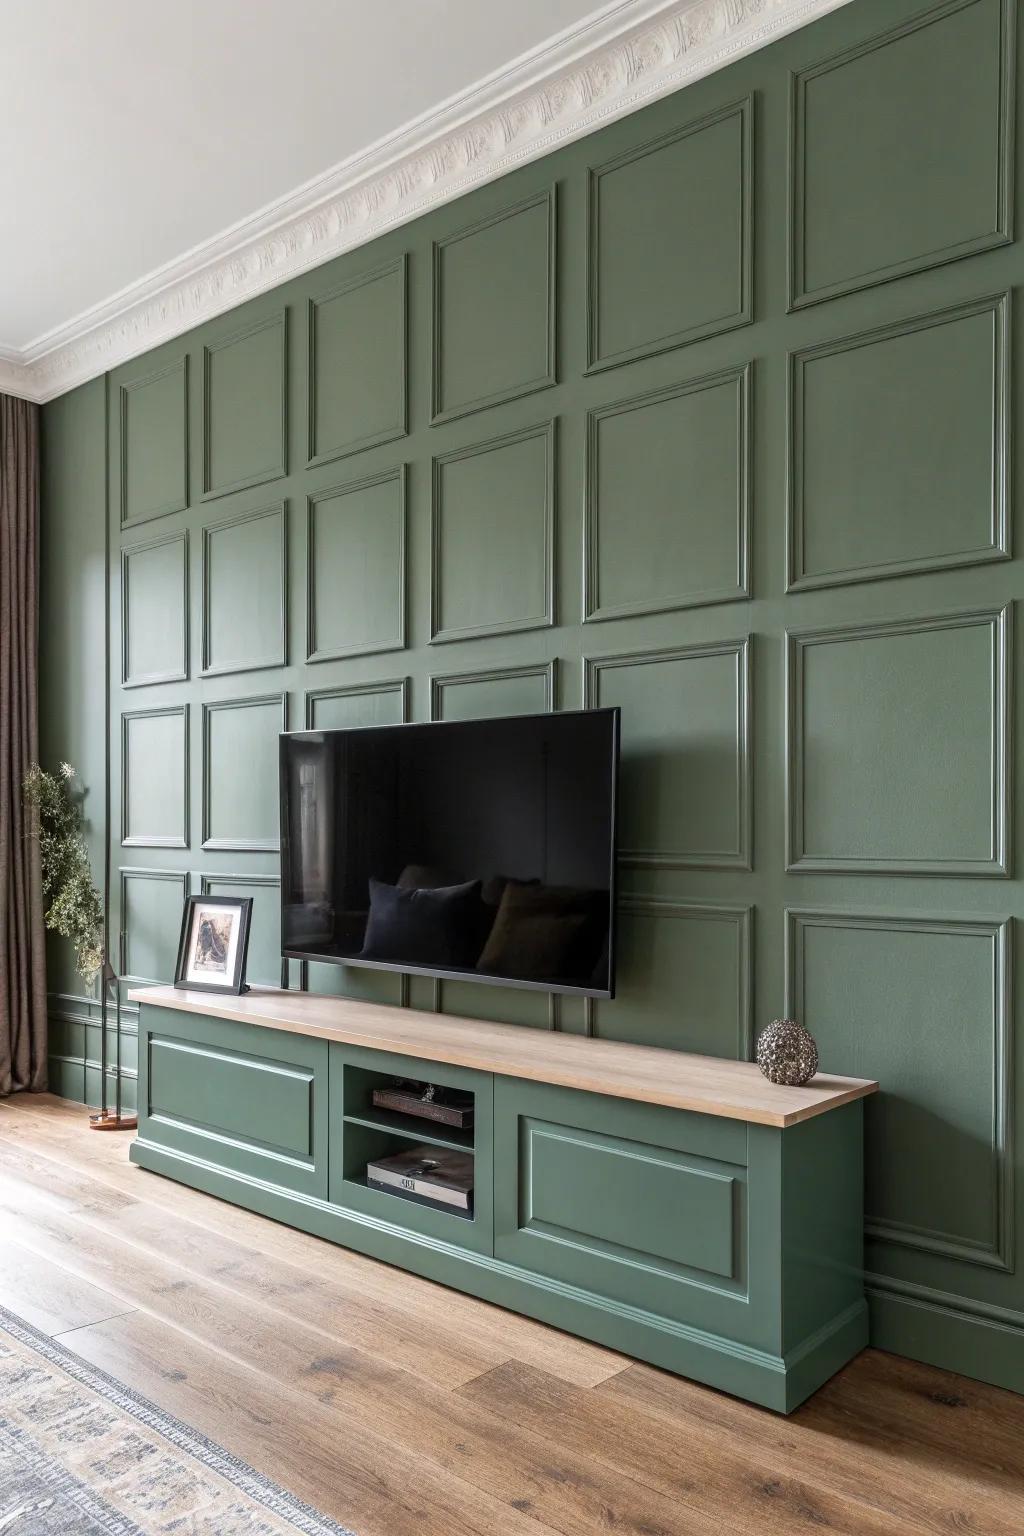
Classic Picture Frame Molding Grid
When I want a timeless look, I lay out a simple picture frame molding grid around the TV so the whole wall feels tailored. I’ve done this with thin trim and caulked seams, and it instantly made my media wall look custom instead of “builder basic.”
Possibly handy products:
- DIY Pre-Cut Wall Molding Kit: Create a sophisticated grid layout easily with pre-cut molding strips that save you measuring and cutting time.
- Metallic Gold Spray Paint: Add a luxurious finish to your molding trim using this metallic paint for an elegant, high-end aesthetic.
- Paintable Caulk and Gun Set: Fill gaps and seams professionally to ensure smooth lines and a flawless, seamless appearance for your installation.
Centered TV With Symmetrical Panels
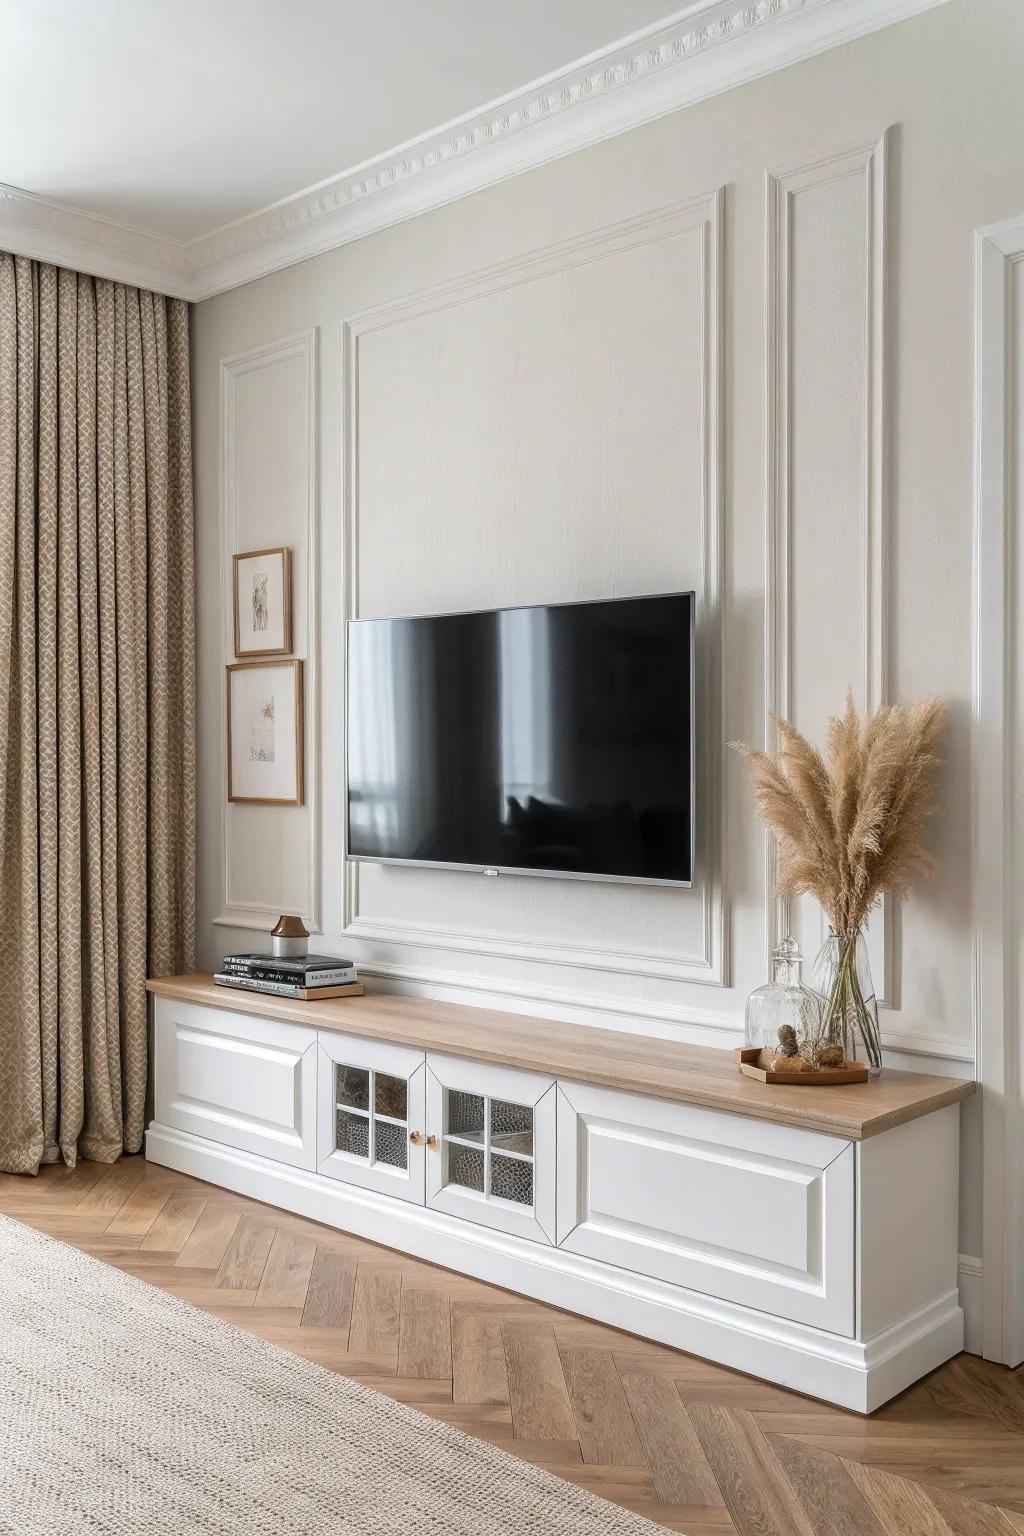
I always get the cleanest results when I center the TV and mirror matching molding panels on both sides for that symmetry everyone loves. In my own living room setup, this trick made the TV feel calmer and less like it was shouting for attention.
Check if these fit your needs:
- Pre-Primed Wall Trim Molding Kit: Create that elegant symmetrical panel look yourself with easy-to-install decorative trim pieces ready for painting.
- Low Profile TV Wall Mount: Ensure your television sits flush against the wall to maintain clean lines within your new molding frame.
- Natural Pampas Grass Decor: Add height and texture to your media console to balance the structured look of wall panels.

Nested Frames Around the Screen
A nested frame look—one larger frame plus a tighter frame hugging the TV—adds depth without adding clutter. I’ve built this with two trim profiles, and the little shadow lines make the screen look like it’s “set in” on purpose.
Some ideas to consider:
- Wall Molding Trim Kit: Transform your blank wall by adding decorative rectangular frames to create that elegant, custom-built look.
- Paintable Caulk for Trim: Ensure seamless joints and professional results by filling small gaps before painting your new molding frames.
- Laser Level Tool: Achieve perfectly straight lines and symmetrical spacing for your nested frames with precise laser guidance.
Monochrome Molding for Subtle Texture
Painting the molding the exact same color as the wall is my go-to when you want quiet, upscale texture. I’ve used this tone-on-tone molding approach in small spaces, and it gives you gorgeous dimension without visually shrinking the room.
A few suggestions:
- Pre-Primed Wall Panel Molding Kits: Create elegant box frames easily with ready-to-paint molding strips that add instant architectural depth to plain walls.
- Matte Interior Paint for Media Walls: Achieve that seamless monochrome look by painting your trim and walls with a rich, durable matte finish.
- Cordless Caulking Gun for Trim Work: Ensure professional, seamless gaps between your molding and wall for a flawless, unified painted finish.
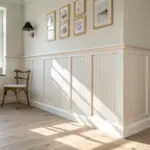
Chair Rail With Framed Upper Panels
Adding a chair rail under the TV zone and picture-frame panels above gives you that classic, structured look that plays nice with farmhouse vibes. I’ve done it in older homes where the walls needed “help,” and it made the TV area feel instantly more finished.
May just do the trick:
- Pre-Primed Wall Panel Molding Kit: Instantly create that picture-frame look above your chair rail by applying these ready-to-paint molding pieces directly to your wall.
- Adhesive Installation Construction Glue: Secure your new molding trim firmly to the drywall without excessive nailing by using this strong, reliable construction adhesive.
- Chair Rail Molding Trim: Define your wall sections clearly by installing this classic trim piece to separate lower wainscoting from the upper frames.
Board and Batten TV Feature Wall
A simple board and batten pattern behind the TV adds vertical rhythm and hides scuffs like a champ. I’ve built batten layouts with a level and a story pole, and it’s one of the most forgiving molding projects for DIYers.
A few choices to try:
- Primed MDF Wall Paneling Boards: Create clear vertical lines effortlessly with these ready-to-install boards, providing a smooth base for your feature wall project.
- Cordless Brad Nailer Kit: Secure your molding strips quickly and cleanly without dragging heavy hoses, making installation much easier for DIY enthusiasts.
- Laser Level Self-Leveling Tool: Ensure perfectly straight vertical battens every time with this essential tool, eliminating guesswork and uneven spacing on your wall.
Coffered-Style Boxes Around the TV
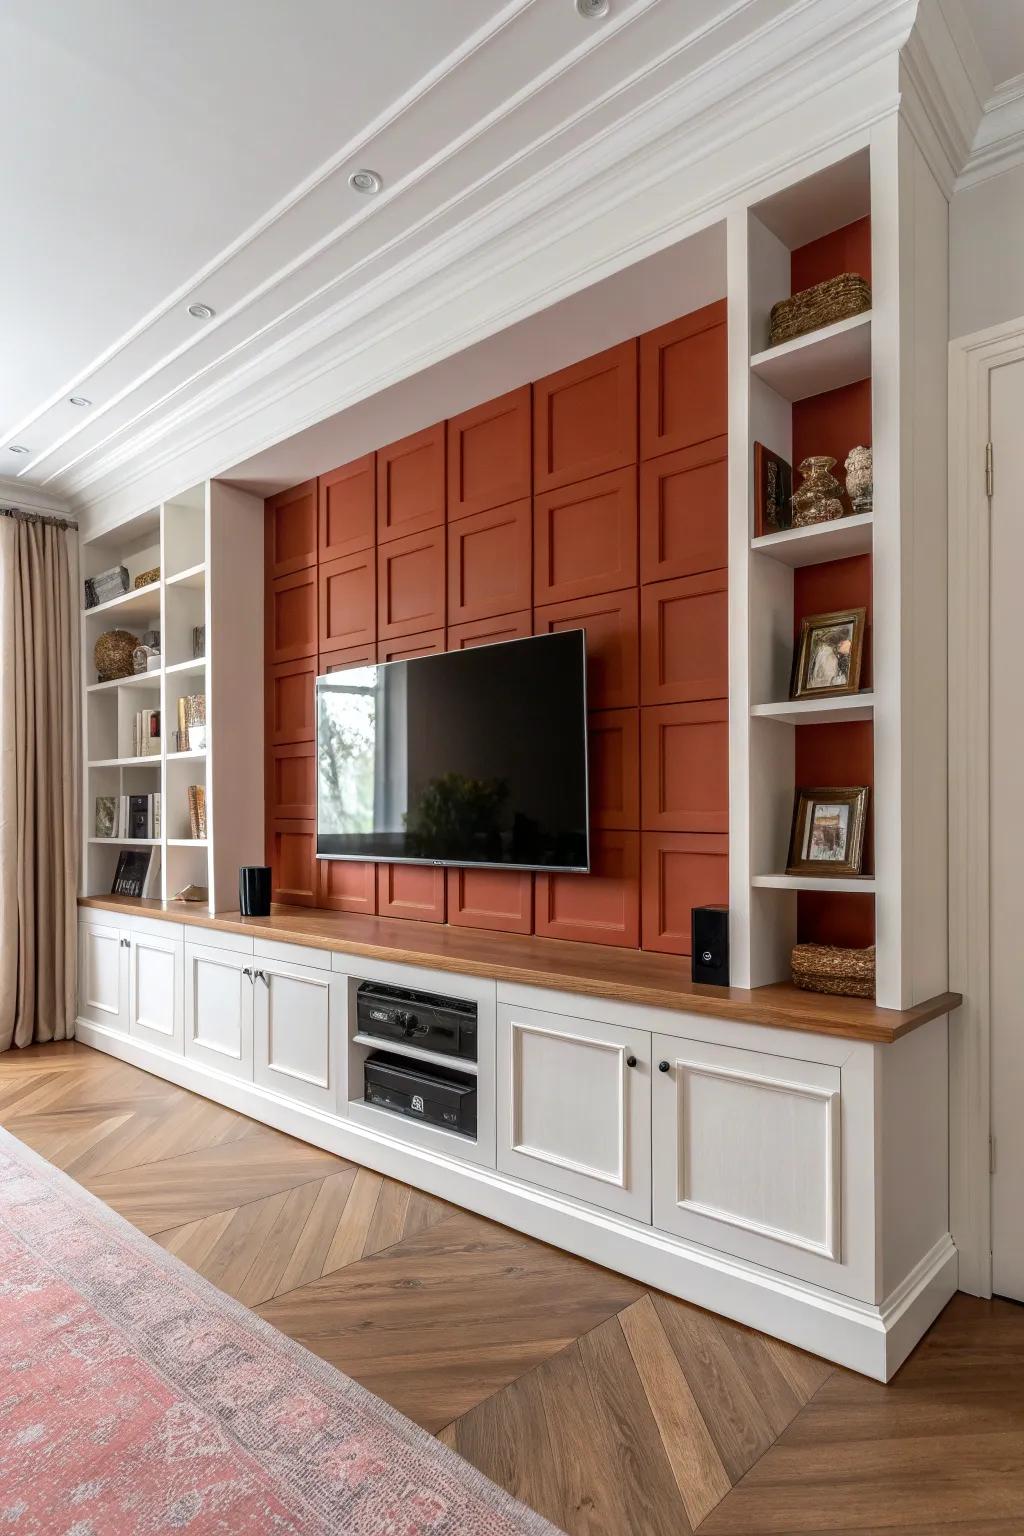
You can fake a coffered vibe with thicker trim boxes that frame the TV section like a ceiling treatment—just on the wall. I’ve used chunkier molding for this coffered wall look, and it delivers major “high-end remodel” energy.
These products might be useful:
- Self-Adhesive Wall Molding Trim: Create that structured, paneled look easily by adhering these pre-made trim pieces in a grid pattern around your TV.
- Matte Interior Paint (Warm Sienna/Rust): Boldly define your feature wall by painting your newly installed trim with a rich, matte color similar to this warm sienna.
- Heavy Duty Tilt TV Wall Mount: Ensure your TV sits perfectly flush and secure within your new molding design with a reliable, heavy-duty mounting bracket.
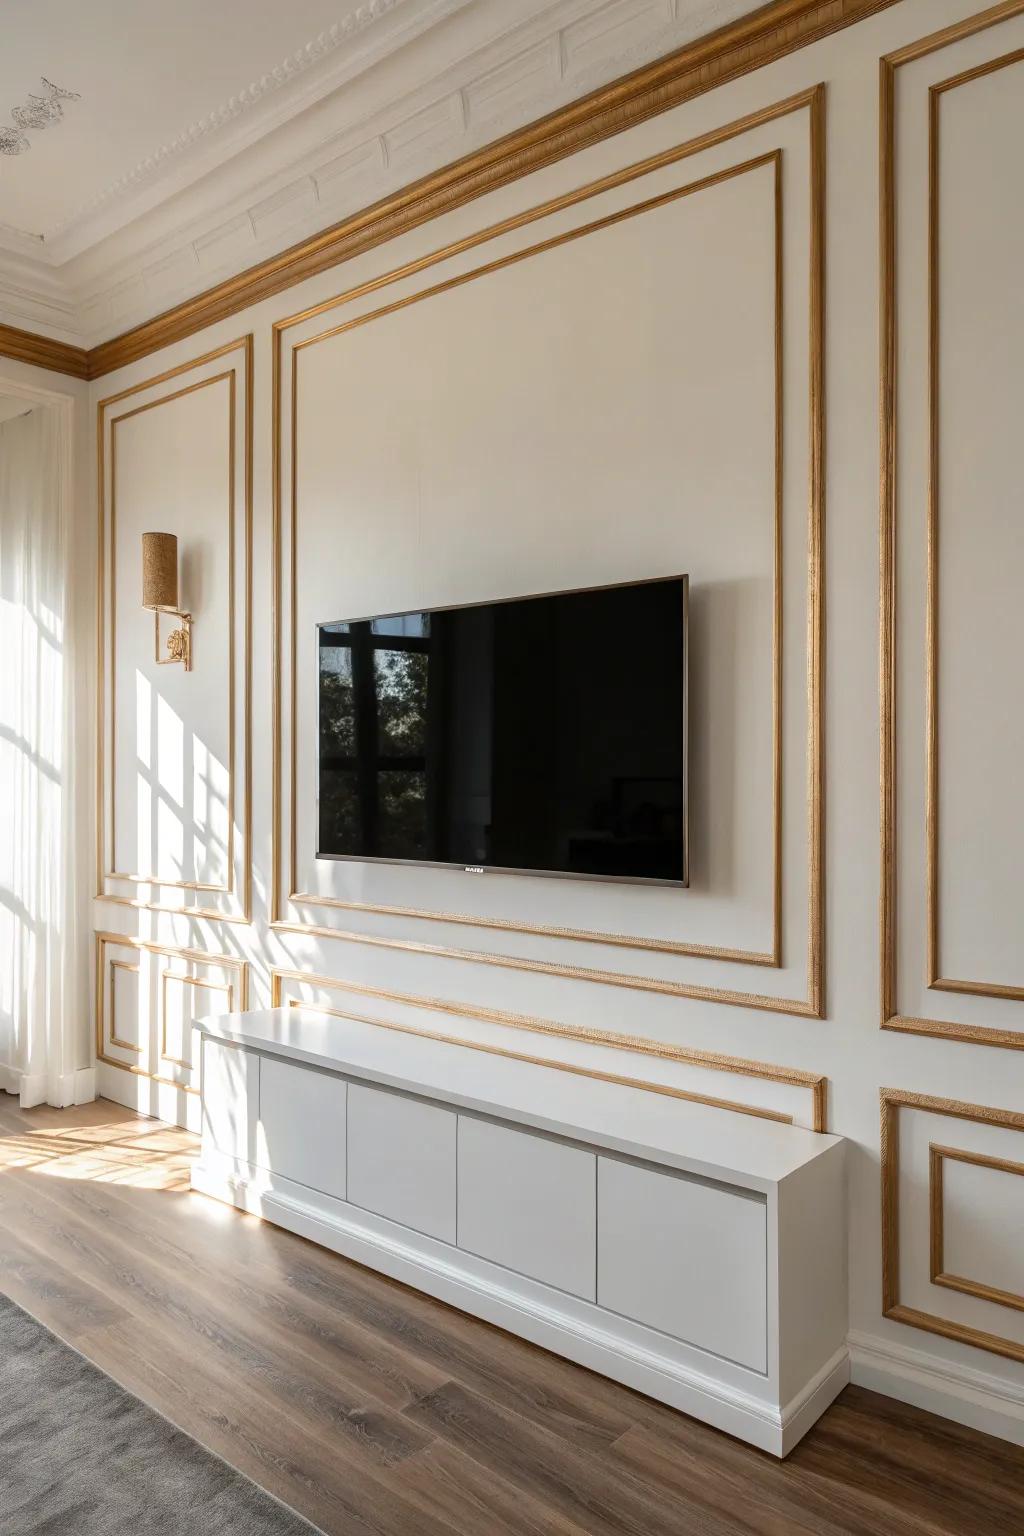
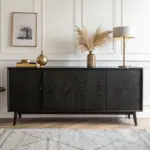
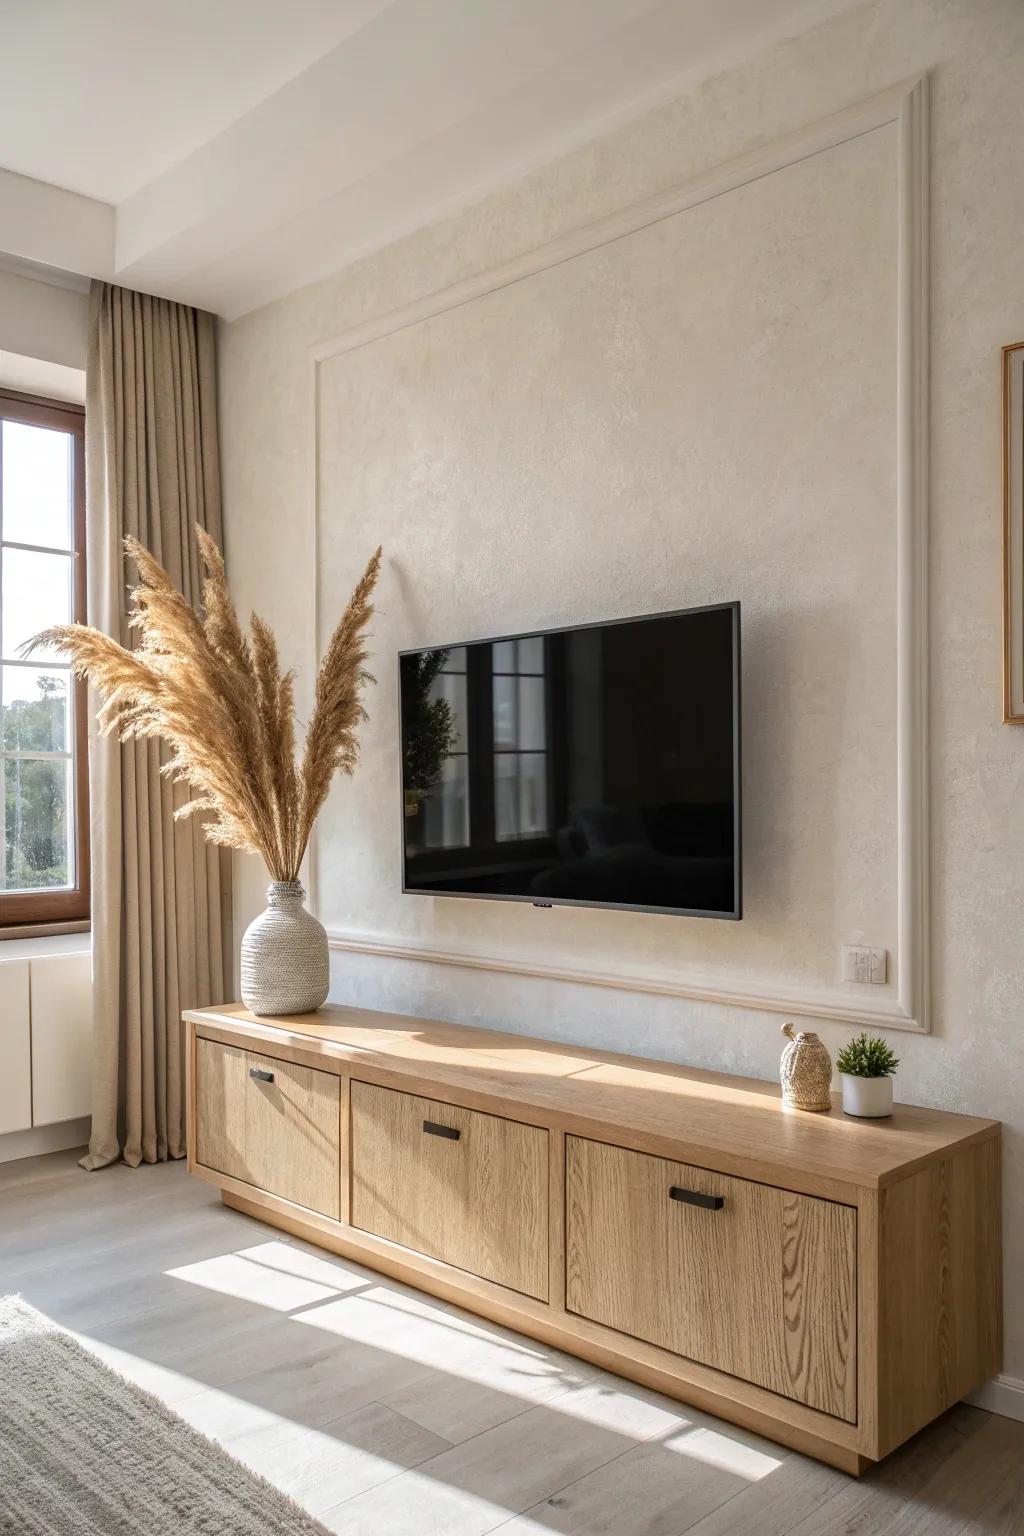
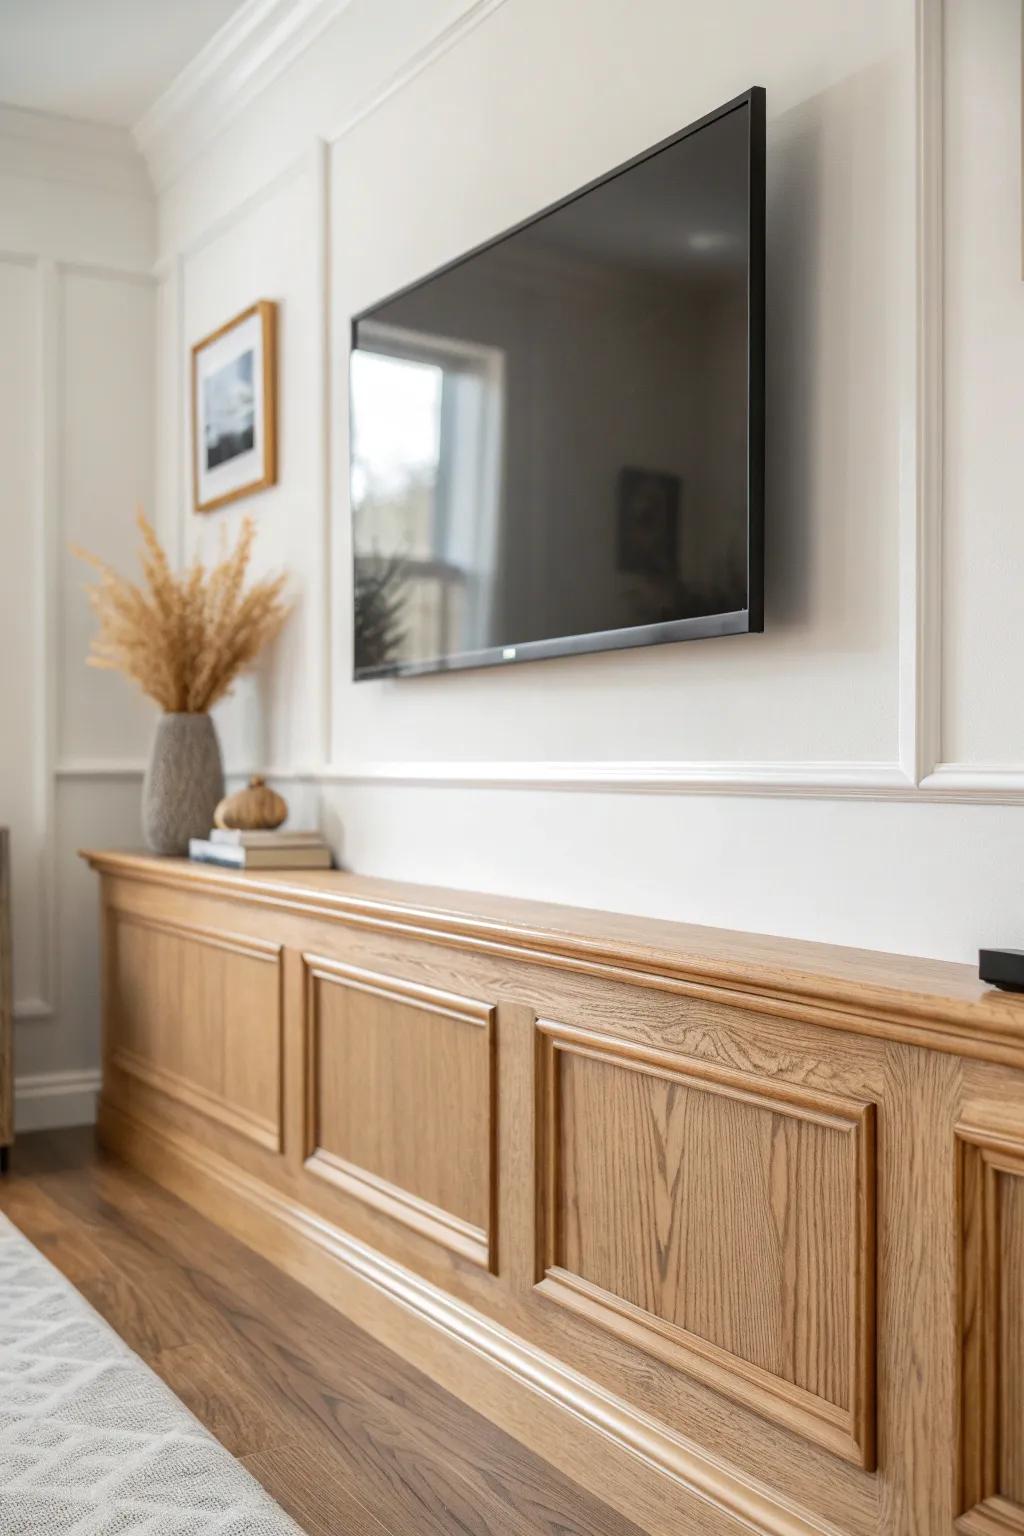
Molding Frames With a Floating Console
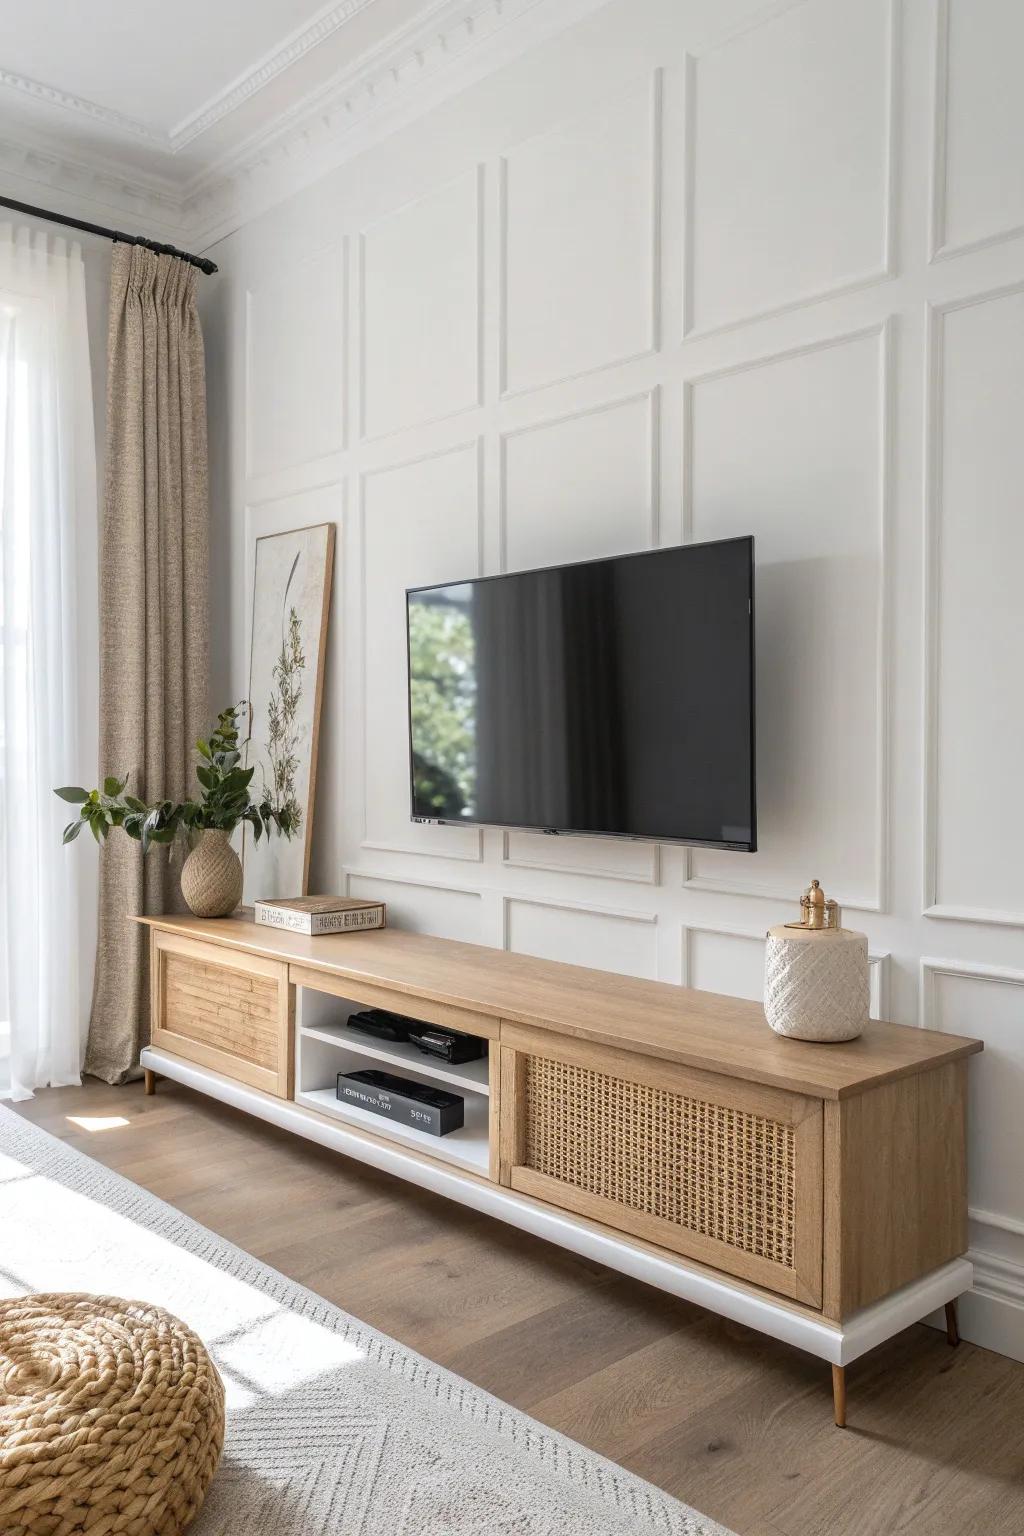
Pair crisp molding boxes with a floating console to keep the floor clear and the wall looking sleek. I’ve mounted a simple wall-hung cabinet under a molded TV panel, and it’s hands-down the cleanest way I’ve found to keep things looking uncluttered.
You might give these a try:
- Wall Molding Panels: Create a sophisticated backdrop for your TV by installing these ready-to-assemble molding frames on your wall effortlessly.
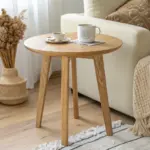
- Rattan Media Console: Capture the organic look from the photo with a media cabinet featuring natural cane or rattan door accents.
- Ceramic Textured Vase: Style your console top with a textured ceramic vase to add warmth and visual interest to the display.
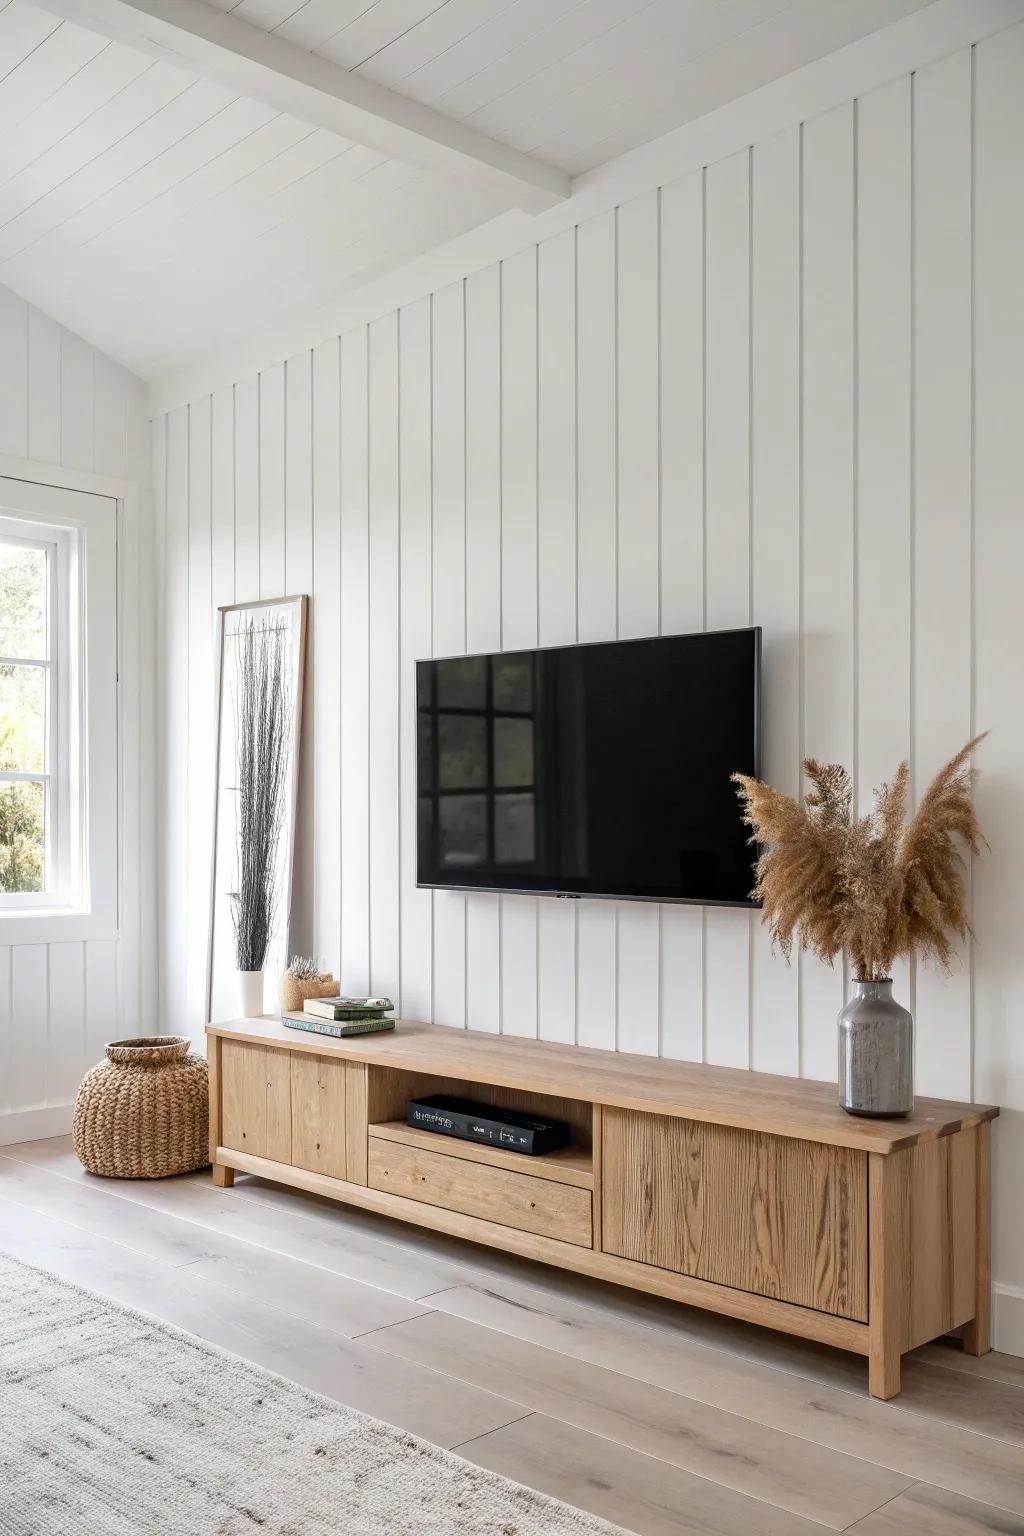
Fluted Panel Insert Inside a Molding Frame
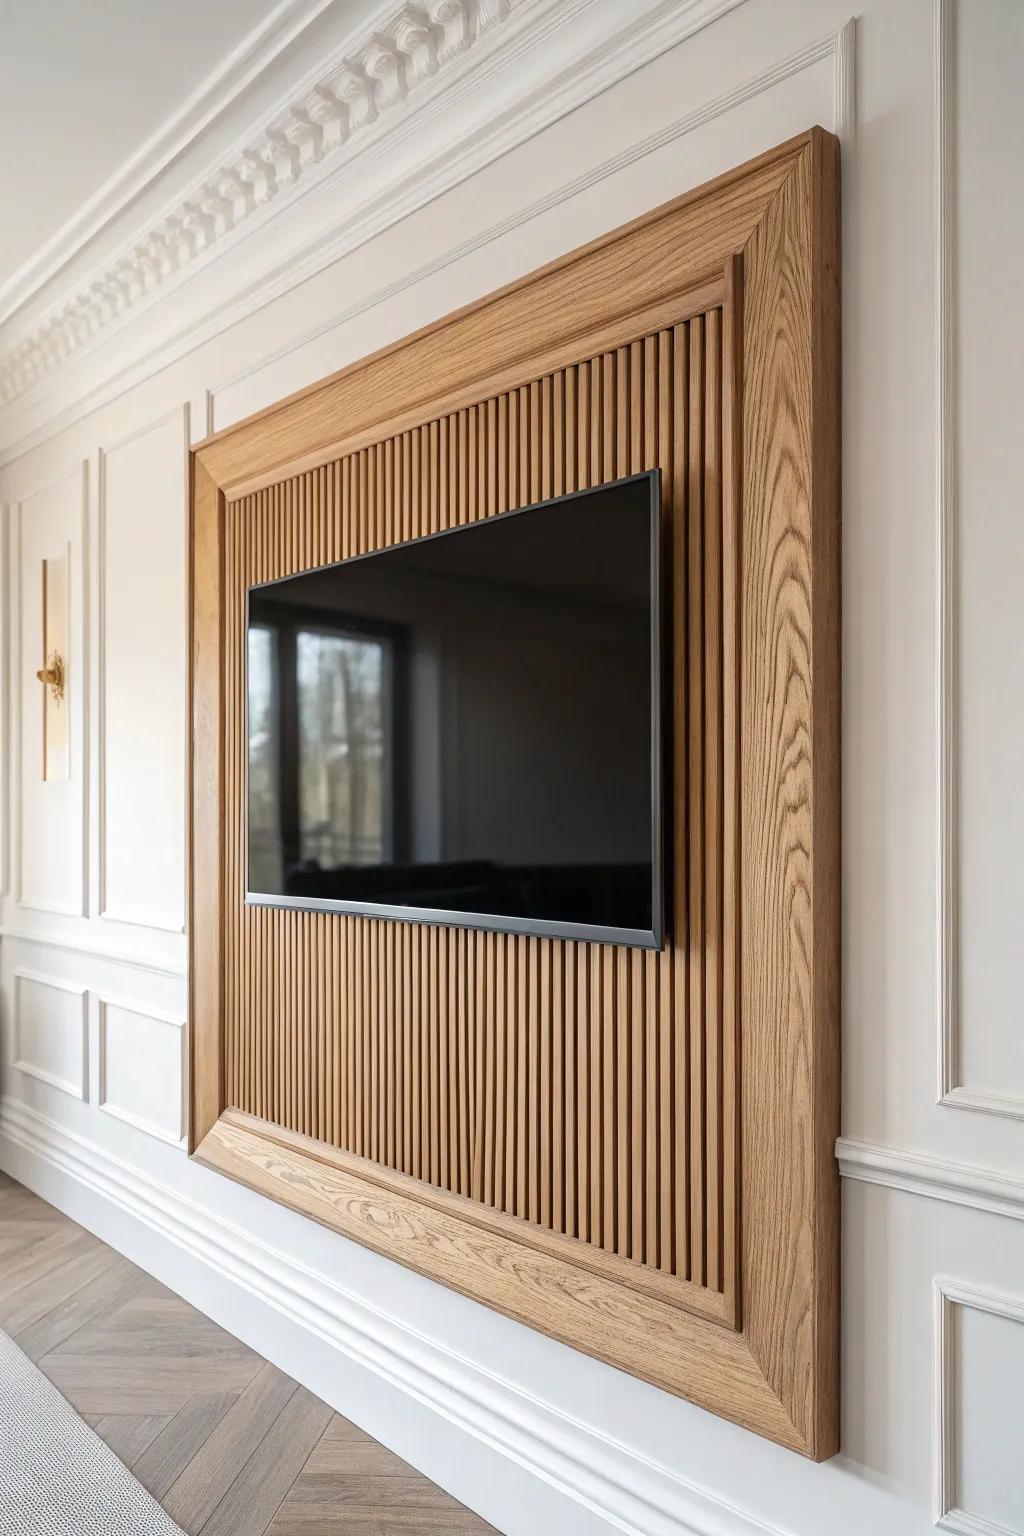
Frame a fluted or grooved panel with molding so the TV sits over a textured backdrop that feels fancy but still warm. I’ve installed a fluted panel insert behind a TV, and the vertical lines make the whole wall feel taller and more intentional.
A few things you might like:
- Wood Slat Wall Panels: Instantly add texture and warmth behind your TV by installing these ready-made vertical wood slat panels.
- Unfinished Wood Molding Trim: Create a custom border around your fluted panel insert to define the space and finish the look.
- Low Profile TV Wall Mount: Mount your television flush against the new wood texture for a seamless, built-in appearance.
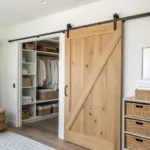
Hinged Molding Panel for Easy Access
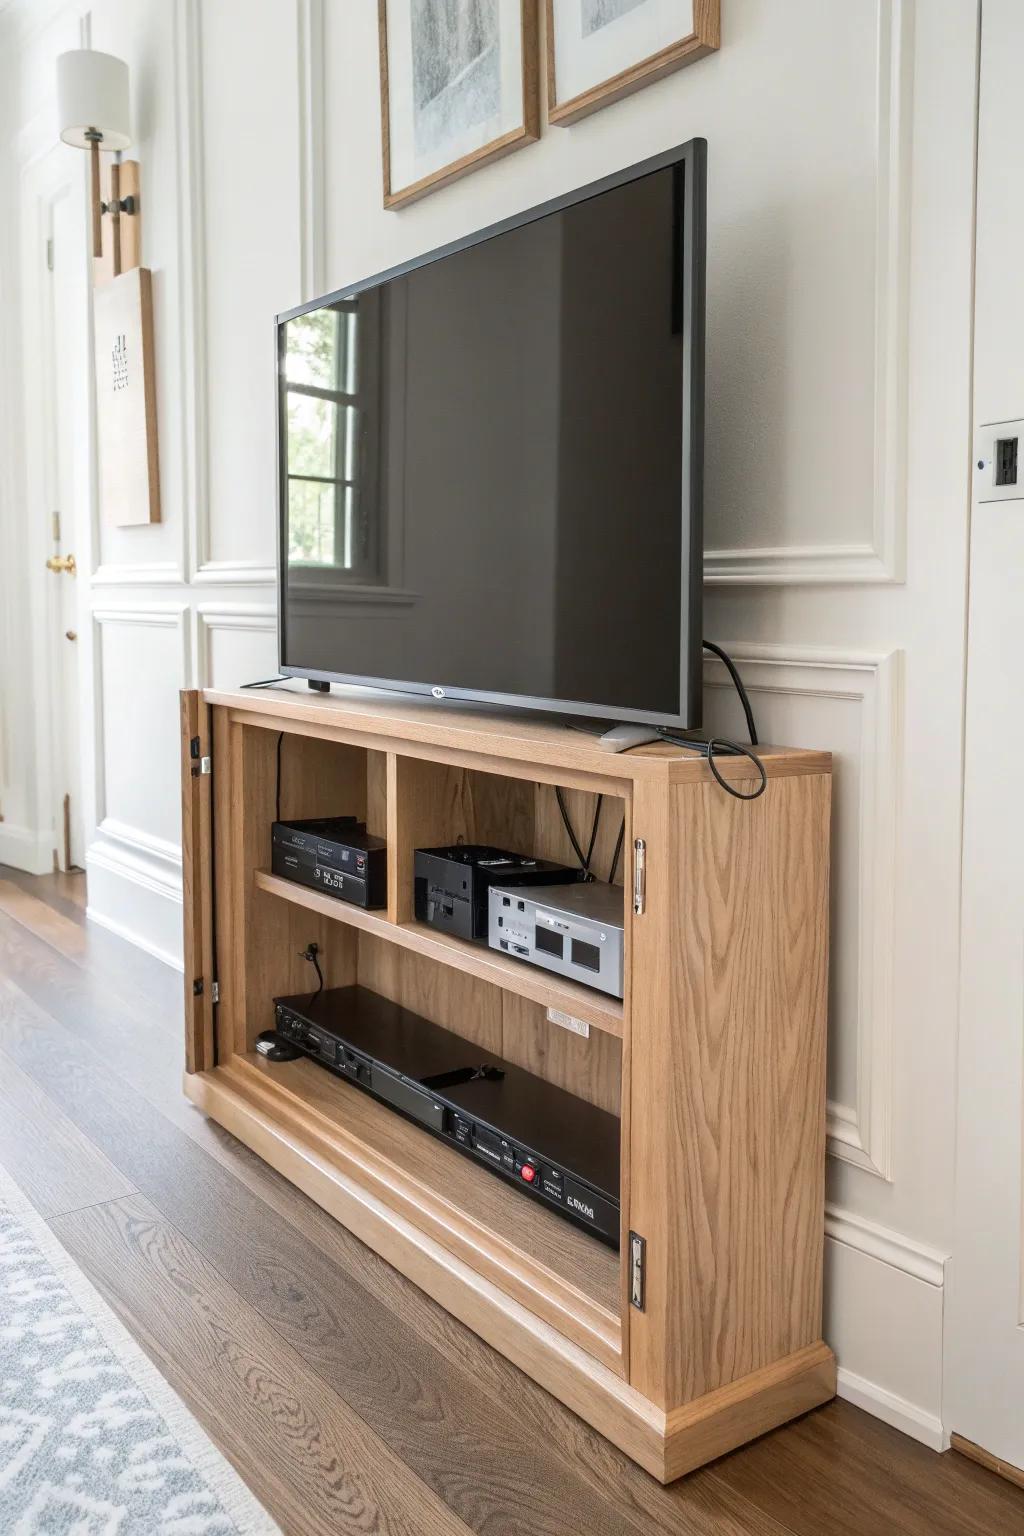
If you’re constantly swapping devices, make one molding “frame” a shallow hinged door so you can reach outlets and cables without tearing anything apart. I’ve made a hinged molding panel with hidden catches, and it’s the kind of clever detail that feels custom-custom.
Maybe worth checking out:
- Push-to-Open Latches: Install these invisible catches to open your hidden panel with a simple press, keeping the molding seamless.
- Concealed Euro Hinges: Use these adjustable hinges to ensure your molding panel swings open smoothly while remaining completely hidden when closed.
- Recessed Media Box: Mount this box behind your new panel to organize power outlets and cables neatly within the wall cavity.


