
A picture frame doesn’t have to be a plain border around a photo—it can be the whole moment. I’ve built and upcycled a lot of frames in my workshop, and these ideas are the ones that always make people stop and look twice.
Chicken Wire Clip Frame
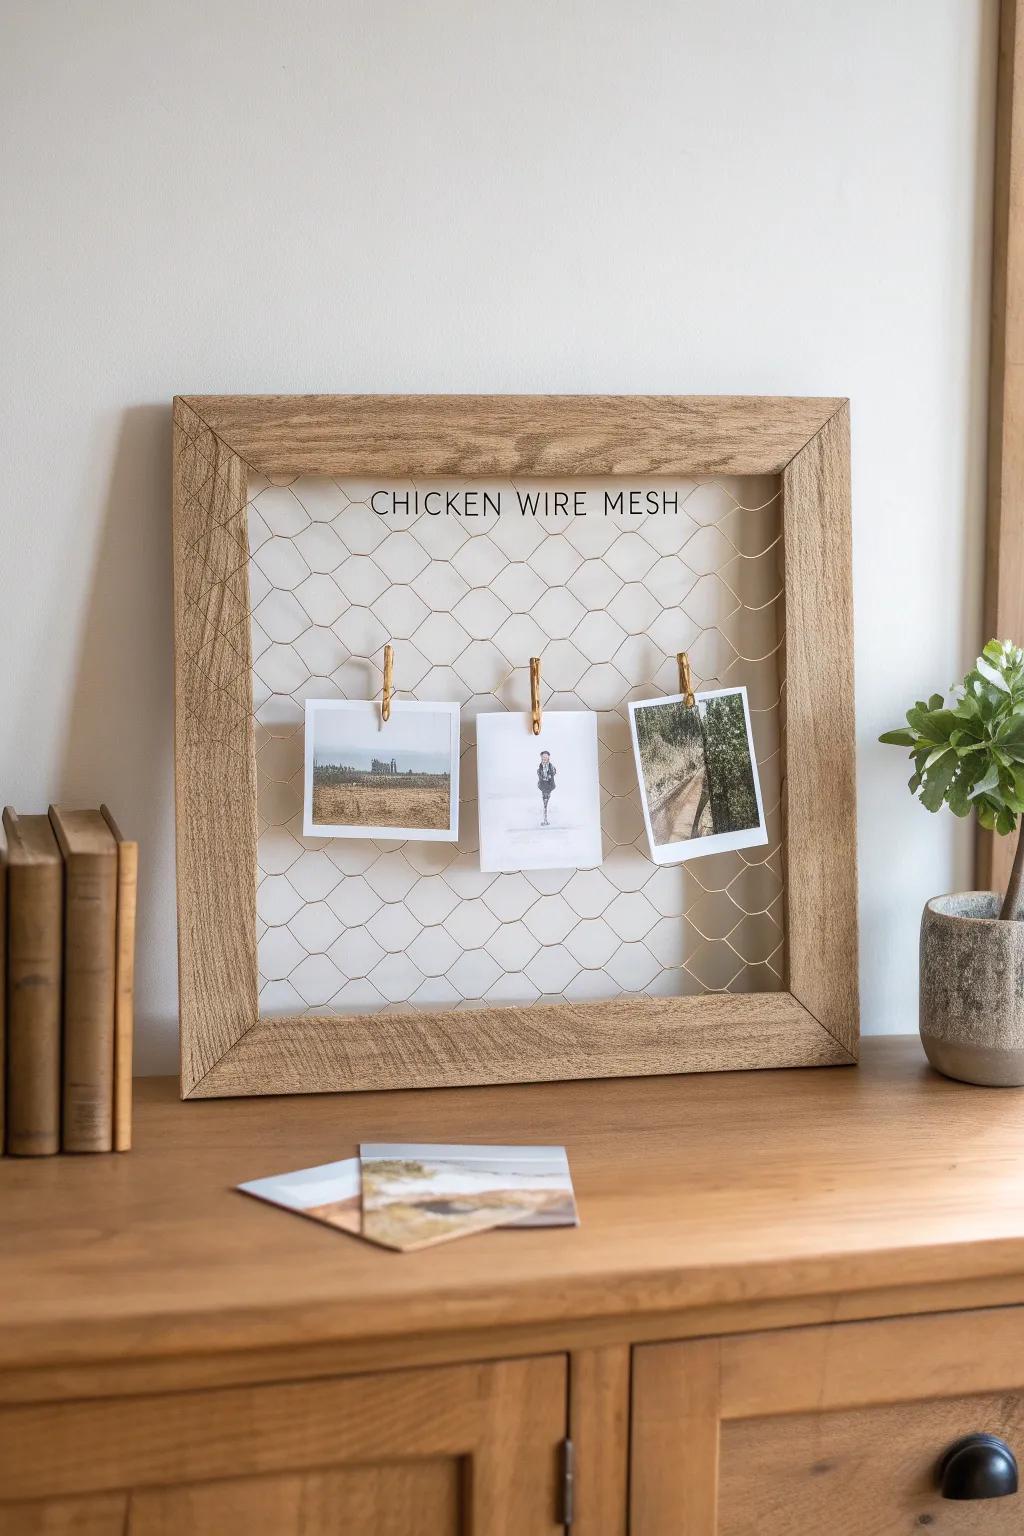
A big wooden frame with chicken wire lets you clip in photos, notes, and postcards, and I love it because you can swap things out without re-framing. I made one for a client’s kitchen and it became their family’s everyday memory board.
Maybe worth checking out:
- Ready-Made Chicken Wire Photo Frame: Skip the DIY and buy a pre-made rustic frame to instantly display your favorite memories with style.
- Mini Wooden Clothespins: Grab a bulk pack of these tiny clips to easily attach and swap out your photos securely.
- Chicken Wire Mesh Roll for DIY: Create your own custom frame size by attaching this versatile wire mesh to any wooden frame back.
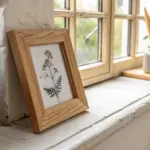
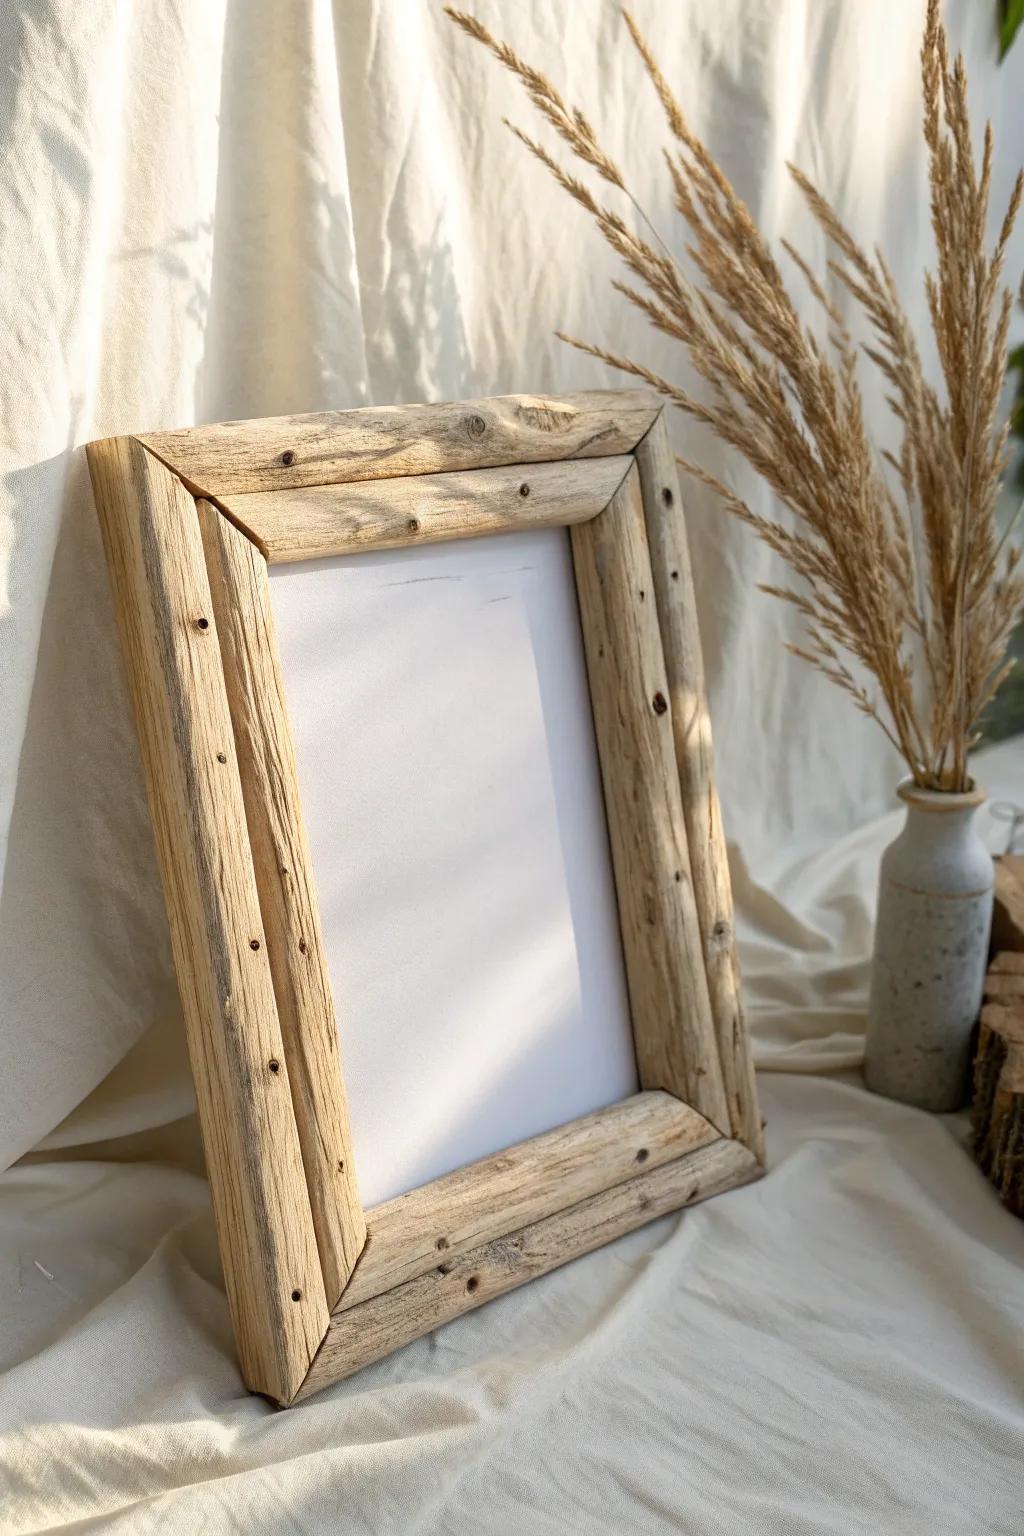
Reclaimed Wood Rustic Frame
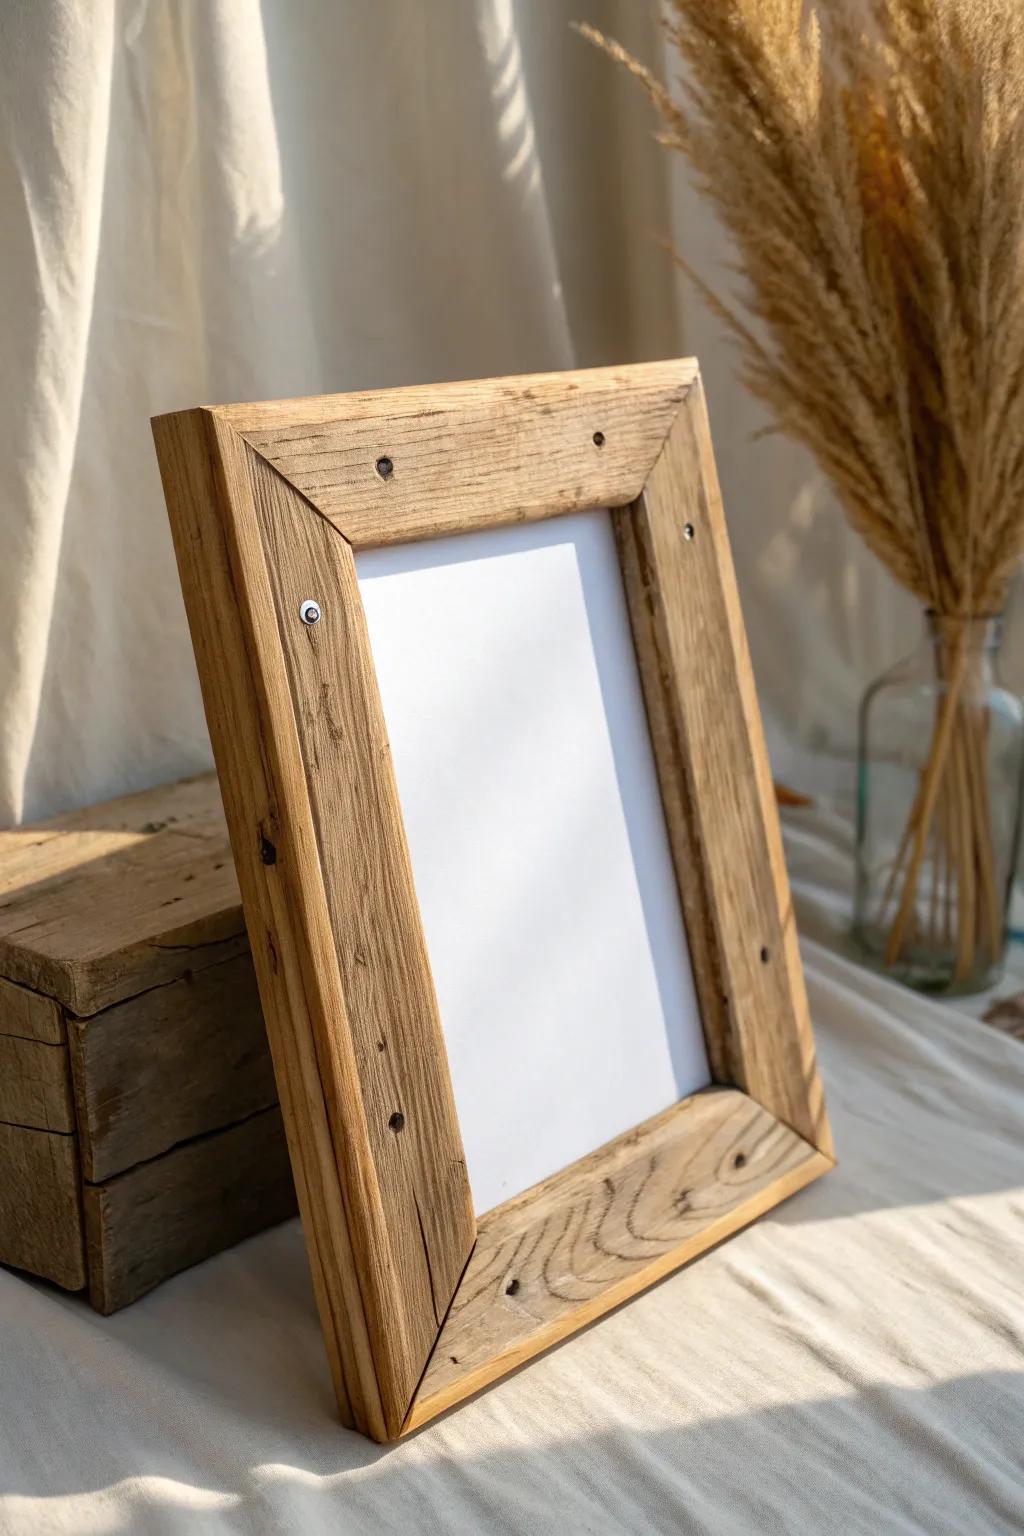
My go-to for unique picture frame ideas is a simple box frame built from reclaimed wood, because knots and nail holes do half the decorating for you. I usually finish it with a light sand and a matte wax so the grain stays the star.
You might like:
- Reclaimed Wood Barnwood Planks: Source authentic reclaimed barn wood planks to create rustic frames with unique knots and historical character.
- Matte Furniture Wax or Polishing Wax: Protect your wood while keeping a natural look by applying a high-quality, non-glossy clear wax finish.
- Turn Buttons/Frame Hardware Kit: Secure your artwork and backing board professionally with simple, effective turn buttons and hanging hardware.
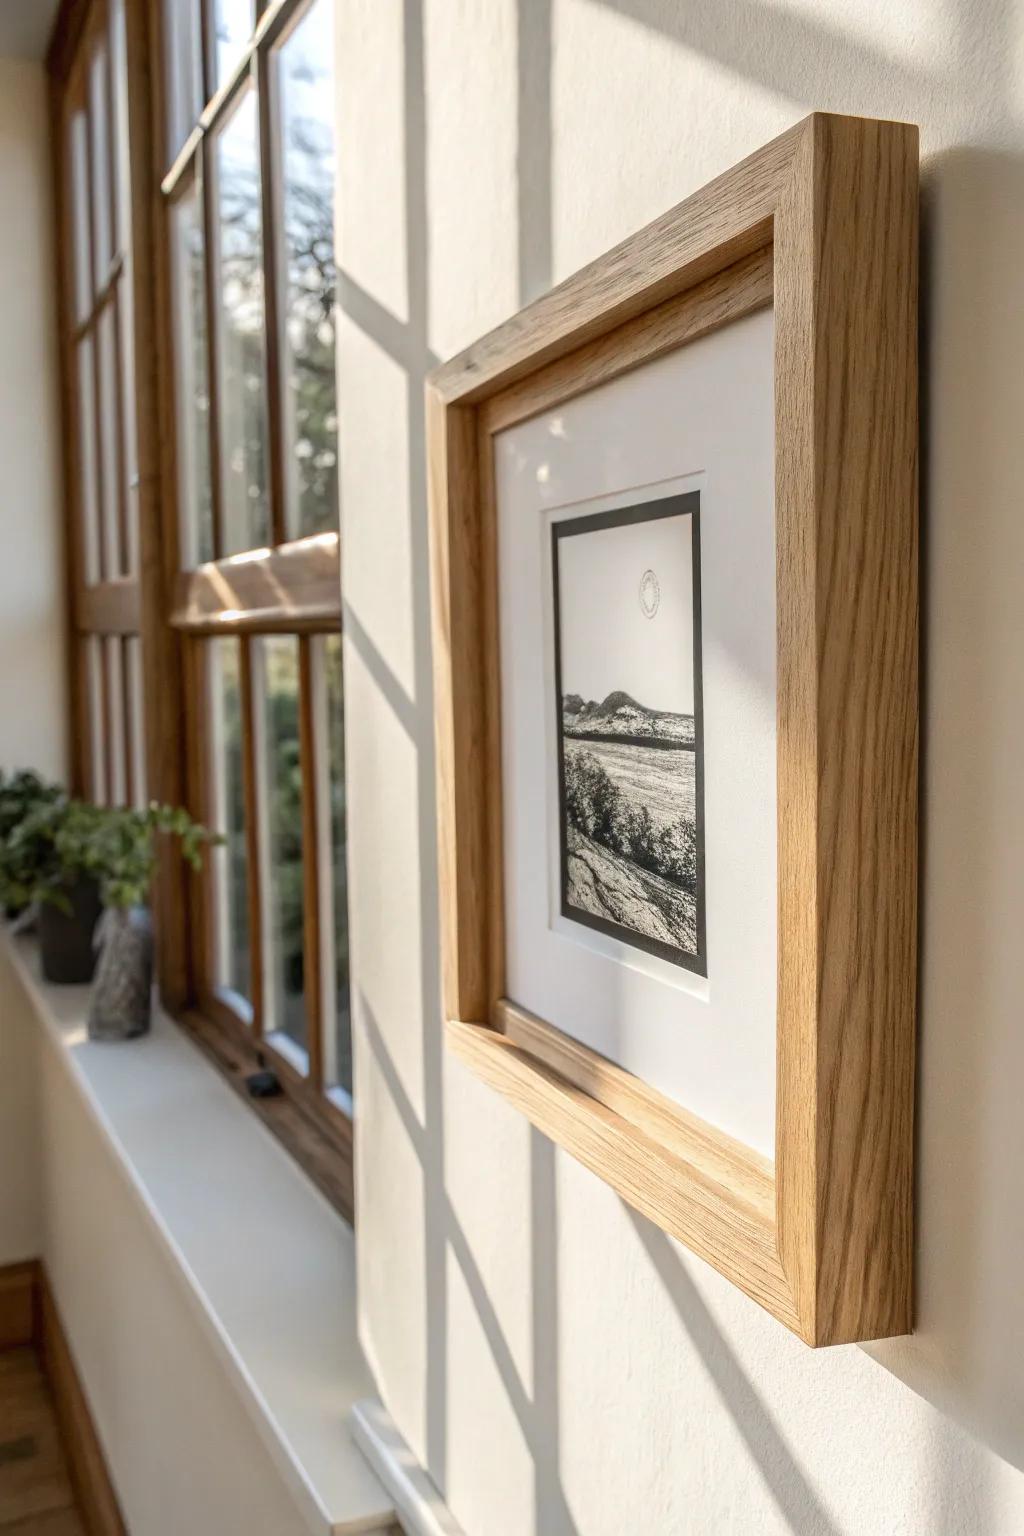
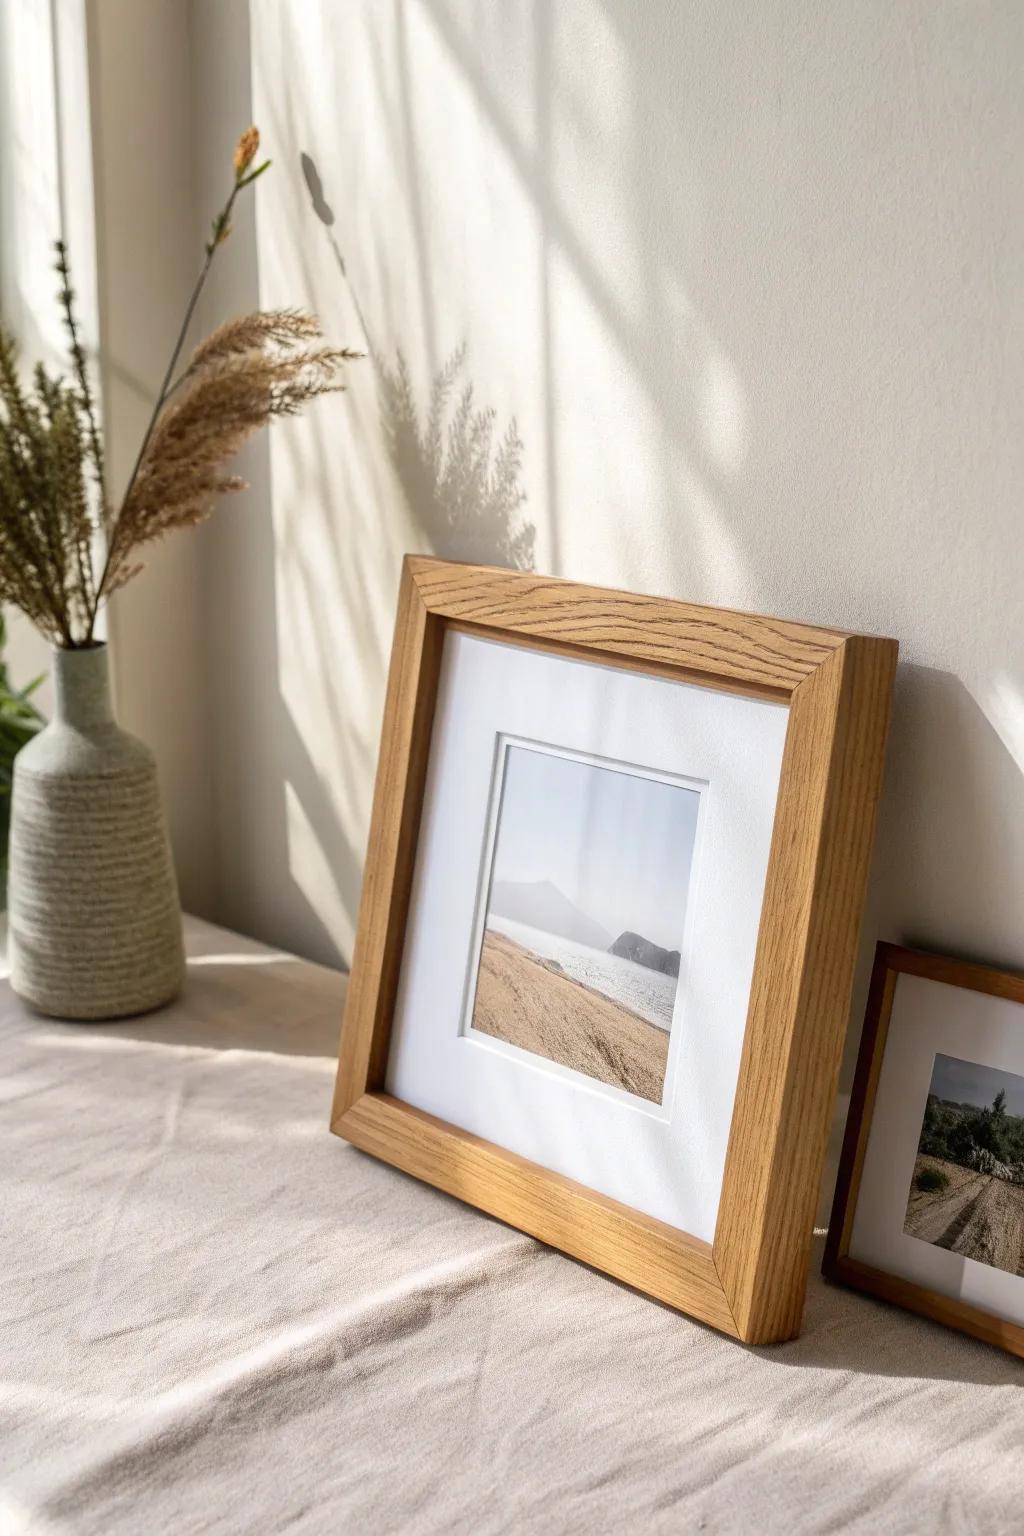
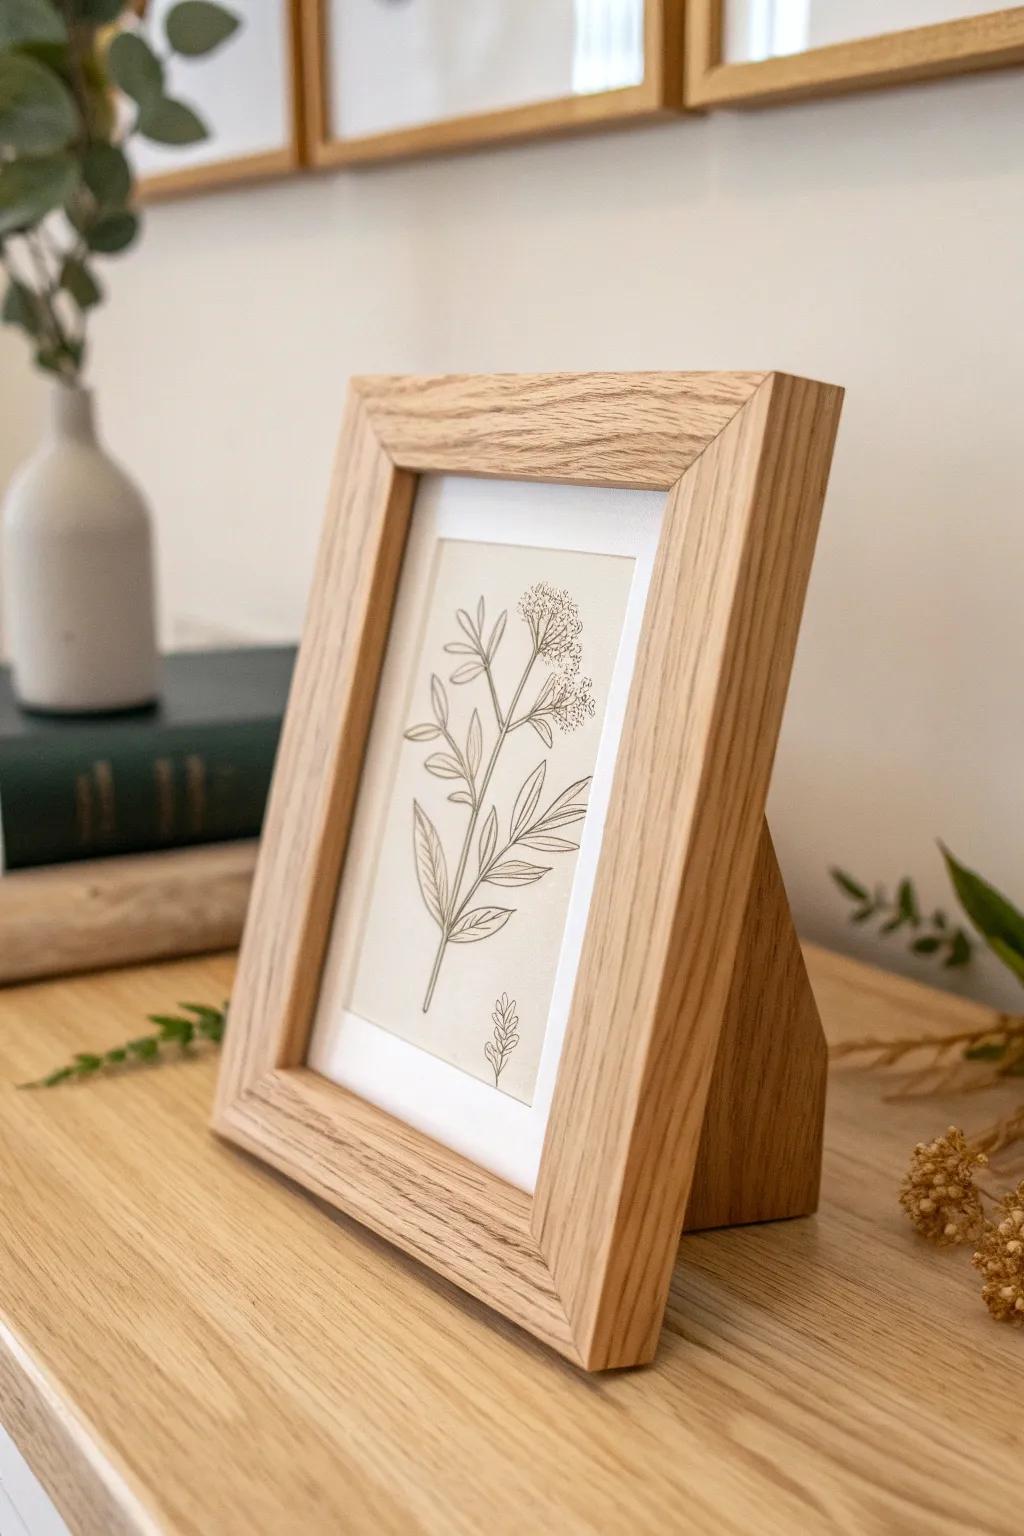
Mitered Frame With a Chunky Profile
A thicker, chunky profile instantly makes a photo feel like wall art, and I’ve made these with basic miter cuts when I want that clean, modern farmhouse look. I like adding a tiny round-over on the edges so it feels cozy instead of sharp.
These products might help:
- Solid Oak Lumber Boards: Start your project with quality hardwood to achieve that sturdy, natural look perfect for chunky modern frames.
- Miter Box and Saw Set: Ensure your corner cuts are precise and professional with this essential tool for creating seamless frame joints.
- Corner Clamp for Woodworking: Keep your heavy frame pieces perfectly aligned at ninety degrees while the glue dries tight and secure.
Floating Frame With Spacers
A floating frame gives your photo or print breathing room, and I’ve had great results using thin wood strips as hidden spacers behind the artwork. The first time I tried it, I couldn’t believe how “gallery” it made a simple print feel.
Consider these options:
- Shadow Box Frame: Create immediate depth for your artwork with a deep-set frame that mimics the professional gallery look effectively.
- Acid-Free Foam Board: Cut strips from this board to create hidden spacers that safely lift your print away from the backing.
- Double-Sided Archival Tape: Secure your spacers and artwork invisibly without damaging the paper, ensuring a clean and long-lasting float effect.
Layered Mat Look With Painted Inserts

If you want instant personality, fake a high-end look by stacking layered mats using painted cardstock or thin board inside the frame. I’ve done tone-on-tone colors for a calm vibe and bold contrast when I want the photo to pop.
Check these products out:
- Deep Shadow Box Picture Frame: Choose a deep frame to accommodate extra layers and create a professional, gallery-style display for your art.
- Heavyweight Colored Cardstock Paper: Use thick, textured paper as your base layer to add rich color and contrast behind your photos.
- Pre-Cut Photo Mat Boards: Layer a standard white mat over your colored background to instantly achieve that crisp, high-end framed look.
Off-Center Photo Placement
An off-center mat is such an easy twist, and I use it whenever a picture feels too “ordinary” in the middle. I’ve framed tiny travel shots this way and suddenly they look intentional and designer-y.
These products might be useful:
- Acid-Free Pre-Cut Mat Boards: Create a gallery look easily by placing smaller photos onto these high-quality mats for instant artistic impact.
- Minimalist Oak Wood Frame: Choose a simple, natural wood frame to let your unique off-center arrangement truly stand out.
- Double-Sided Photo Mounting Tape: Secure your photos firmly in their new off-center position without risking damage to the original print.
Staircase Gallery Wall Frames
For stairwells, I like building a set of similar frames in a couple sizes so the gallery wall follows the slope without looking chaotic. I’ve mapped these layouts with paper templates first, and it saves so many holes and headaches.
Items that may come in handy:
- Set of Light Oak Wood Frames: Create a cohesive look with matching wood frames that perfectly complement neutral staircase runners and bright walls.
- Picture Hanging Template Kit: Plan your staircase layout easily and avoid unnecessary holes by mocking up the arrangement with paper templates first.
- Pre-Cut Picture Mat Boards: Give your artwork a professional, gallery-quality finish by adding crisp white mats to your existing wooden frames.
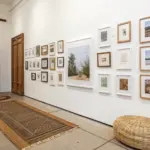
Matching Frames, Mixed Art Theme
One of my favorite “easy wins” is using the same frame style but filling it with a theme—like botanical prints or black-and-white architecture—so the wall feels collected. I’ve done this in my hallway and it instantly made the space feel finished.
Possibly handy products:
- Set of Matching Wood Frames: Create a cohesive gallery wall by grouping multiple identical wooden frames for a unified, designer look.
- Vintage Botanical Art Print Set: Fill your frames instantly with themed botanical sketches to achieve that curated, nature-inspired aesthetic easily.
- White Pre-Cut Picture Mats: Use matting to separate multiple small prints within a single frame for a custom, professional layout.
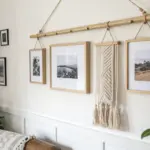
Windowpane Multi-Photo Frame
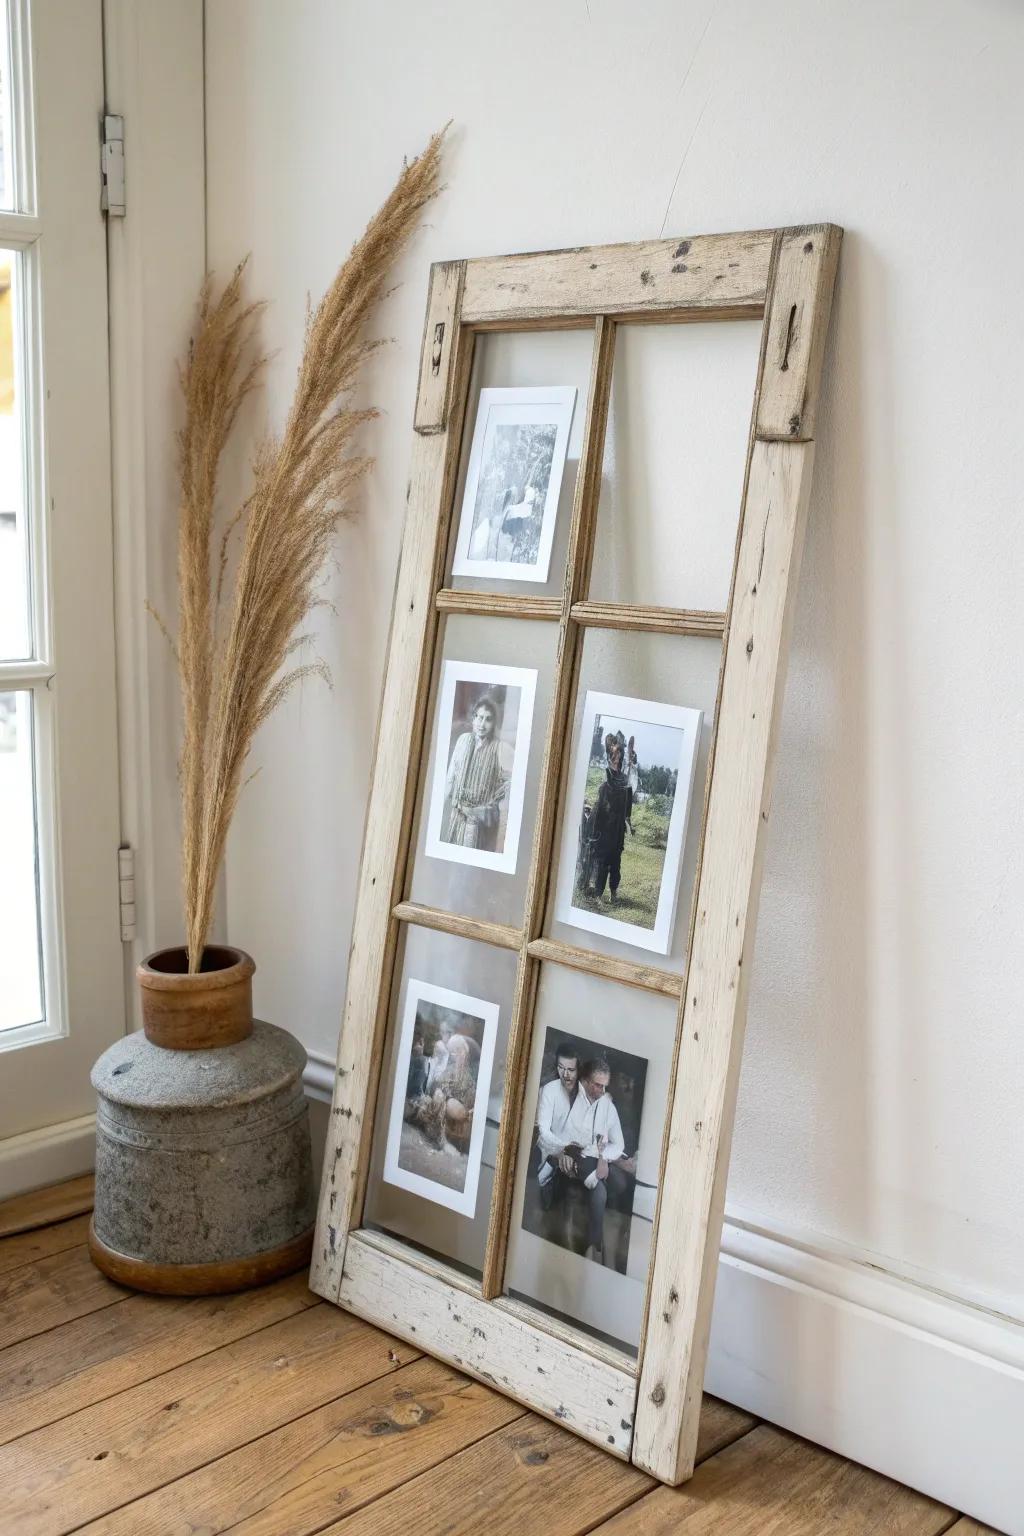
Turn an old window sash into a multi-photo frame by backing each pane with photos or linen and adding simple turn buttons to hold everything in place. I’ve built a few of these from salvage, and they’re always the piece people ask about first.
A few suggestions:
- Distressed Window Pane Frame: Find a pre-made rustic window frame to instantly achieve the farmhouse look without needing salvaged renovation materials.
- Photo Turn Buttons & Screws: Secure your photos firmly into the wooden frame with this essential hardware kit for professional-looking framing projects.
- Dried Pampas Grass Decor: Complete your rustic vignette by placing tall dried grasses in a vintage vase alongside your new frame.
Twig Or Driftwood Frame Border
A border made from twigs or driftwood brings that outdoorsy, rustic texture, and I’ve glued and pinned pieces right onto a simple wood frame for extra strength. The imperfect lines are the charm, and I never try to make it too neat.
Some ideas to consider:
- Natural Driftwood Pieces for Crafts: Create authentic rustic textures with varying sizes of natural, sun-bleached driftwood sourced for crafting projects.
- Flat Unfinished Wood Picture Frames: Start with a sturdy, plain base frame to easily glue your decorative twigs and wood pieces onto.
- Heavy Duty Wood Glue or Hot Glue Gun: Secure uneven twigs firmly to your frame base with a reliable adhesive designed for woodworking projects.
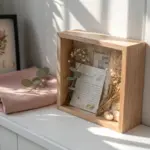
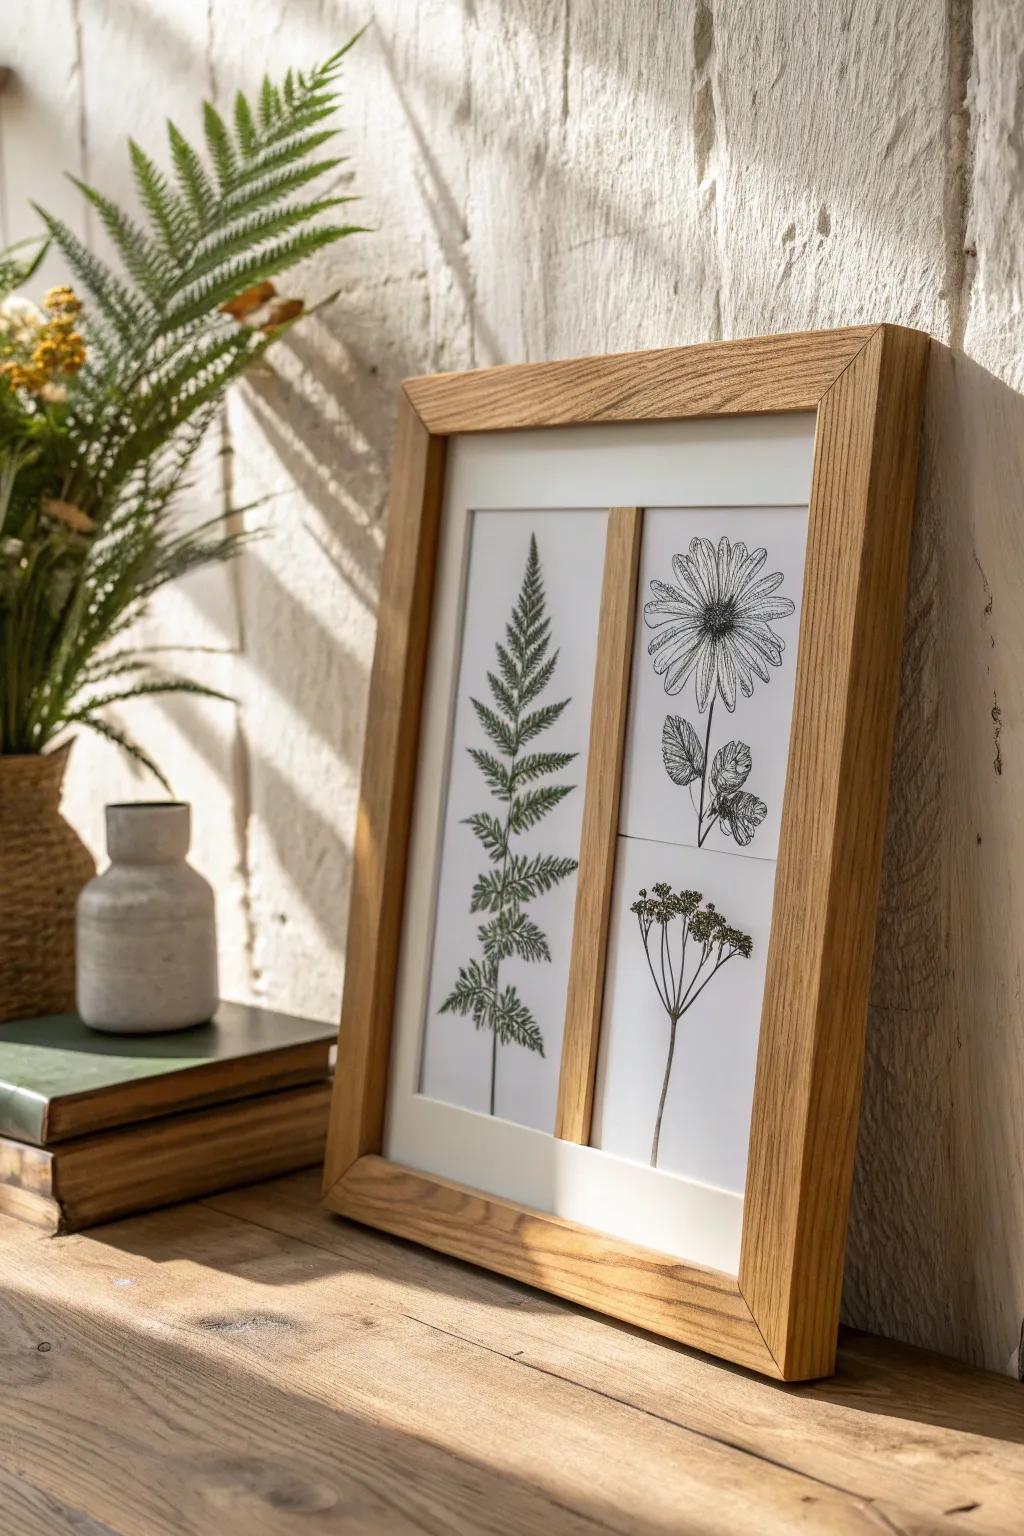
Pressed Flower Shadow Box Frame
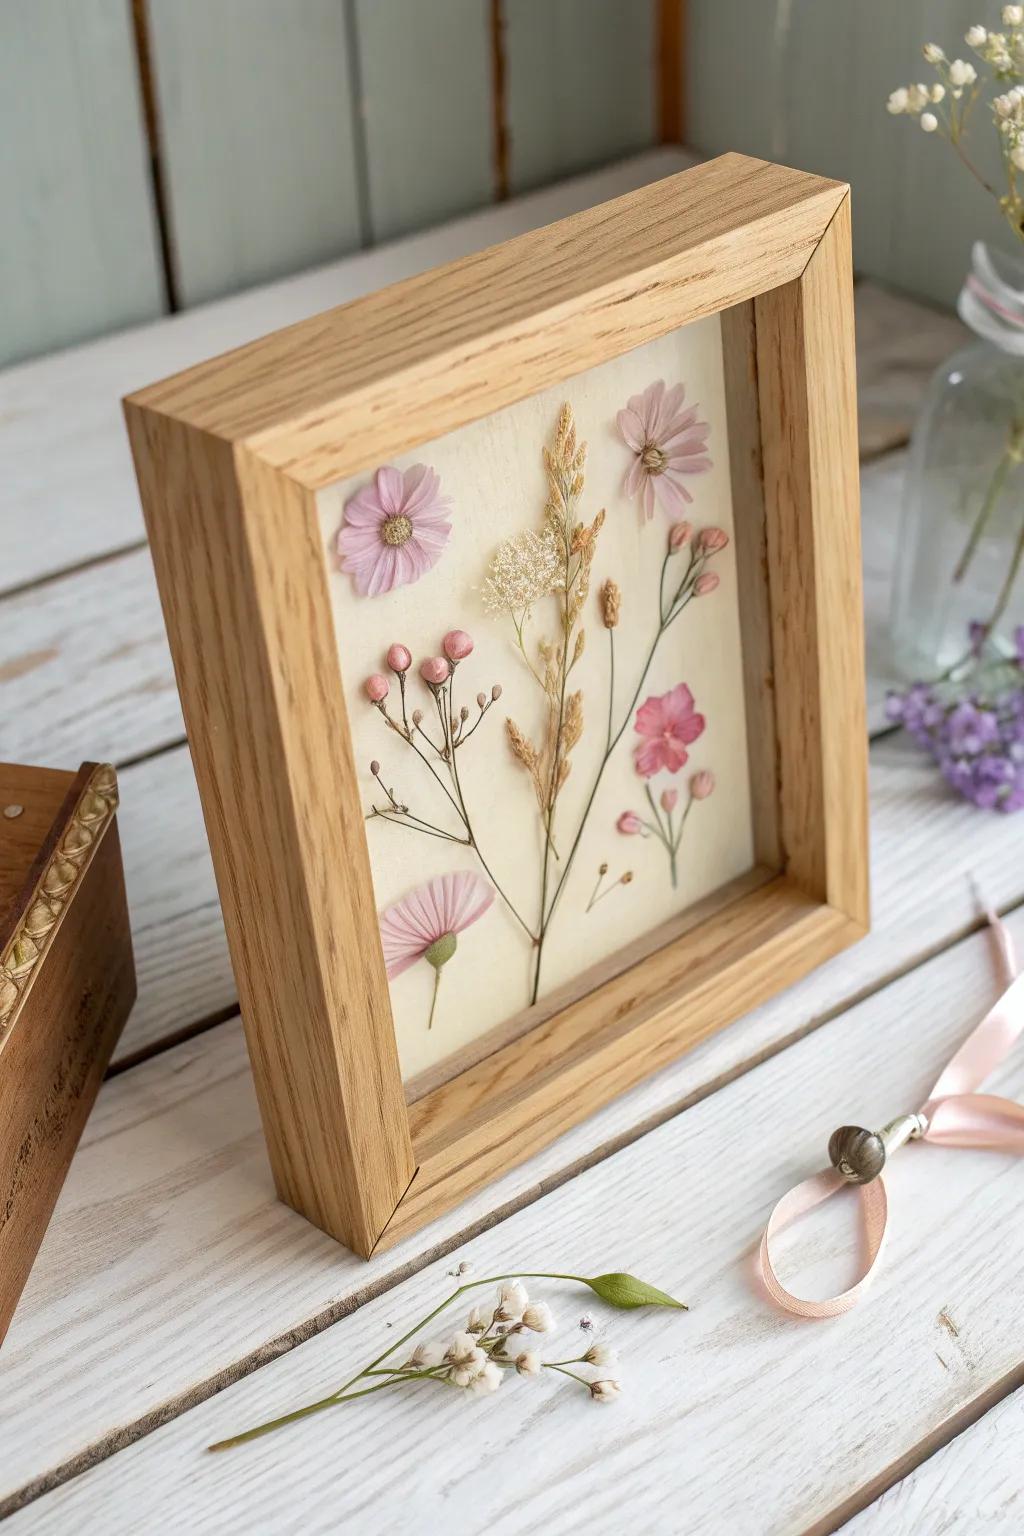
A shadow box-style frame is perfect for pressed flowers, and I like using thin strips to create depth so the petals don’t get crushed behind the glass. I’ve framed blooms from special days, and it’s such a sweet way to keep them around.
Products that could assist:
- Deep Wood Shadow Box Frame: Choose a deep wooden frame to hold your dried blooms securely and display them beautifully on any shelf.
- Flower Press Kit: Preserve your special botanicals flat and dry with an easy-to-use press kit before framing them permanently.
- Acid-Free Cardstock Paper: Mount your delicate petals on sturdy, archival-quality paper to prevent yellowing and keep colors vibrant over time.
Framed Handwritten Recipe
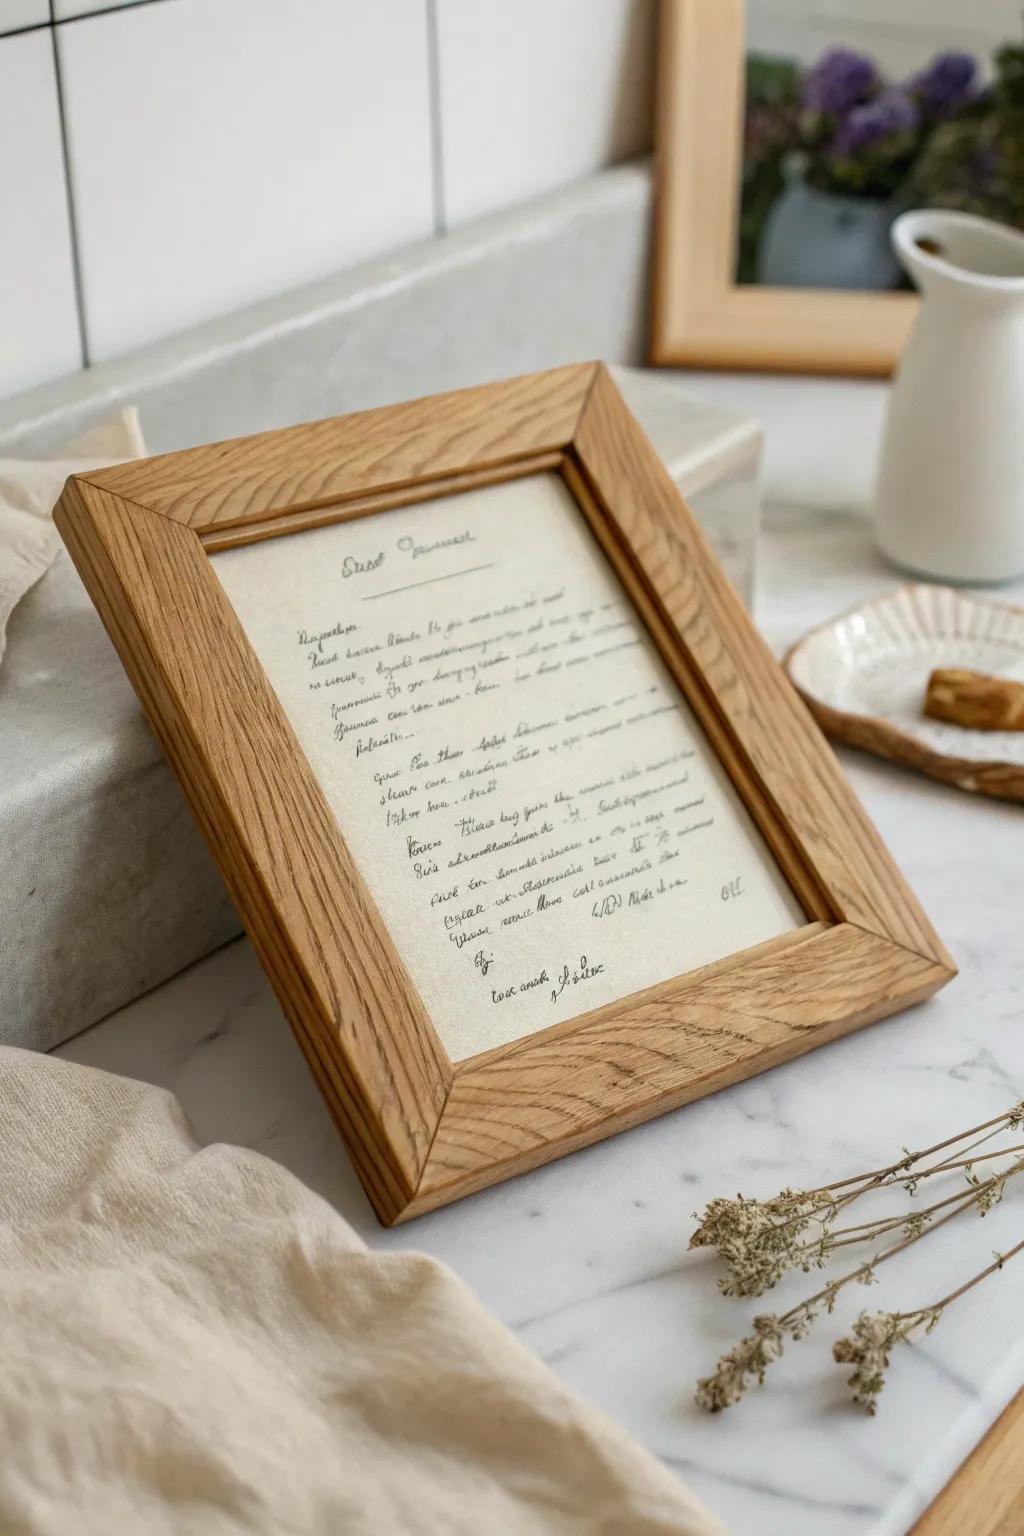
Framing a handwritten recipe is one of those unique ideas that feels like instant heirloom decor, especially in a kitchen nook. I’ve scanned fragile originals and framed the copy, so the memory stays safe and still looks authentic.
You might give these a try:
- Solid Wood Picture Frame (Light Oak): Choose a natural wood frame to give your recipe a warm, rustic look that complements any kitchen decor.
- Archival Quality Textured Cardstock: Print your scanned recipe onto high-quality textured paper to replicate the authentic feel of the original vintage note.
- Dried Flower Boutique Stems: Style your new frame sitting on a counter with simple dried botanicals for an elegant, inviting vignette.
Kids’ Art Swap-In Frame
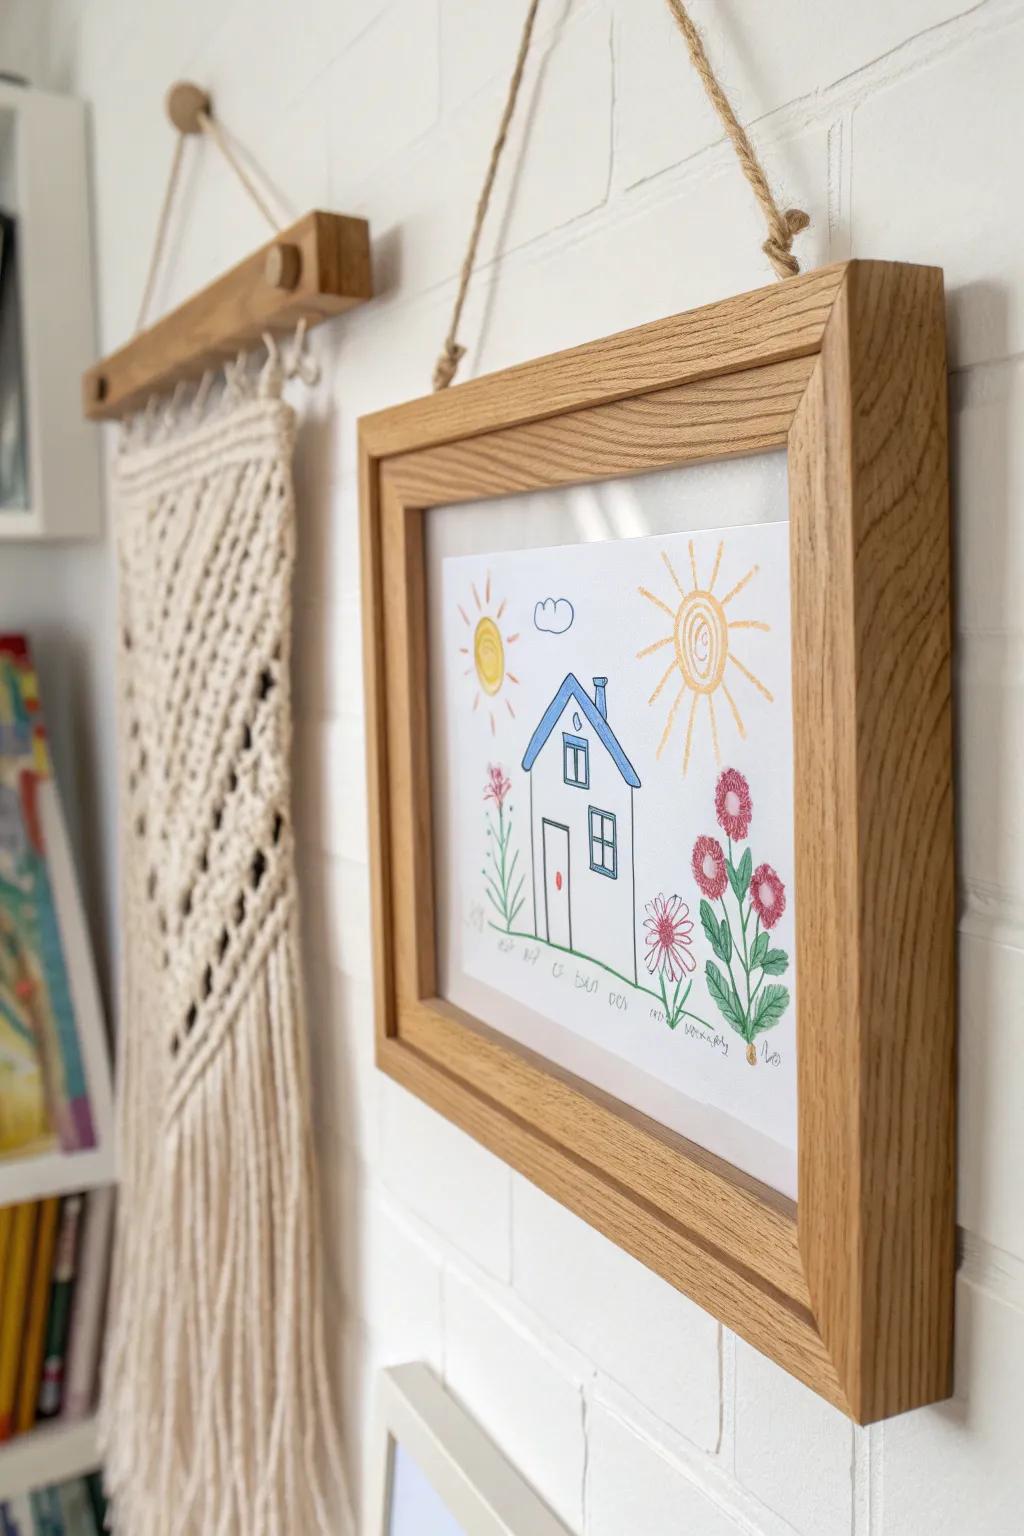
For kids’ rooms, I’ve built simple front-loading frames so their drawings can be swapped in and out like a mini gallery. It’s such a confidence booster for them, and honestly I love seeing their “latest masterpiece” on the wall.
Some handy options:
- Front-Opening Kids Art Frame: Easily showcase new drawings by simply opening the front panel, perfect for rotating your child’s daily masterpieces.
- Magnetic Wooden Poster Hanger: Quickly hang odd-sized artwork without glass; just snap the magnetic wood strips together for an instant display update.
- Jute Twine and Hanging Kit: Create a rustic, adjustable gallery wall look similar to the image by suspending frames with durable natural twine.
Fabric-Wrapped Frame With Texture
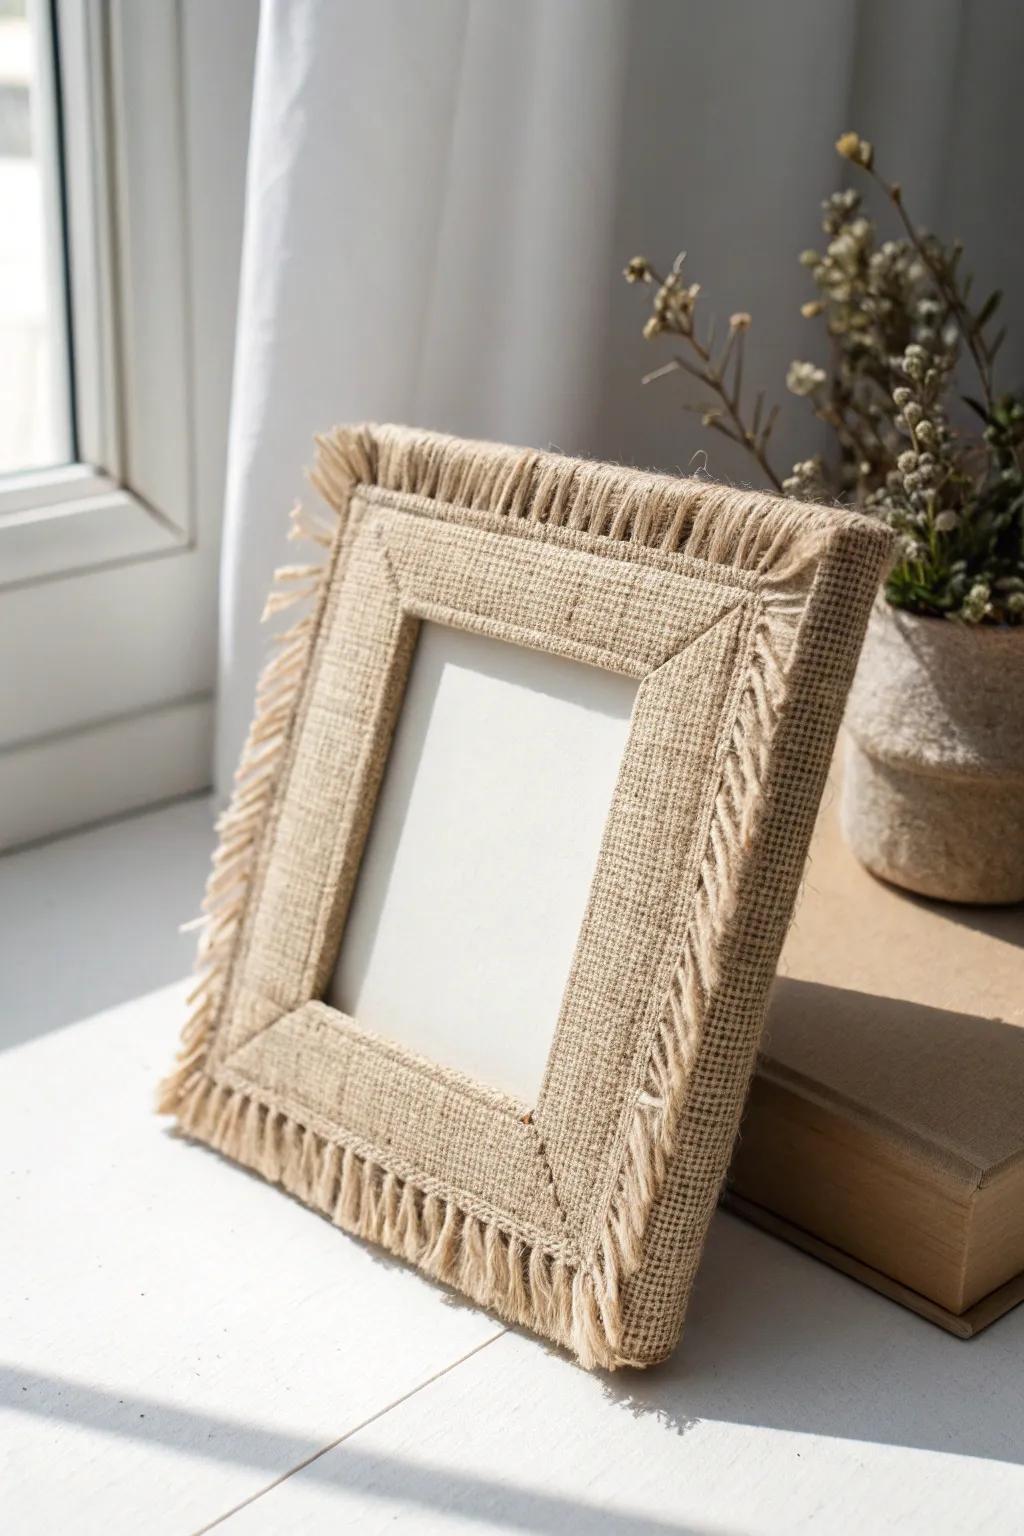
Wrapping a frame in textured fabric (linen, canvas, even an old tea towel) makes photos feel softer and more homey. I’ve done this when a room needed warmth, and it’s surprisingly forgiving for beginners.
Might be a good match:
- Natural Jute Burlap Fabric Roll: Wrap frames in this textured material to easily recreate the rustic, homey look shown in the photo.
- Flat Wood Picture Frame for Crafting: Use these simple, flat surfaces as the perfect sturdy base for gluing down your textured fabric.
- Clear Drying Craft Glue: Secure your fabric tightly to the frame with an adhesive that dries invisible for a seamless finish.
Epoxy “River” Frame Edge
For a real wow moment, I’ve poured a thin epoxy resin edge along one side of a wooden frame so it looks like a little river running through the grain. The first time I tried it, I kept it subtle and clear—and it still looked wildly custom.
A few choices to try:
- Clear Casting Epoxy Resin Kit: Start your river creation with crystal-clear resin that cures hard and highlights the wood grain beautifully.
- Metallic Mica Powder Pigments: Mix these shimmering powders into your resin to create a vibrant, flowing river effect within the frame.
- Unfinished Wood Picture Frame: Use a simple, unfinished wooden frame as your base canvas for pouring and carving your unique design.
Frame a Tiny Object, Not a Photo
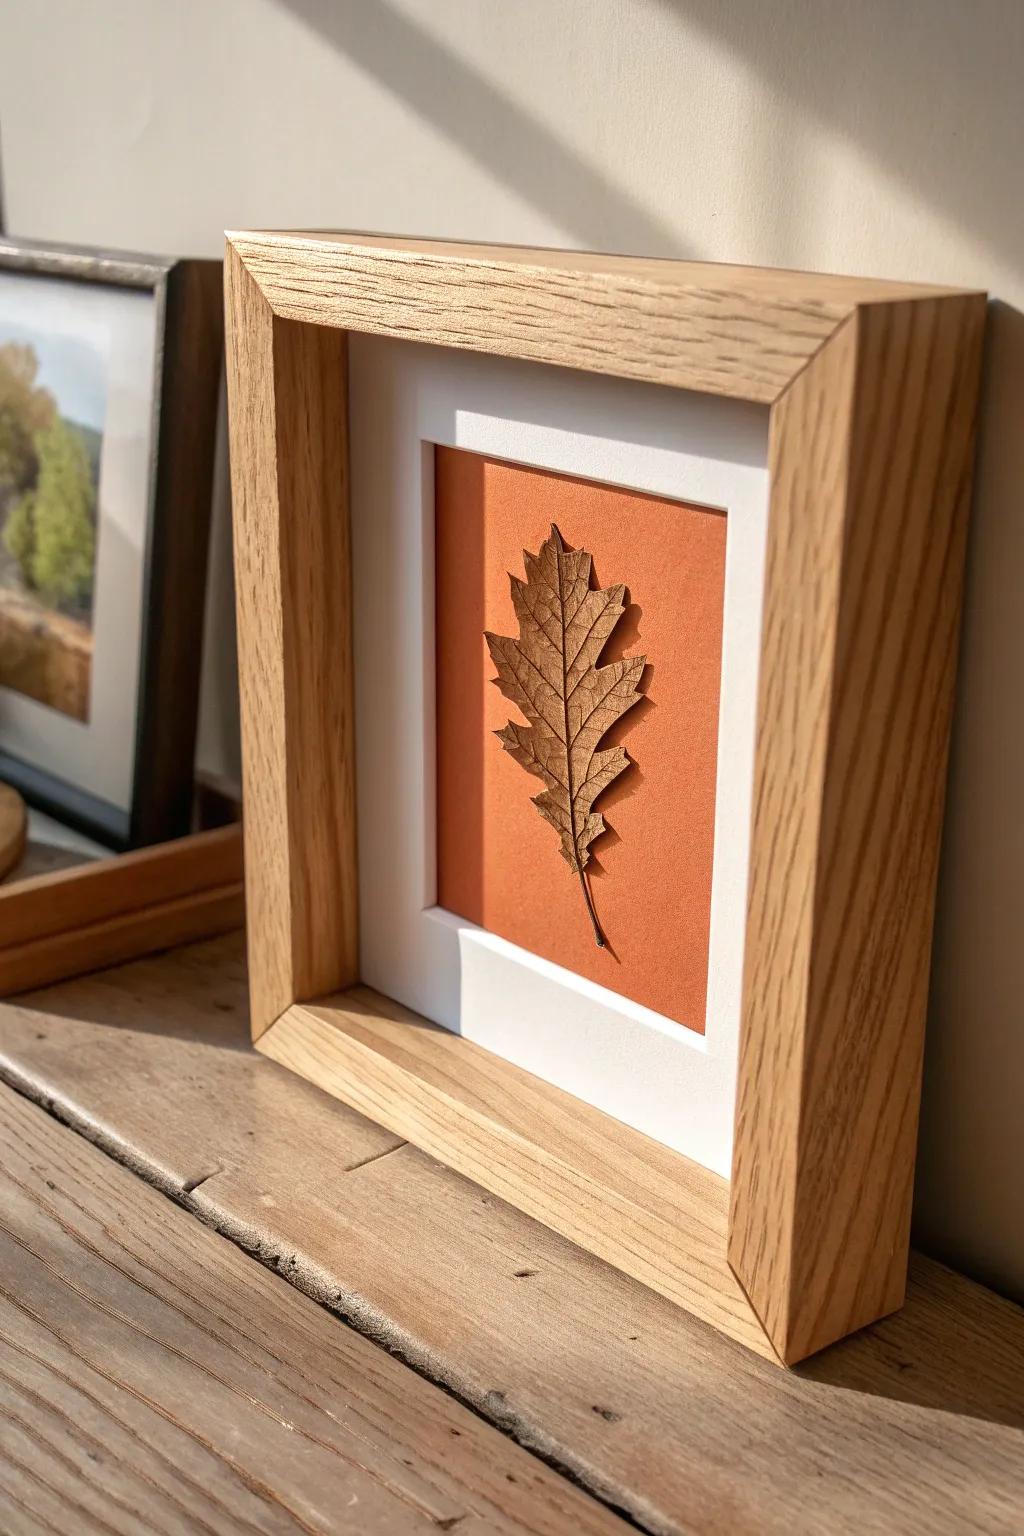
One of my most surprising unique picture frame ideas is framing a tiny object—like a key, ticket stub, or pressed leaf—in a deep frame with a clean backing. I’ve done this with small keepsakes from trips, and it turns “junk drawer stuff” into a real conversation piece.
A few helpful options:
- Deep Wood Shadow Box Frame: Transform your small keepsakes into art by displaying them inside this deep, elegant shadow box frame.
- Acid-Free Cardstock Paper: Create the perfect colorful background for your object using high-quality, fade-resistant cardstock paper sheets.
- Archival Mounting Adhesives: Secure your delicate items safely in place without damaging them using museum-grade archival mounting dots.


