
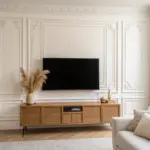
A good wall border trim is like a necklace for your room—it finishes the look and adds that extra bit of depth.
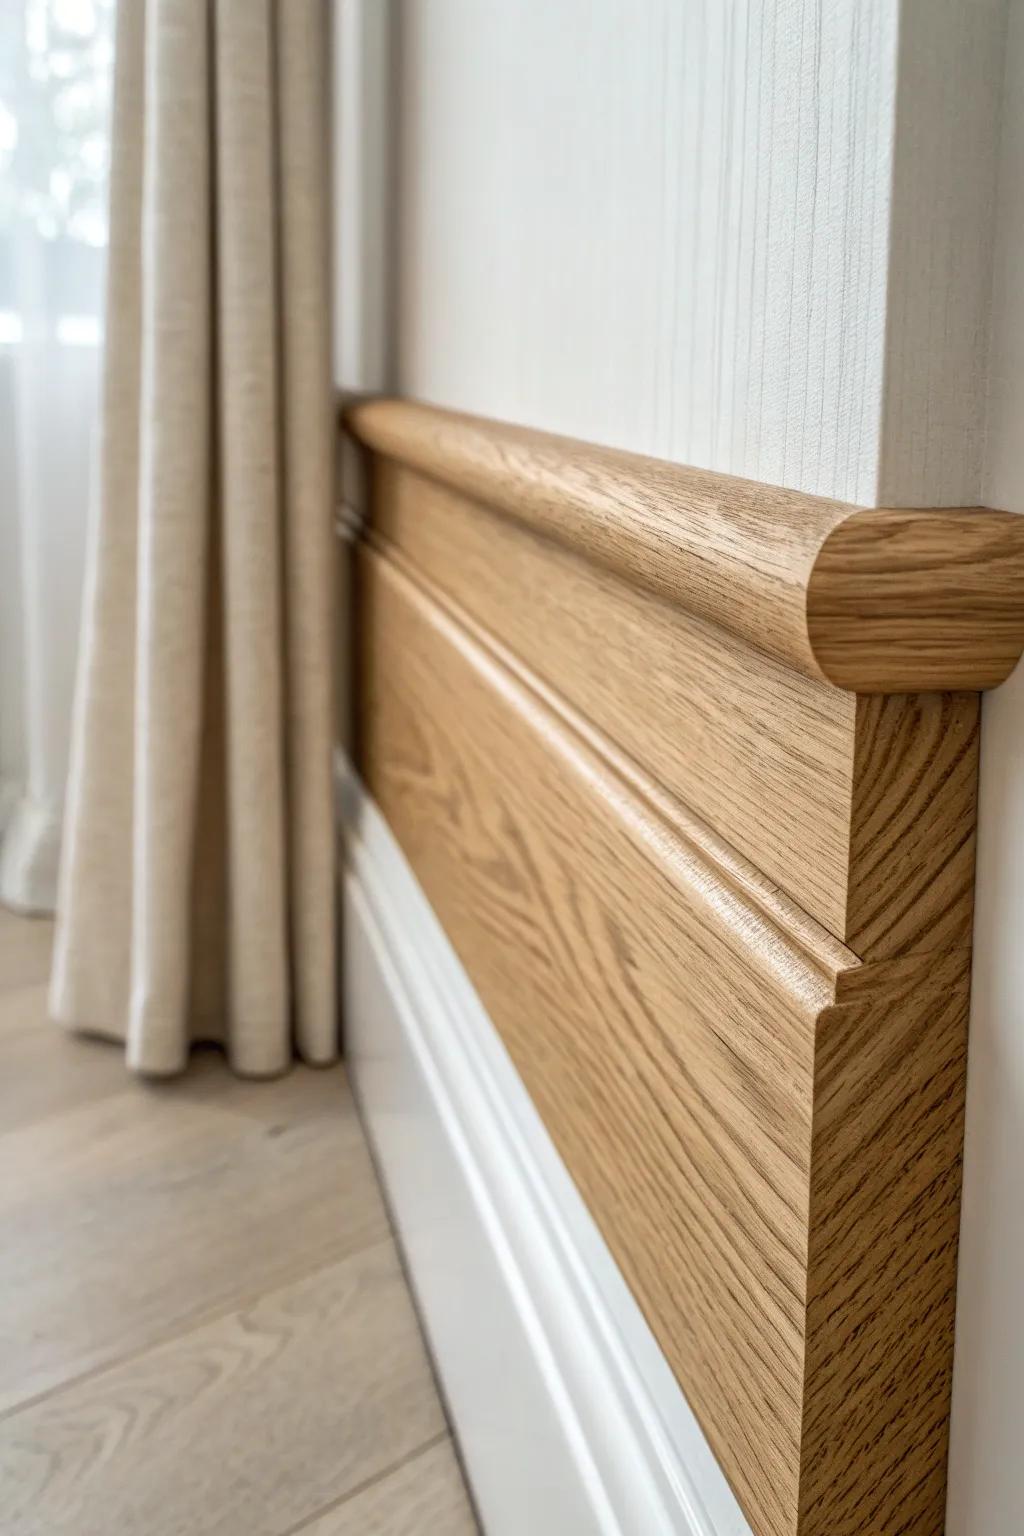
Classic Chair Rail Border
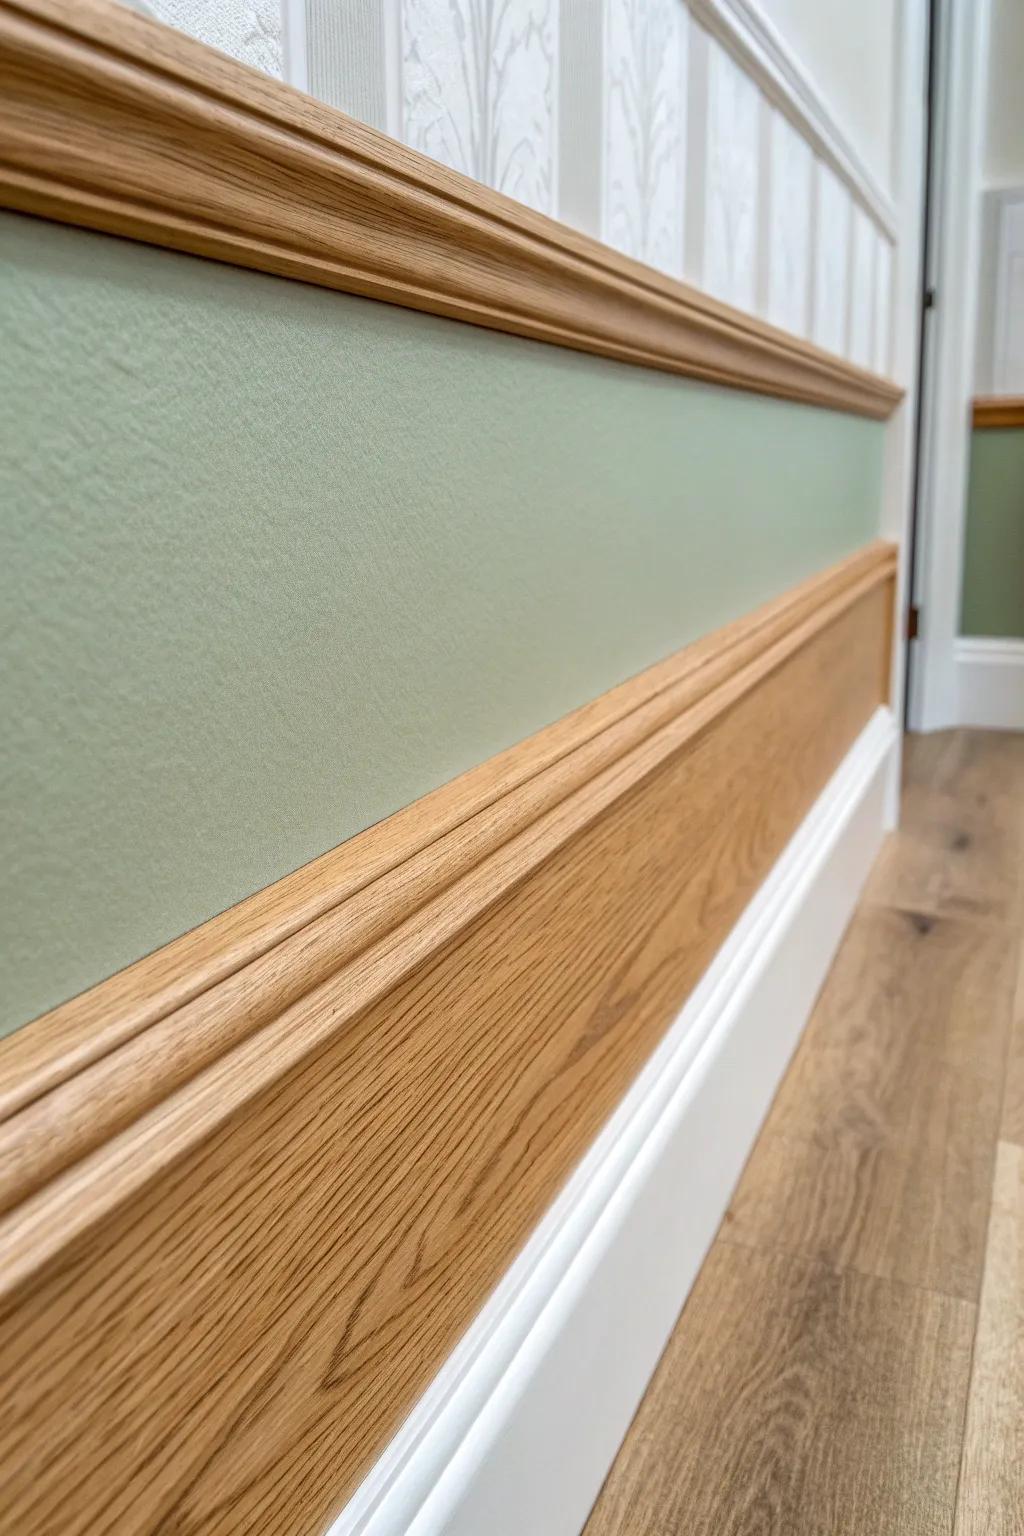
A simple chair rail running around the room instantly breaks up big blank walls, and I’ve used it a ton to make builder-basic spaces feel custom. My favorite trick is pairing it with two-tone paint so the trim acts like a clean, intentional border.
Consider these options:
- Chair Rail Moulding: Define your space easily by installing classic wood chair rail moulding to separate your two-tone wall colors.
- Interior Paint: Select a soft sage green or contrasting color to create that perfect separation above or below your rail.
- Miter Saw: Ensure your trim corners fit perfectly together by using a reliable miter saw for precise, angled cuts.


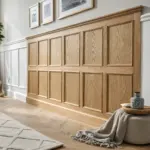
Picture Frame Molding Boxes
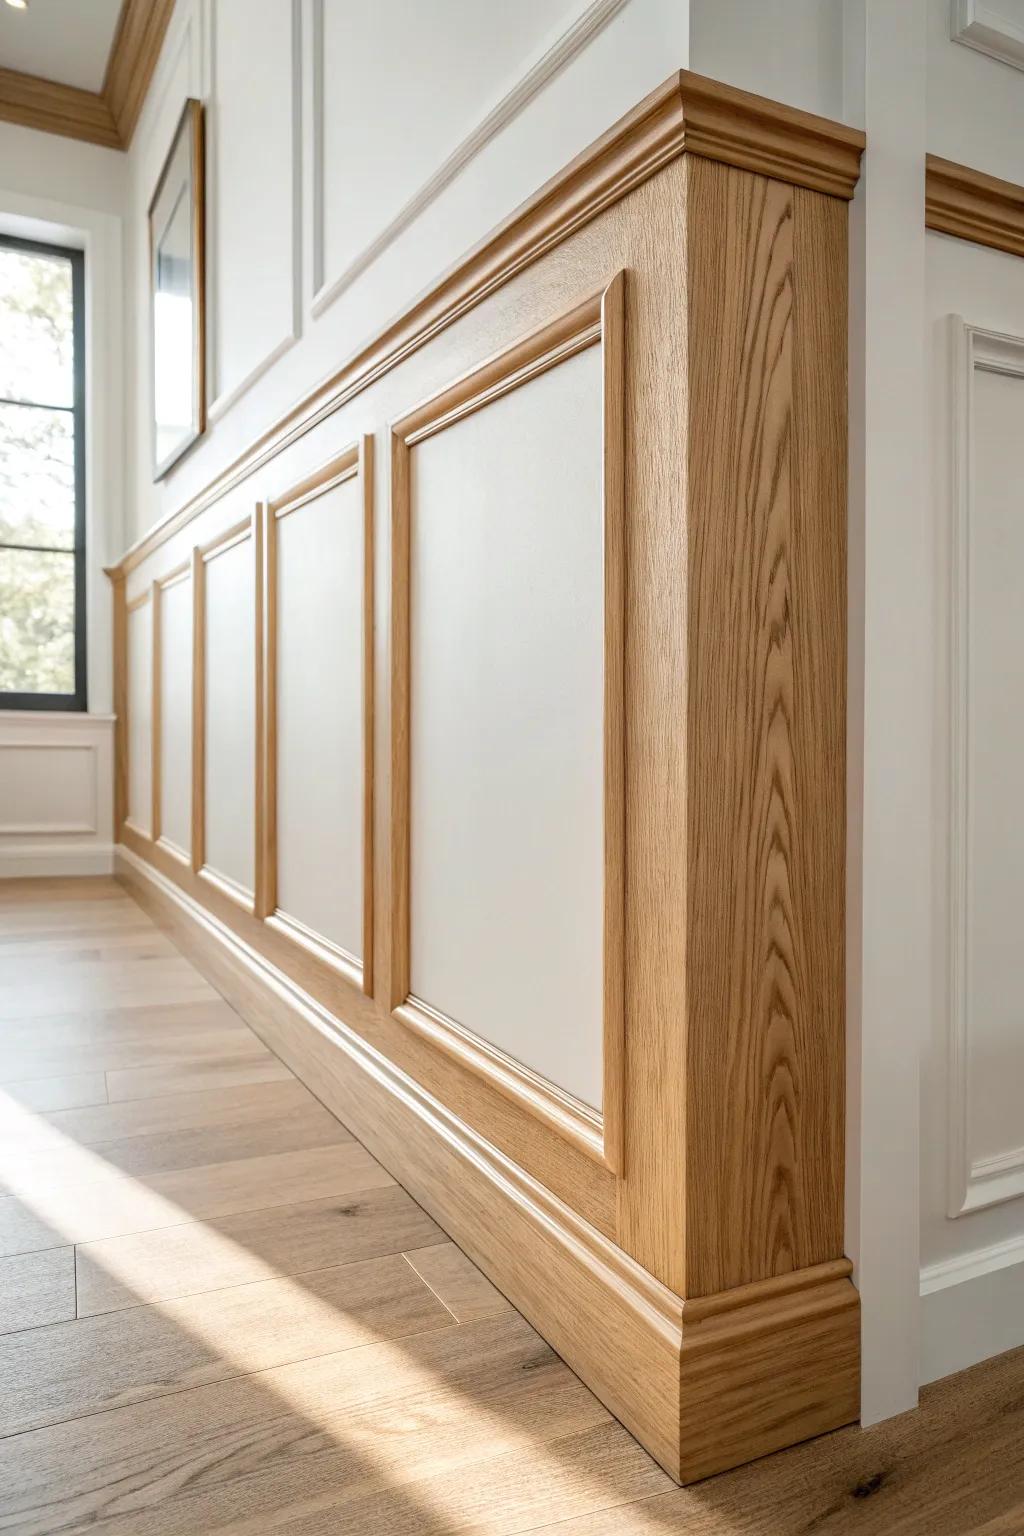
Adding picture frame molding panels turns plain drywall into something that feels old-home elegant, and I’ve done this in hallways where the walls felt endless. I like spacing the boxes so artwork or sconces land right in the center of a “frame.”
These products might be useful:
- Pre-Primed Wood Molding Trim: Create elegant wall frames effortlessly with this durable trim, ready for paint to match your room’s unique style.
- Laser Level Tool: Ensure perfectly straight lines and balanced spacing for your molding boxes with this essential precision alignment tool.
- Brad Nailer Kit: Secure your molding quickly and cleanly without damaging the wood, making installation faster and much more professional.
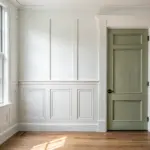

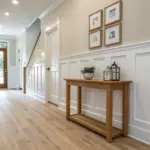
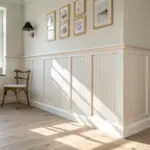
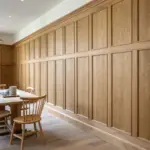
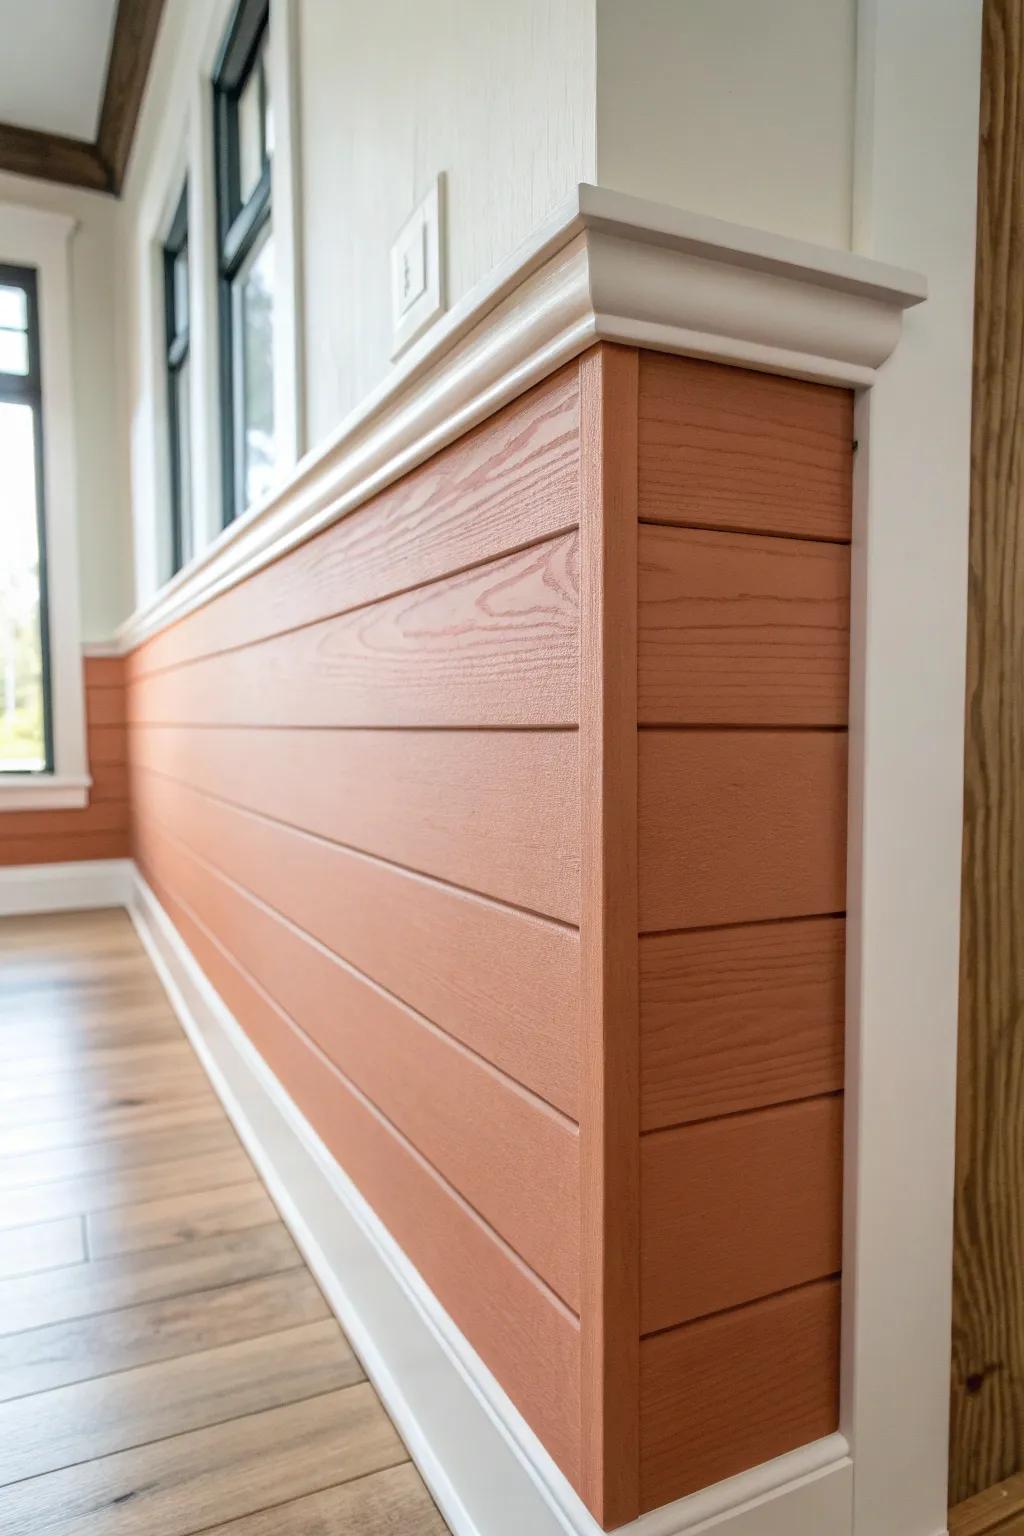
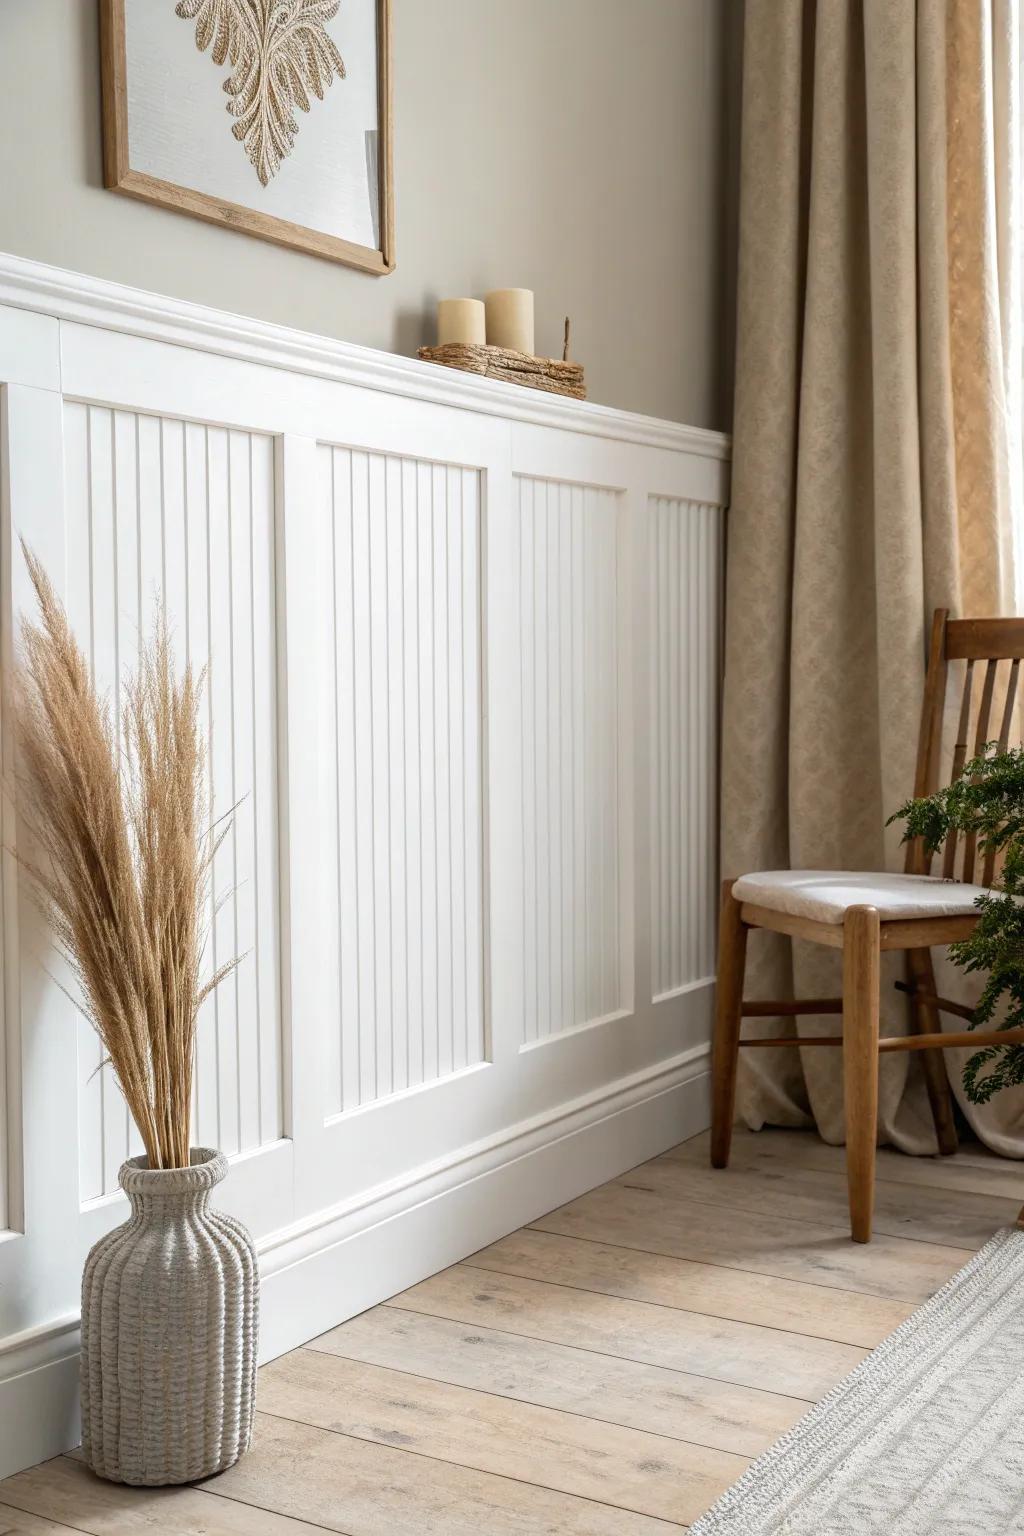
Wainscoting With a Cap Rail
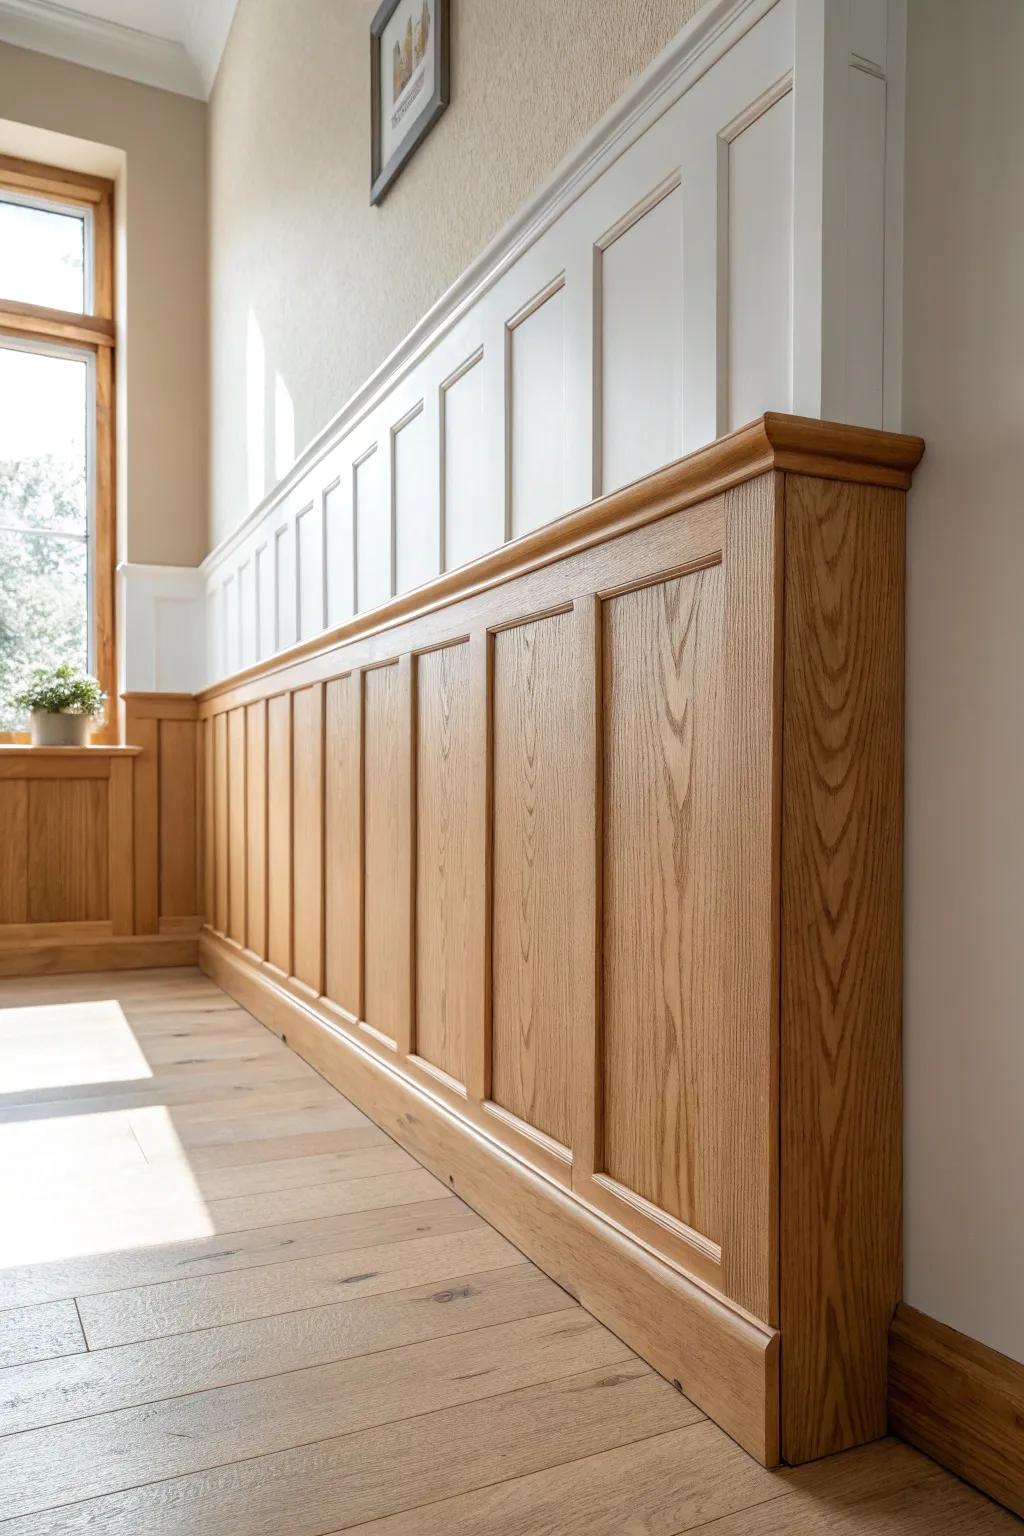
Wainscoting on the lower wall with a nice cap rail is one of those forever-good looks, and I’ve installed it in dining areas where chairs constantly bump the wall. The top rail becomes the perfect border trim line for changing paint colors or adding wallpaper above.
Maybe worth checking out:
- Wall Paneling Kit: Transform your walls instantly with these pre-cut kits that simplify the installation of classic wainscoting styles.
- Chair Rail Molding: Add a polished border to separate paint colors while protecting your walls from scuffs and furniture dings.
- Wood Stain and Finish: Enhance the natural grain of your wood trim with a quality stain that provides durable, lasting protection.


Board and Batten Border
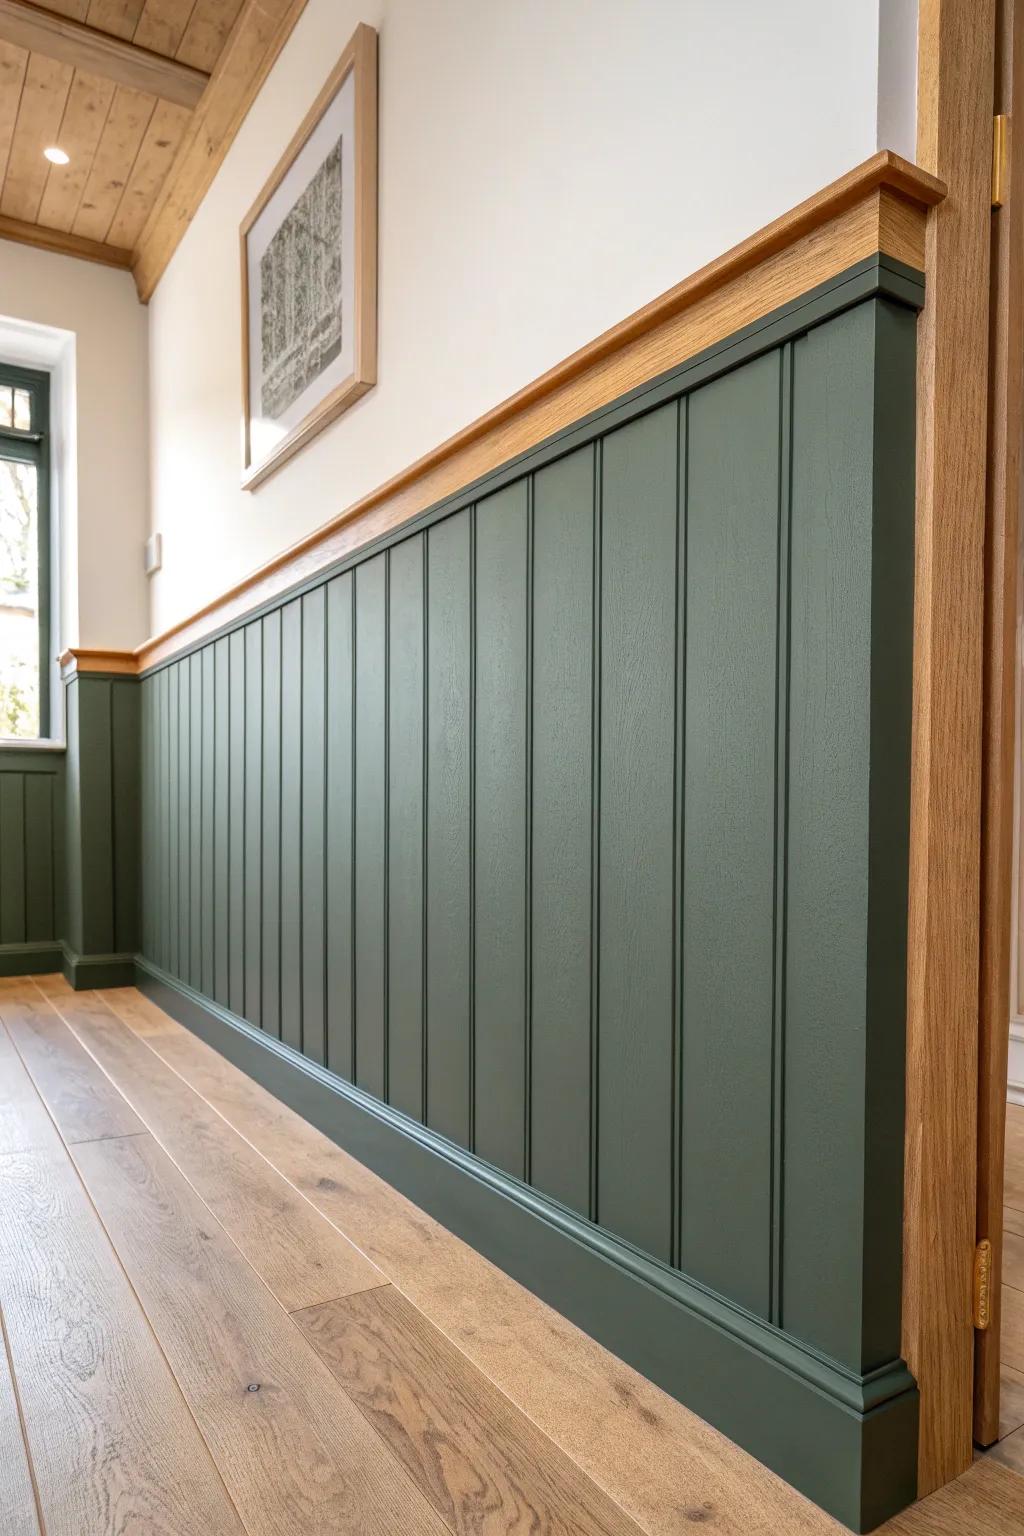
A board and batten border is cozy, farmhouse-friendly, and forgiving if your walls aren’t perfectly flat (trust me, I’ve fought plenty of wavy drywall). I usually run it one-third up the wall to create a strong visual break without making the room feel shorter.
A few helpful options:
- Pre-Primed Wainscoting Beadboard Paneling: Instantly achieve a classic farmhouse look by installing these ready-to-paint panels for a durable, textured wall finish.
- Wooden Chair Rail Molding Strips: Create a clean visual break and finish the top edge of your paneling with this essential molding trim.
- Interior Matte Wall Paint (Dark Green): Define your new border with rich color by applying a high-quality matte paint for a modern, sophisticated finish.
Tall Panel Molding Border
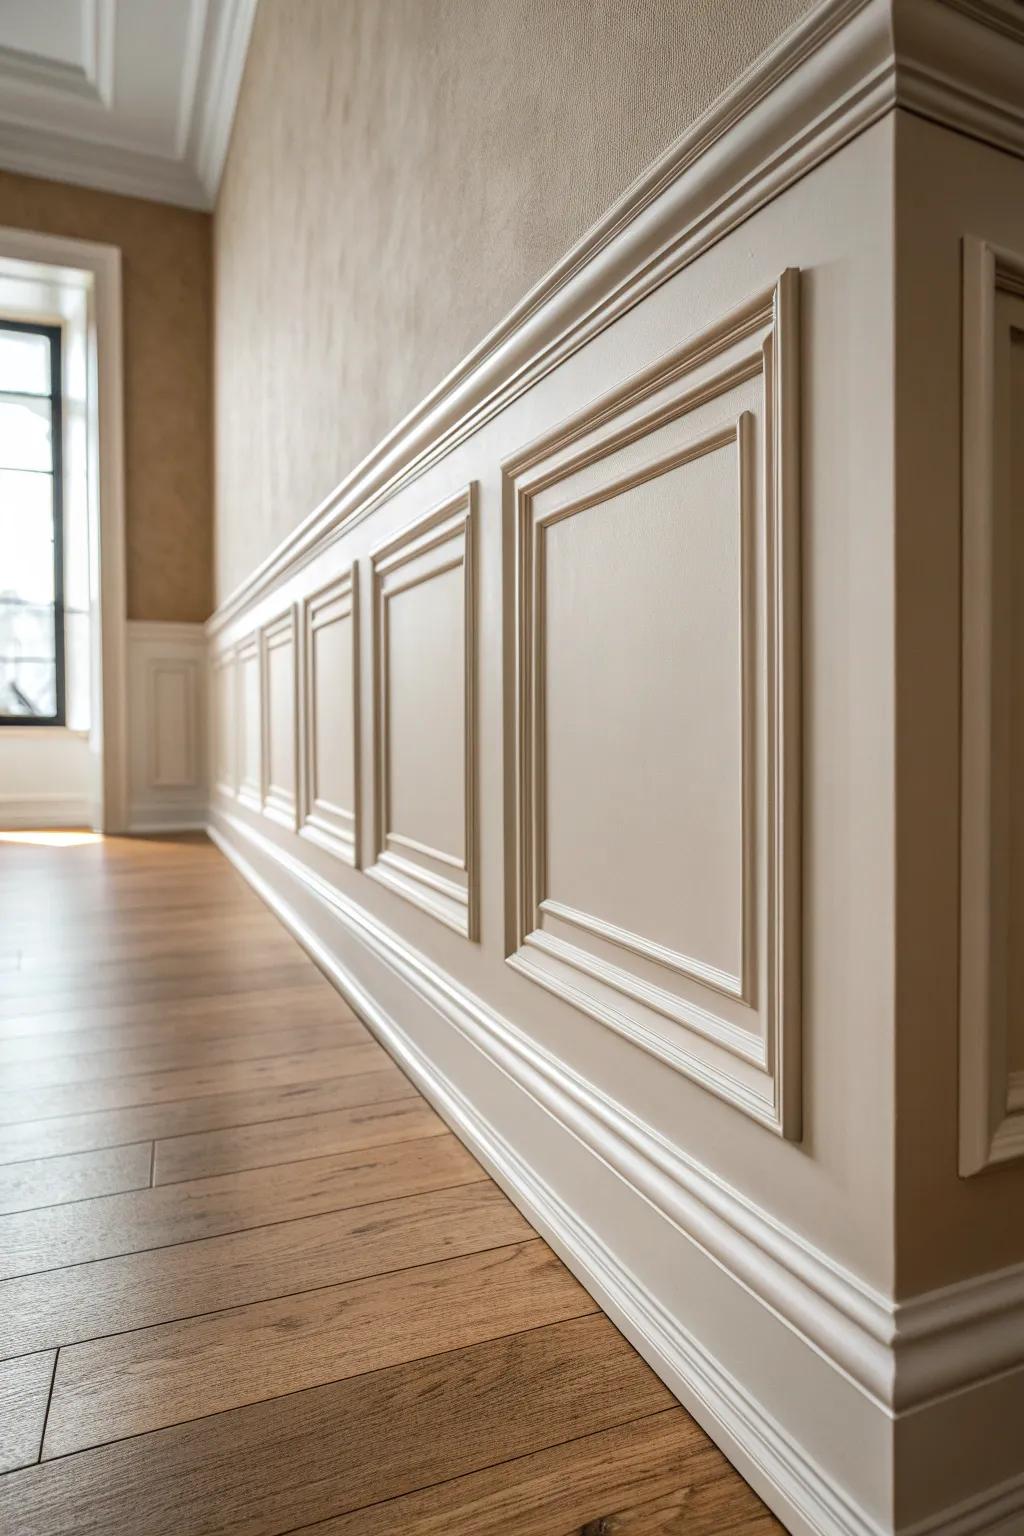
If you want “fancy” without full paneling, try tall panel molding rectangles above a chair rail, which I’ve used to make standard ceilings feel higher. Keeping the trim painted tone-on-tone with the wall is my go-to for a clean, modern twist.
You might like:
- Pre-Primed Wall Panel Molding Kits: Instantly add elegance to your walls with ready-to-install molding frames that save you time on precise cutting.
- Architectural Chair Rail Molding: Create a distinct visual divide and protect your walls by installing this classic trim piece horizontally.
- High-Quality Interior Paint (Satin/Semi-Gloss): Achieve that seamless, modern tone-on-tone look by painting your new trim to perfectly match your walls.
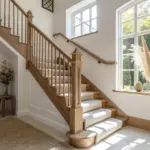
Plate Rail Border Up High
A plate rail border (higher than a chair rail) gives you that vintage dining-room vibe, and I’ve built mine with a little ledge that actually holds lightweight art. It’s a great way to add trim detail without committing to full wall paneling.
Check if these fit your needs:
- Solid Oak Moulding Trim: Create a sturdy and classic foundation for your plate rail project using durable solid oak moulding material.
- Wood Finish Stain: Enhance the natural grain of your wood trim with a rich stain to match your existing decor.
- Brad Nailer Kit: Secure your new plate rail firmly to the wall with a reliable brad nailer for clean installation.
Shiplap Half-Wall With Trim Cap
A shiplap half-wall topped with a clean trim cap makes the prettiest horizontal border, and I’ve done it in entryways where backpacks and muddy jackets happen. I like using a simple 1x board as the cap so it reads crisp, not fussy.
Check these products out:
- Primed MDF Shiplap Planks: Instantly add texture and durability to your walls by installing these easy-to-use, pre-primed interlocking shiplap boards.
- White Wood Trim Chair Rail: Create a clean, finished edge atop your half-wall using this simple molding that perfectly frames the wainscoting.
- Industrial Construction Adhesive: Ensure your shiplap stays secure in high-traffic entryways by applying this strong, reliable adhesive during installation.
Beadboard Border for Cottage Style
Beadboard with a chair rail cap is a classic for baths, mudrooms, or kitchens, and I’ve installed it where splashes and scuffs are guaranteed. I always seal and paint it well so the trim border stays easy to wipe down.
Some handy options:
- Beadboard Paneling Kit: Create a classic cottage look instantly by installing these durable panels to protect your lower walls.
- Chair Rail Moulding: Finish off the top edge of your beadboard cleanly with this molding for a polished appearance.
- Semi-Gloss Interior Paint: Ensure your new trim is wipeable and scuff-resistant by applying a high-quality semi-gloss finish.
Skinny Lattice Strip Border
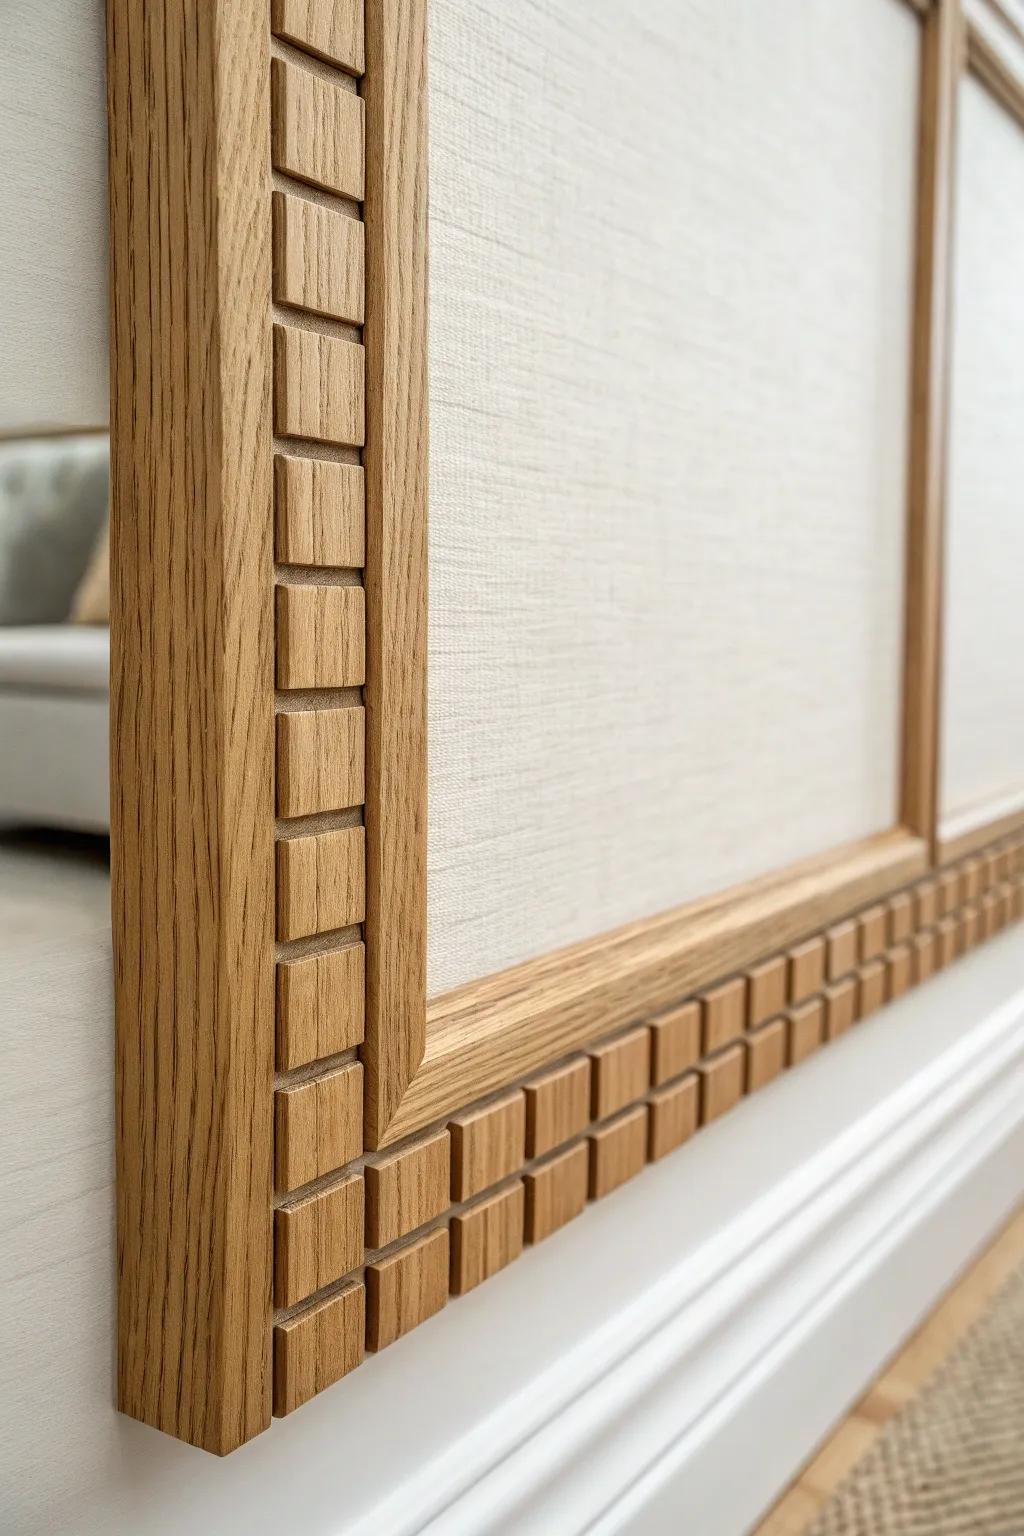
If you want the look of molding on a budget, a lattice trim border can mimic panel frames really nicely, and I’ve used it in a quick weekend makeover. I pre-paint the strips in my workshop so touch-ups on the wall are minimal.
Might be a good match:
- Unfinished Wood Lattice Molding Strips: Create your basic border frames easily by securing these thin, paintable wood strips to your walls.
- Architectural Dentil Wood Molding: Replicate the specific square-block detail seen in the image to add sophisticated texture to your frames.
- Construction Adhesive for Wood Trim: Ensure your lightweight trim stays perfectly in place on the wall with this strong, easy-to-use adhesive.
Reclaimed Wood Plank Border
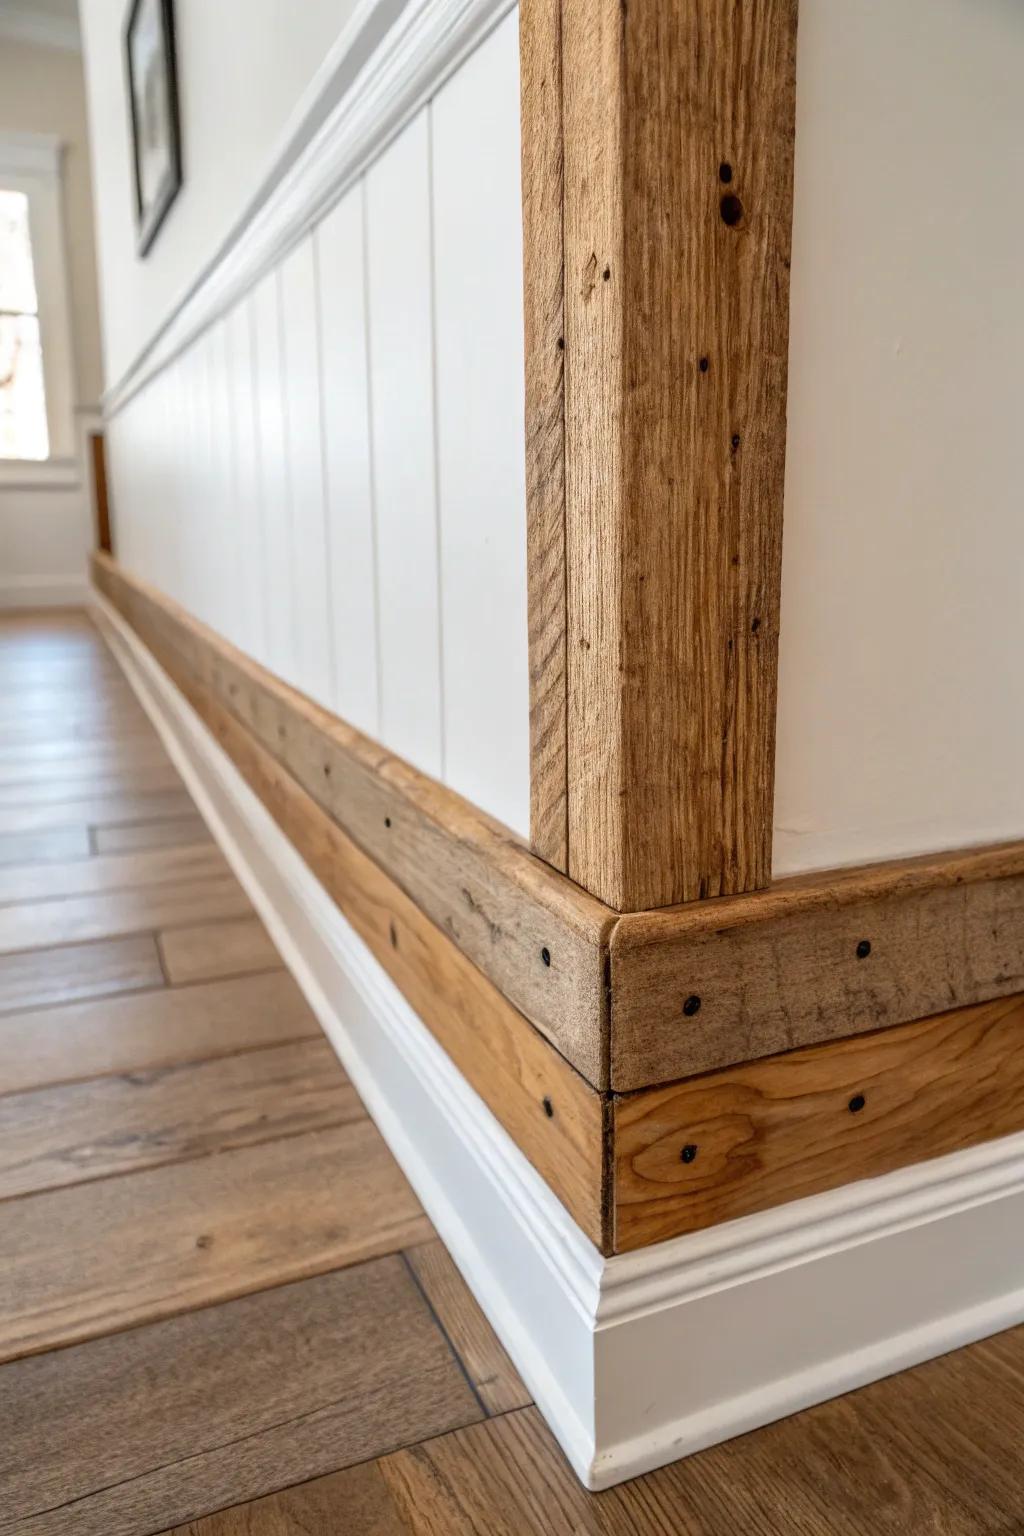
A band of reclaimed wood planks around the room adds instant warmth, and I’ve pulled boards from old projects to make a rustic border that feels collected over time. I like leaving nail holes and saw marks because they tell the story.
A few suggestions:
- Reclaimed Wood Wall Planks: Instantly add rustic warmth to your walls with peel-and-stick or nail-up real wood planks for easy installation.
- Weathered Wood Stain: Create that authentic aged look on new lumber by applying a specialized weathering effect stain to your borders.
- Vintage Forged Iron Nails: Enhance the historic charm of your trim by using decorative antique-style nails for that hand-forged finish.
Corner-to-Corner “Ribbon” Border
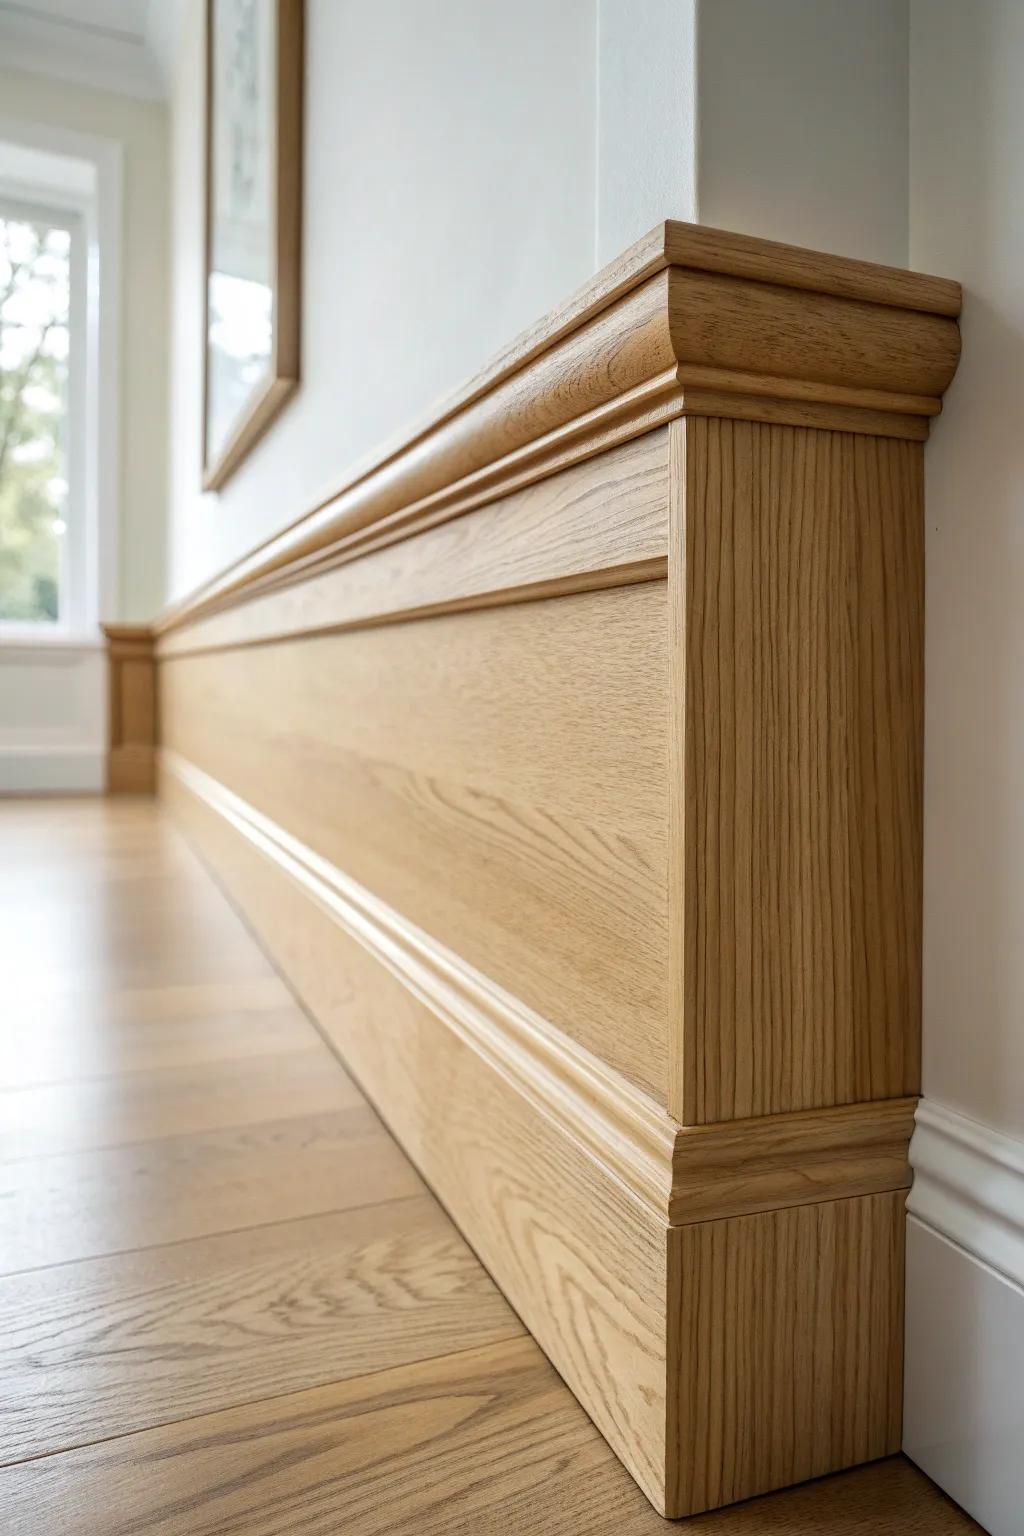
A continuous horizontal border that wraps cleanly through corners feels super tailored, and I’ve learned to keep my molding profile simple so the lines stay sharp. When I want extra depth, I stack a thin strip on top like a little shadow detail.
Products that could assist:
- Oak Wood Molding Trim: Create that tailored horizontal line with this trim, perfect for adding warmth and definition to your walls.
- Miter Box and Saw Set: Ensure your corners are perfectly sharp and seamless by cutting precise angles with this essential tool set.
- Decorative Cap Molding: Add that mentioned extra depth by stacking this narrow accent strip on top of your main border board.
Soft Arch Border Trim
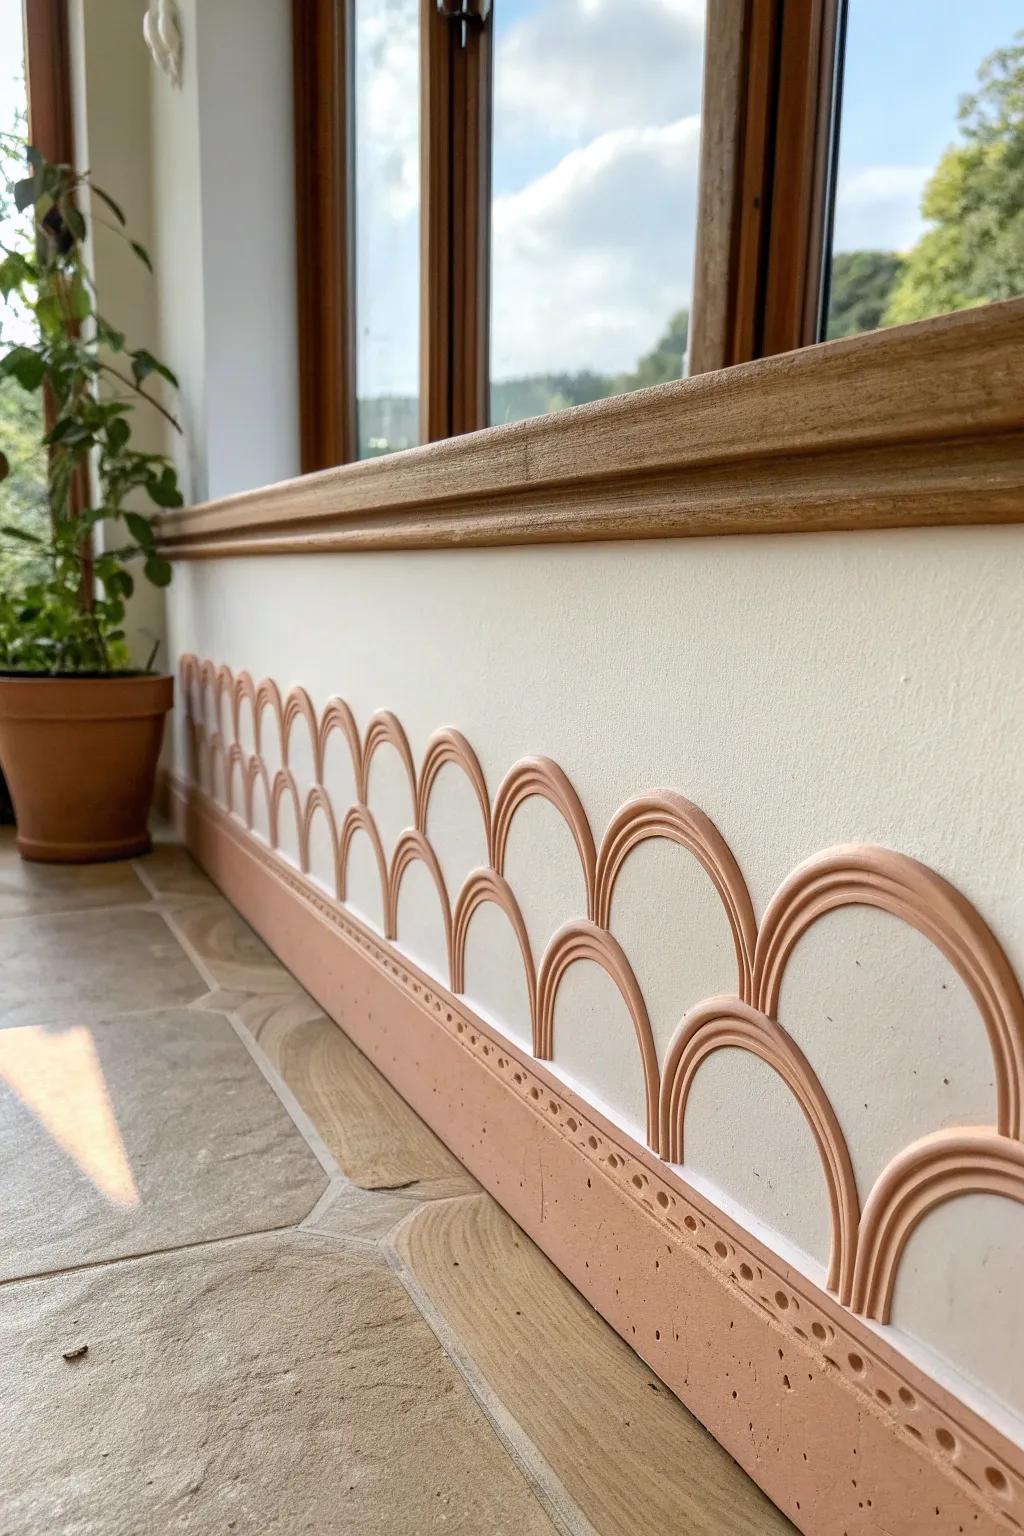
For a sweeter, more playful room, an arched trim border (repeating arches across the wall) looks amazing, and I’ve made the curves using thin plywood templates in my shop. Painted one color, it reads subtle; in a contrast color, it’s a total statement.
Explore these options:
- Flexible Peel-and-Stick Molding Trim: Create elegant arches effortlessly with this bendable trim that adheres directly to walls without complex tools.
- Thin Plywood Sheets for Crafting: Design your own custom arch templates or cutouts using these versatile, high-quality wood sheets for DIY projects.
- Construction Adhesive for Trim: Ensure your new decorative border stays securely fastened to your walls with this strong, reliable mounting adhesive.
Peg Rail Border With Hooks
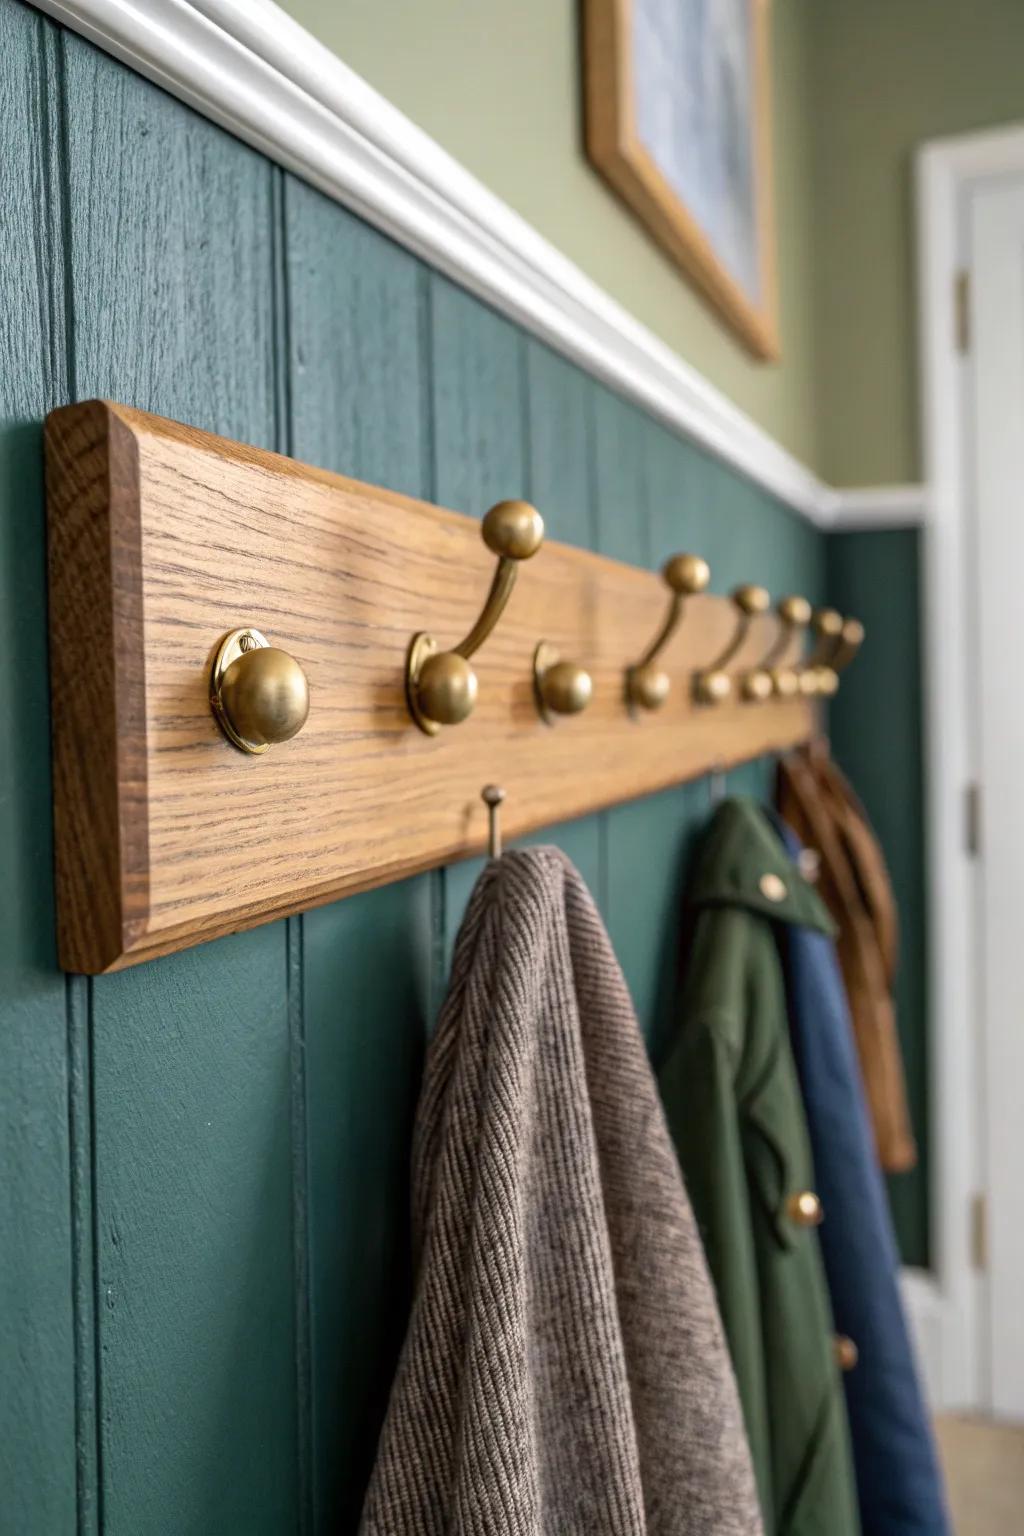
A peg rail border is trim that actually works for you, and I’ve installed it in busy entry spots to hang hats, dog leashes, and tote bags. I love that it still reads like classic molding from a distance, but up close it’s practical.
These products might help:
- Wall Mounted Wooden Coat Rack: Instantly add storage to your entryway by mounting a pre-made wooden rack with sturdy hooks for quick organization.
- Unfinished Oak Lumber Board: Build your own custom-length rail by starting with a solid oak board ready for staining and hook installation.
- Antique Brass Single Coat Hooks: Create a vintage look by screwing these classic brass hooks into your trim at your preferred spacing intervals.
Rope-Wrapped Trim Border
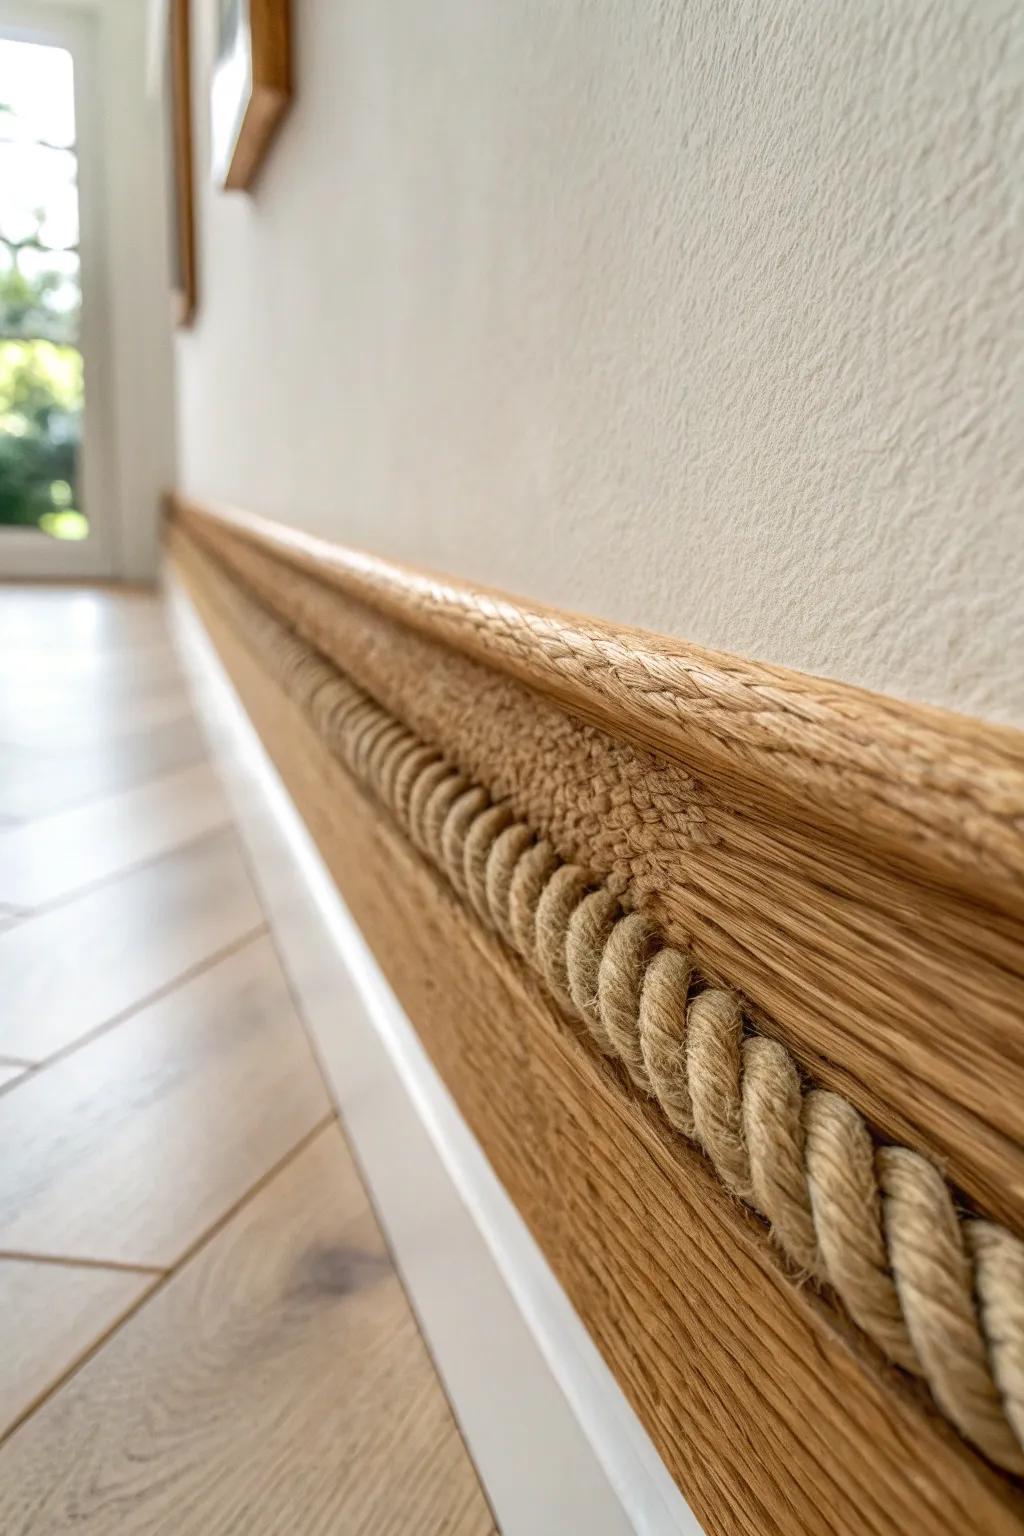
For a surprising texture swap, wrap a simple wood border trim with jute rope, which I first tried on a beachy mudroom project and ended up loving. A quick clear coat helps keep the fibers from getting fuzzy over time.
Possibly helpful picks:
- Natural Twisted Jute Rope: Choose a medium-thickness rope to wrap around your molding for that authentic, textured nautical look.
- Heavy-Duty Construction Adhesive: Secure the rope firmly to the wooden trim to ensure your new border stays perfectly in place.
- Clear Matte Wood Finish Spray: Seal the fibers with a quick spray to prevent fraying and make the rope easier to clean.
Cane Inset Border Panels
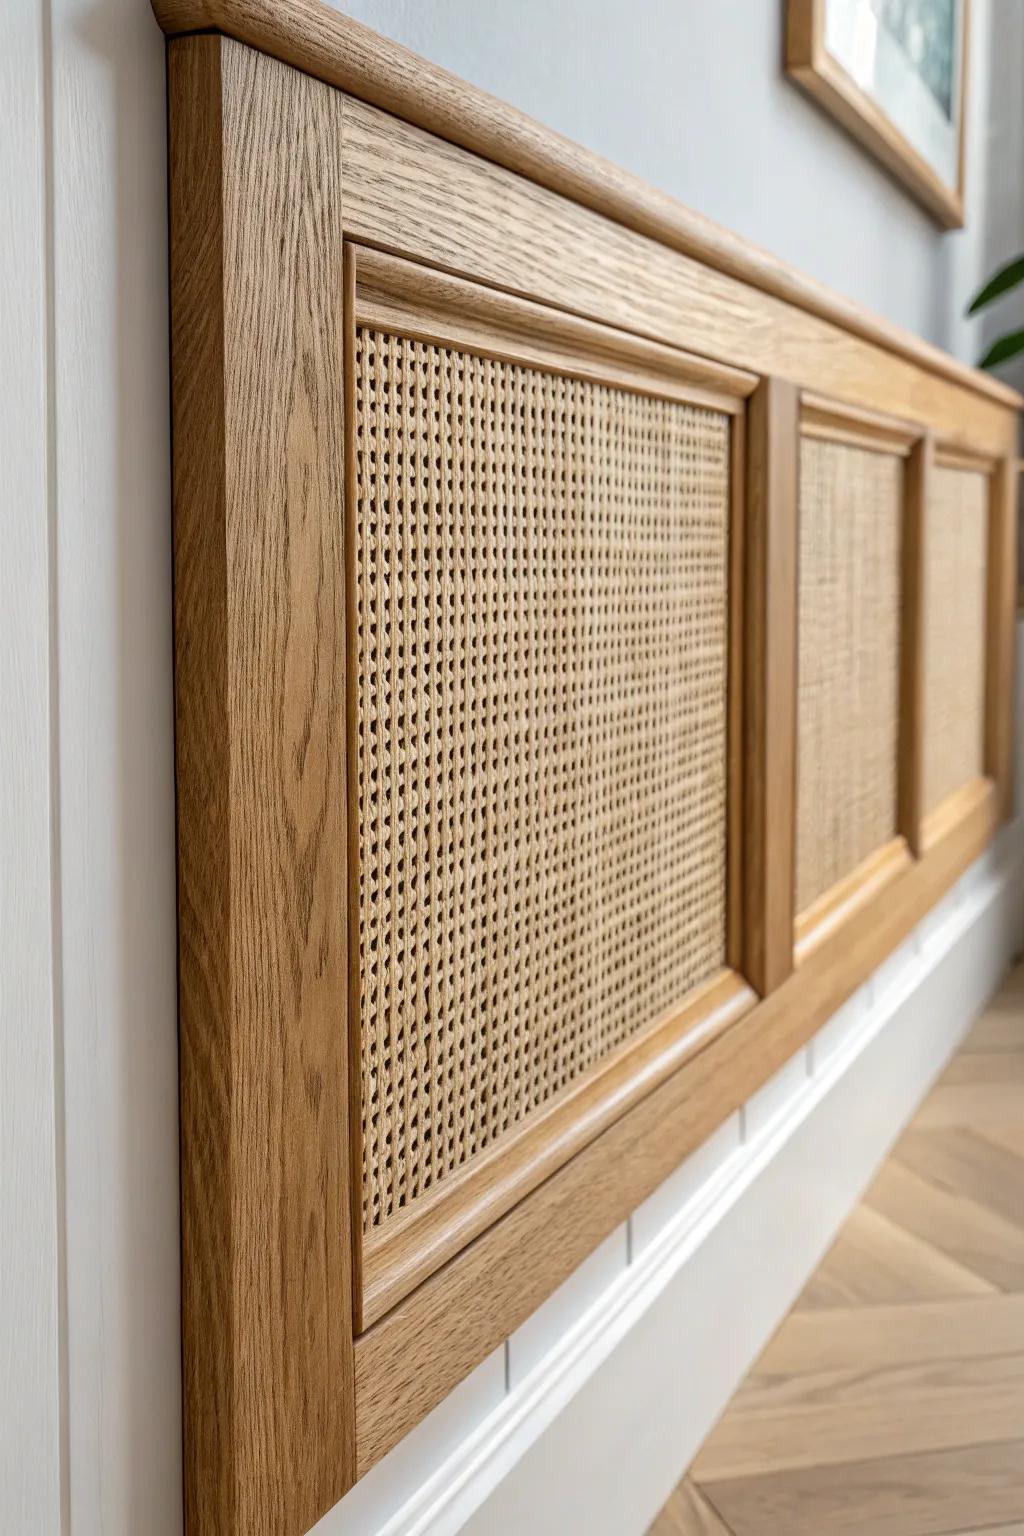
Framing strips of cane webbing inside a wood border trim gives you that airy, vintage texture, and I’ve used it to soften a wall that felt too heavy with solid paneling. It’s a great way to mix wood and woven texture without changing the whole room.
May just do the trick:
- Natural Cane Webbing Roll: Choose high-quality open weave rattan to add effortless vintage texture and airiness to your custom wall panels.
- Oak Wood Trim Molding: Frame your cane inserts securely with sturdy hardwood molding to create a polished, professional border finish.
- Heavy Duty Staple Gun Kit: Secure your cane webbing tightly to the back of the frames for a smooth, taut installation.
Hidden Glow Border Trim
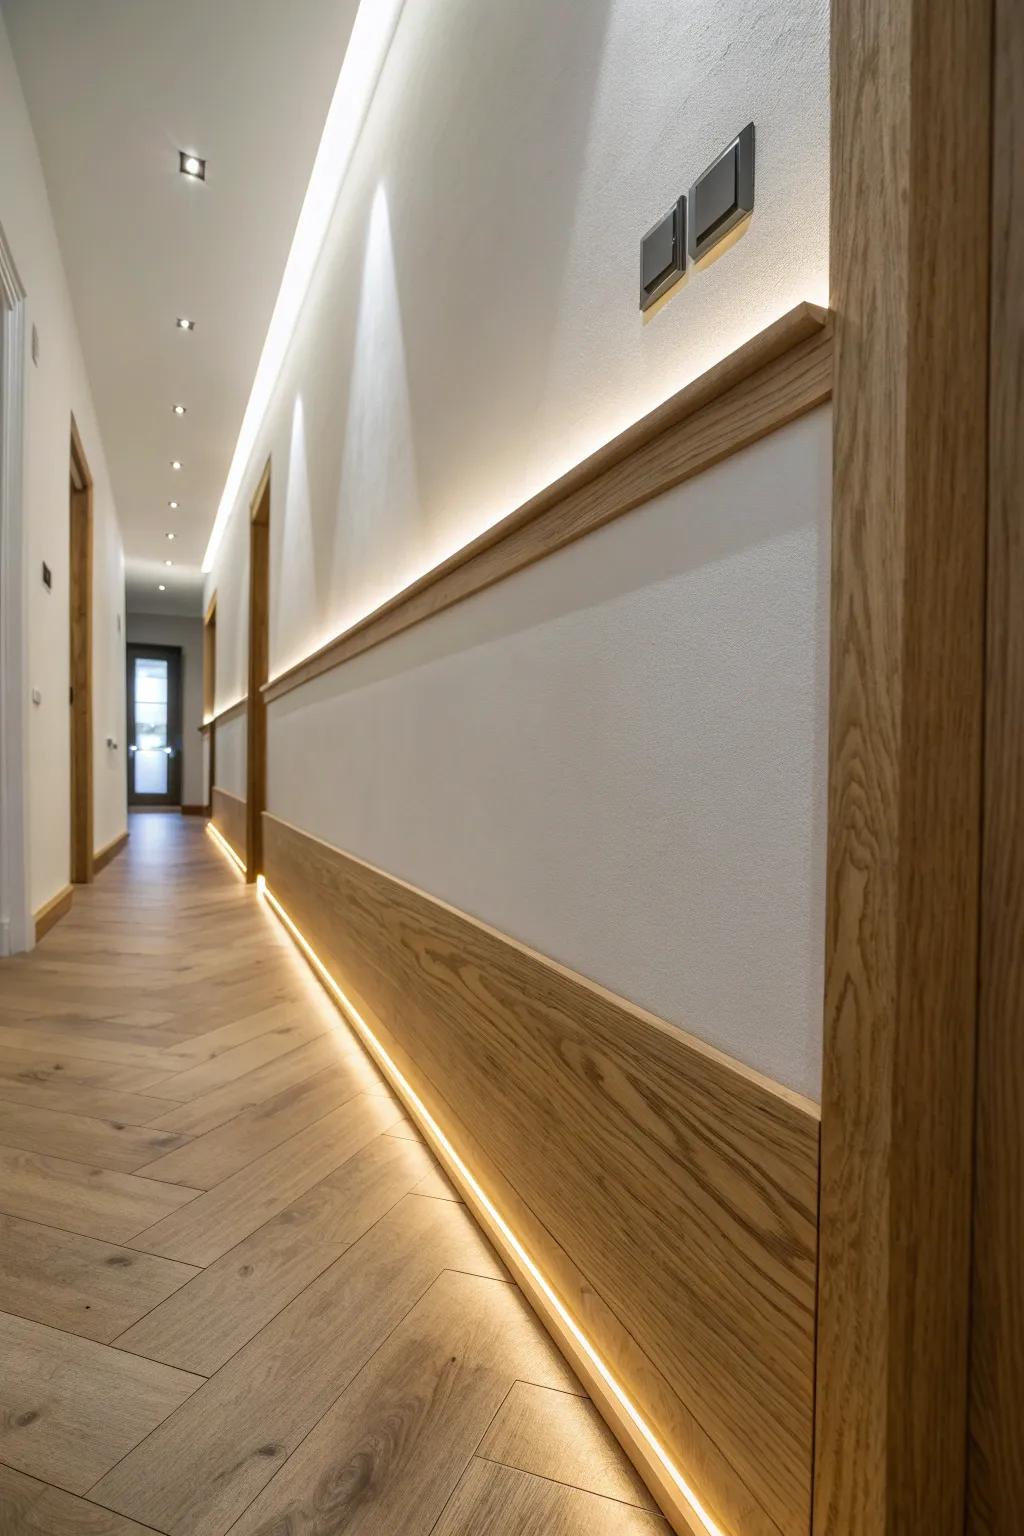
A shallow ledge or layered trim that hides a light strip channel creates a floating border effect, and I’ve done this in a hallway where overhead lighting felt harsh. The soft wash of light makes the trim detail look even deeper at night.
A few things you might like:
- LED Aluminum Channel Profile: Install these diffusers into your wooden trim to disperse light evenly and protect LED strips from dust.
- Warm White Cob LED Strip: Choose a seamless COB strip light to create that continuous, dot-free glow along your hallway borders.
- Unfinished Oak Trim Molding: Use flat or chair rail oak molding to construct the custom ledge that hides your lighting elements.
Resin-Inlaid or Charred Wood Border
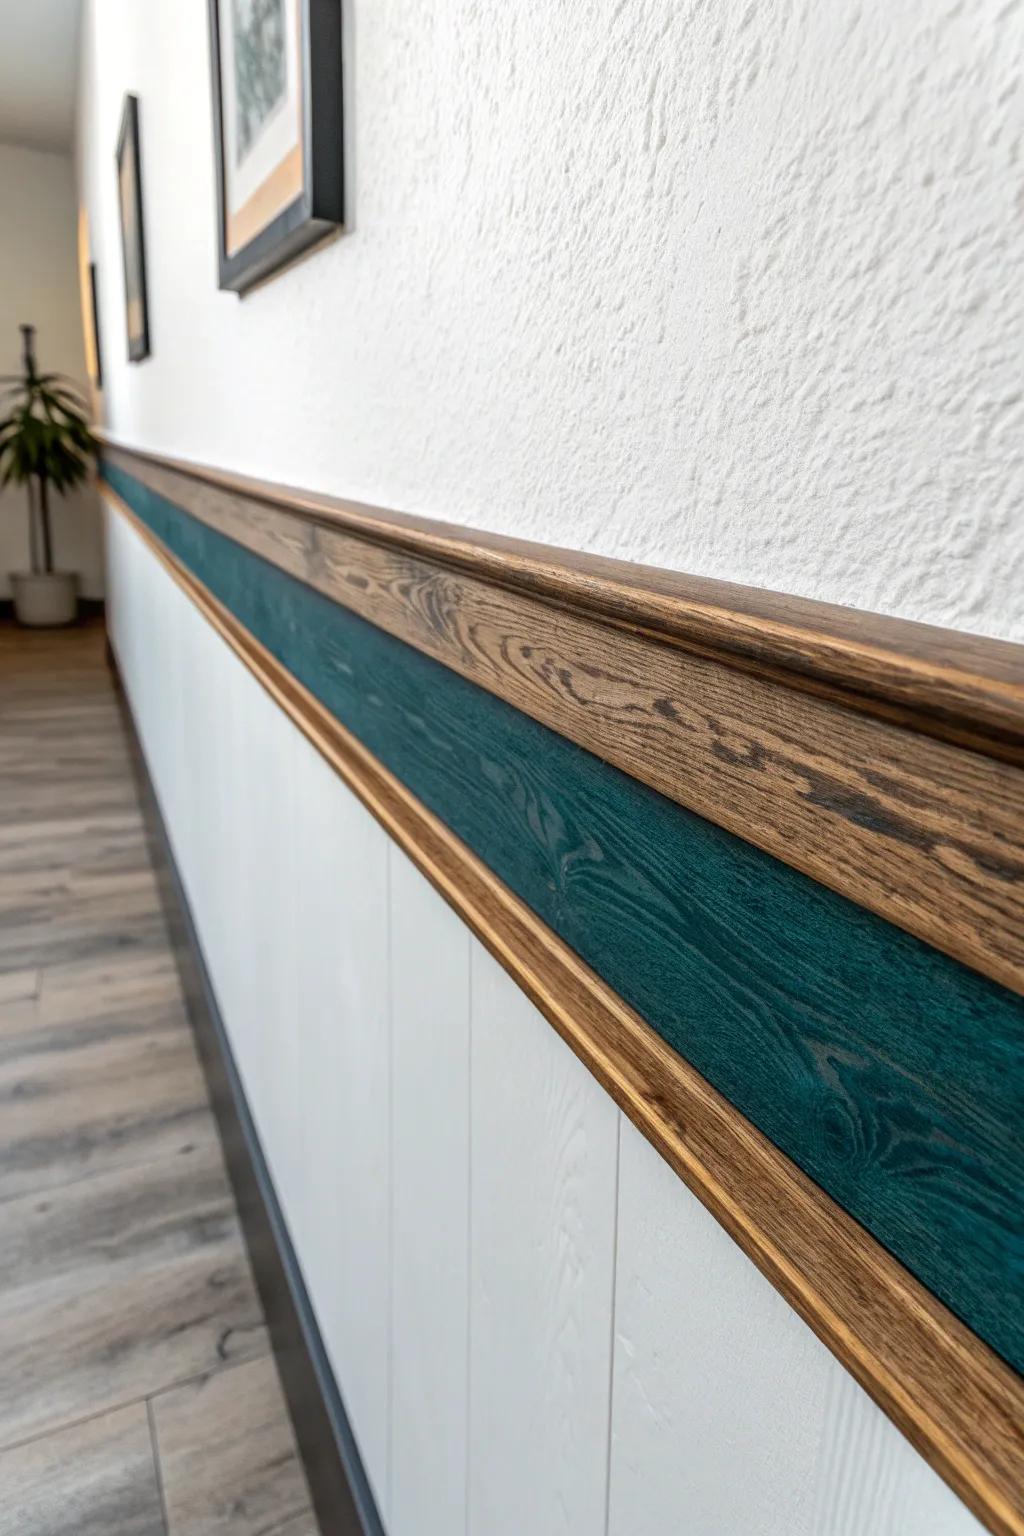
When I want pure wow-factor, I make a slim border trim with a resin inlay (even just a thin “river” line) or use charred wood for dramatic contrast. Both options turn a simple horizontal wall border into something people walk up and touch because they can’t help it.
Try these:
- Tabletop & Craft Resin Kit: Create a stunning river effect within your wood trim using this clear, durable resin formula for high-gloss finishes.
- Propane Torch for Wood Burning: Achieve the dramatic charred shou sugi ban look safely on your trim pieces with this easy-to-use handheld torch.
- Translucent Resin Pigment Dye: Add a vibrant pop of color, like deep teal or ocean blue, to your resin inlay to match your decor.


