
Wall trim is my favorite “instant upgrade” because it turns a blank wall into something that looks custom and expensive. I’ve used these wall trim molding ideas in everything from tiny hallways to full living rooms, and the before-and-after is always so satisfying.
Classic Picture Frame Wall Molding

If you want that timeless, tailored look, picture frame molding is the one I reach for first—I’ve installed simple rectangles behind a sofa and it instantly made the room feel finished. Keep the spacing consistent and you’ll get that clean, high-end architectural detail without a full renovation.
Useful items to consider:
- Pre-Primed Wall Panel Molding Kit: Transform your walls instantly with pre-cut kits that save measuring time and simplify the installation process.
- Laser Level with Tripod: Ensure perfectly straight lines and consistent spacing for that professional finish by using a reliable self-leveling laser tool.
- Paintable Caulk and Gun Set: Create seamless corners and hide gaps easily to achieve that flawless, high-end built-in architectural look.

Board and Batten in a Hallway
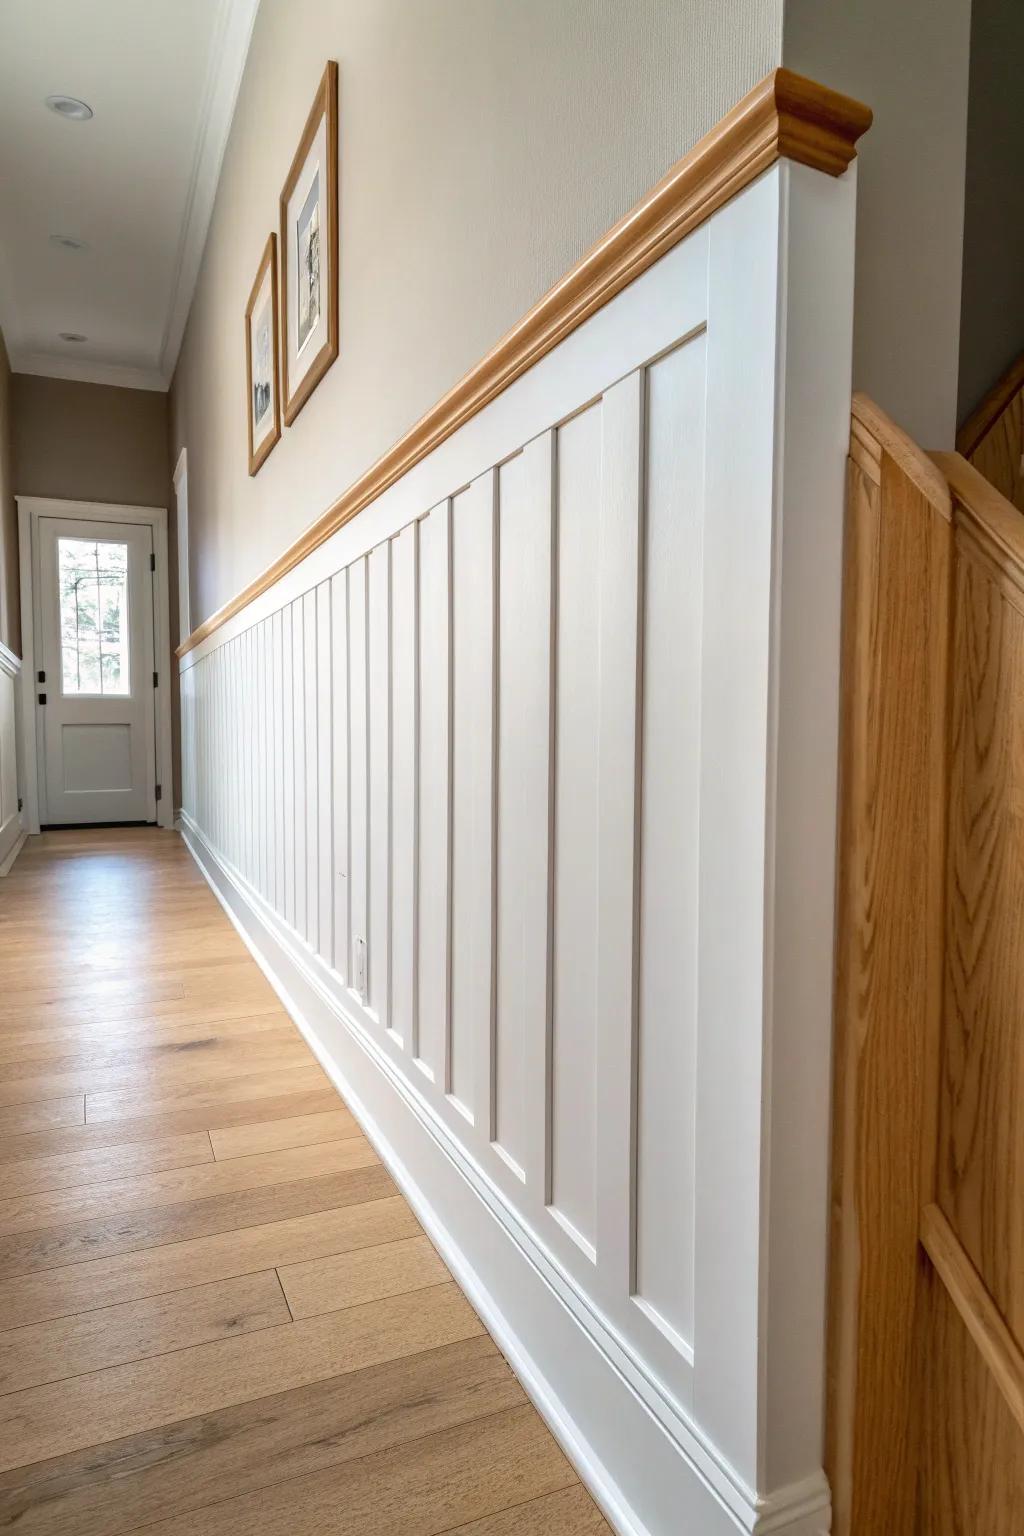
In narrow spaces where walls do all the talking, board and batten adds texture without making things feel busy (I did this in a long hallway and it finally felt intentional). I like slightly taller battens because they visually stretch the wall and make ceilings feel higher.
Try these:
- Primed MDF Board 1×4: Use these pre-primed boards to easily create the vertical battens and horizontal rails for your classic wall paneling look.
- Brad Nailer Kit: Secure your trim pieces neatly and efficiently with a reliable brad nailer, essential for clean, professional-looking woodwork installation.
- Paintable Caulk: Fill gaps between the boards and wall for a seamless, built-in finish before applying your final coat of paint.


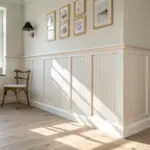
Wainscoting With a Chair Rail Cap
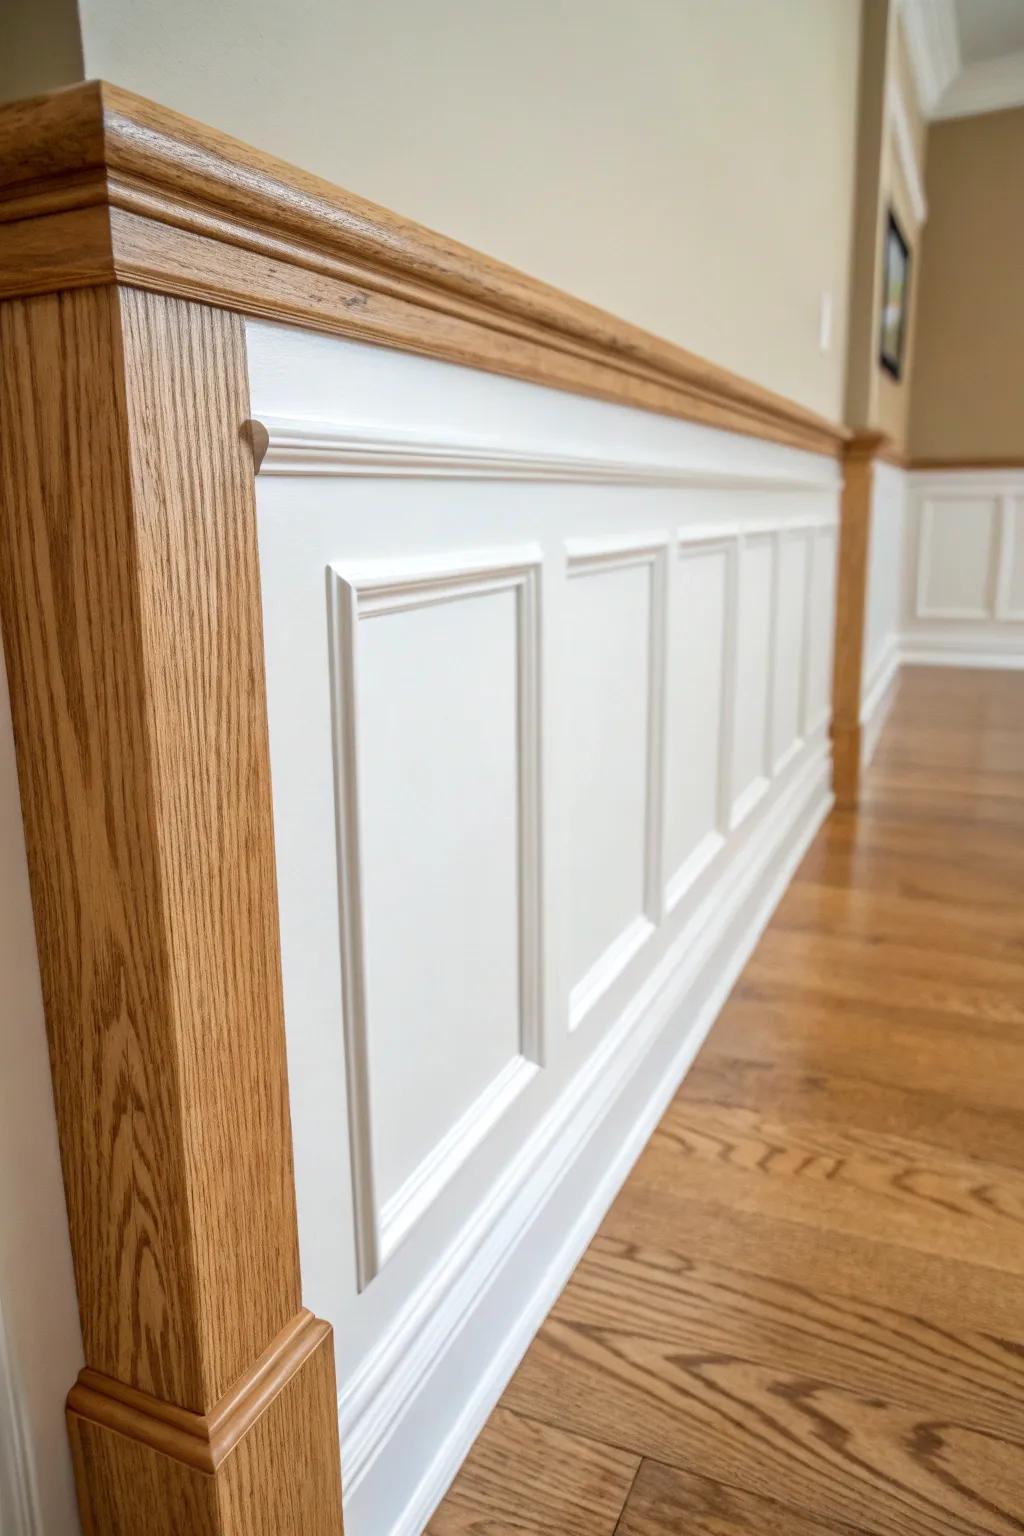
Wainscoting plus a simple chair rail is my go-to for dining rooms because it gives that classic “old house charm” even in newer spaces. I’ve built it with straightforward trim strips, and once it’s caulked and painted, it looks like it’s always been there.
Give these a look:
- Pre-made Wainscoting Wall Panel Kit: Instantly add dimension to your walls with these kits, simplifying the installation process for a professional finish.
- Decorative Wood Chair Rail Molding: Create a clean transition between wall finishes with this molding, adding a refined, classic architectural detail.
- Paintable White Acrylic Latex Caulk: Ensure seamless joints and gaps are perfectly filled before painting to achieve that custom, built-in look.

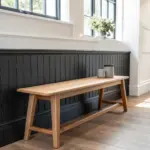
Beadboard Half Wall for Farmhouse Texture
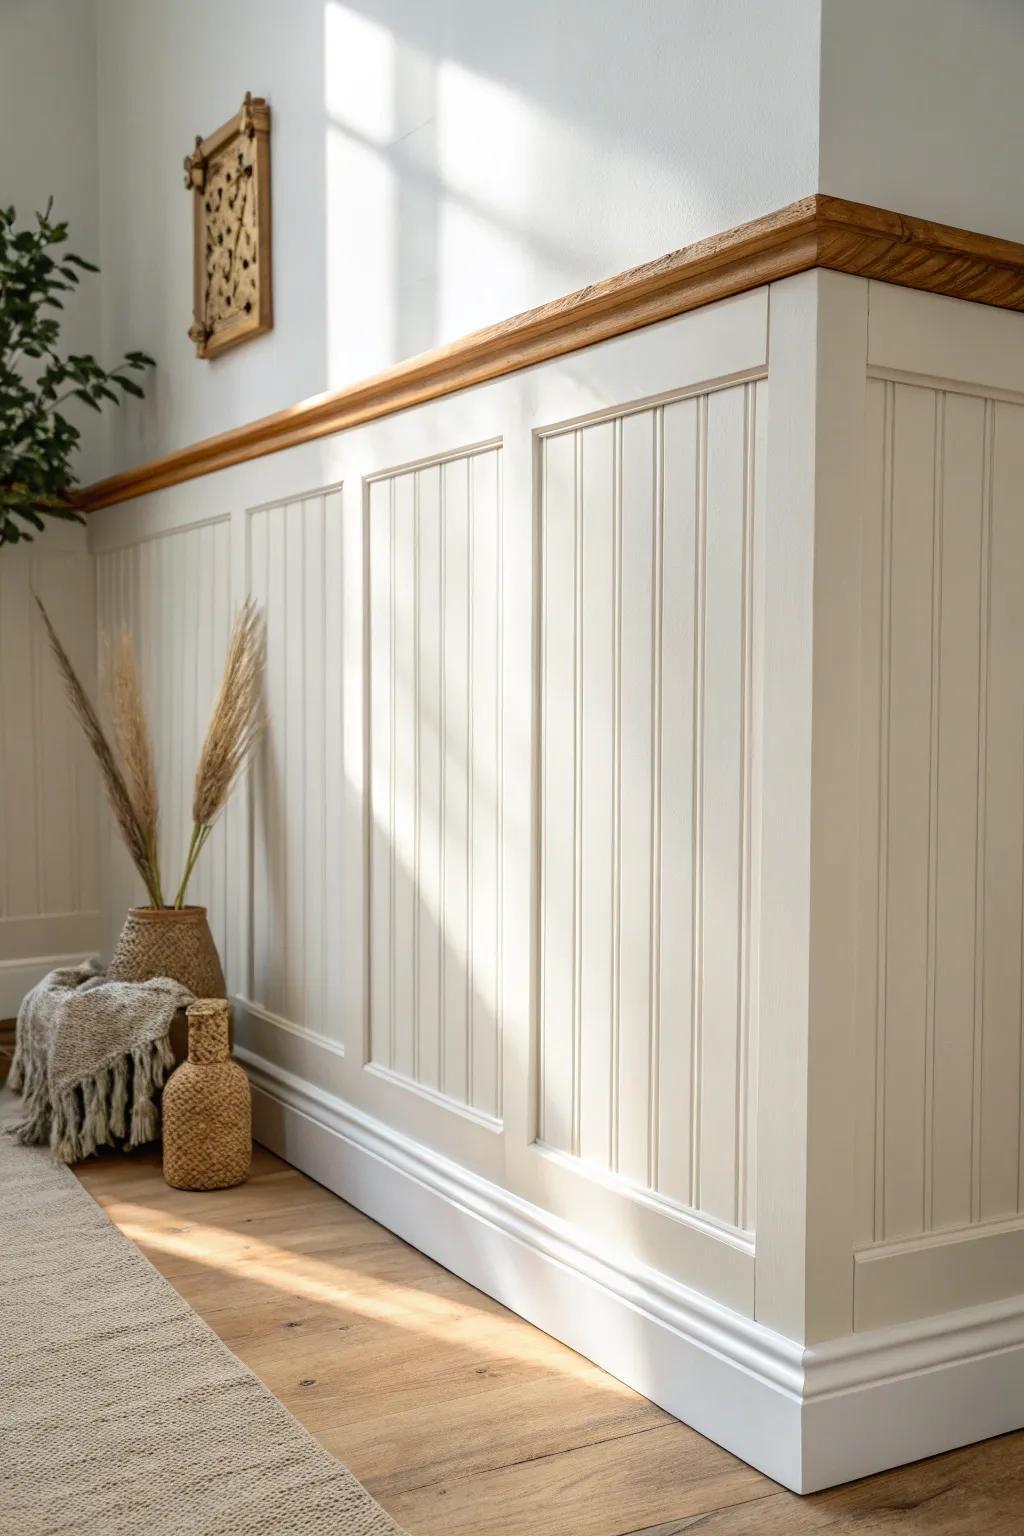
When I want cozy, beadboard wall trim is the fastest way to get there, especially in mudrooms and breakfast nooks. I’ve used it to hide scuffs and dings too, and it’s way more forgiving than a perfectly smooth painted wall.
A few suggestions:
- Beadboard Paneling Kits: Instantly add texture to your walls with easy-to-install panels that hide imperfections and create cozy charm.
- Chair Rail Molding: Finish your half-wall project cleanly by topping the beadboard with a sturdy rail that defines the space.
- Construction Adhesive: Ensure your panels stay perfectly in place for years by using a strong, reliable adhesive during installation.
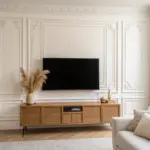
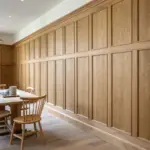
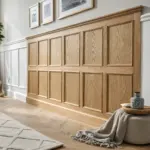
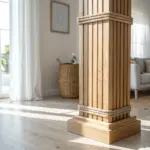
Full-Height Box Panel Accent Wall
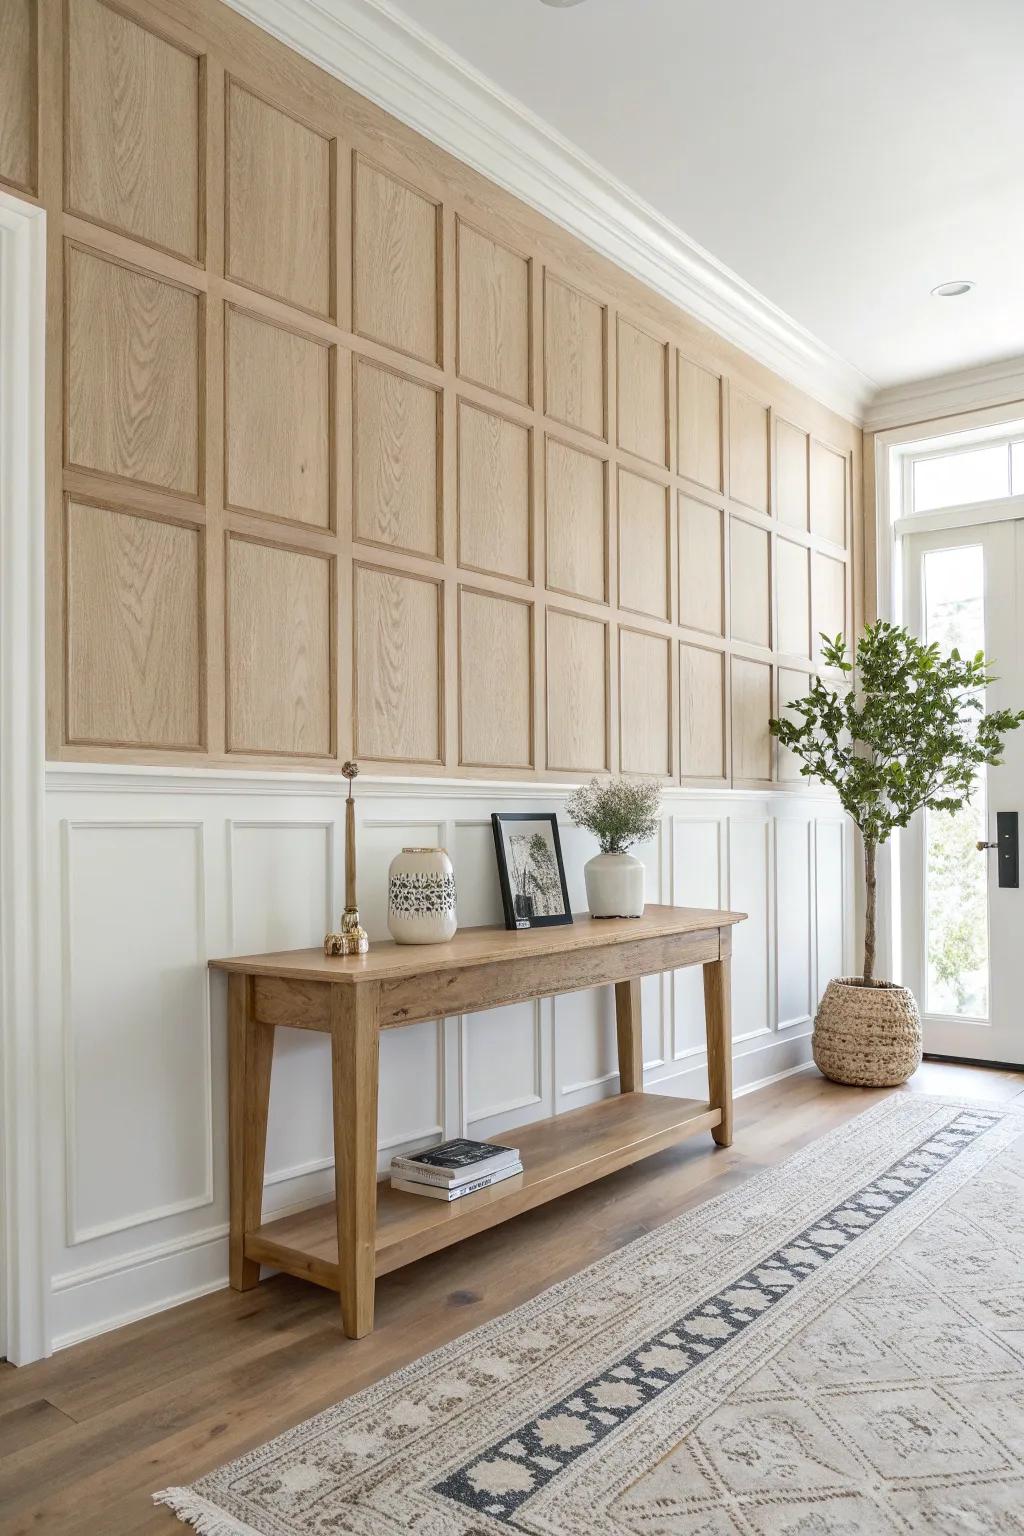
Going floor-to-ceiling with box trim makes a wall feel like custom millwork, and I’ve used it behind a console table to create a “designer” moment. The trick I learned the hard way: plan your panel sizes around outlets and switches so everything looks centered.
Explore these options:
- Pre-Primed Wainscoting Panel Kit: Transform your plain walls quickly with these ready-to-paint panels that simplify creating that custom millwork look.
- Laser Level with Tripod: Ensure your box panels are perfectly straight and evenly spaced to achieve a professional-grade finish effortlessly.
- Cordless Finish Nailer Kit: Secure your trim securely without messy cords or compressors, making installation faster and much more convenient.
Tall Baseboards to Anchor the Room
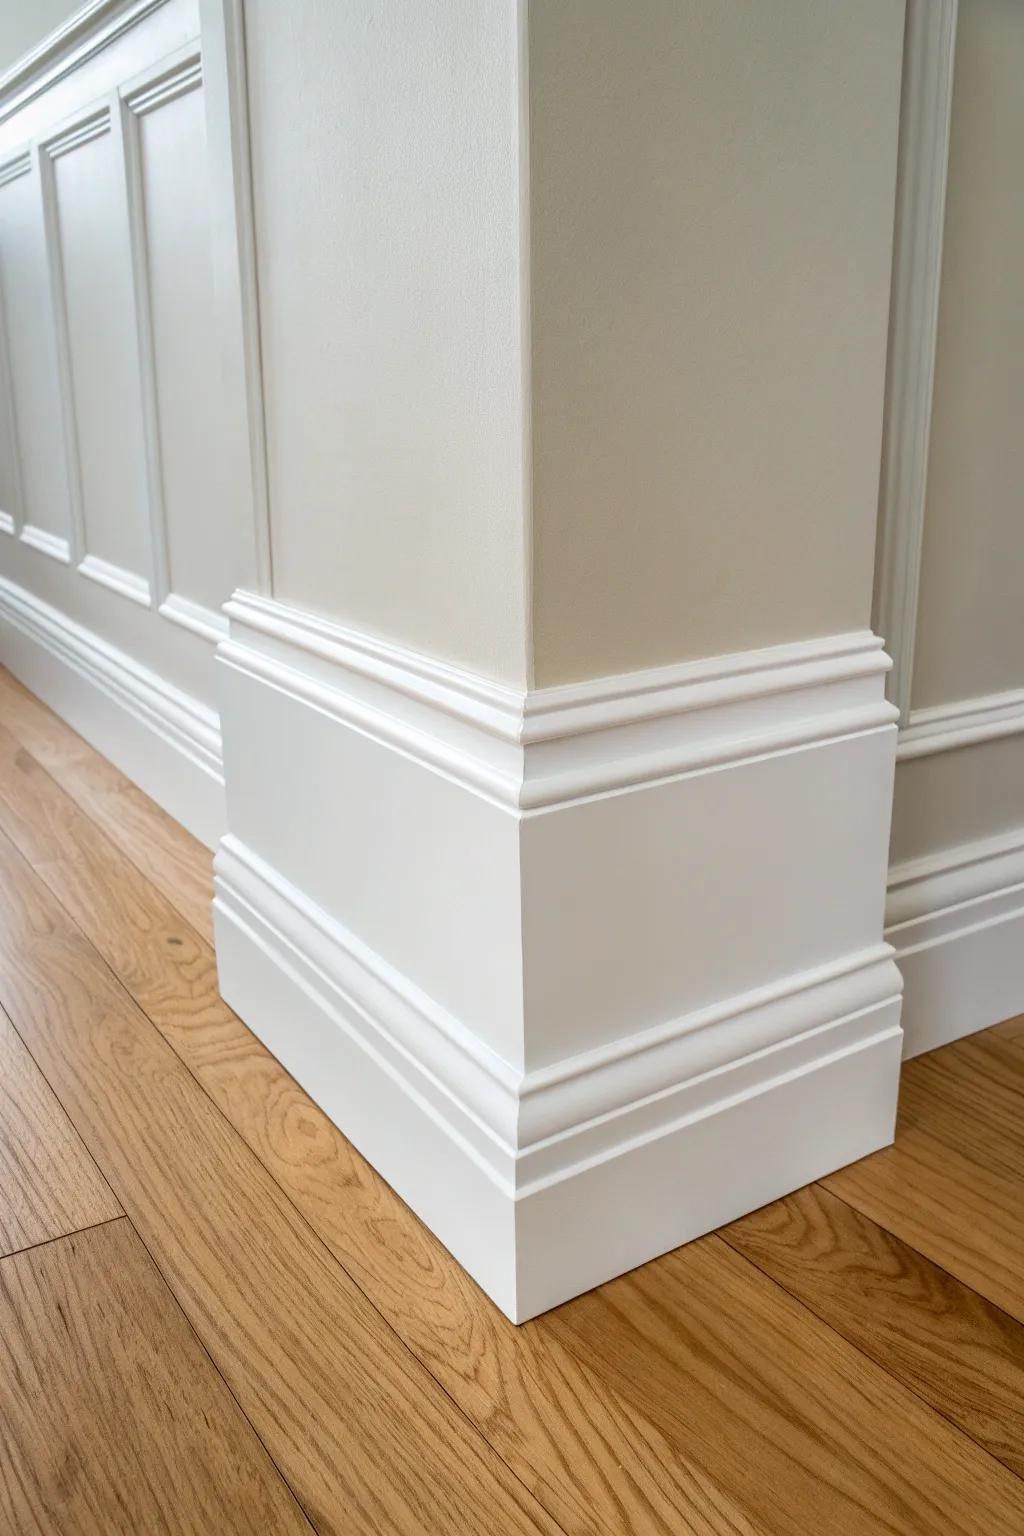
Swapping to tall baseboards is a subtle change with a big payoff—I did it in my living room and the whole space suddenly felt more polished. If you pair it with clean wall paneling, it reads super intentional instead of “just trim.”
You might give these a try:
- Primed MDF Baseboard Molding: Upgrade your room’s elegance easily by installing these ready-to-paint moldings for a clean, sophisticated finish.
- Construction Adhesive for Trim: Ensure a secure, long-lasting hold for your new baseboards without relying solely on nails or screws.
- White Paintable Caulking: Achieve that professional, seamless look by filling gaps and corners before applying your final coat of paint.
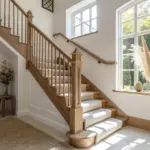
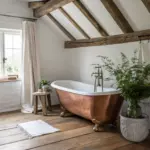
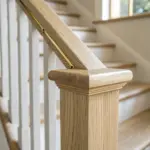
Crown Molding for a Finished Ceiling Line
Crown molding is that final touch that makes the room feel complete, and I’ve added it in bedrooms where the ceiling line looked plain. I always tell you to do a quick test piece first because the right profile can totally change the vibe.
Some ideas to consider:
- Solid Oak Crown Molding Trim: Add natural warmth to your ceiling line or headers with solid wood trim ready for clear sealing.
- Miter Saw with Laser Guide: Ensure perfect, splinter-free corner cuts on expensive hardwood trim with a reliable, precise power saw.
- Clear Satin Polyurethane Wood Finish: Protect your new natural wood molding while enhancing the grain pattern with a durable, clear finish.
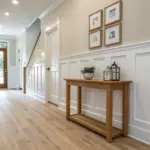
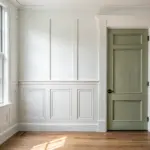
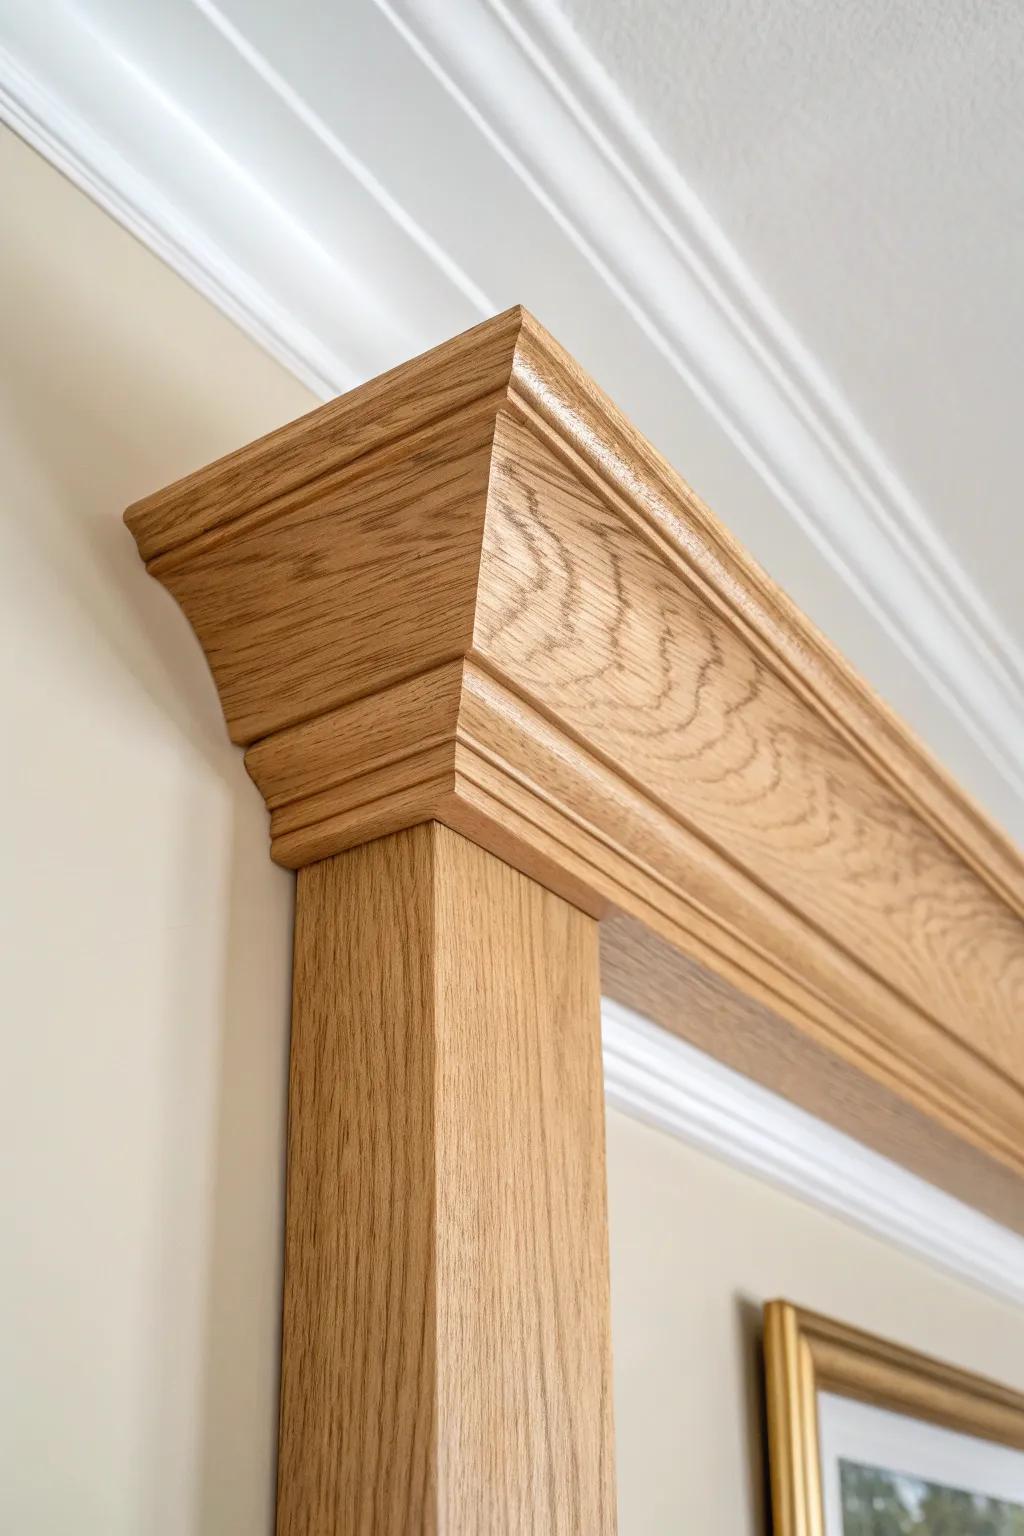
Two-Tone Paint Separated by Trim
Using wall trim as a clean divider for two-tone paint is such an easy way to add style, and I’ve done it in an entryway to make it feel taller and brighter. You’ll get crisp lines without fussy taping if your molding is straight and well-caulked.
Consider these options:
- Chair Rail Molding: Install a classic chair rail to create a clean, elegant visual barrier between your two paint colors.
- Quality Paintable Caulk: Ensure seamless joints and crisp paint lines by properly sealing gaps between your trim and the wall.
- Baseboard Molding: Complete the wainscoting effect with substantial baseboards that ground the design and protect your lower walls.
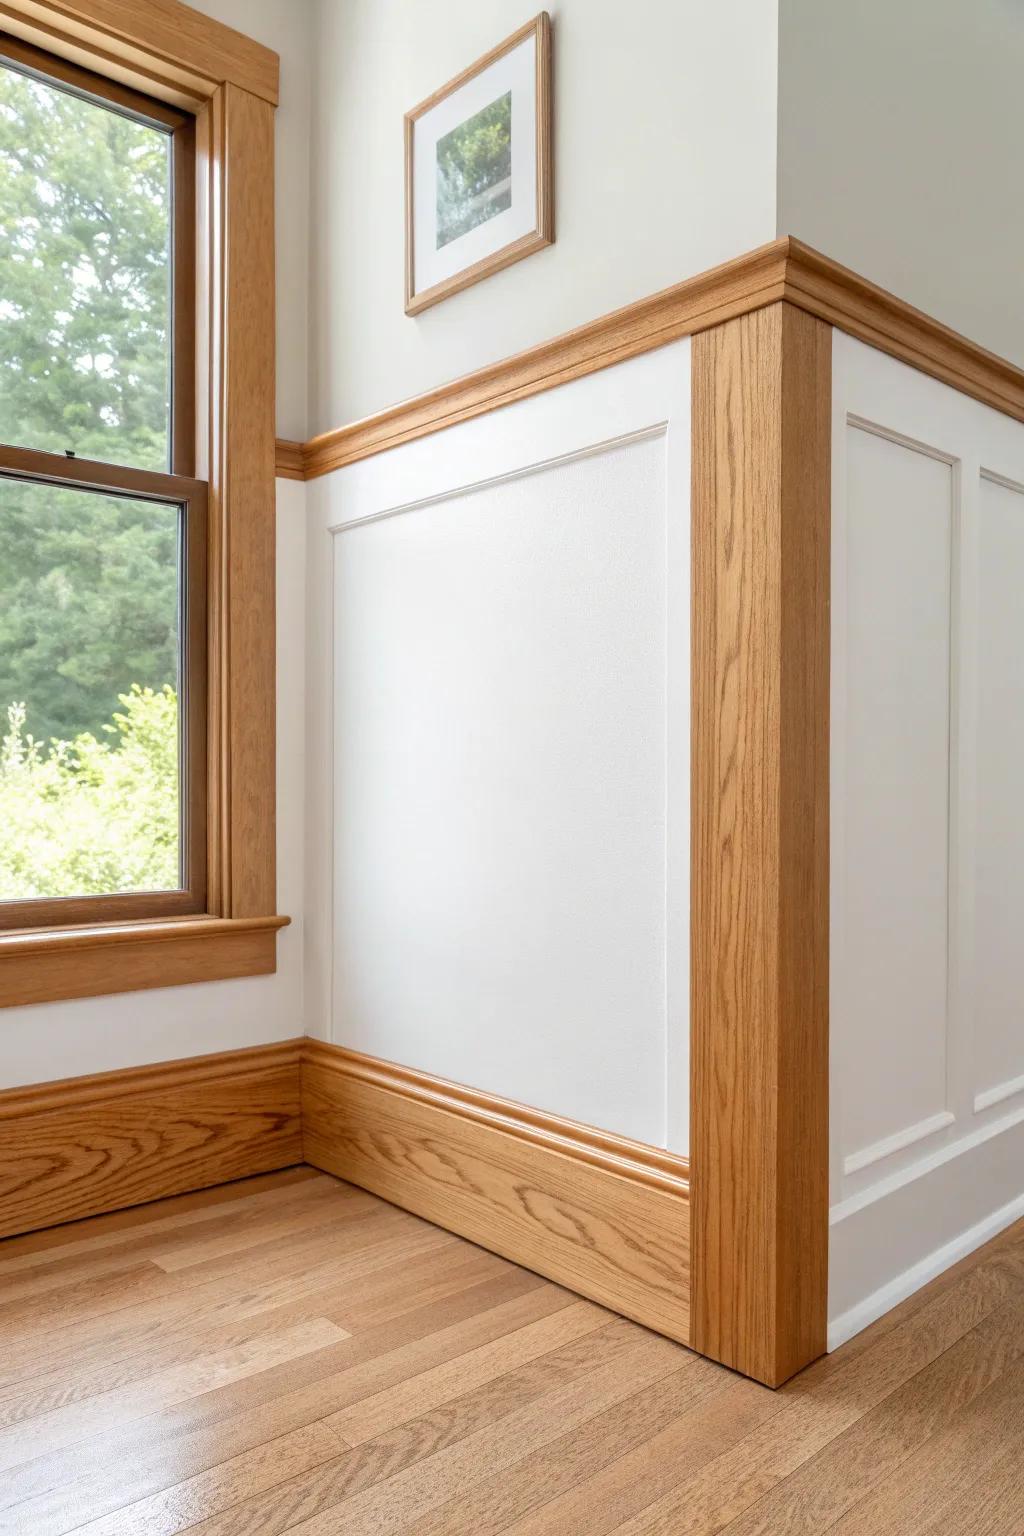
Bedroom “Headboard” Wall With Trim Frames
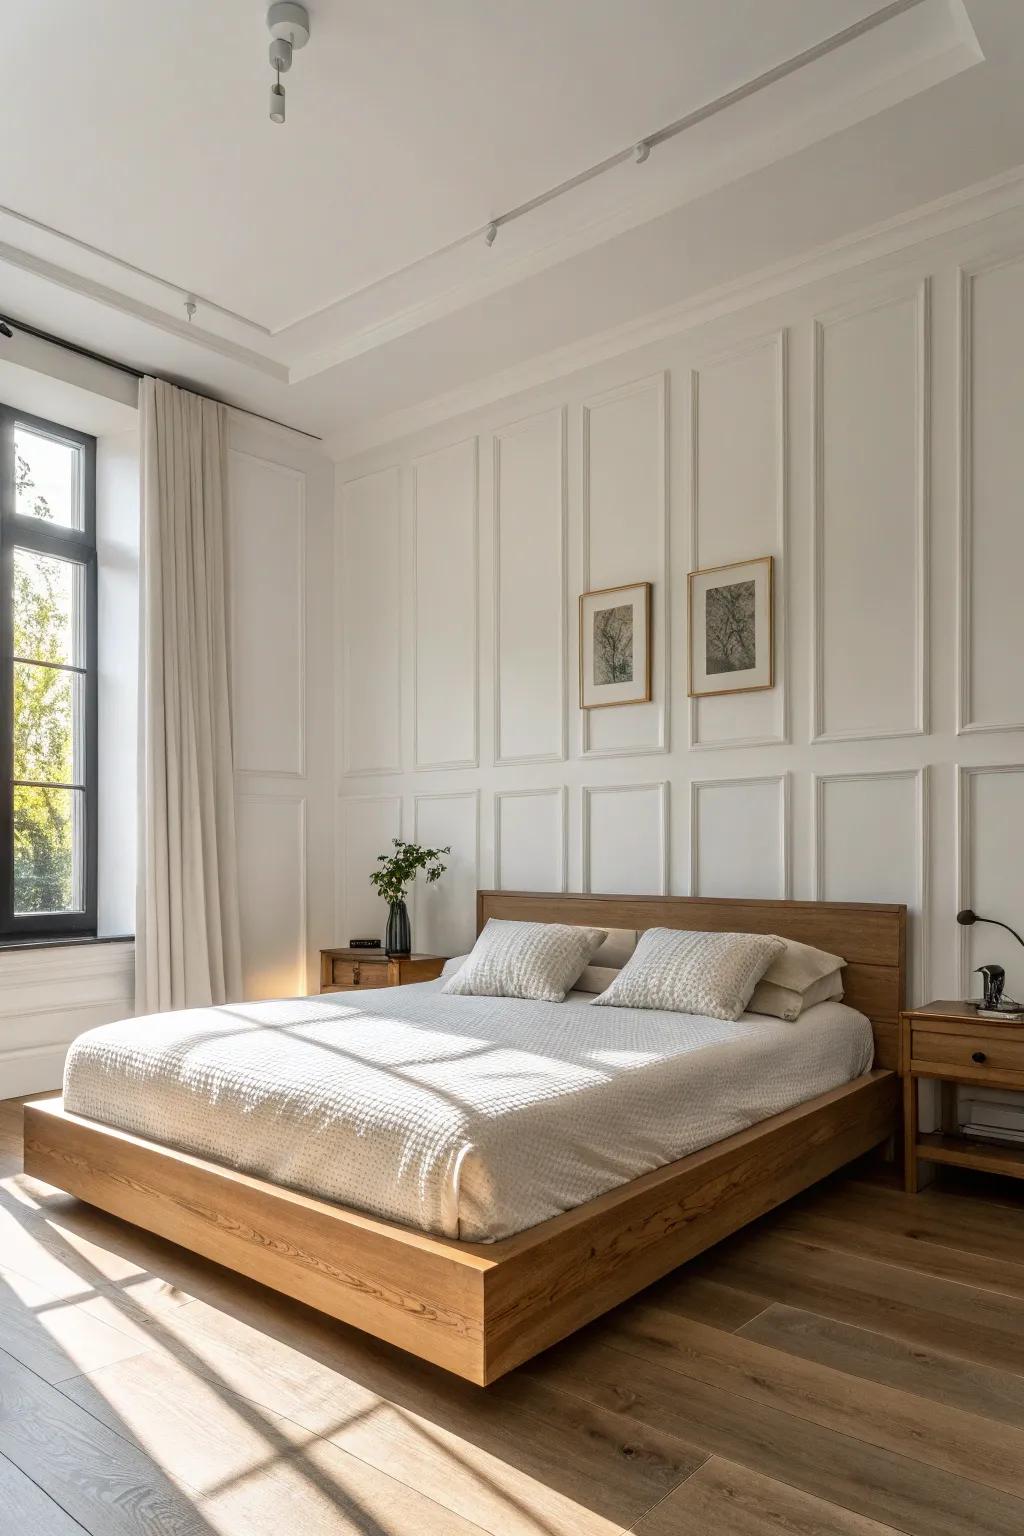
If you don’t want a bulky headboard, build one with wall trim molding instead—I framed out panels behind my bed and it became the focal point instantly. You can size the panels to your bed width so it looks custom-made for your room.
Products that could assist:
- Self-Adhesive Molding Trim Kit: Easily create classic wall frames without nails; simply peel, stick, and paint to achieve a custom paneled look.
- Laser Level Tool: Ensure your wall frames are perfectly straight and aligned with this essential tool for precise molding installation.
- White Paintable Wood Filler: Finish your project professionally by filling gaps or corners for a seamless, smooth transition before painting.
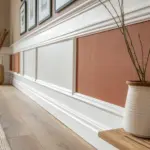
Plate Rail Ledge Built Into Wainscoting
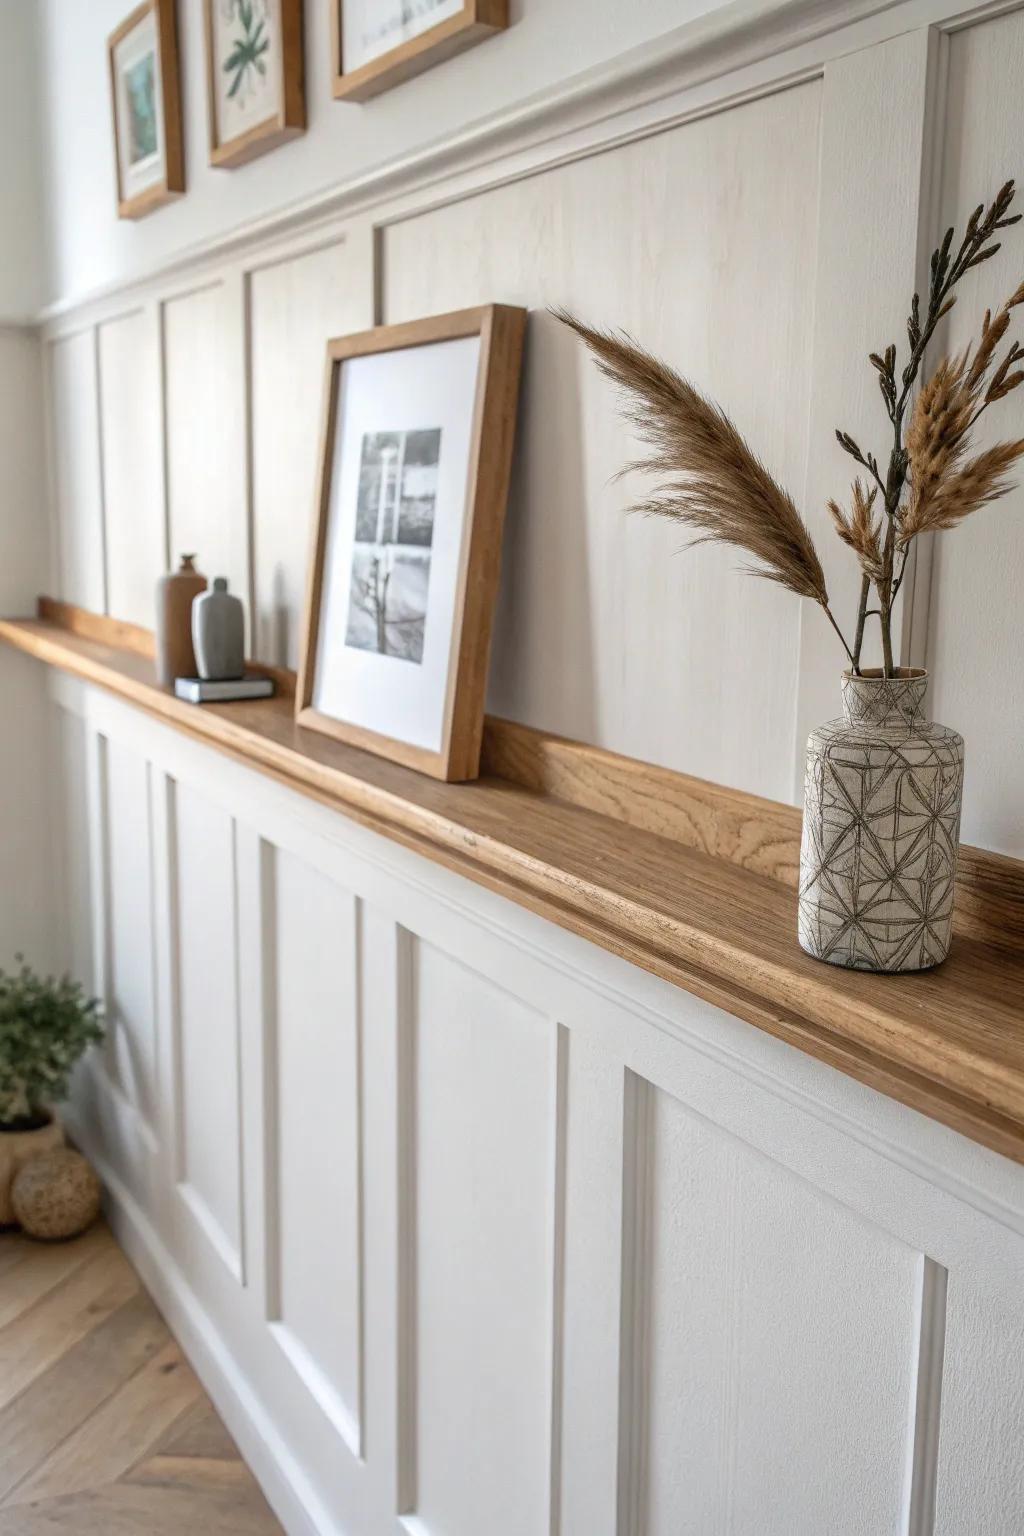
I love adding a slim ledge on top of wainscoting trim so you can lean art or rotate decor without extra holes. I’ve done this in a dining area, and it makes the wall molding feel both classic and actually useful.
Possibly helpful picks:
- Oak Wood Ledge Shelf: Create your own display space quickly with a ready-made wooden floating ledge perfect for leaning art frames.
- Natural Wood Picture Frames: Style your new ledge by layering artwork in simple, natural wood frames that complement neutral wall molding.
- Textured Ceramic Vases: Add visual interest to your ledge styling with small, textured vases ideal for holding dried botanical stems.
Mirror Inlays Framed by Wall Trim
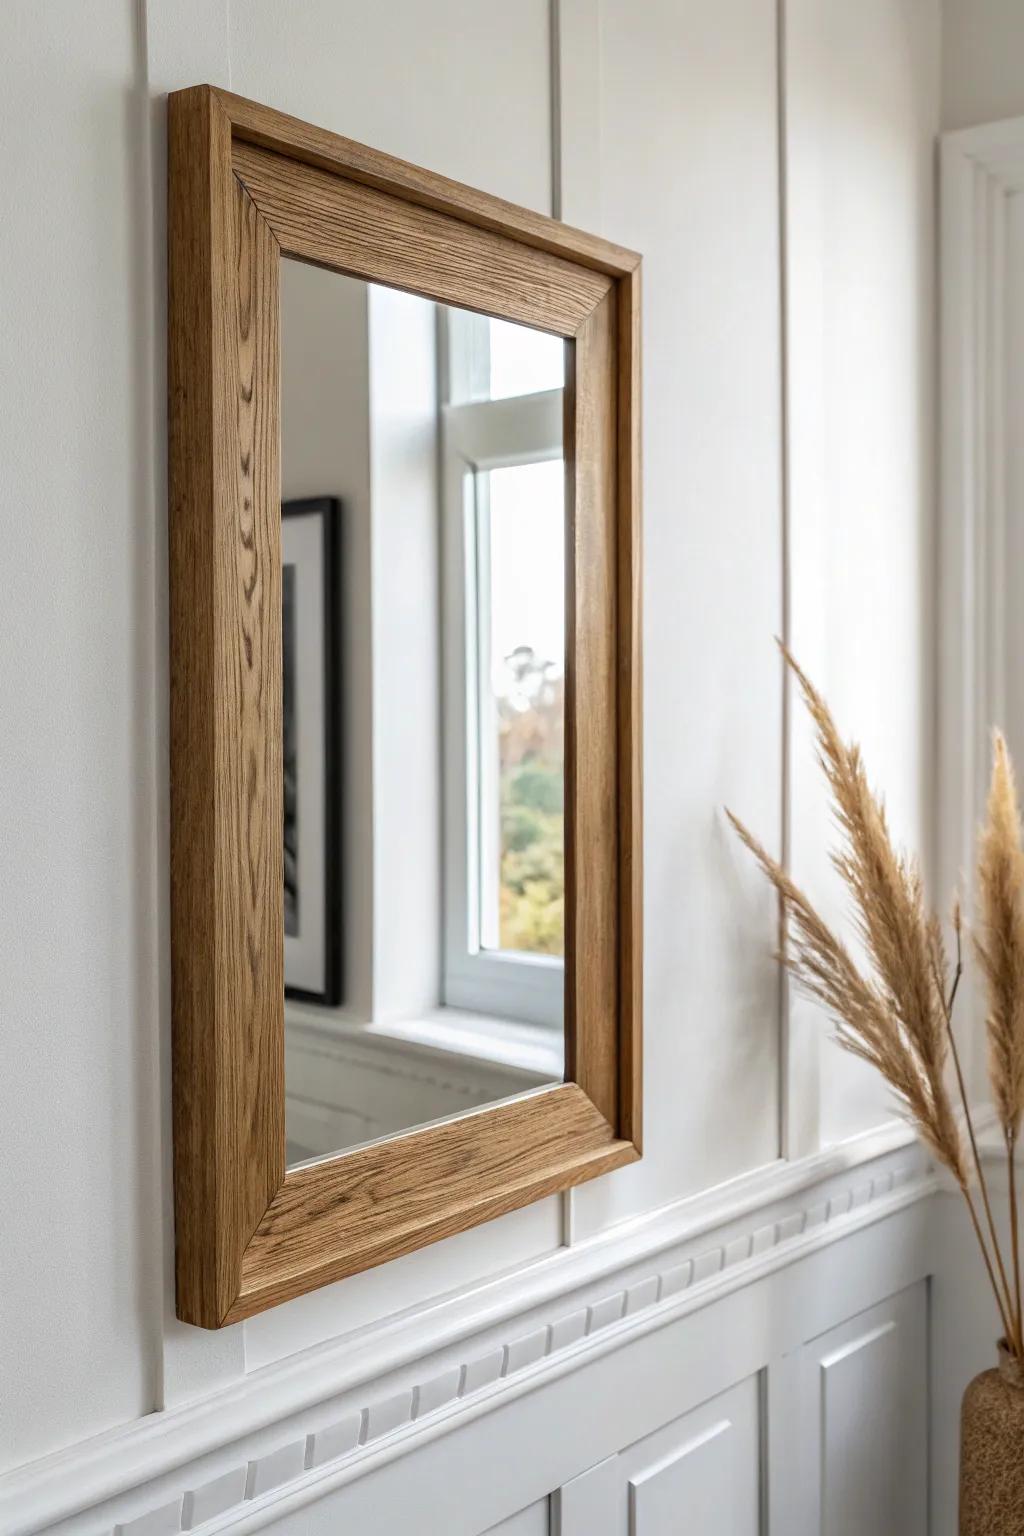
Try placing mirrors inside your wall trim “boxes” so the molding acts like a built-in frame—I did this in a darker room and it bounced light everywhere. It’s one of those trim ideas that makes guests assume you hired a pro.
These products might help:
- Rectangle Wood Frame Mirror: Choose a simple wooden framed mirror to place inside your trim work for an instant built-in custom look.
- Self-Adhesive Wall Molding Kit: Create the surrounding frame boxes easily with these ready-to-cut molding strips that adhere directly to your walls.
- Heavy-Duty Mirror Hanging Hardware: Ensure your new mirror setup stays secure and level inside the trim work with reliable heavy-duty mounting cleats.
Arched Panel Molding for Soft Curves
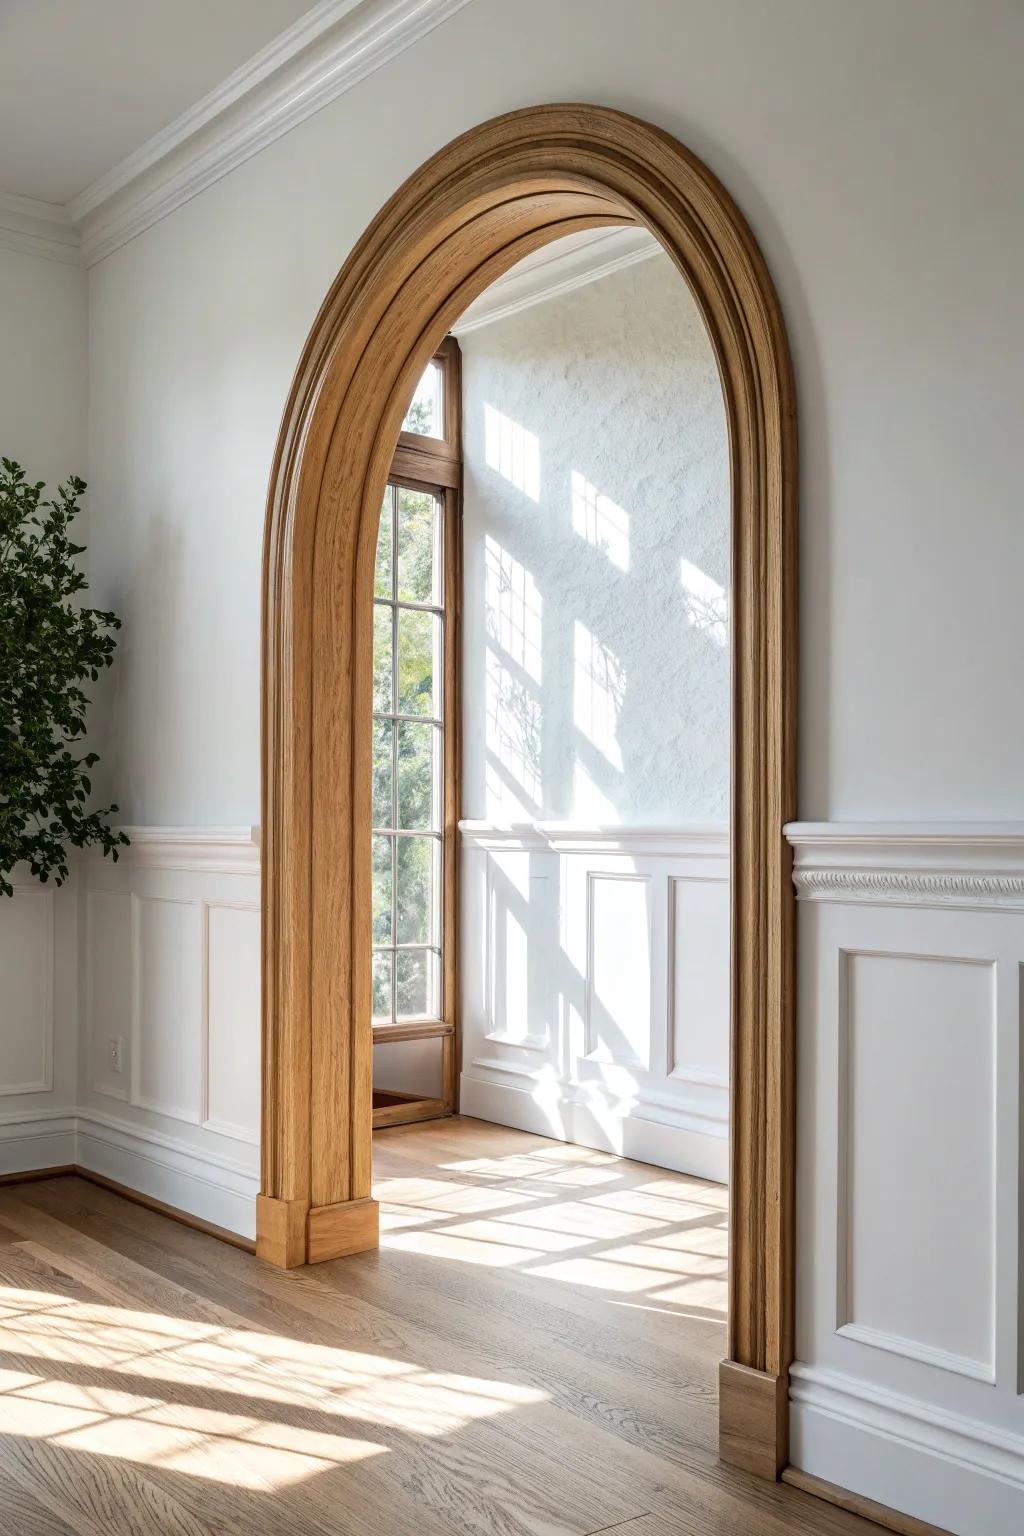
Arches are such a mood, and I’ve created arched wall molding panels to soften a boxy room without changing the layout. You can keep the rest of the trim simple so the curve feels intentional, not busy.
Possibly handy products:
- Flexible Molding Trim for Arches: Create smooth, professional-looking curves effortlessly with this bendable trim that conforms perfectly to arched doorways or wall designs.
- Wood Veneer Sheets: Achieve that custom wood-casing look by applying high-quality veneer to your arch supports for a warm, natural finish.
- Architectural Wainscoting Panels: Complement your new archway with classic lower wall detailing using these ready-to-install panels for instant traditional elegance.
Reclaimed Wood Trim on a Painted Wall

For a rustic-meets-tailored look, I’ve used reclaimed wood molding as the frames on a light painted wall, and the grain adds so much warmth. It’s my favorite way to get that modern farmhouse feel while still keeping clean architectural lines.
Some handy options:
- Reclaimed Wood Planks: Create your own rustic frames or accent trim with authentic weathered wood designed for easy DIY installation.
- Wood Stain and Sealer: Enhance the natural grain and protect your wooden trim pieces with a high-quality, durable interior finish.
- Brad Nailer Kit: Secure your new molding cleanly and efficiently without damaging the wood using this essential trim installation tool.
Diagonal Lattice Molding for a Wow Pattern
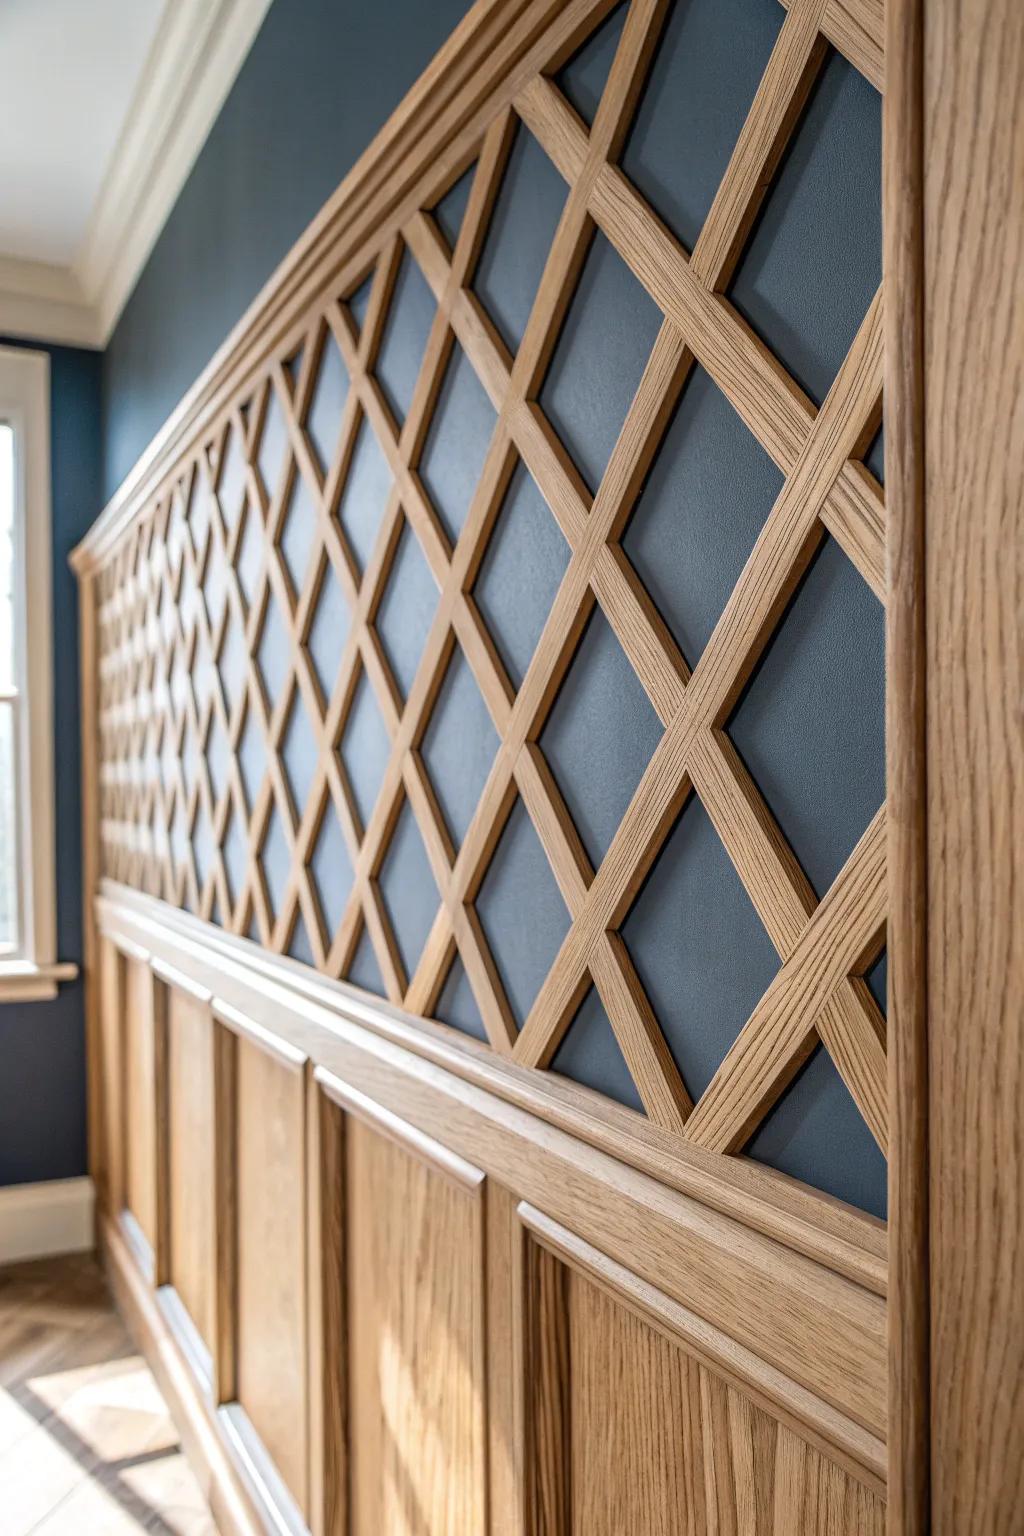
If you want something unexpected, go for diagonal lattice molding—I tried it on an accent wall and it looked like custom design work instead of basic trim. It takes a bit more measuring, but the “how did you do that?” reaction is totally worth it.
Check these products out:
- Unfinished Wood Lattice Moulding Strips: Create the signature diagonal pattern effortlessly with these thin, paintable wood strips ready for your custom finish.
- Digital Angle Finder and Protractor: Ensure perfect diamond shapes by measuring precise cutting angles for your diagonal trim with this essential tool.
- Pin Nailer Kit for Finish Work: Secure your delicate lattice strips invisibly without splitting the wood using this precision finish nailing tool.
Hidden Door Disguised With Matching Molding
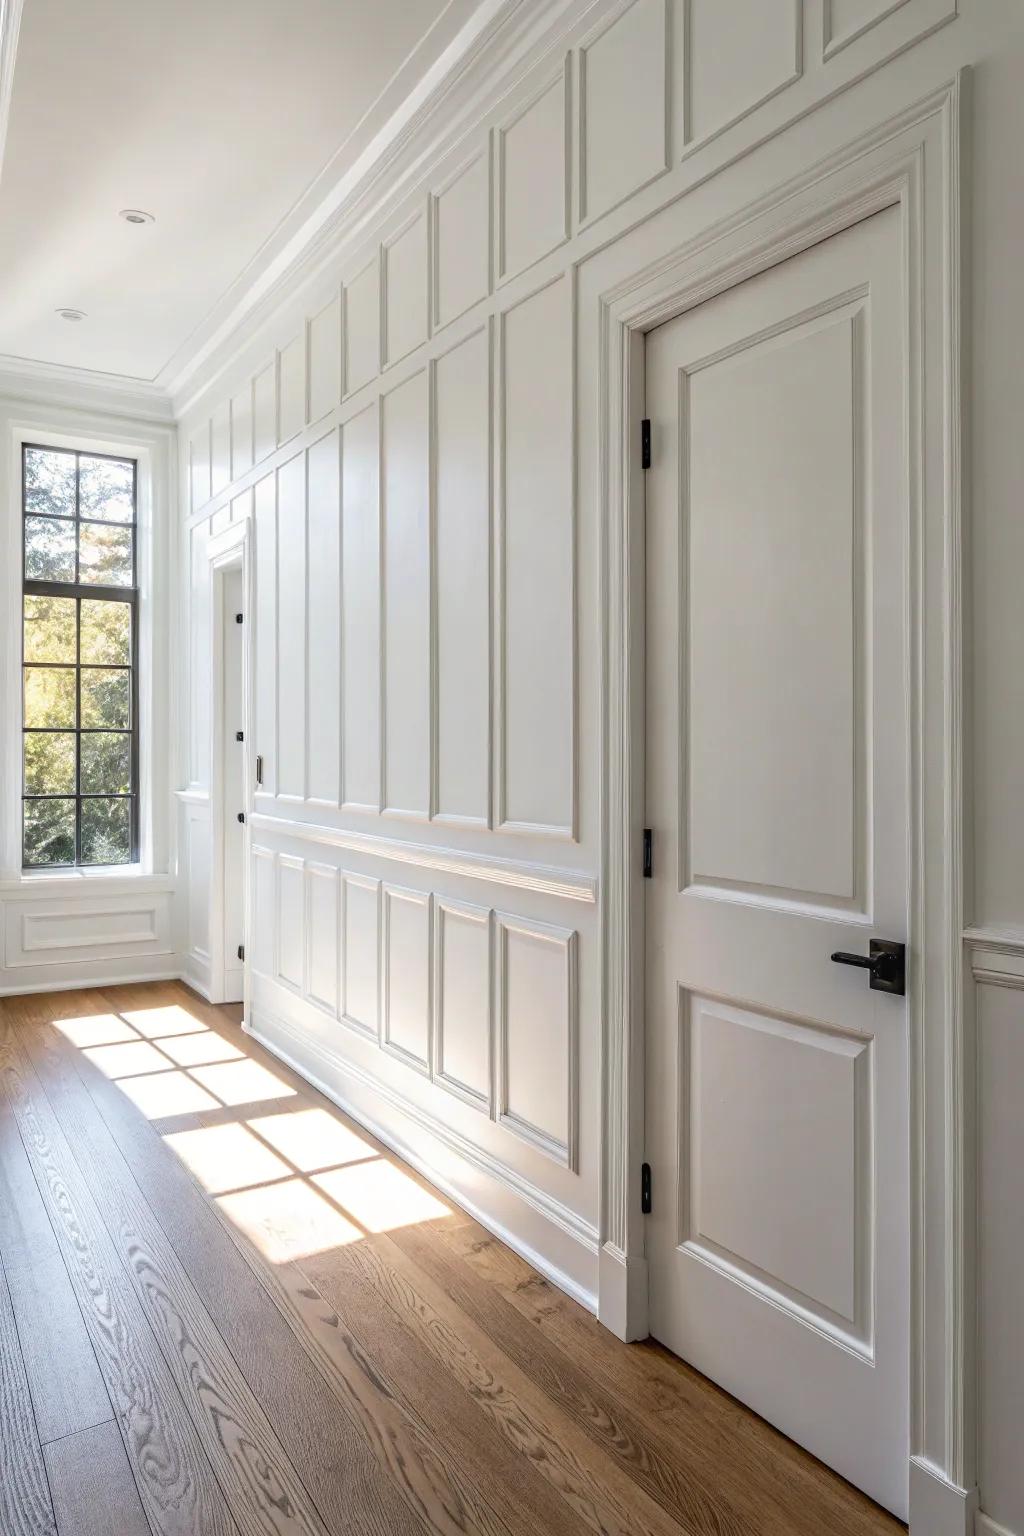
This one is pure fun: align wall trim molding across a doorway so the door disappears into the panel pattern, and I’ve done it to hide a storage nook like a secret. When the molding lines up closed, it reads as one continuous wall and feels like a magic trick.
These products might be useful:
- Self-Adhesive Molding Trim Kit: Create elegant wall panels effortlessly without heavy tools; stick this molding directly onto your hidden door design.
- Pivot Door Hinge Hardware: Install this specialized hinge to help your door swing flush with the wall for a truly seamless transition.
- Paintable Wood Wall Paneling: Build your base structure with these customizable panels, ready to be painted to match your hidden door trim.


