
Wooden ornaments have this cozy, nostalgic magic that instantly makes a space feel warm and lived-in. I keep coming back to wood slices and simple cutouts because they’re beginner-friendly, super customizable, and they look right at home with rustic decor.
Button and Bead Snowman Faces
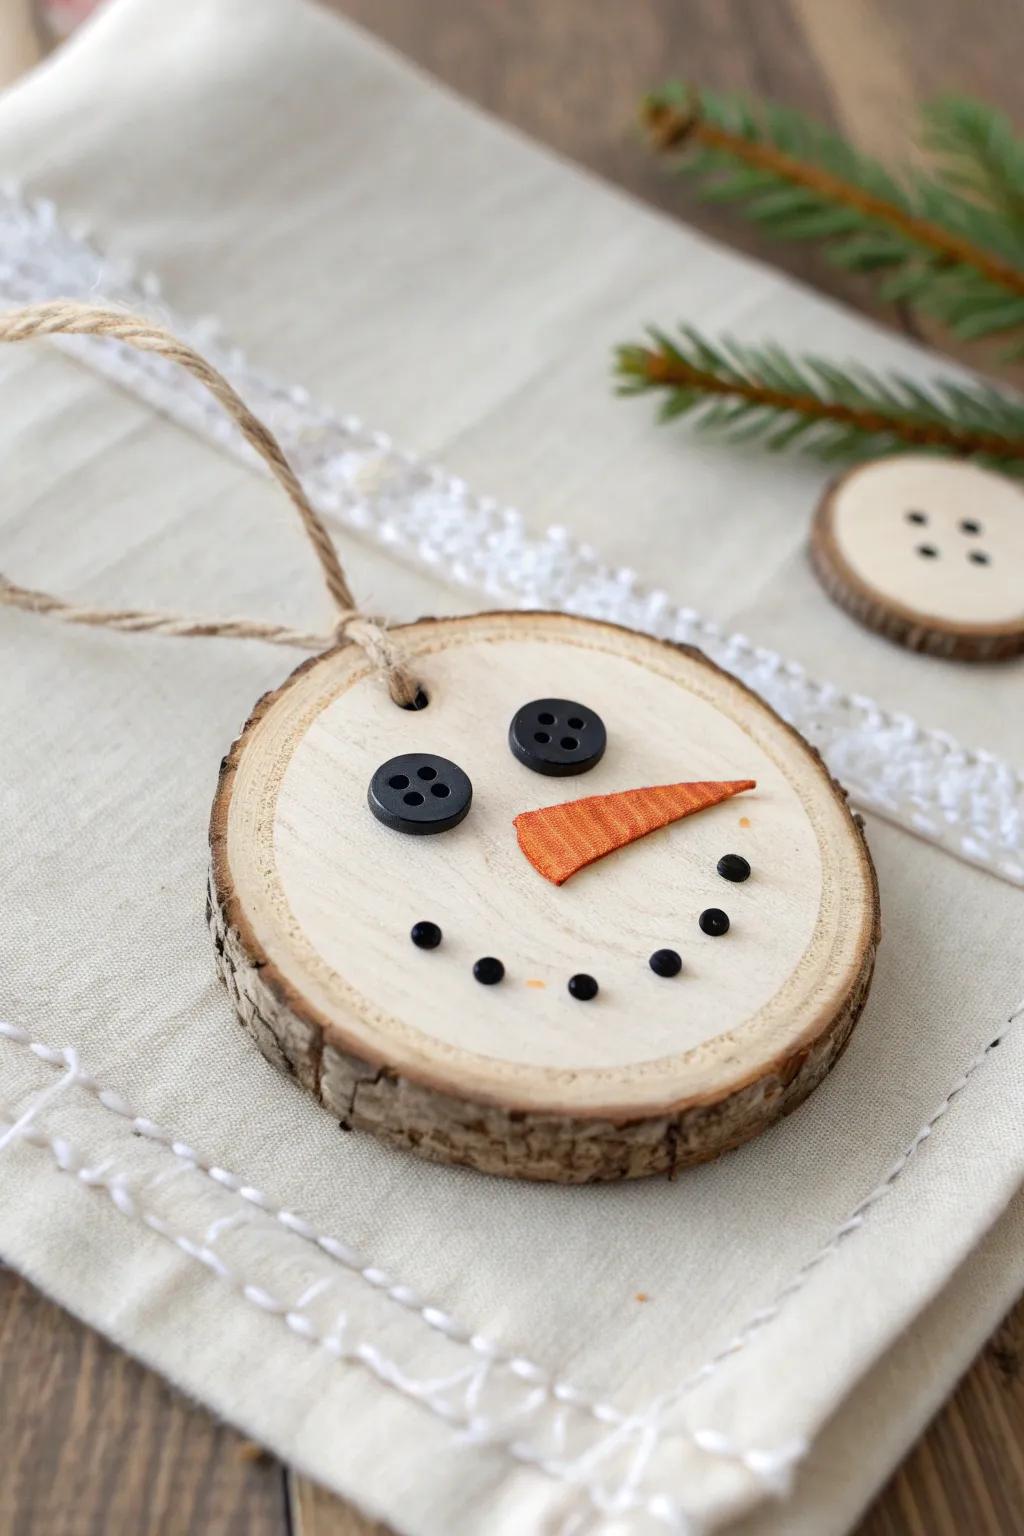
For a quick mixed-media look, I glue on buttons and beads to make a snowman face right on a wood round. I’ve found that imperfect spacing actually makes it cuter, like an old-fashioned handmade toy.
Useful items to consider:
- Natural Wood Slices with Holes: Start your snowman project with these pre-drilled wood rounds, perfectly sized creating rustic holiday hanging ornaments.
- Black Buttons for Eyes: Give your snowman a jolly stare using assorted black buttons, adding texture and a classic handmade feel.
- Small Black Beads for Mouth: Create a happy coal smile with tiny black beads or half-pearls that are easy to glue into place.


Painted Snowflake Wood Slices
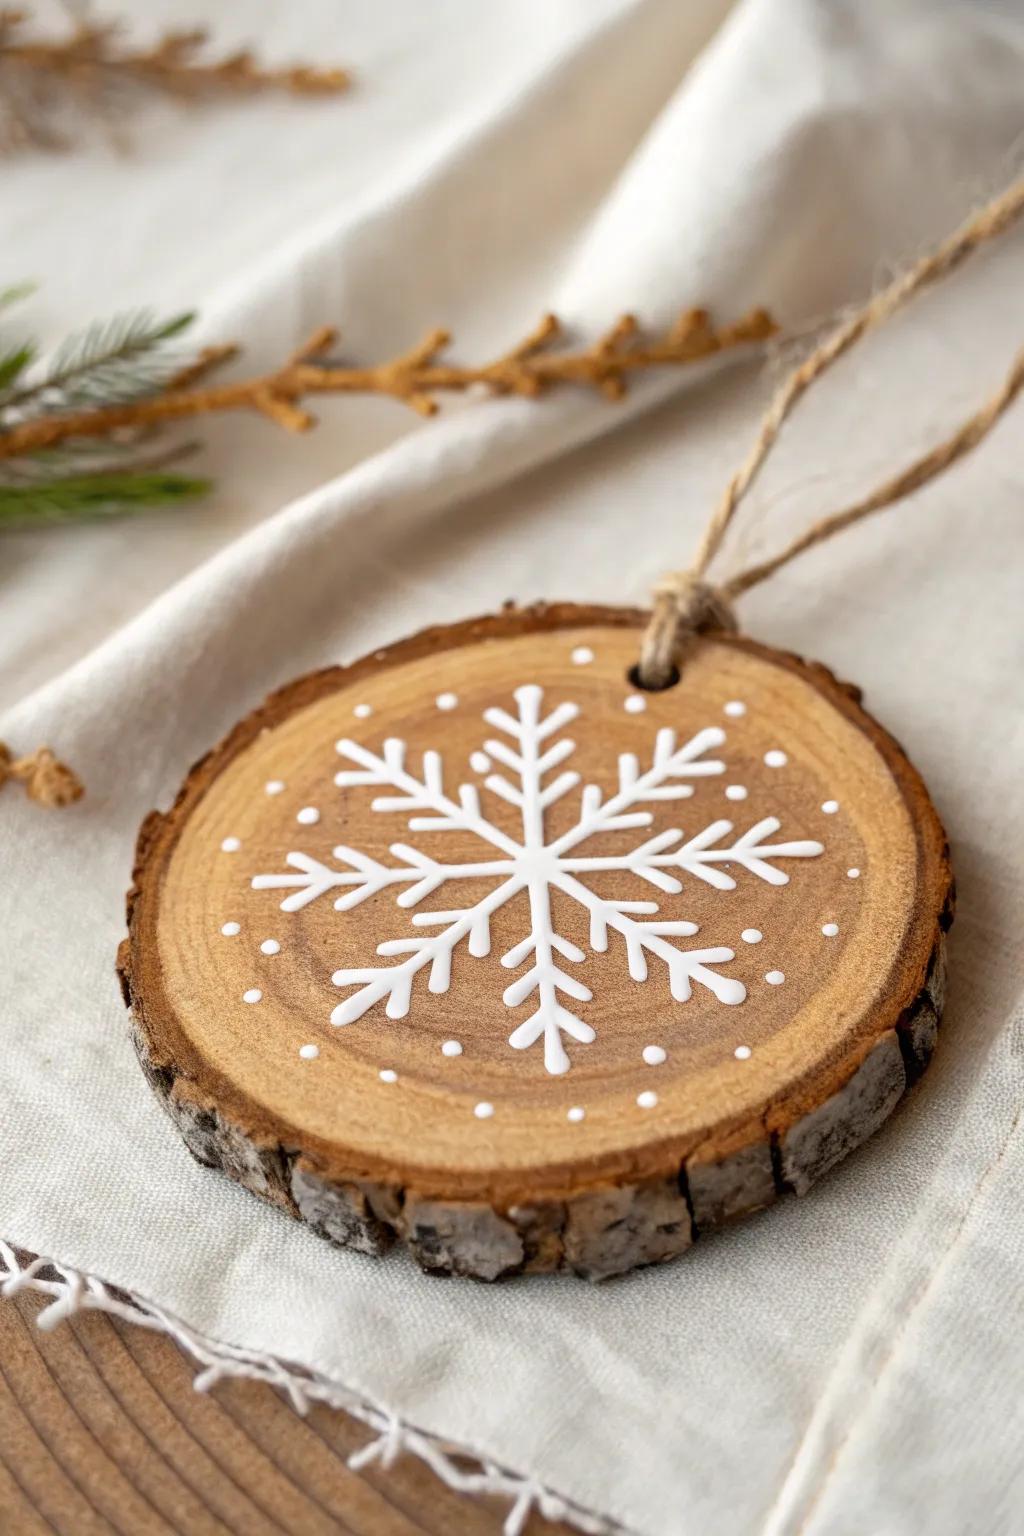
When I need a sure-win project, I grab wood slices and paint crisp white snowflakes over the grain—it always looks classic. I’ve found that a tiny dotting tool (or the end of a paintbrush) makes the snowflake arms way easier to keep even.
A few things you might like:
- Pre-Drilled Wood Slices with Bark: Start your rustic ornaments with natural wood rounds that arrive pre-drilled and sanded for immediate painting.
- White Paint Marker Pens: Achieve crisp, opaque snowflake lines easily on wood surfaces without the mess of traditional brushes and pots.
- Natural Jute Twine: Finish your handmade ornaments with durable, rustic twine that perfectly complements the natural raw wood aesthetic.
Reindeer Face With Felt Antlers
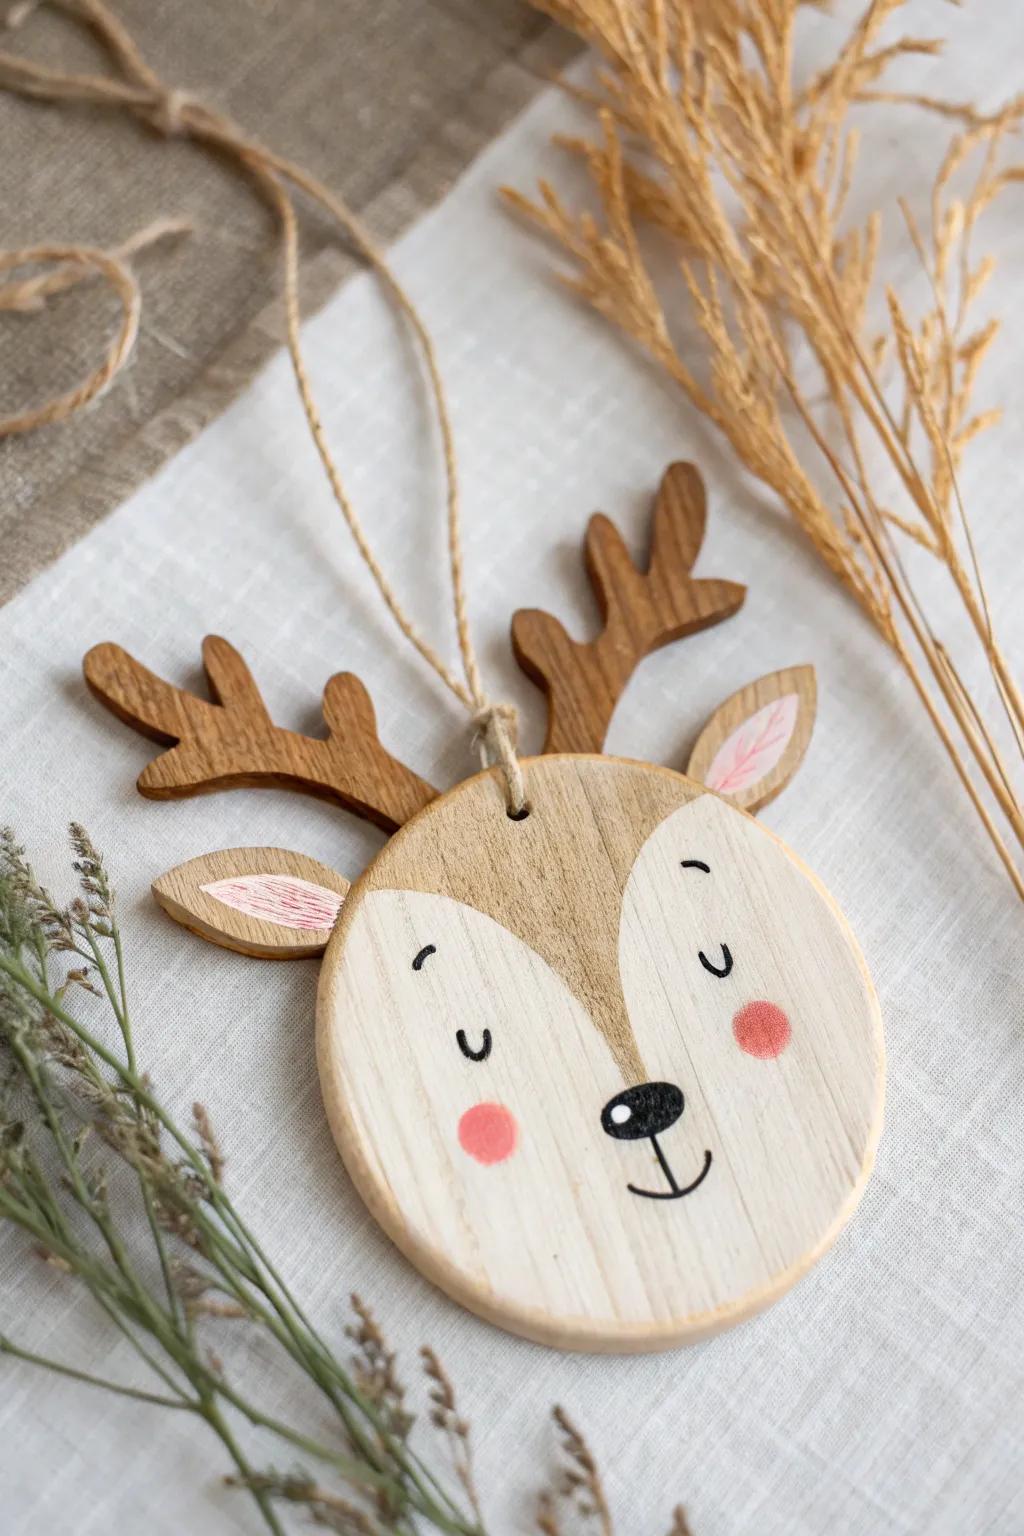
A simple reindeer ornament is my go-to when I want something playful: paint a face on a wood circle and glue on felt antlers. I’ve done this with leftover felt bits, and the mix of soft and woodsy texture is seriously charming.
A few suggestions:
- Unfinished Wood Slices with Holes: Grab these pre-drilled wood rounds as the perfect blank canvas for your painted reindeer faces.
- Assorted Craft Felt Sheets: Cut your own soft antlers or ears from these felt sheets to add playful texture.
- Jute Twine String: Finish your rustic ornament with natural twine for an easy, durable, and classic looking hanger.


Evergreen Tree Silhouette Rounds
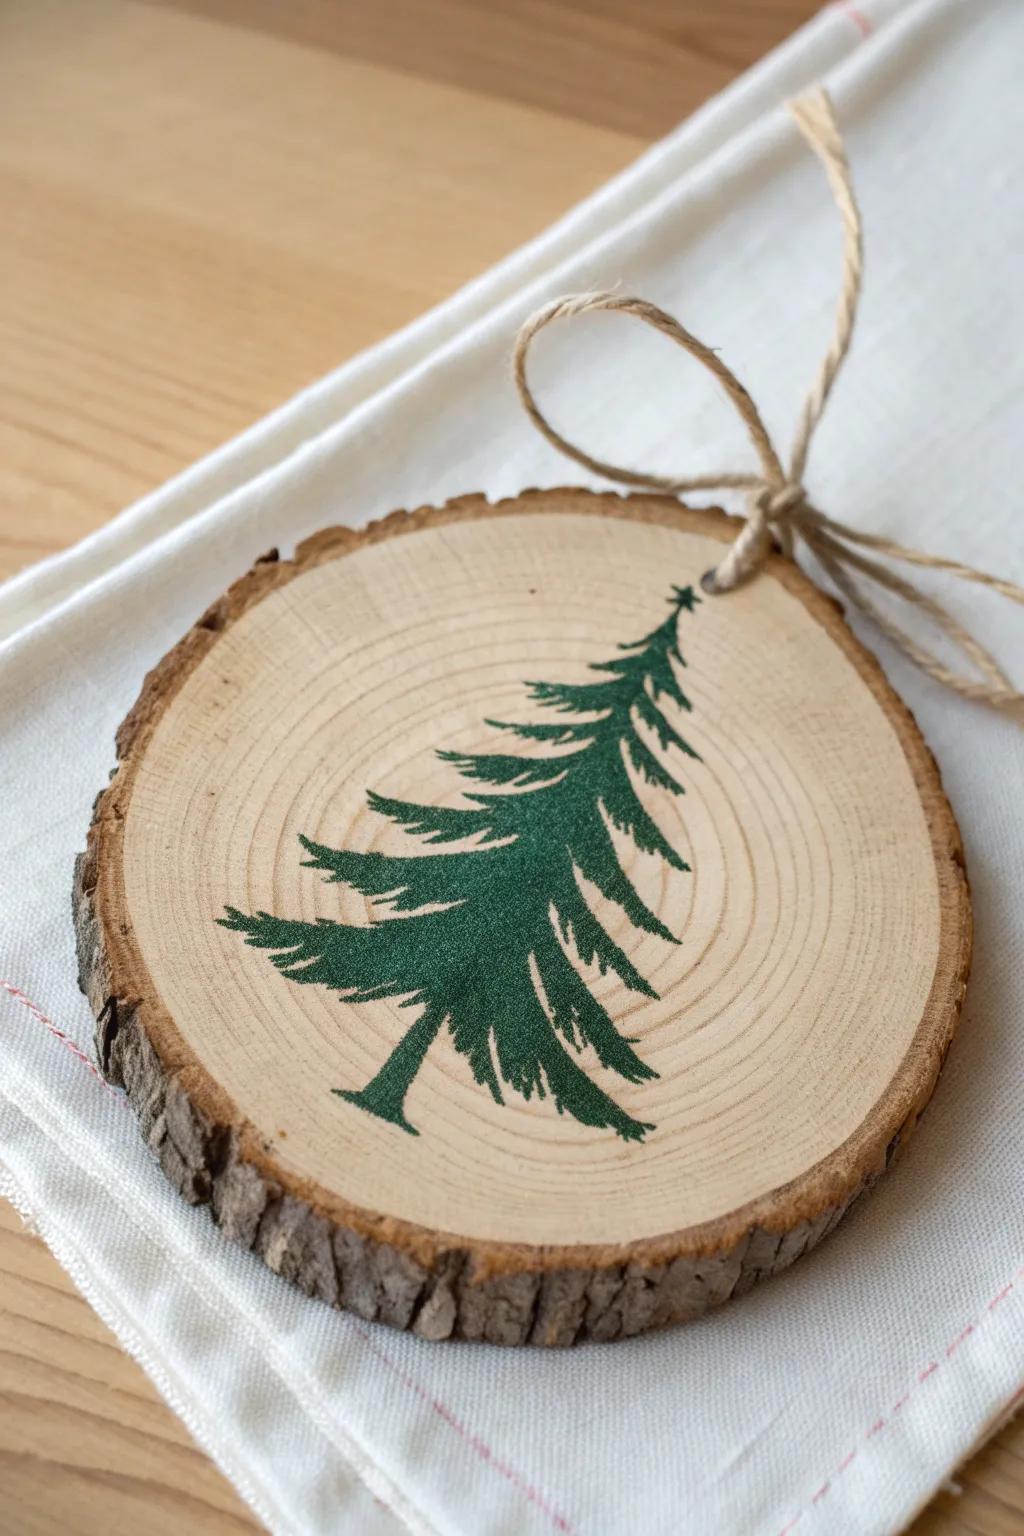
Painting a simple evergreen tree silhouette on a wood slice gives you that cozy cabin vibe fast. I’ve made sets in slightly different greens, and they look amazing grouped together like a mini forest.
A few helpful options:
- Pre-Drilled Natural Wood Slices: Start your project easily with these rustic rounds, which provide the perfect natural canvas for your designs.
- Green Acrylic Paint Set: Create vibrant mini forests by selecting from various shades to paint distinct and lasting evergreen silhouettes.
- Detail Paint Brushes: Achieve crisp pine needle details and clean lines on your silhouette with these precision crafting tools.
Wood-Burned Star Ornaments
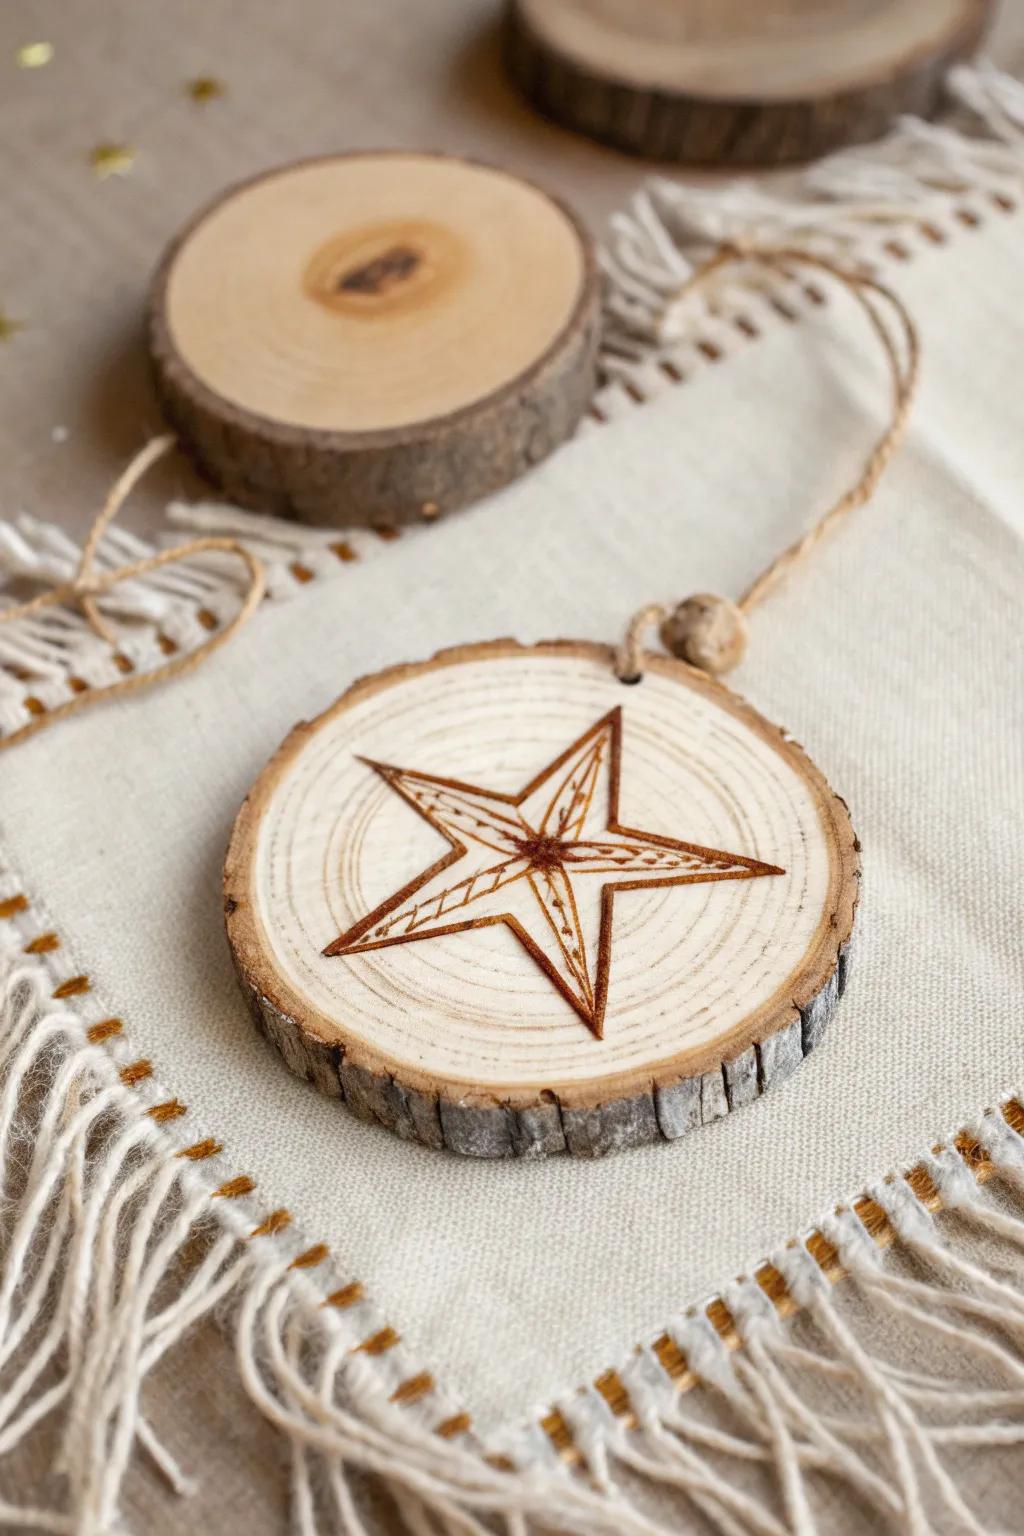
If you want rustic without using any paint, try wood burning a bold star right into the slice. I like tracing a simple template in pencil first, and it always feels so satisfying watching the burn lines bring it to life.
Possibly helpful picks:
- Wood Burning Pyrography Kit: Start creating detailed designs easily by picking up a versatile wood burning tool kit today.
- Natural Wood Slices with Bark: Grab a set of pre-drilled natural wood slices that act as the perfect canvas for your ornaments.
- Natural Jute Twine: Finish your rustic look by using durable natural jute twine to hang up your handmade creations.
Hand-Lettered Holiday Words
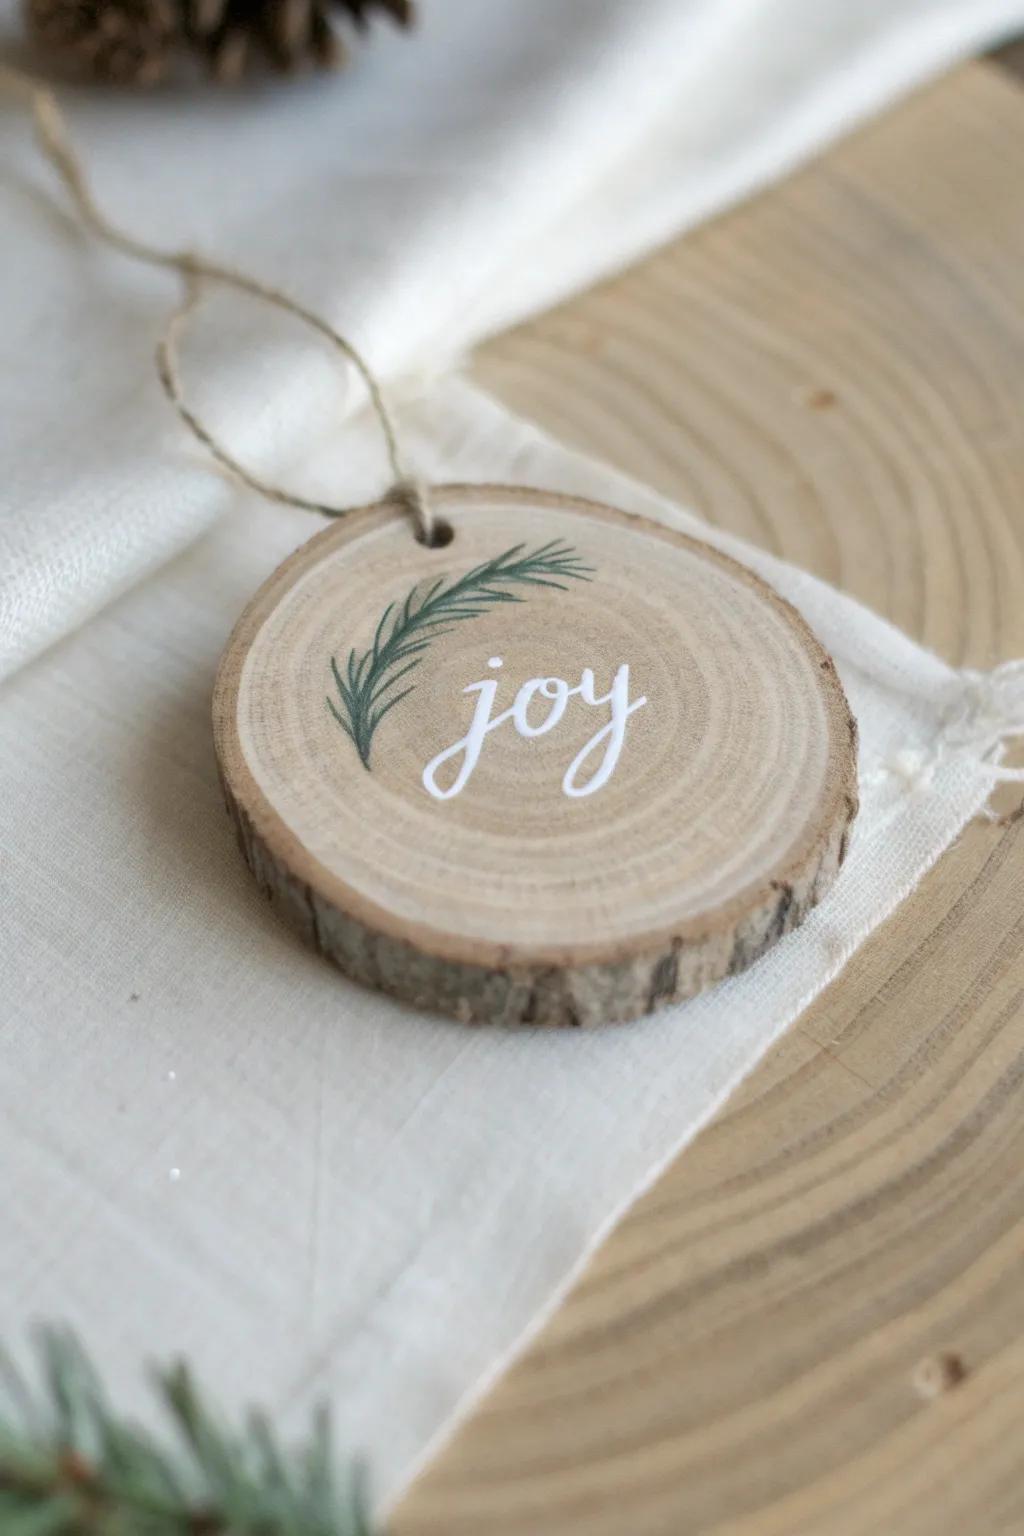
I’m a sucker for hand-lettered words like “Joy” or “Peace” on wooden ornaments, especially with a tiny branch detail underneath. In my experience, a paint pen (or a fine brush) gives you the cleanest lines over grain.
Explore these options:
- Unfinished Wood Slices with Holes: Start your crafting with these natural slices, perfect for creating rustic ornaments that showcase your custom lettering.
- White Fine-Tip Paint Pens: Achieve crisp, opaque lettering on wood surfaces with these markers, designed for control and smooth ink flow.
- Natural Jute Twine: Finish your handmade ornaments with this durable, simple cord that adds a classic, earthy touch to hanging decorations.

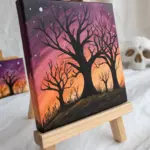
Mini Winter Landscape Scenes
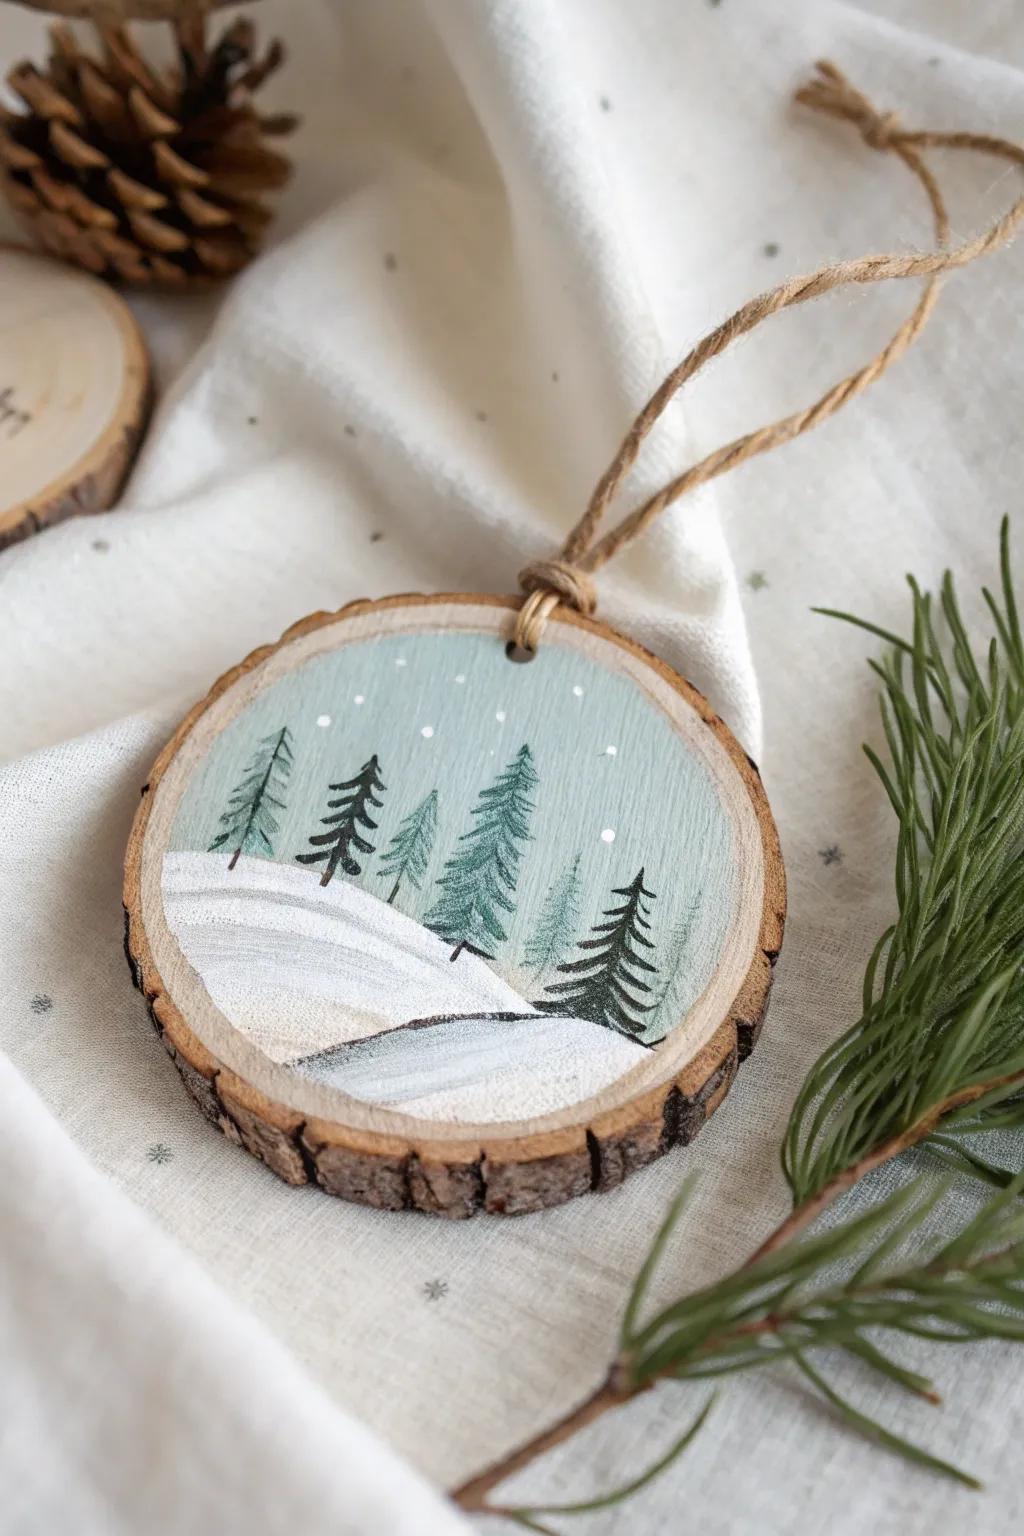
A tiny winter landscape painted on a wood slice feels like a little window into a snowy day. I’ve had the best results keeping the background simple—one horizon line, a few trees, and speckled white “snow.”
Check if these fit your needs:
- Pre-Drilled Natural Wood Slices: Start your project with smooth, pre-drilled wood circles that are ready for your winter scene painting immediately.
- Acrylic Paint Set : Capture snowy hills and evergreen trees with opaque, vibrant colors perfect for painting on natural wood surfaces.
- Fine Detail Paint Brushes: Achieve precise tree branches and tiny snowflakes with brushes designed specifically for miniature painting and fine lines.
Wood-Burned Laurel Wreaths
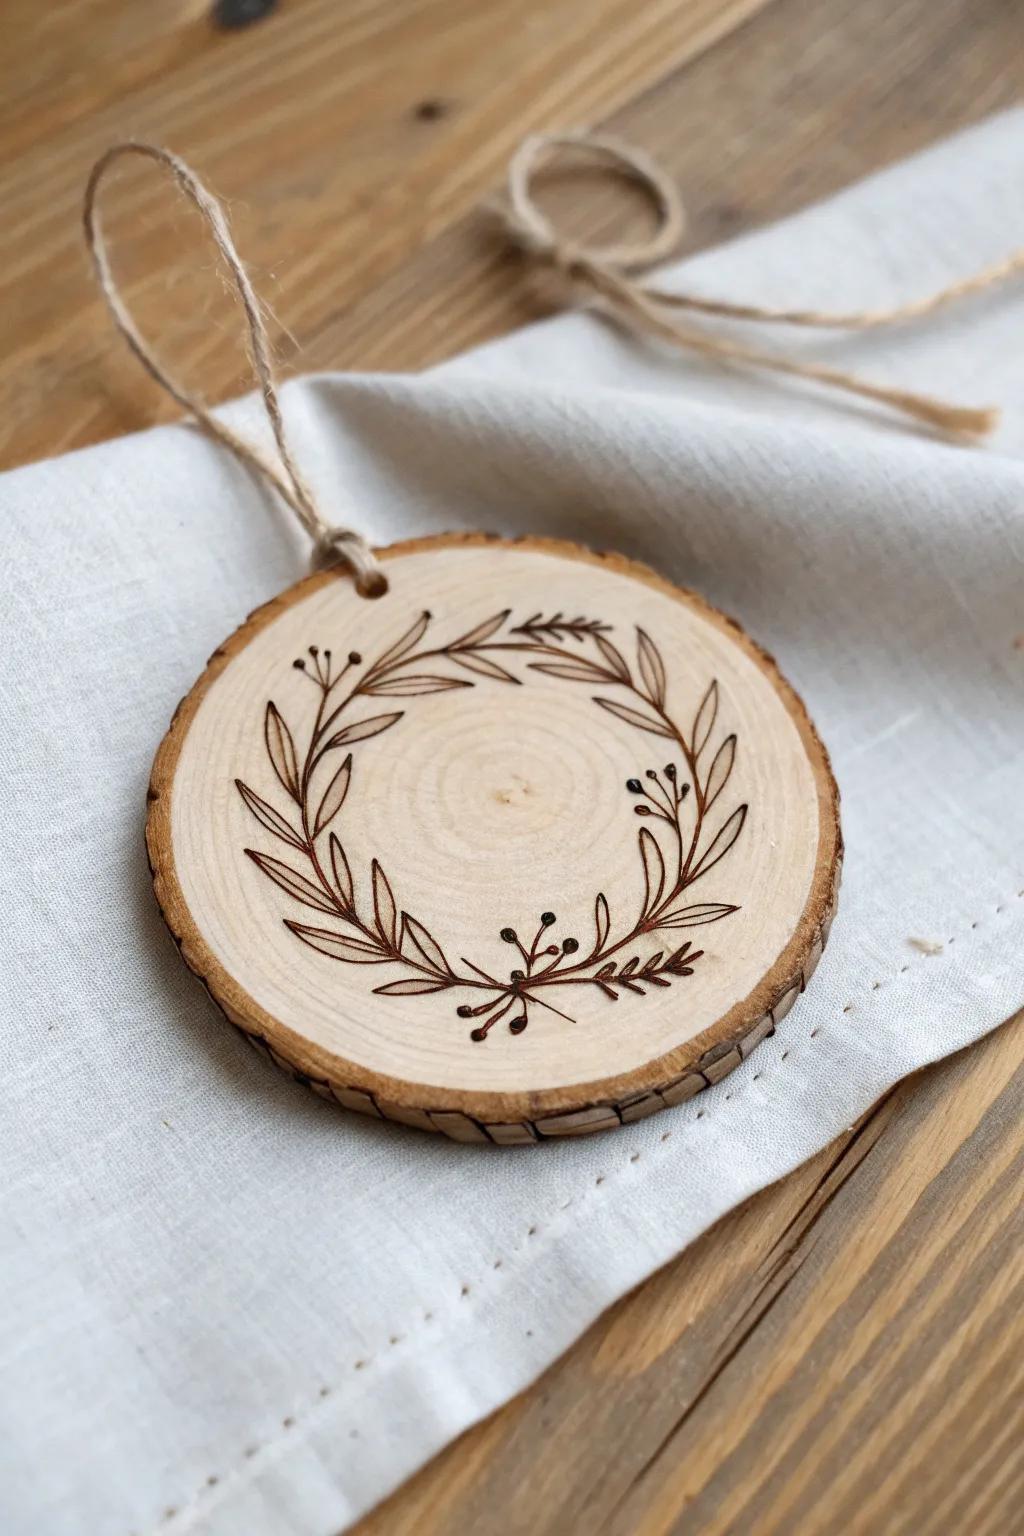
Burning a simple laurel wreath shape into a wood round looks elegant and still totally rustic. I’ve made a whole set like this, and they’re the ones I reach for when I want a more neutral, farmhouse feel.
Maybe worth checking out:
- Unfinished Wood Slices with Holes: Start your crafting with these natural slices, providing the perfect rustic canvas for your laurel wreath designs.
- Wood Burning Pyrography Kit: Etch detailed patterns easily using a versatile wood burning tool that includes various tips for precision work.
- Natural Jute Twine Essential: Complete the rustic look by hanging your finished ornaments with this durable, charmingly simple natural fiber twine.
Pet Portrait Slice Ornaments
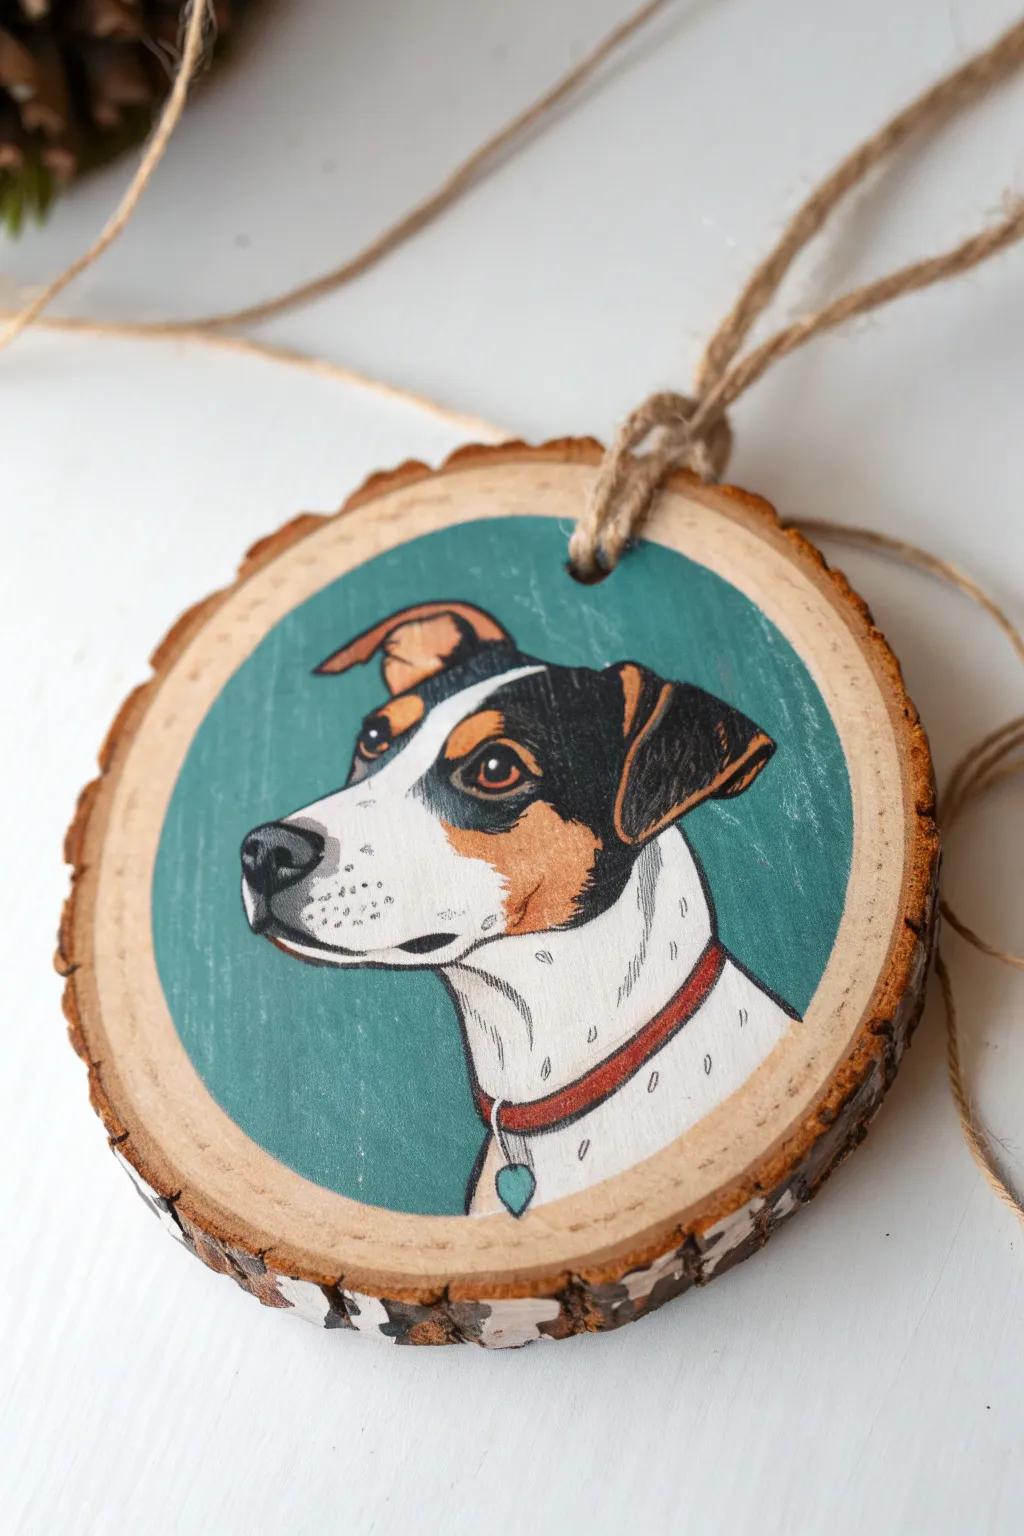
Turning a wood slice ornament into a tiny pet portrait is surprisingly doable if you keep it graphic—big shapes, simple shading, and a few signature markings. I’ve painted a couple of these as gifts, and people get emotional in the best way.
Check these products out:
- Pre-Drilled Natural Wood Slices: Start your project with smooth, pre-sanded wood rounds that provide the perfect rustic canvas for painting pet portraits.
- Fine Point Acrylic Paint Markers: Achieve crisp lines and distinct graphical shapes easily with pens that offer more control than traditional brushes.
- Matte Acrylic Varnish Sealer: Protect your finished portrait from scratches and fading while giving the ornament a professional, lasting matte finish.
Black-and-White Photo Transfer Rounds
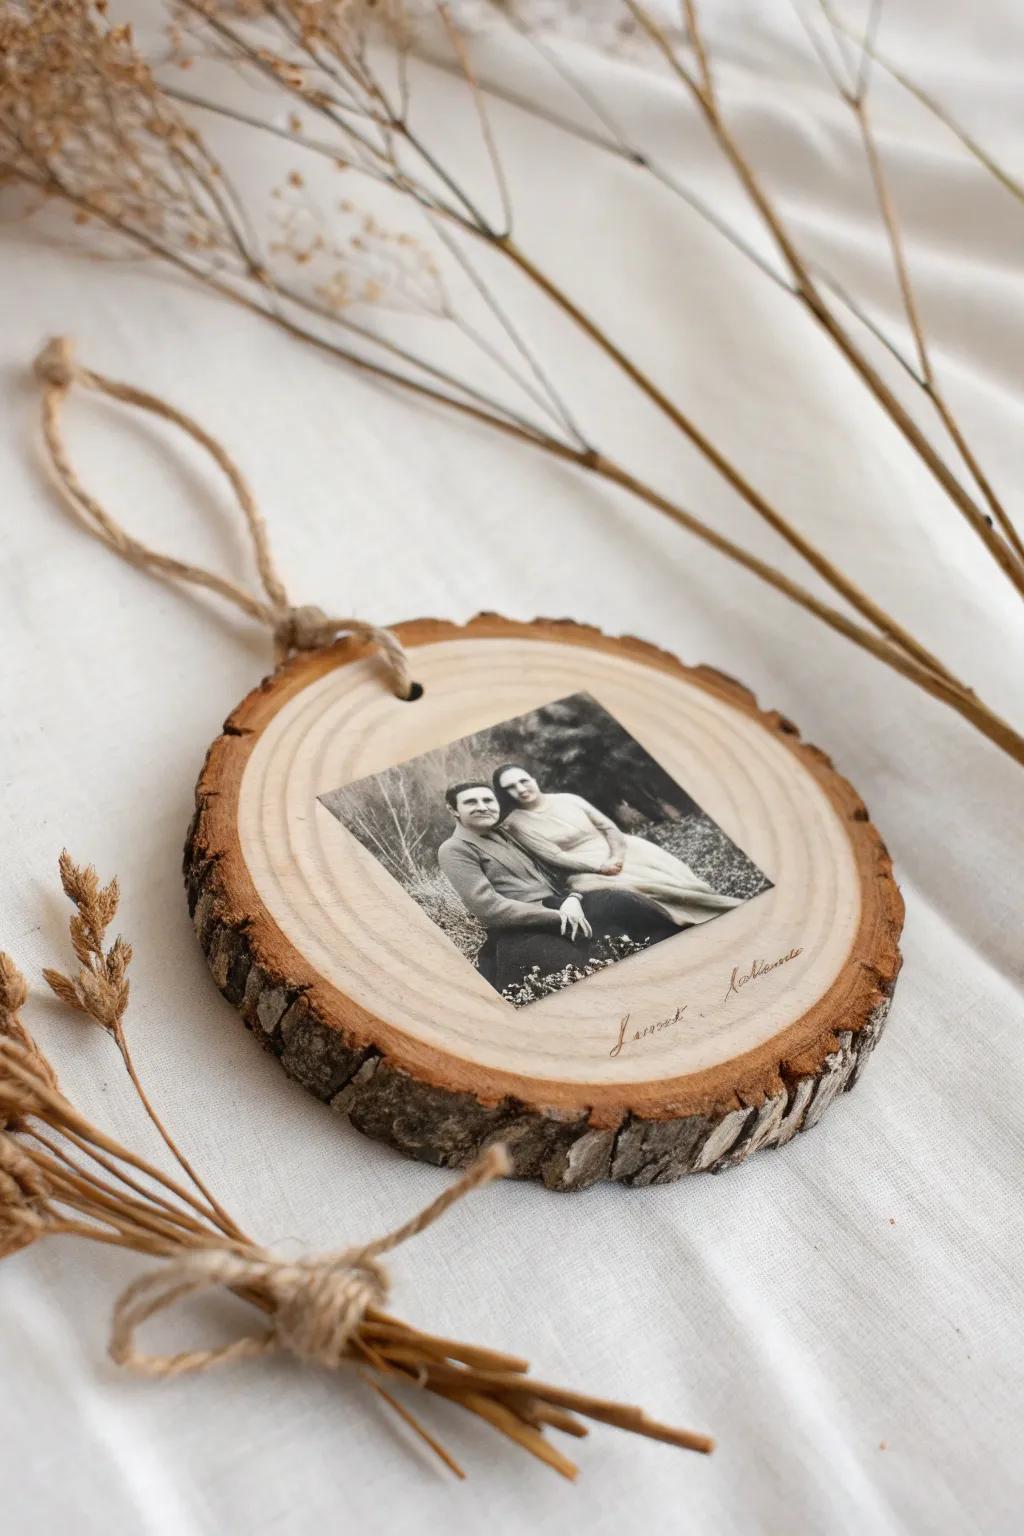
A photo transfer on a wood slice gives you that vintage, heirloom look without being fussy. I’ve done family snapshots in black and white, and the wood grain showing through makes it feel extra special.
You might give these a try:
- Pre-Drilled Natural Wood Slices: Choose these smooth, bark-edged rounds as the perfect rustic canvas for your favorite transferred family photos.
- Photo Transfer Medium Gel: Use this essential crafting gel to seamlessy transfer your laser-printed images directly onto the wood surface.
- Natural Jute Twine: Complete your rustic ornament with this durable twine, perfect for creating hanging loops with vintage charm.
Stitched Ornaments on Drilled Wood
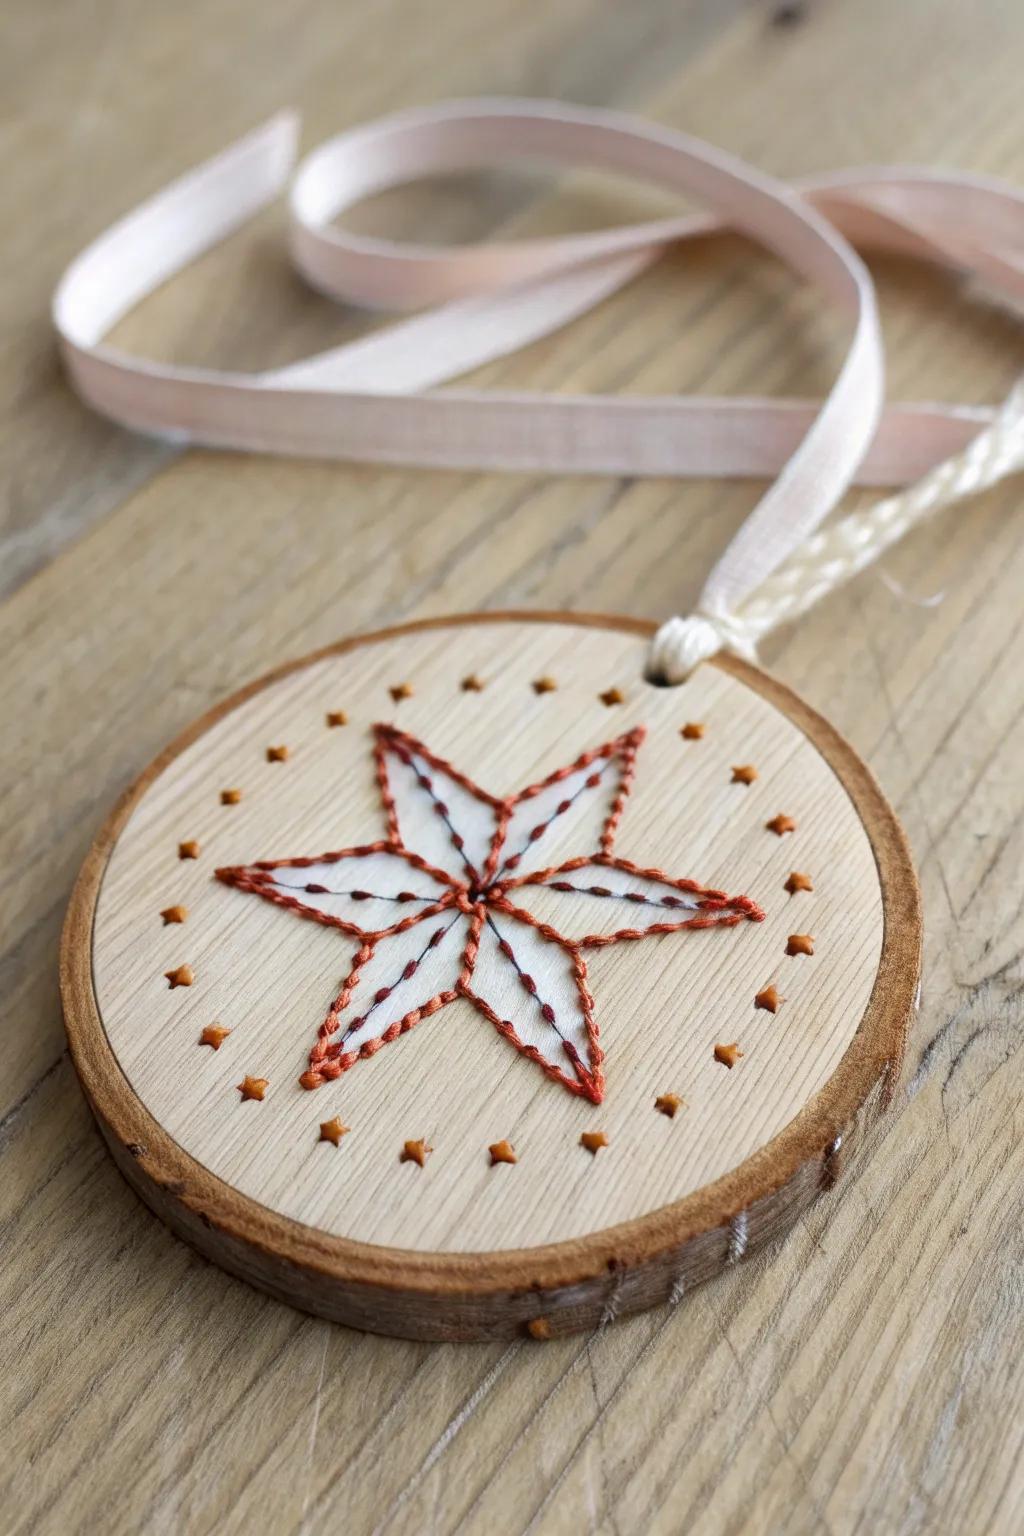
This one always gets a “wait, how did you do that?”—drill tiny holes in a wooden ornament and stitch a star or tree with embroidery floss. I tried it as an experiment in my workshop, and now I’m hooked on that cozy handmade texture.
Give these a look:
- Small Handheld Precision Drill Set: Create the essential tiny holes for your stitching patterns easily with a precise and manageable hand drill.
- Unfinished Round Wooden Slices: Start with these pre-drilled or blank wooden rounds as the perfect rustic canvas for your embroidered designs.
- Cotton Embroidery Floss Pack: Add vibrant color and cozy texture to your ornaments using this variety of durable stitching threads.
Veneer Scrap Mosaic Ornaments
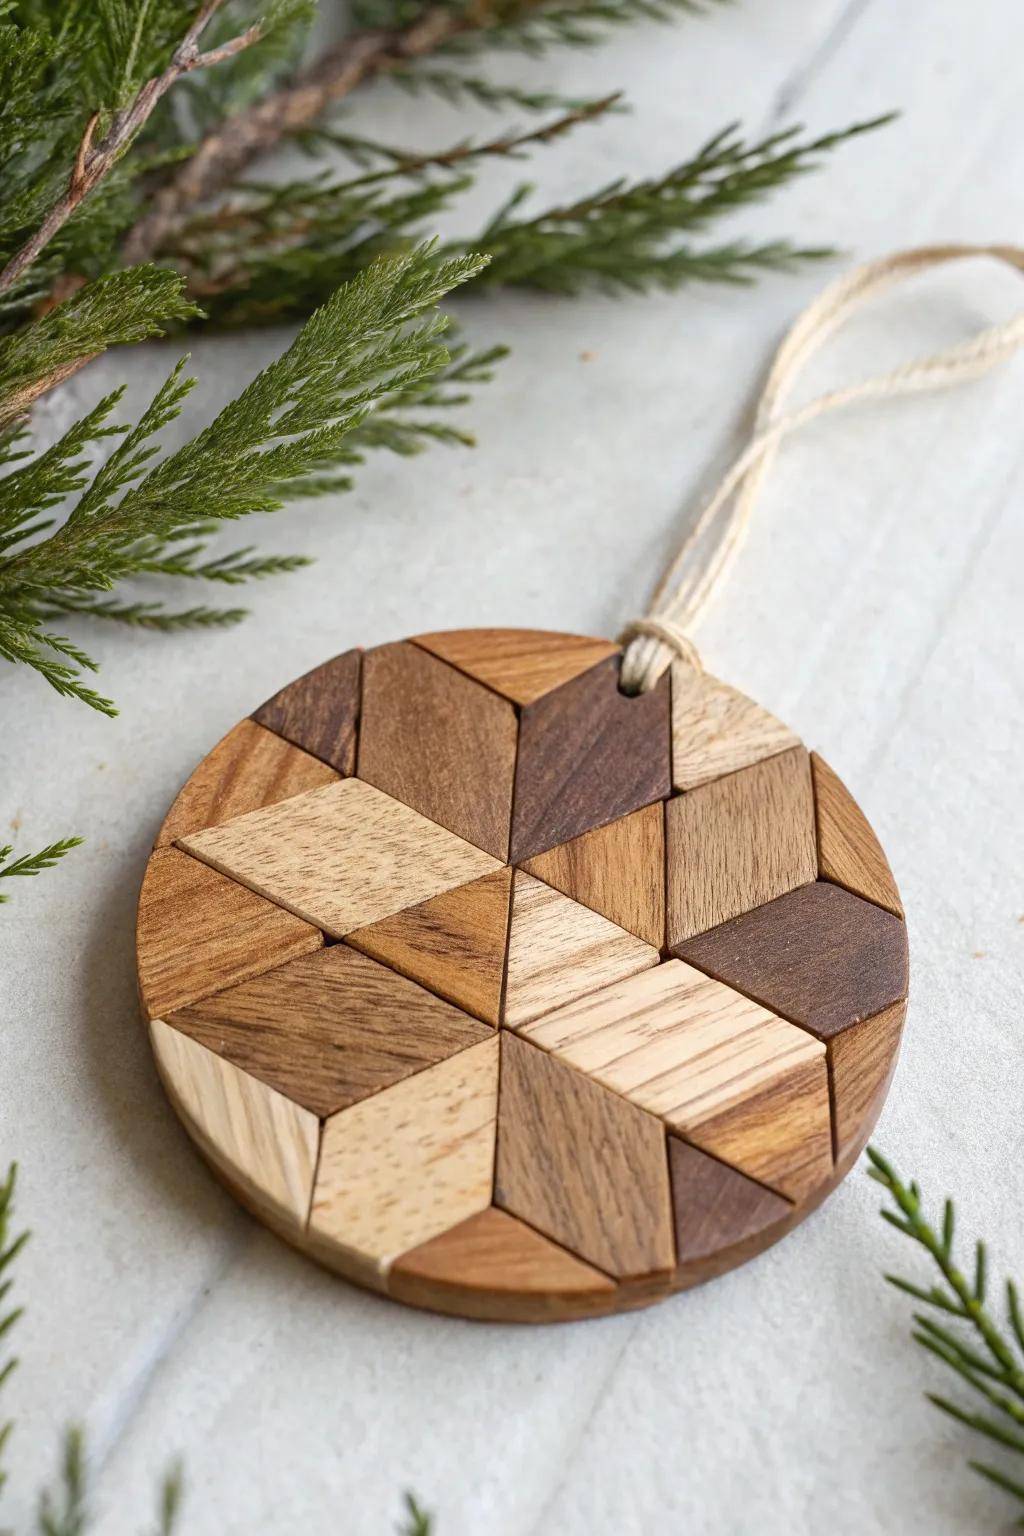
If you have thin wood scraps, create a mosaic ornament by gluing little veneer pieces onto a round and sanding it smooth. I’ve upcycled leftovers from furniture makeovers this way, and the patchwork of grains looks so high-end.
Consider these options:
- Wood Veneer Sample Pack: Create beautiful, contrasting patterns by choosing a variety pack containing different wood species and grain textures.
- Wooden Ornament Blanks: Start your project easily with pre-cut, unfinished wood circles that serve as the perfect sturdy base.
- Fast-Setting Wood Glue: Secure your tiny veneer pieces firmly in place with a reliable adhesive designed specifically for woodworking projects.


