
A tidy woodshop isn’t about being “perfect,” it’s about making it ridiculously easy to grab what you need and get building.
Try Sliding Wall Panels for Hidden Storage
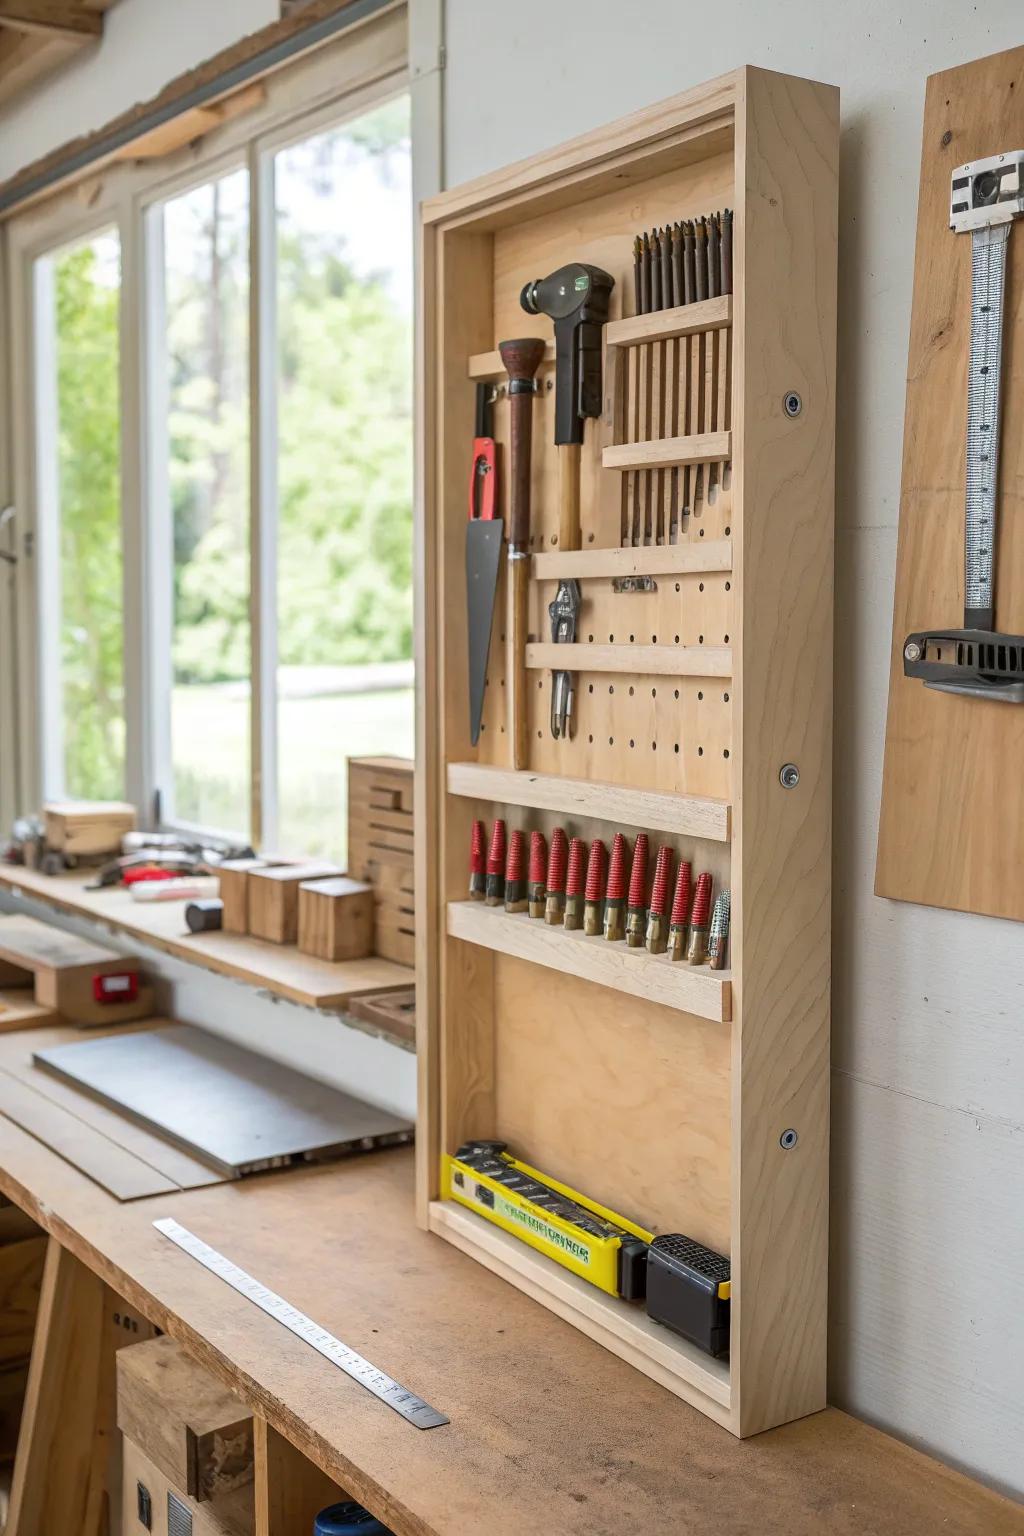
When I tested sliding tool panels, it felt like discovering a secret room—so much storage without eating floor space. You can hang shallow tools on the front and stash backups behind, which is perfect for small shops.
A few things you might like:
- Heavy-Duty Drawer Slides: Use these robust rails to create the smooth sliding mechanism essential for your accessible hidden storage panels.
- Birch Plywood Sheets: Build the sturdy frame and backing for your tool panels with this durable, high-quality wood material.
- Assorted Brass Wood Screws: Secure your construction and fixtures reliably with high-quality fasteners designed specifically for wooden workshop projects.
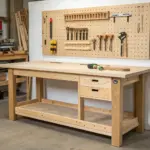
Build a French Cleat Wall

My #1 move was putting up a full French cleat wall so I can rearrange tool holders anytime my projects change. You’ll love how it turns one blank wall into flexible vertical storage without committing forever.
May just do the trick:
- Plywood Sheets or Panels: Create the sturdy backbone of your system by cutting these panels into reliable wall cleats and customized tool holders.
- Table Saw or Circular Saw: Rip your cleats with precision using a reliable saw to ensure the 45-degree bevels lock together perfectly.
- Wood Screws Assortment: Secure your new cleats to the wall studs and assemble holders firmly with a variety of durable fastener sizes.
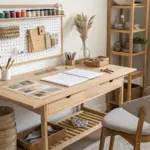
Hang a Simple Pegboard Zone
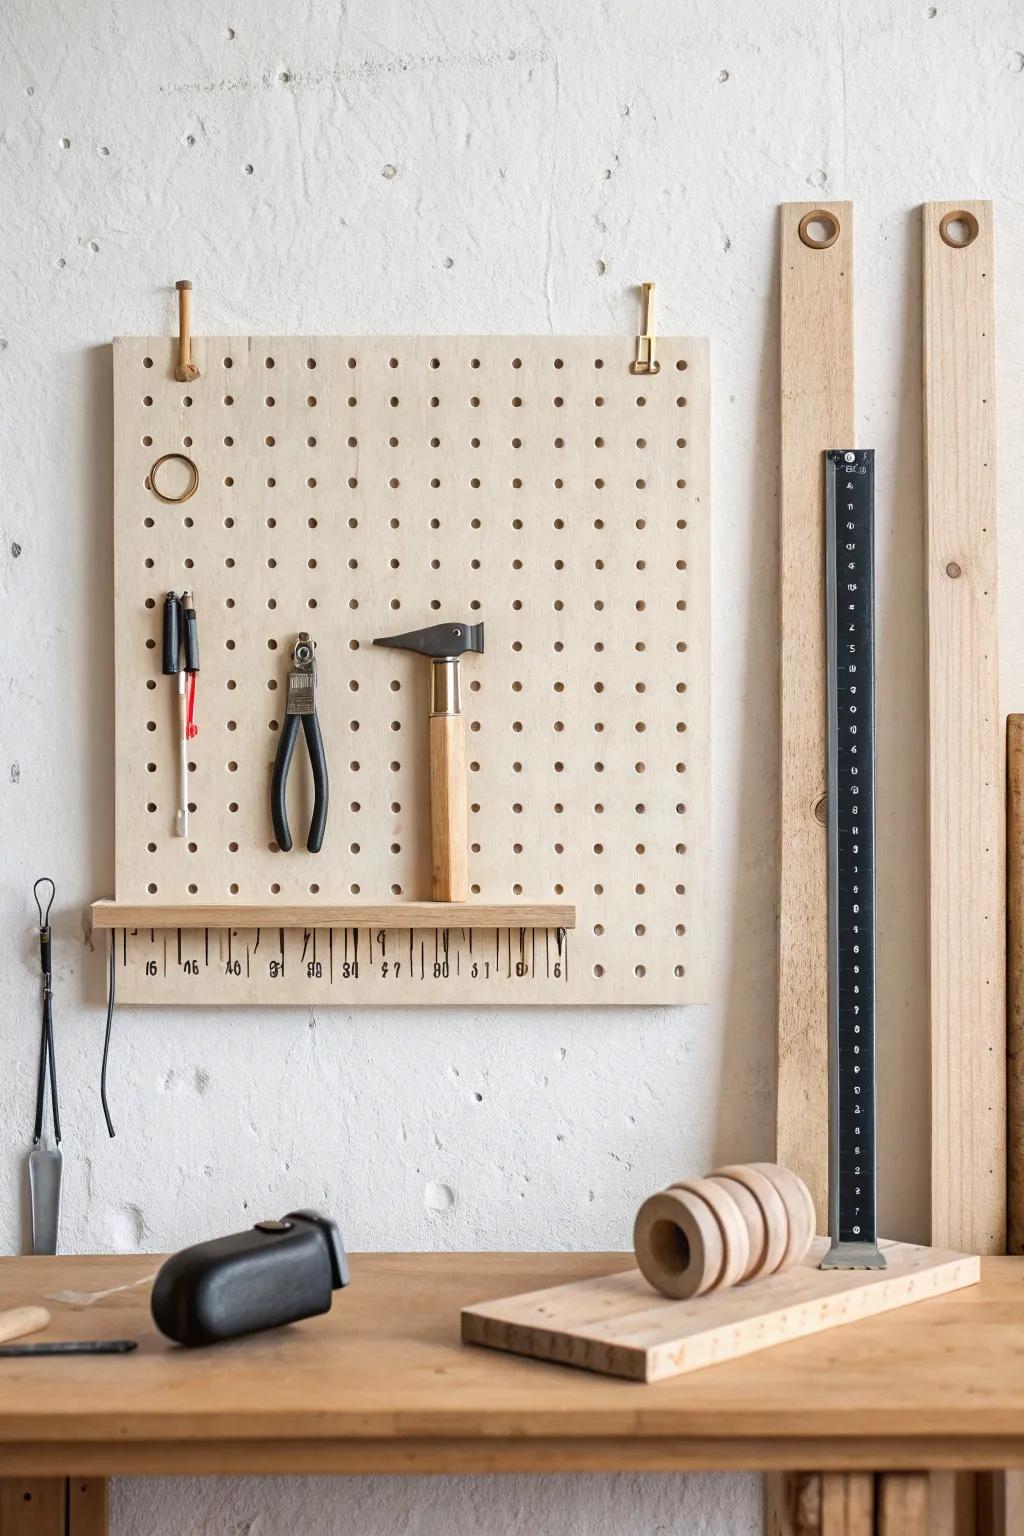
I still keep a pegboard section for the tools I reach for nonstop, like measuring and layout stuff, because seeing them saves me time. If you’ve ever rebought a tool you already own, this one hurts (and helps).
Give these a look:
- Wooden Pegboard Panel: Create a customizable storage wall instantly to keep your essential tools visible and within easy reach.
- Brass Pegboard Hooks: Secure your hammers and pliers stylishly with durable hooks that won’t bend under standard tool weight.
- Black Steel Workshop Ruler: Upgrade your layout game with a high-contrast ruler that makes measuring precise cuts significantly faster.
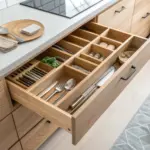
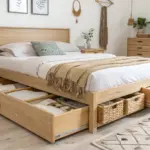
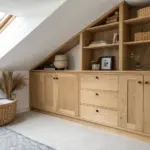
Add Under-Bench Drawers
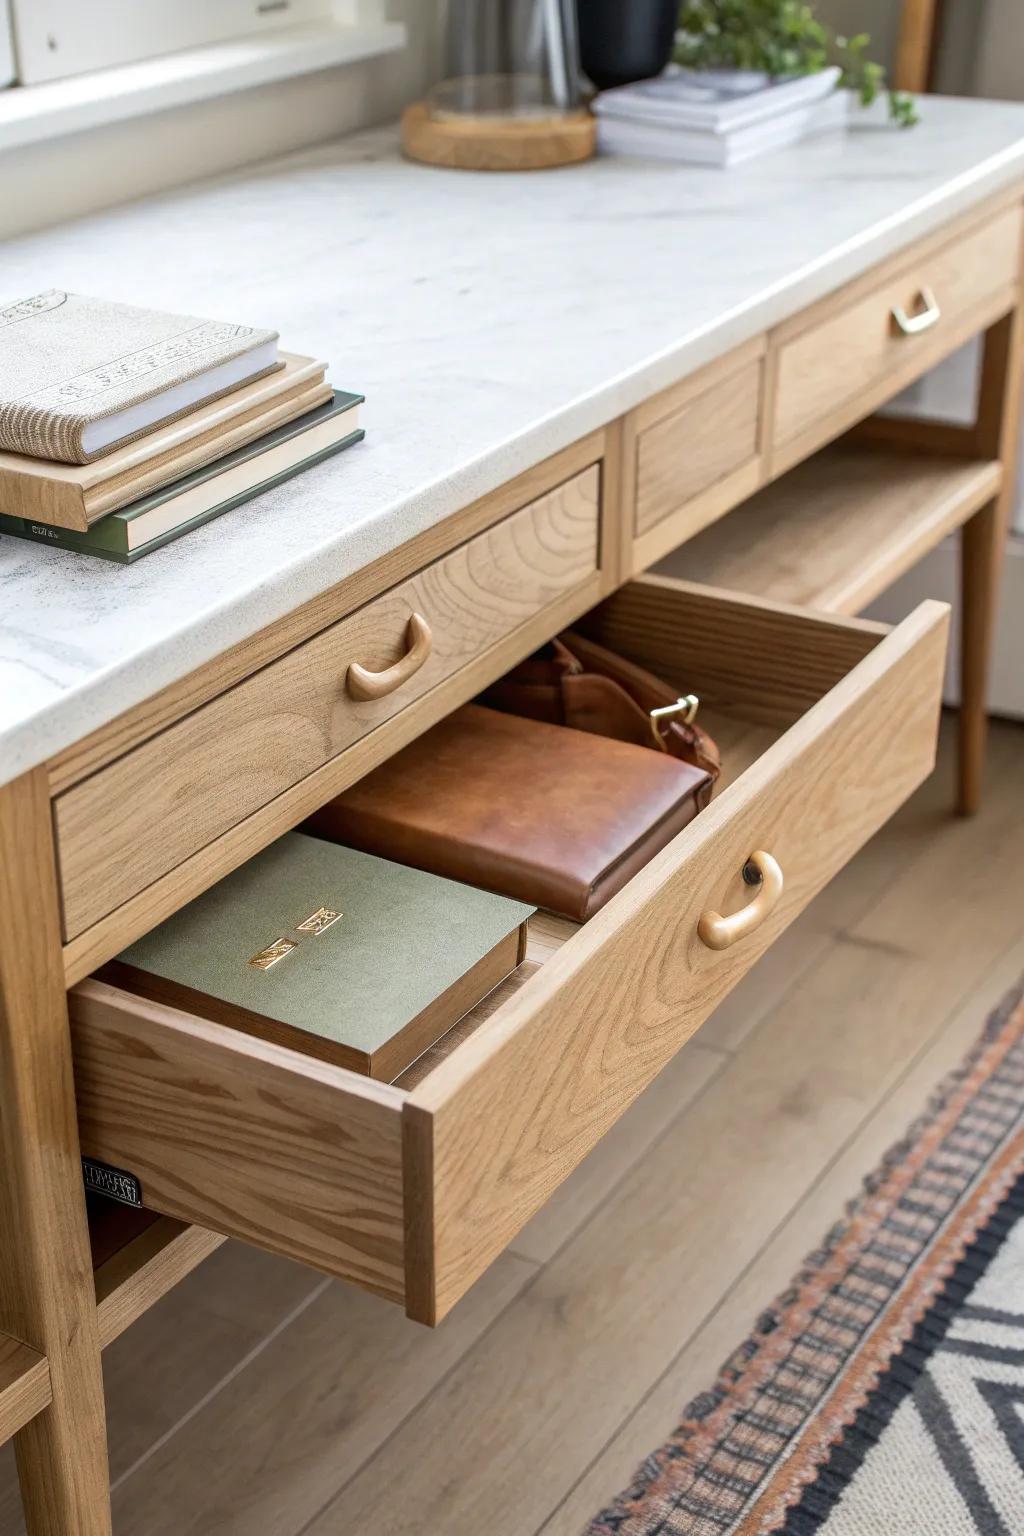
When I finally built under-bench drawers, my work surface stopped becoming a junk shelf overnight. You can stash sanding pads, squares, and small hand tools where they’re close but not in your way.
A few helpful options:
- Ball Bearing Drawer Slides: Upgrade your project with smooth-gliding hardware to ensure your new drawers open effortlessly every time.
- Drawer Pull Handles: Add a clean, functional finish to your drawers with sturdy handles that make access quick and easy.
- Drawer Organizer Trays: Keep sanding pads and squares neatly separated inside your new drawers to prevent clutter from returning.
Create a Clamp Rack You’ll Actually Use
I mounted a dedicated clamp rack right by my assembly spot, and suddenly clamping up feels easy instead of chaotic. Put it where you glue up projects, not where you think it “should” go.
Try these:
- Wall-Mounted Tool Storage Rack: Organize your essential clamps and assembly tools neatly on the wall to keep your workspace clear.
- Small Spring Clamps Set: Keep versatile small clamps ready for quick glue-ups and holding delicate pieces securely in place.
- Leather Workshop Apron: Protect your clothes from glue and sawdust while keeping small measuring tools close at hand.
Set Up a Cutoff Sorting Station
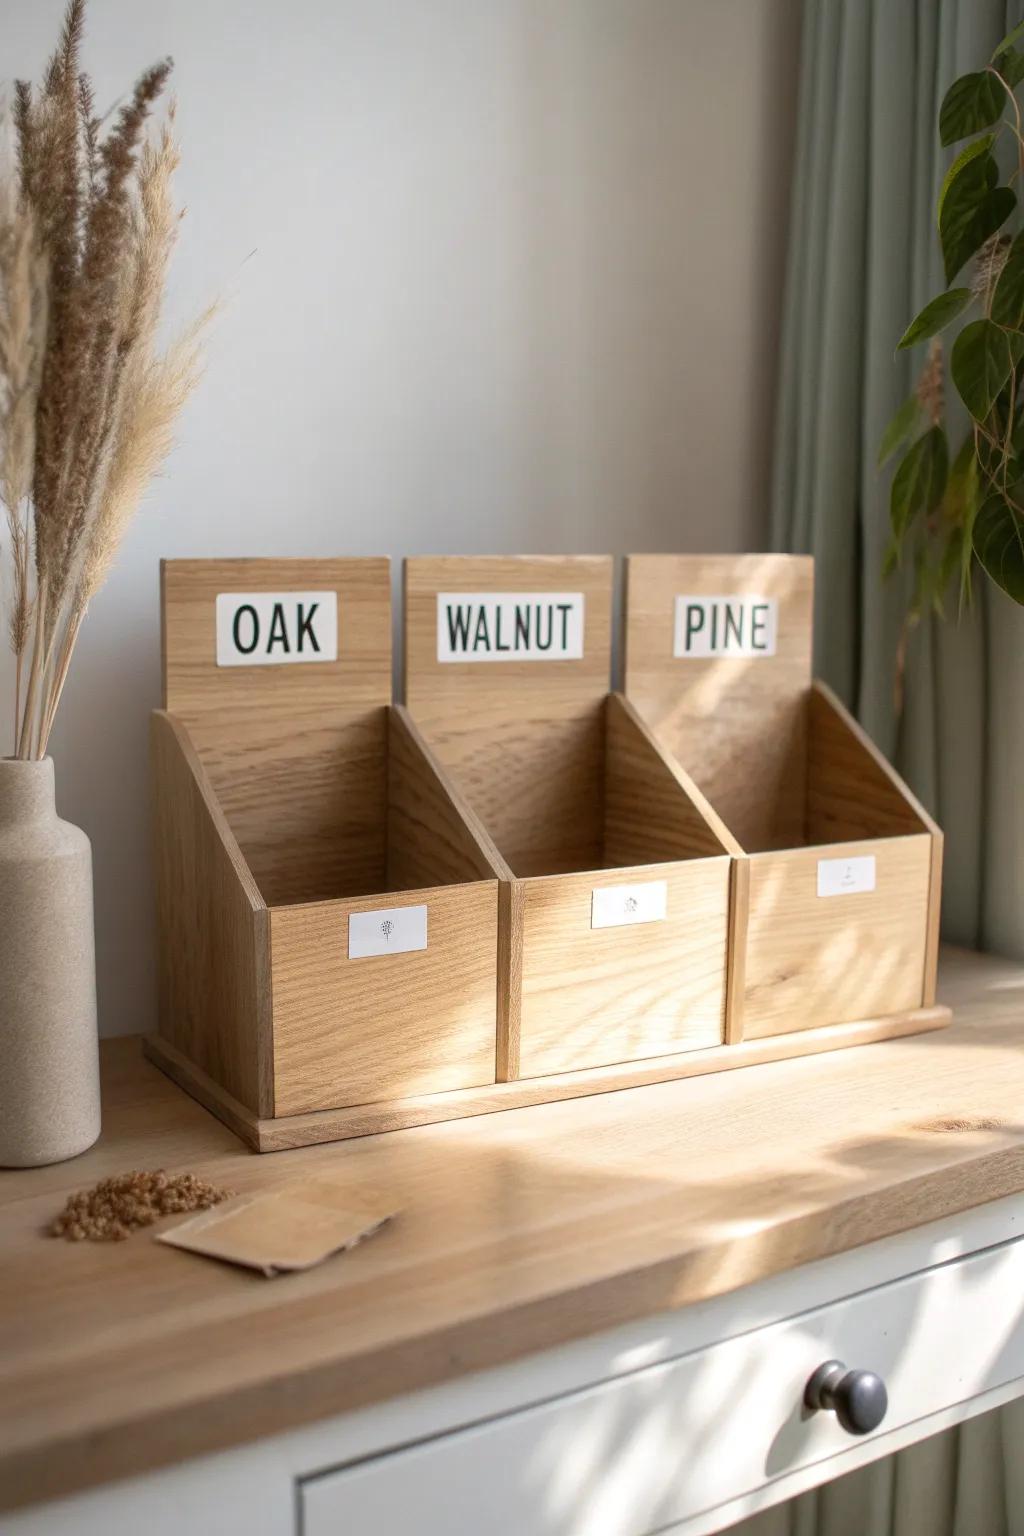
I keep a little cutoff bin system sorted by species and thickness, because “scrap piles” turn into monster piles fast. You’ll be shocked how often those organized offcuts become the perfect jig, shim, or small project.
Possibly helpful picks:
- Wooden Desk Organizer: Keep small offcuts neatly sorted by wood species with a sturdy, multi-compartment wooden organizer for your workbench.
- Self-Adhesive Label Names: Clearly identify each bin’s contents using simple self-adhesive labels to ensure you always grab the right species.
- Small Parts Storage Bins: Alternatively, use durable plastic or wood open-front storage bins to easily stack and access your cutoff collection.

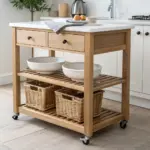
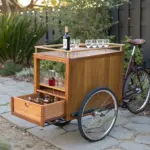
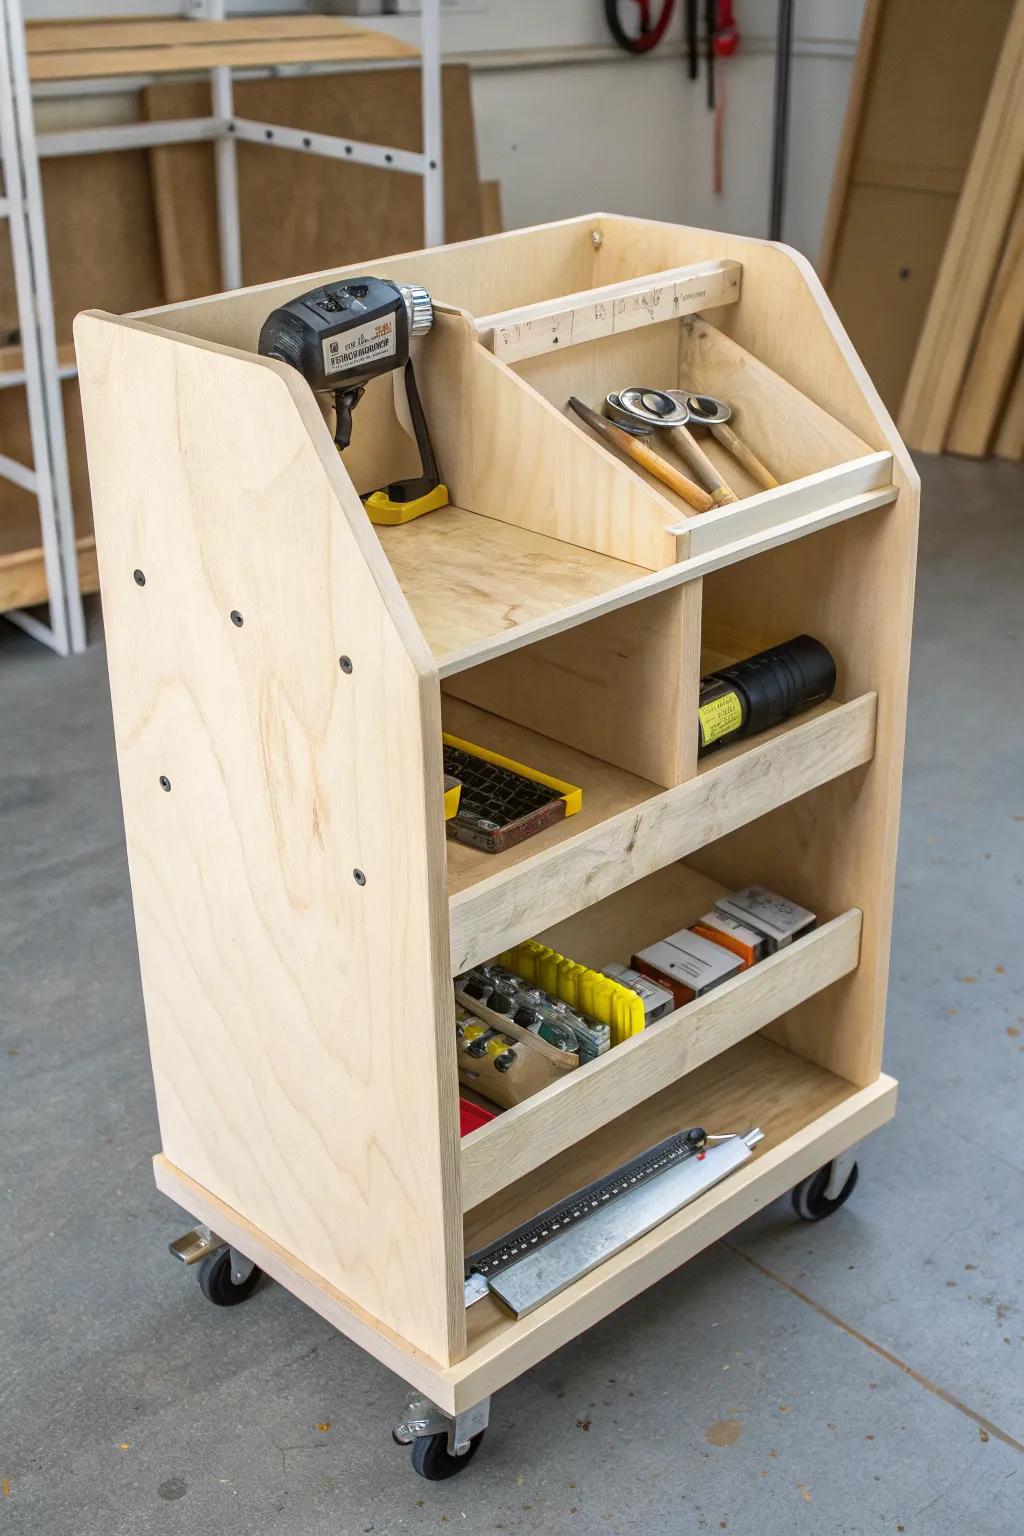
Use a Rolling Tool Cart for Daily Tools
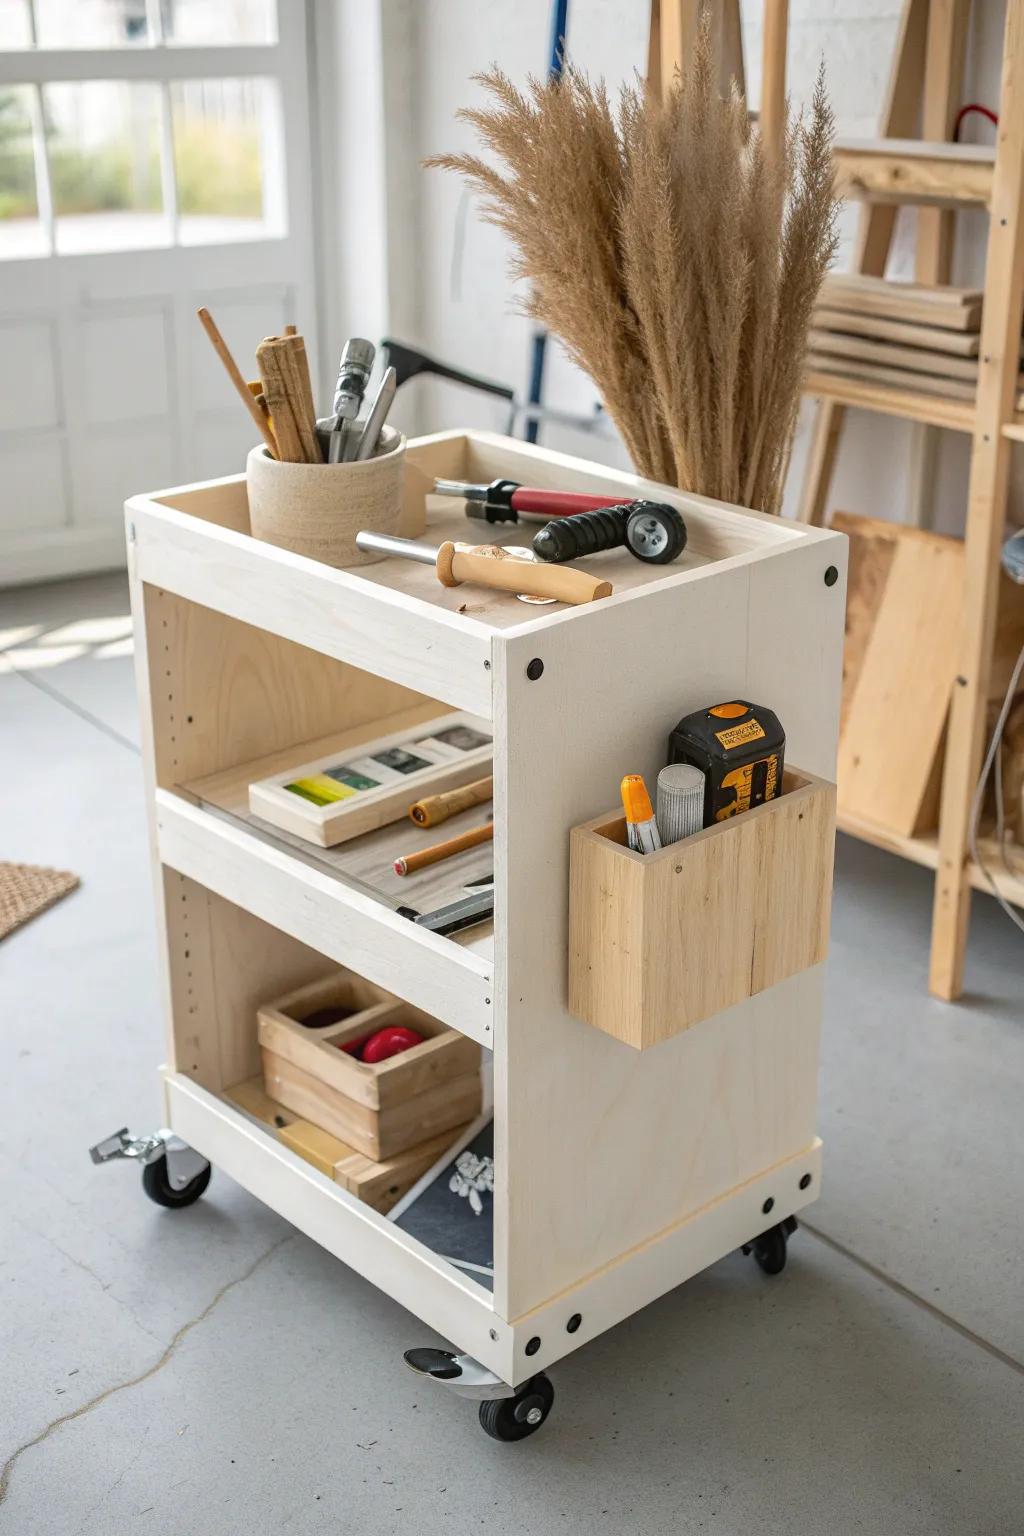
My rolling tool cart is basically my sidekick, and it keeps my bench clear while I work. If you’re in a garage shop, being able to roll your setup around feels like gaining extra square footage.
These products might be useful:
- Wooden rolling utility cart: Keep essential tools within easy reach and roll your workspace wherever you need it most today.
- Set of heavy-duty swivel plate casters: Add mobility to your existing shop furniture or build your own custom rolling cart from scratch.
- Wooden desk organizer bins: Sort small items like screws, pencils, and fasteners neatly on your cart shelves for quick access.
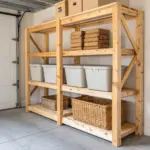
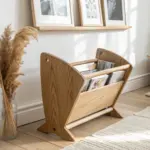
Store Lumber on Wall Racks, Not the Floor
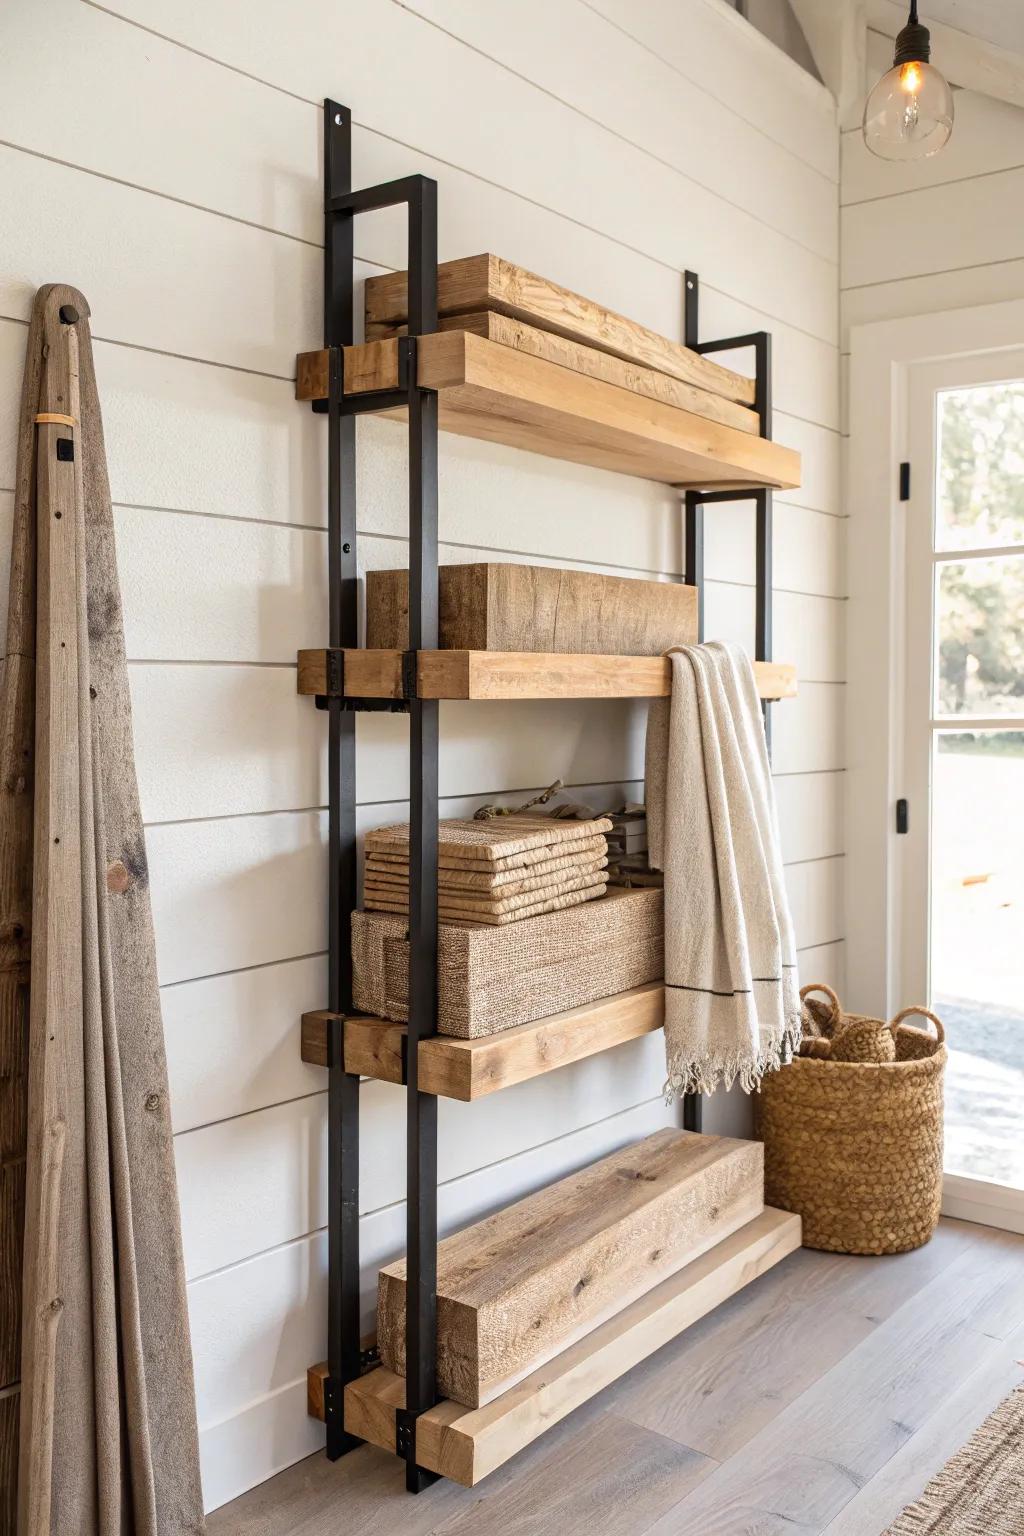
The day I switched to wall-mounted lumber racks, I stopped tripping over boards and started finding the good pieces again. I also keep sheet goods upright in a simple slot so they don’t warp or avalanche.
A few relevant products:
- Industrial Pipe Bracket System: Build your own custom heavy-duty shelves to organize lumber vertically using these strong, industrial-style pipe supports.
- Wall-Mounted Lumber Storage Rack: Instantly clear floor space by installing dedicated metal racks designed specifically to bold heavy loads of wood.
- Woven Storage Baskets: Keep smaller wood scraps or shop rags organized and accessible with durable, textured baskets for lower shelves.
Build a Miter Saw Station With Cubby Storage
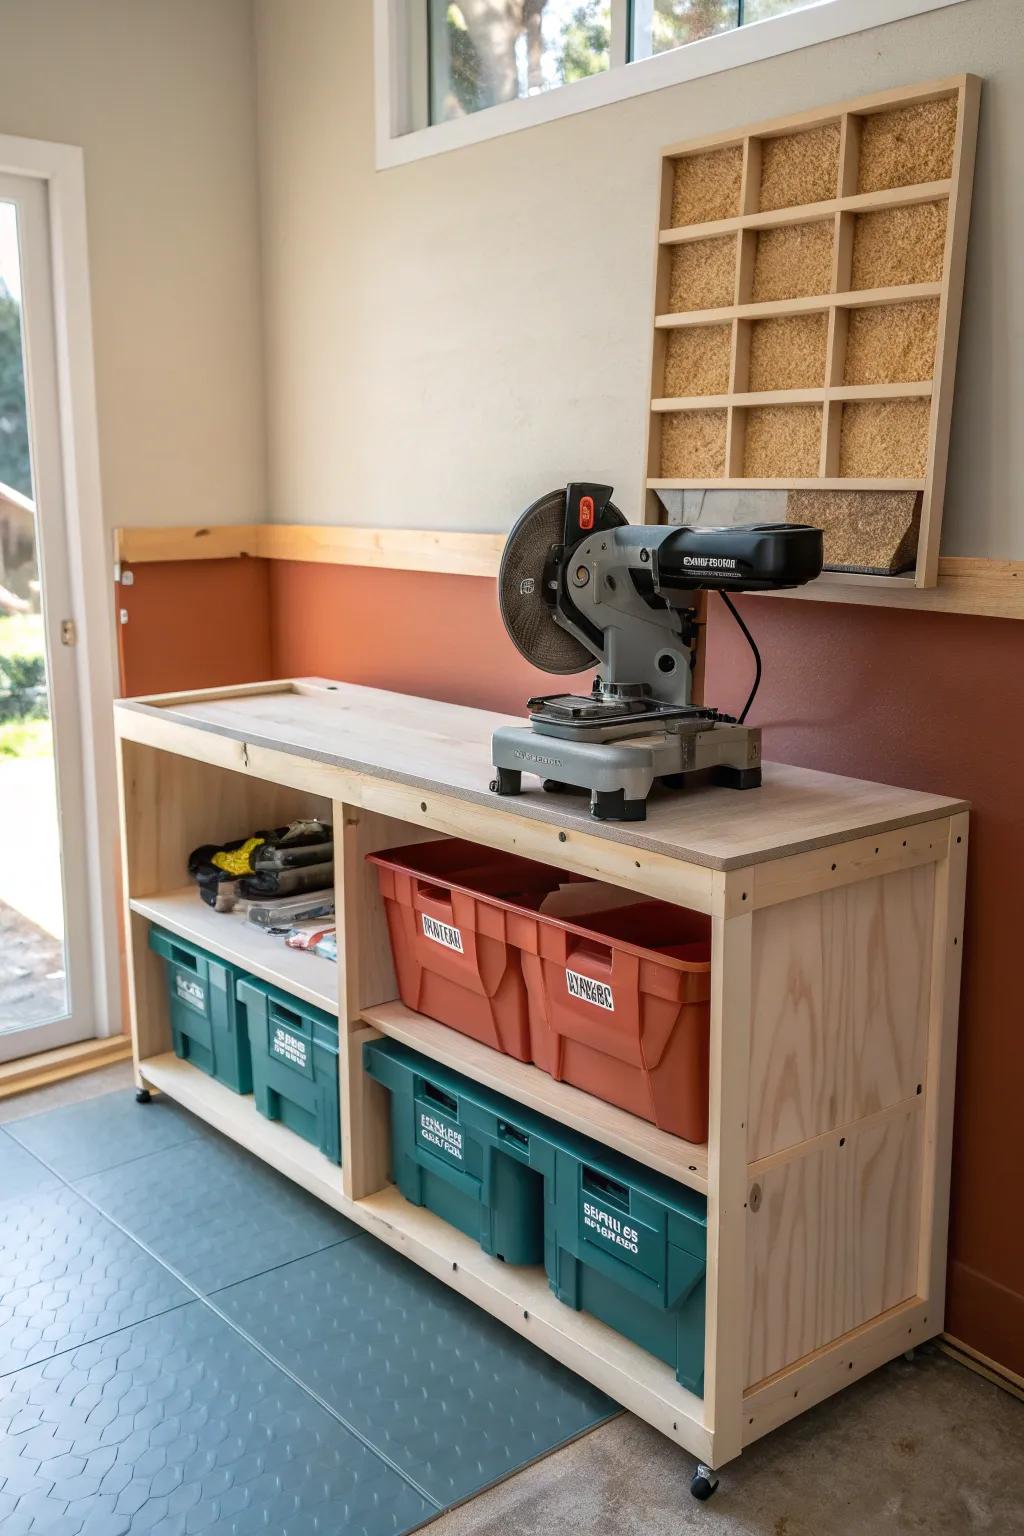
I love a miter saw station with cubbies underneath for short boards and frequently used offcuts. It keeps your cut area clean and turns that awkward wall into a legit cutting center.
Products that could assist:
- Stackable Storage Bins: Keep your offcuts and small tools sorted efficiently with these sturdy, easy-to-access plastic storage containers.
- Heavy-Duty Caster Wheels: Make your new workbench mobile simply by adding locking casters to the base for shop flexibility.
- Compound Miter Saw: Equip your station with a reliable saw to handle precise crosscuts and essential woodworking angles effectively.
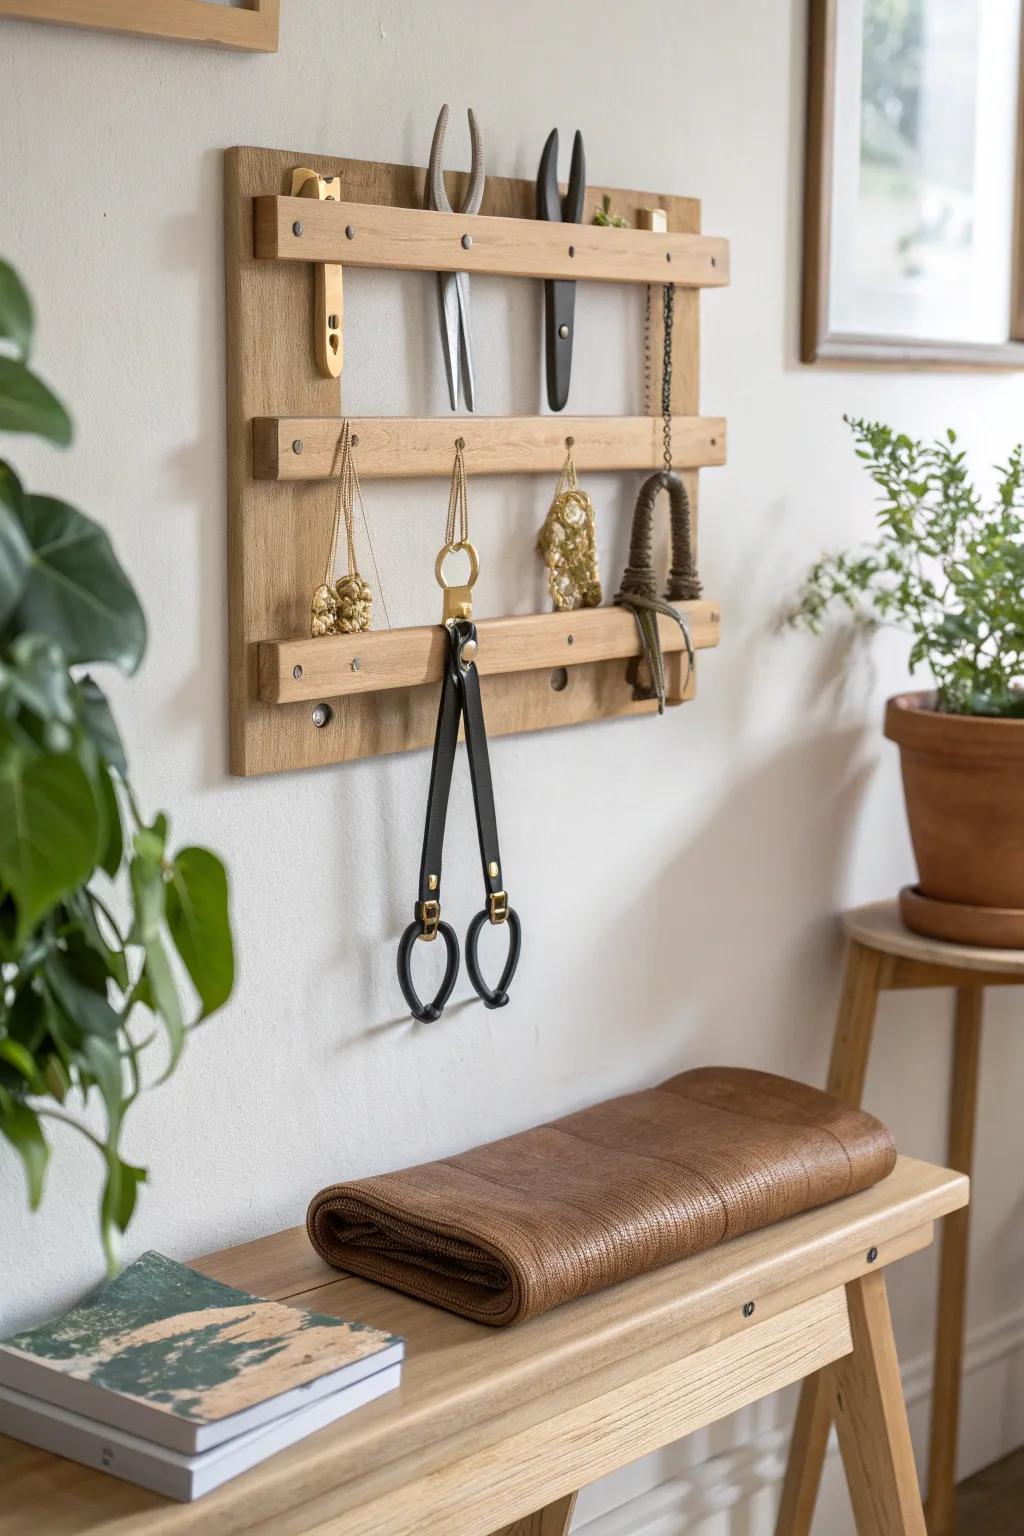
Make a Saw Till for Hand Saws
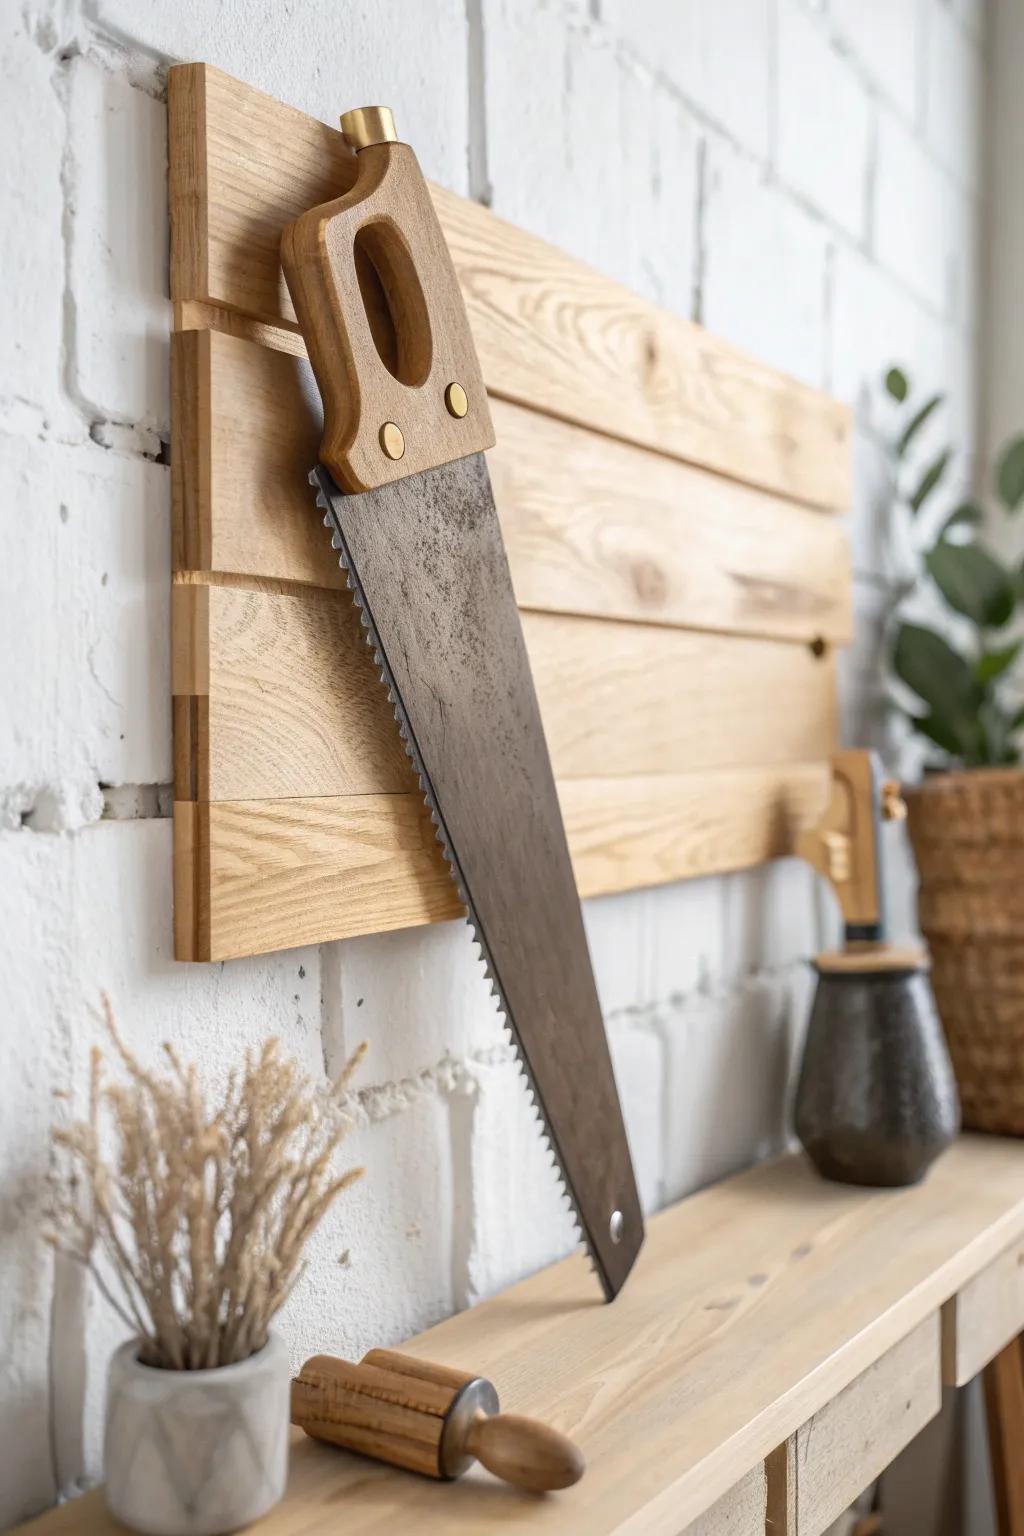
I built a wall saw till so my hand saws aren’t banging into each other in a corner. It looks classic, keeps teeth protected, and makes me actually use my handsaws more.
Useful items to consider:
- Hardwood Lumber Boards: Choose sturdy hardwood boards to construct durable slots that securely hold your hand saws in place.
- Brass Wood Screws: Use classic brass screws to assemble your till, adding a timeless, traditional look to your workshop.
- Wood Finish Oil: Protect your new saw till and enhance the natural wood grain with a quality finishing oil.
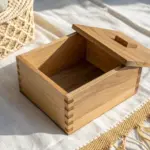
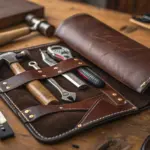
Create a Router Bit and Accessory Drawer
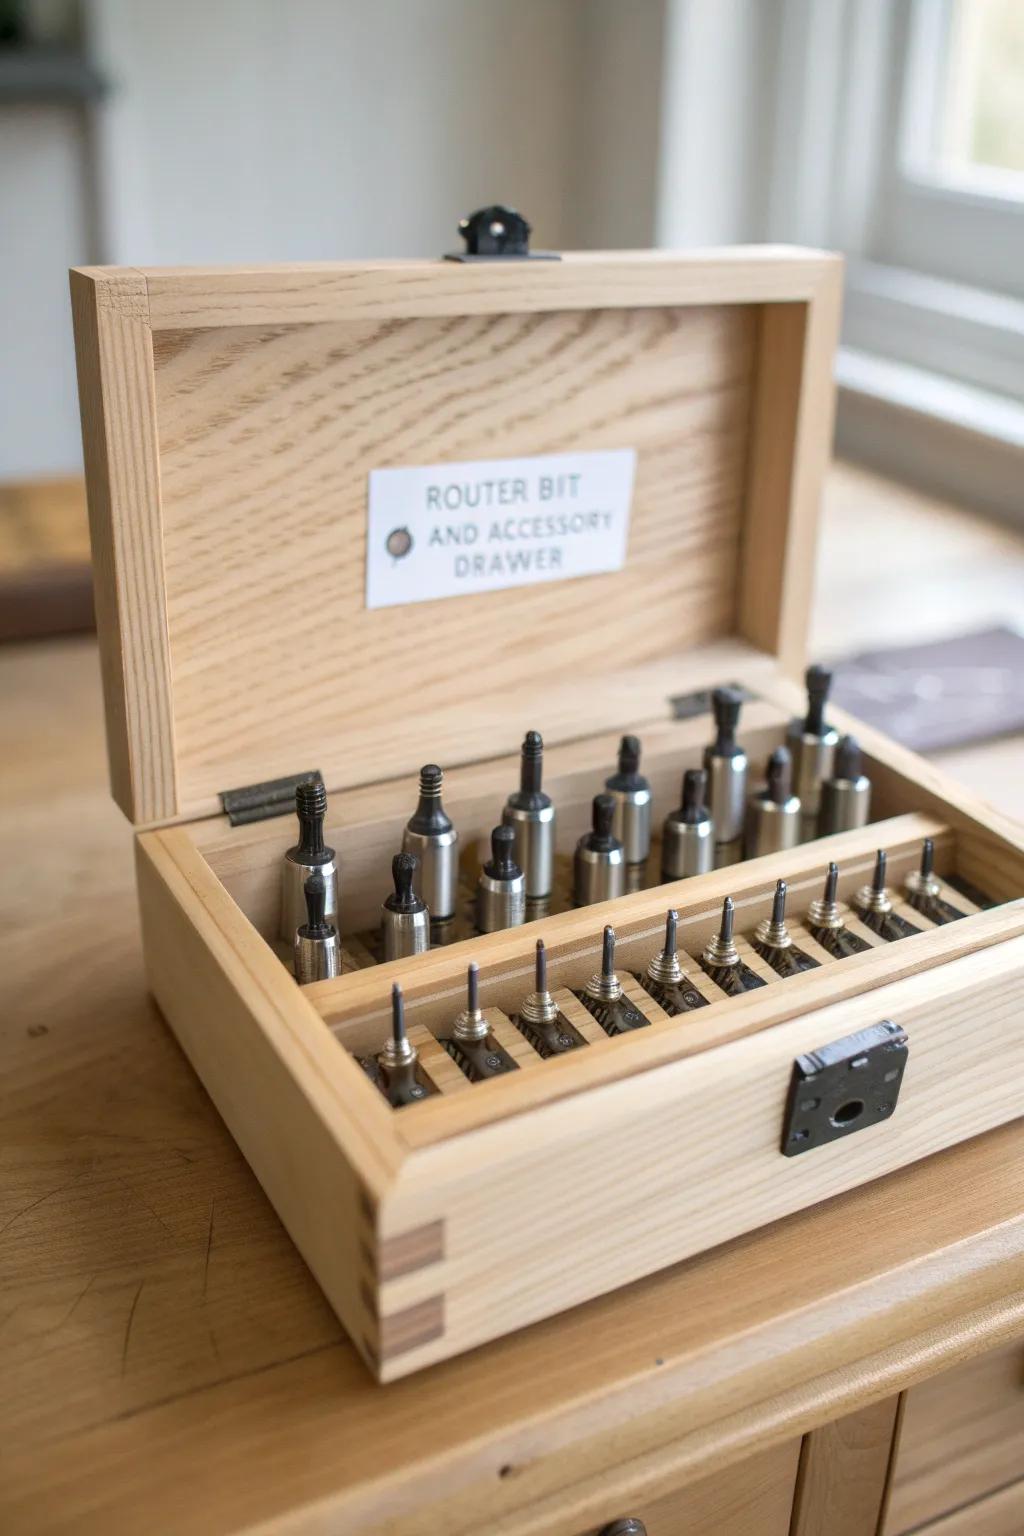
Once I gave router stuff a real home with bit storage and labeled drawers, setups got faster and way less annoying. I keep wrenches, collets, and guides together so I’m not hunting mid-project.
Possibly handy products:
- Router Bit Storage Inserts: Secure your bits firmly in existing drawers or custom boxes with these durable, pre-molded storage grommets.
- Small Wooden Storage Box: Organize your loose accessories and bits in a sturdy wooden case, perfect for customizing your own layout.
- Self-Adhesive Label Holders: Clearly identify drawer contents or specific bit sizes with these easy-to-attach label holders for quick retrieval.
Organize Sandpaper Like a Mini Library

I store abrasives by grit in a sandpaper organizer, and it’s honestly one of the biggest “why didn’t I do this sooner” wins. You’ll stop using random mystery sheets and start sanding like you mean it.
You might like:
- Wooden Desktop File Sorter or Organizer: Keep sanding sheets upright and accessible with a slotted wooden organizer, offering clear visibility for every grit.
- Self-Adhesive Number Stickers or Labels: Label each slot clearly by grit size so you can grab the exact sandpaper sheet you need instantly.
- Assorted Grit Sandpaper Pack: Stock your new library immediately with a variety pack of high-quality sandpaper sheets ranging from coarse to fine.
Label Everything You Touch Twice
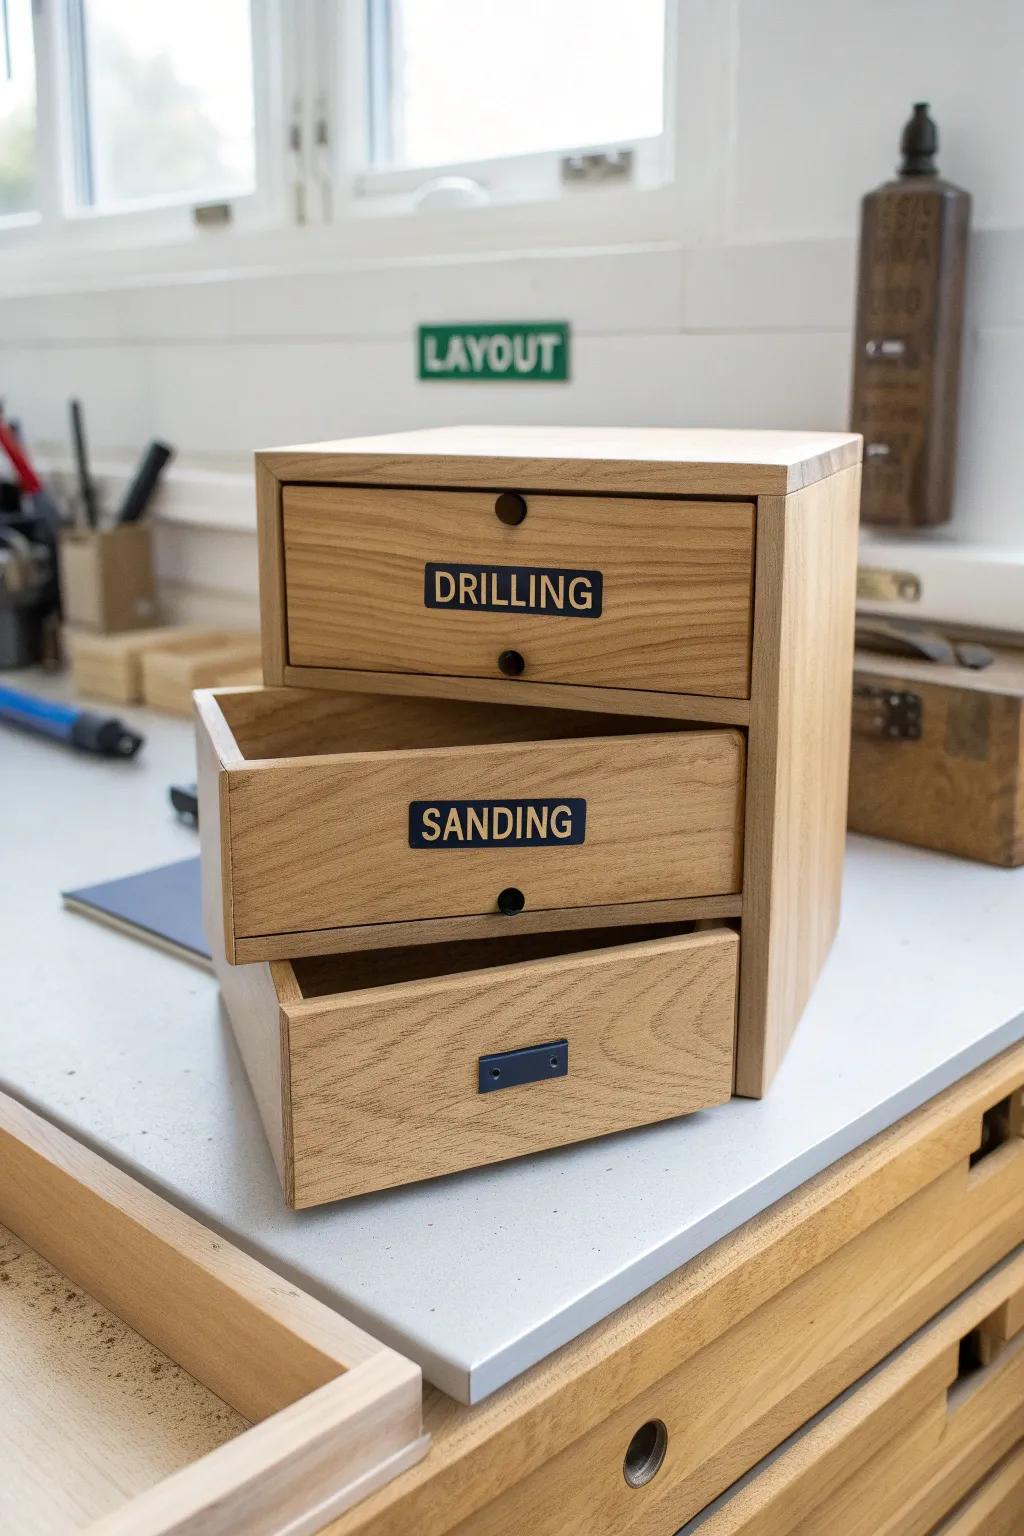
In my shop, drawer labels are the difference between feeling calm and spiraling into a scavenger hunt. I label by task (like “layout” or “drilling”) because that matches how my brain searches when I’m building.
Might be a good match:
- Embossing Label Maker: Create durable, easy-to-read labels with a vintage look to instantly organize your workshop drawers and bins.
- Replacement Label Tape: Stock up on high-contrast refill tapes to ensure you never run out when organizing your new projects.
- Wooden Desktop Drawer Storage: Keep small tools and hardware sorted by task with compact, stackable wooden organizers for your workbench.
Group Tools Into Simple Work Zones
I organized my shop into work zones—cutting, assembly, sanding, finishing—and it instantly reduced the back-and-forth chaos. If you set your frequently used tools within an arm’s reach of each zone, you’ll feel the flow immediately.
These products might help:
- Heavy-Duty Swivel Caster Wheels: Add mobility to your shop furniture to easily reconfigure zones and keep tools exactly where you need them.
- Plywood Sheets and Lumber: Build custom carts like the one pictured to perfectly fit your specific tools and workshop layout needs.
- Non-Slip Drawer Liners or Mats: Line your cart shelves to prevent expensive tools from sliding around or getting scratched as you move zones.
Mount Benchtop Tools on Drop-In Platforms
I put my benchtop tools on quick-swap platforms that drop into the same spot, so they store neatly and set up fast. It’s a game changer when you don’t have room for every tool to live out on the bench.
Some ideas to consider:
- Birch Plywood Sheets: Build stable, custom-sized platforms for each of your tools to create a uniform mounting system.
- Heavy-Duty Toggle Clamps: Secure your drop-in platforms firmly to your workbench base to ensure safety during tool operation.
- Threaded Insert Nut Kit: Create reusable, durable mounting points in your wooden bases for bolting down various benchtop machines.
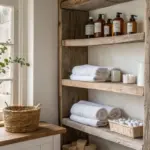
Upcycle an Old Cabinet Into a Finish Locker
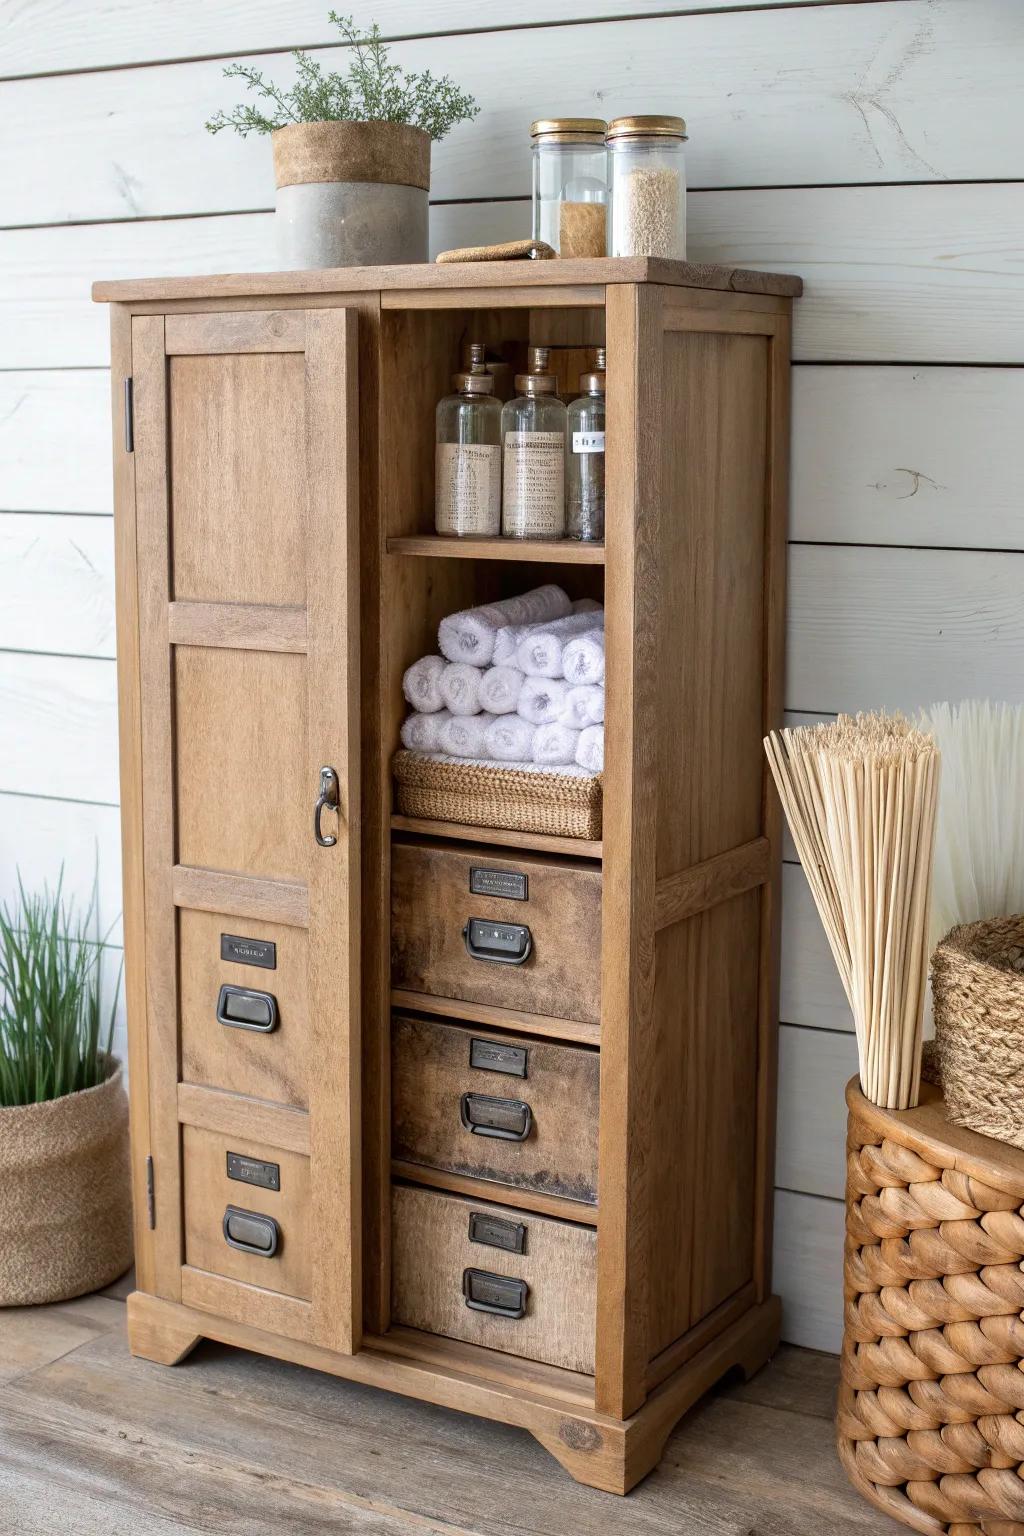
One of my favorite oddball upgrades was turning a beat-up cabinet into a dedicated finishing supplies cabinet, with a little tray for brushes and a spot for rags. Having all the messy stuff contained makes the whole shop feel cleaner, even on busy build days.
Items that may come in handy:
- Clear Glass Bottles for Solvents: Store solvents, stains, and oils safely in airtight glass bottles to keep your supplies visible and organized.
- Woven Storage Trays: Use shallow woven baskets to create a designated drop zone for keeping clean shop rags neatly folded.
- Vintage Style Drawer Labels: Add metal card holder pulls to your cabinet drawers to easily identify contents and add rustic charm.


