
A good workshop interior makes you feel like building something the second you flip on the lights.
Add a Pegboard for Grab-and-Go Tools
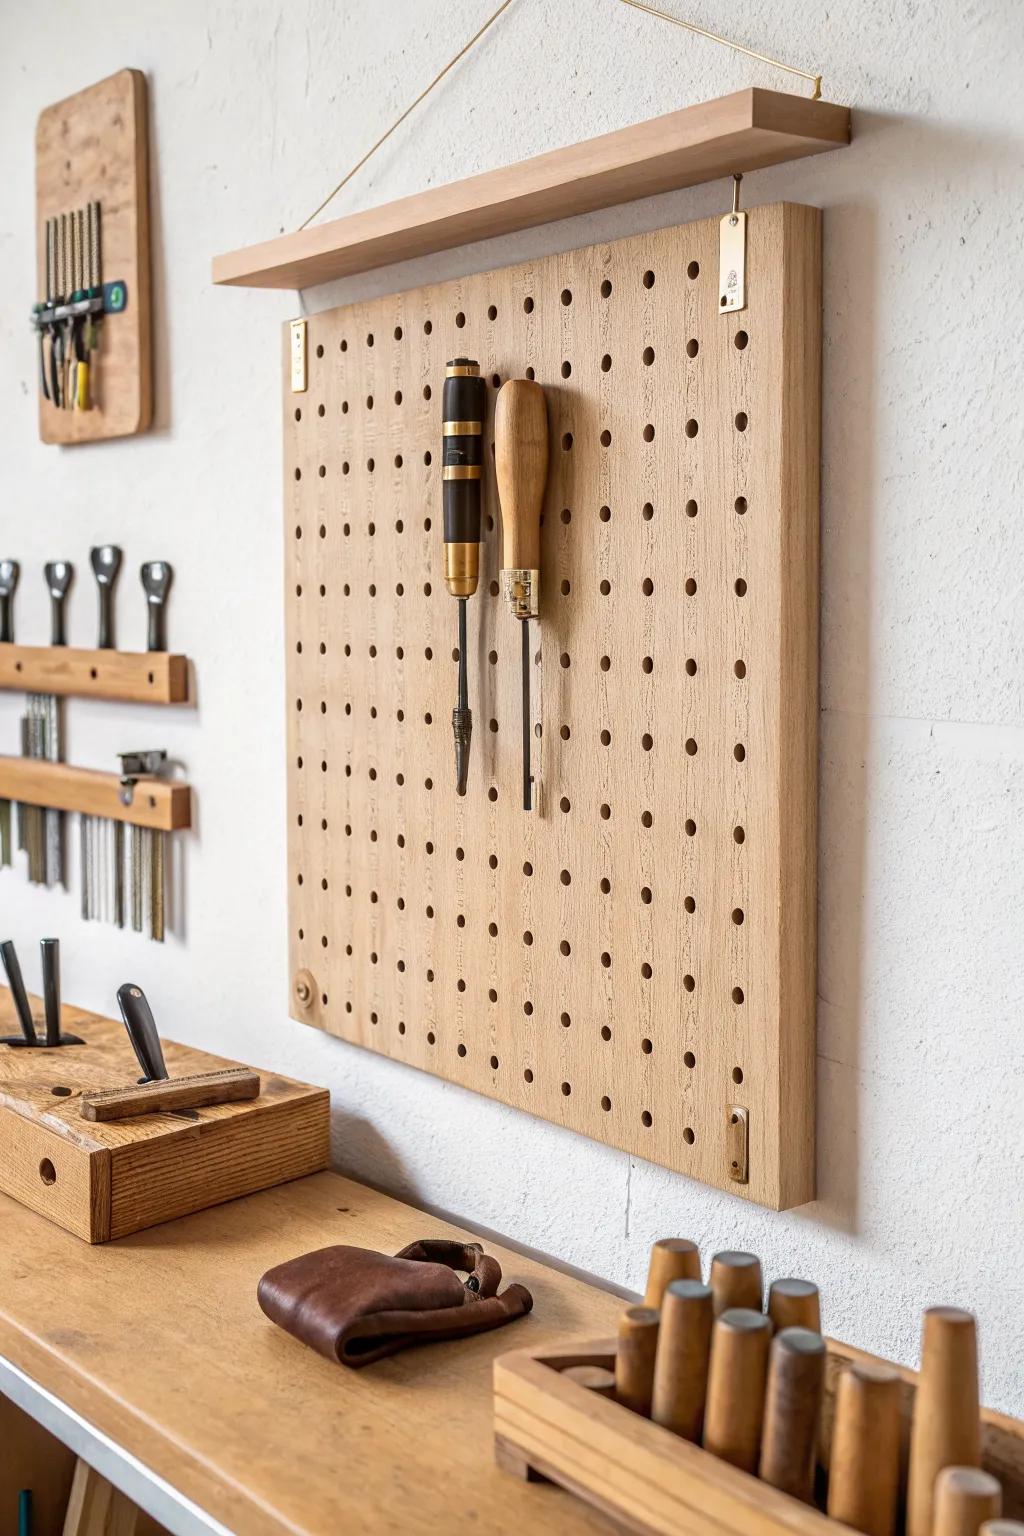
When I’m teaching or bouncing between tasks, a simple pegboard keeps my most-used tools visible and easy to grab. I like outlining each tool’s “parking spot,” because it makes cleanup feel almost automatic.
Maybe worth checking out:
- Wooden Pegboard Panel: Create a warm, organized workspace with a sturdy wooden panel that keeps essential tools within easy reach.
- Brass or Metal Pegboard Hooks: Secure your tools stylishly with durable hooks designed to fit standard pegboards for reliable, clutter-free storage.
- Permanent Paint Markers: Outline your tool placement directly on the board to ensure every item returns to its perfect spot.

Define Clear Work Zones
In my own shop, I get way more done when I split the room into cutting, assembly, and finishing zones instead of letting everything blur together. Even a couple strips of tape on the floor helped me “see” the layout before I committed.
Consider these options:
- Heavy-Duty Floor Marking Tape: Visually designate separate areas for cutting or finishing to keep your shop organized and prevent clutter carryover.
- Mobile Workbench Caster Wheels: Add mobility to work tables like the one shown, allowing you to easily reconfigure zones as needed.
- Modular Storage Bins or Totes: Keep loose parts and finishing supplies contained within specific zones to maintain a clean and efficient workflow.

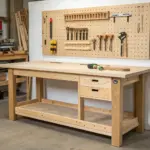
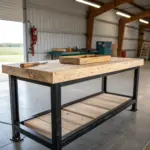
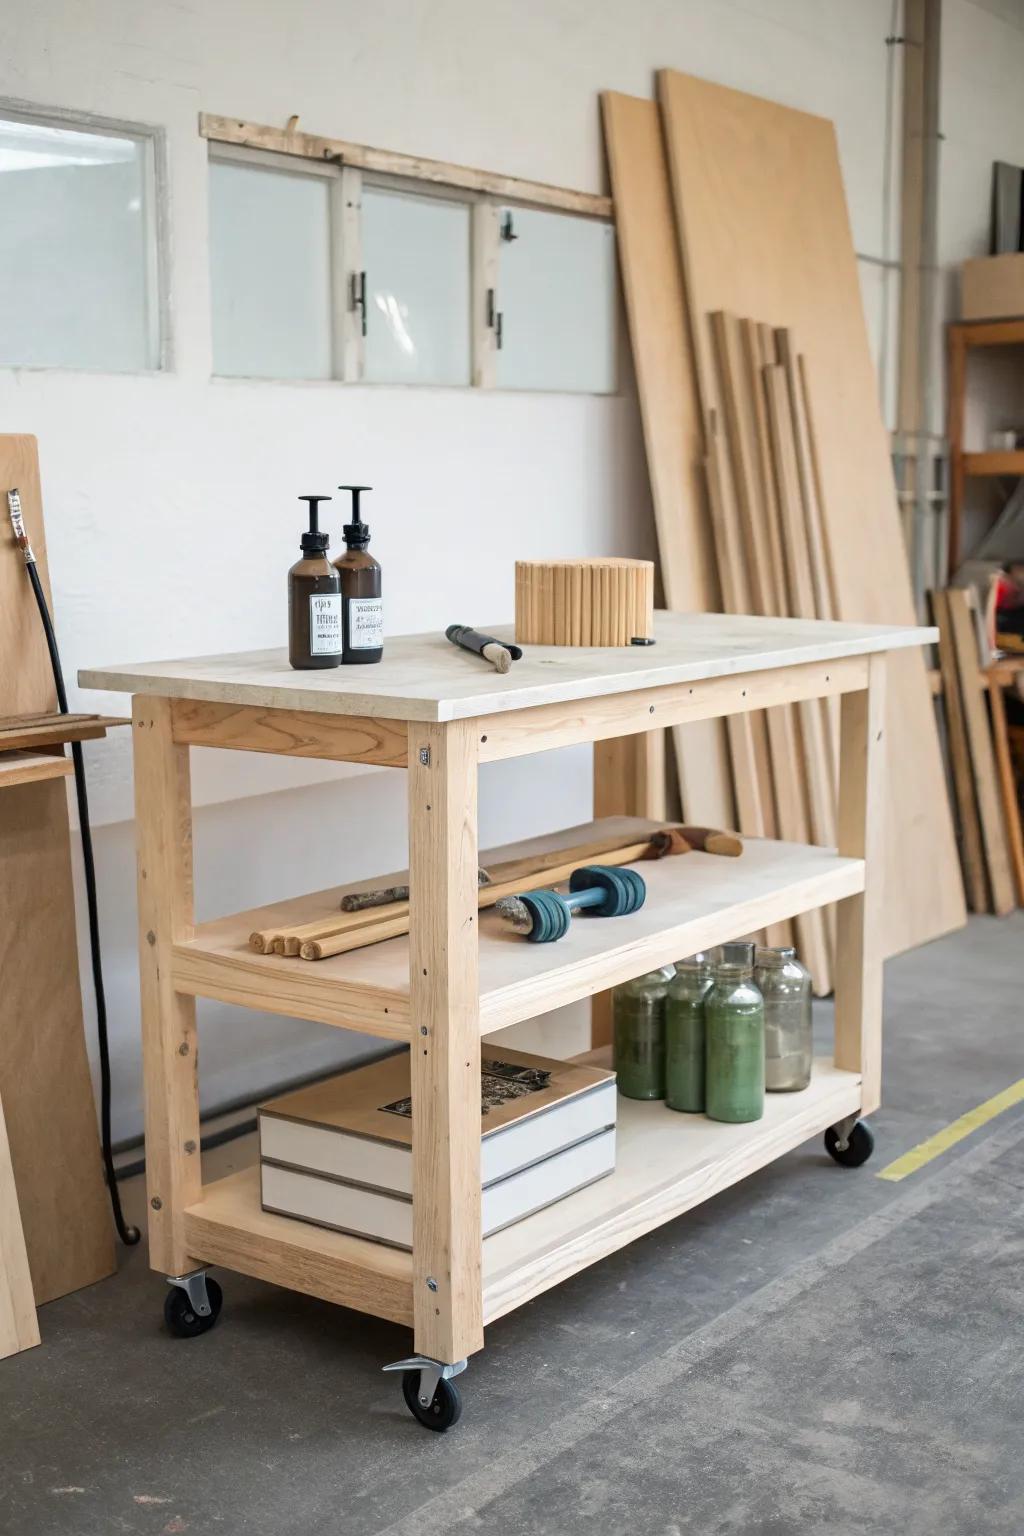
Build a Center Assembly Table
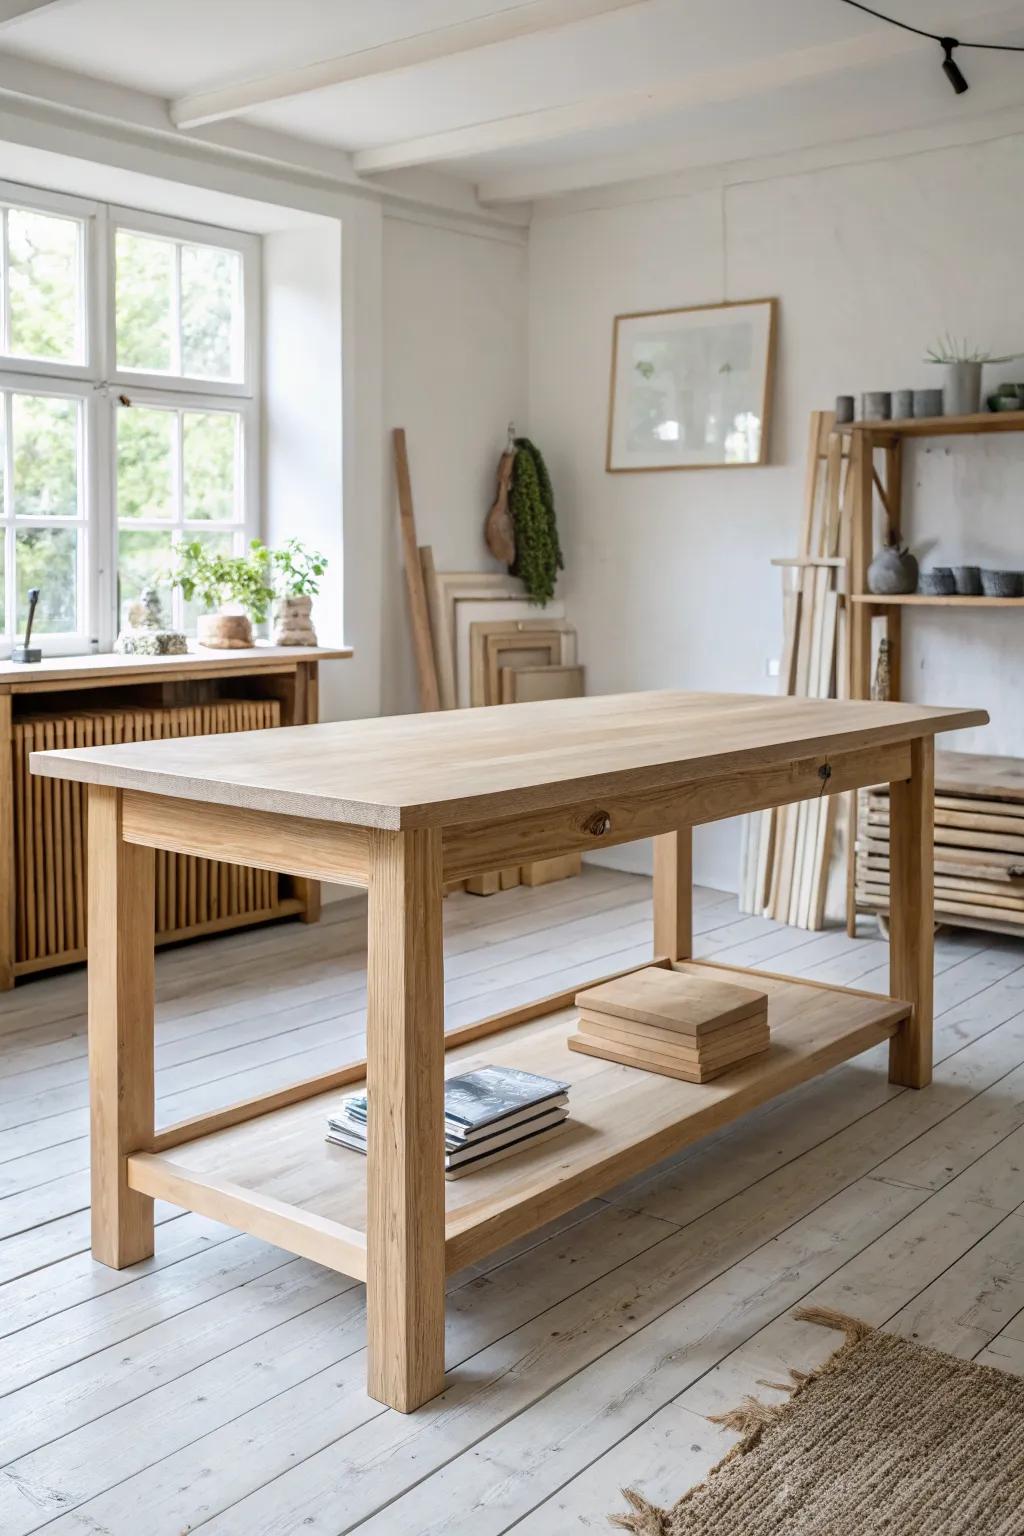
My biggest workflow upgrade was a sturdy assembly table in the middle so I can walk all the way around a project. I made mine with a simple shelf underneath, and it instantly stopped clamps and sanders from living on every other surface.
Explore these options:
- Wooden Workbench with Storage Shelf: Create a central workspace with a sturdy table featuring lower storage to keep tools organized and accessible.
- Woodworking Clamps for Assembly: Secure your projects firmly during assembly with reliable clamps that can be easily stored on your new table shelf.
- Wood Finishing Oil or Wax: Protect your new wooden assembly table and give it a beautiful, durable finish that resists workshop wear.

Install a French Cleat Tool Wall
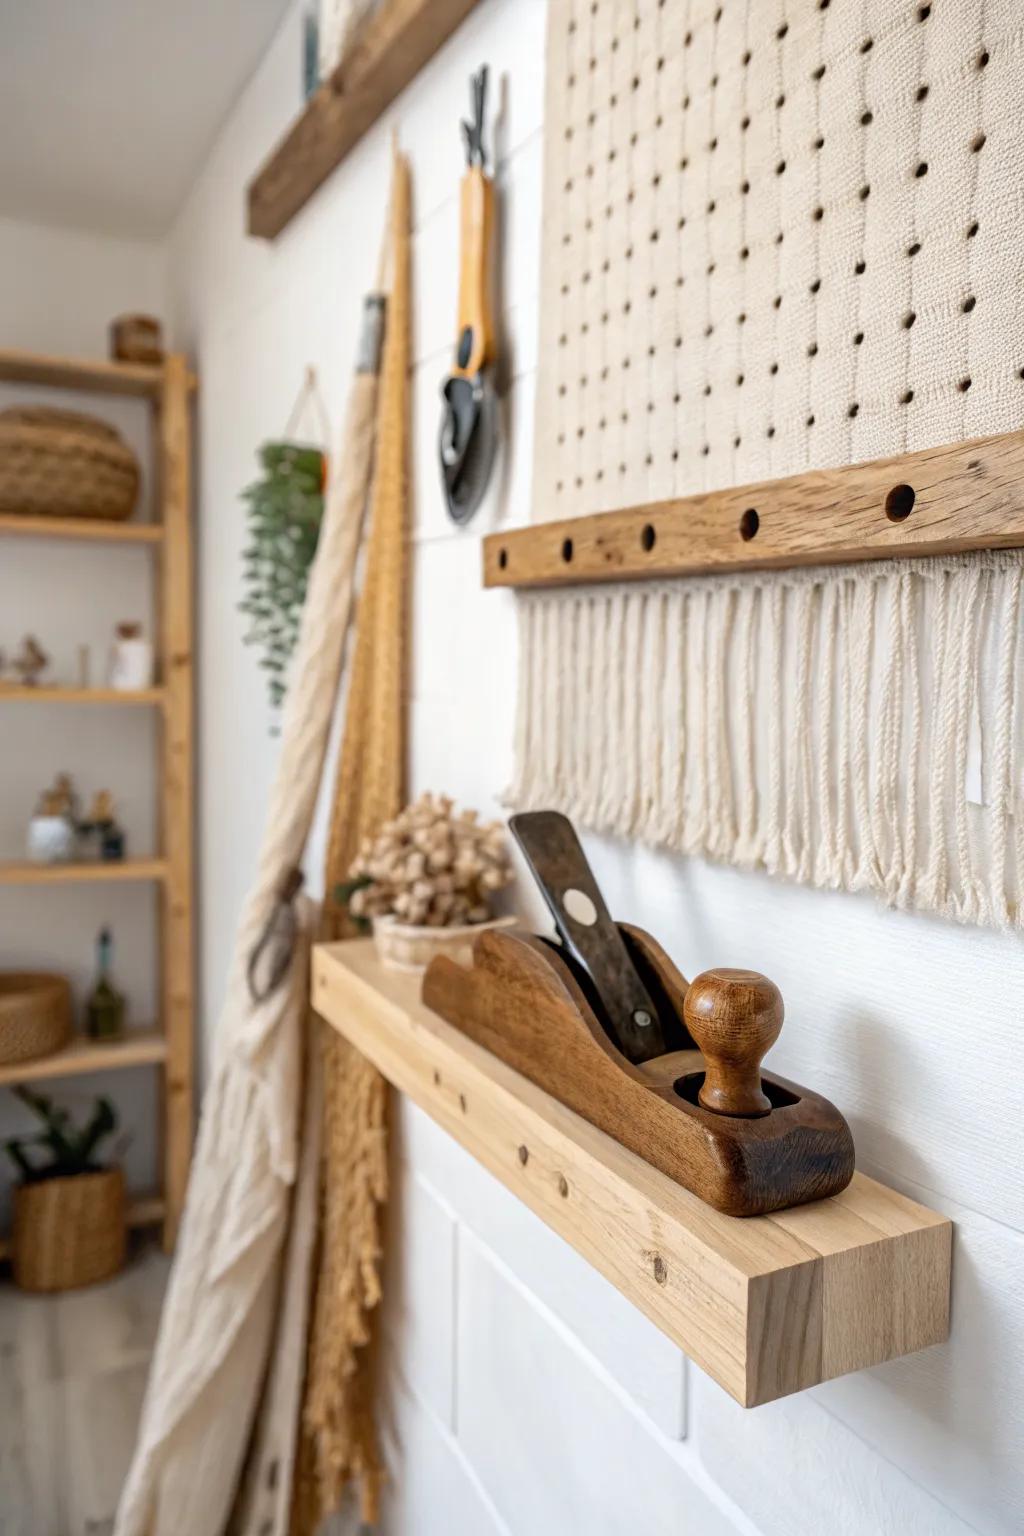
I’m obsessed with a French cleat wall because I can rearrange tool holders whenever my projects change. The first time I moved my hand planes up to eye level, I realized how much time I’d been wasting digging through drawers.
Products that could assist:
- Birch Plywood Sheets: Create your own custom French cleats and durable tool holders using sturdy, high-quality plywood sheets.
- Table Saw push block: Safely rip 45-degree angles on your wood strips to build the fundamental locking mechanism for your wall.
- Wood Glue & Screw Kit: Ensure your custom shelves and tool holders stay securely assembled with professional-grade wood glue and screws.
Create a Long Miter Saw Station
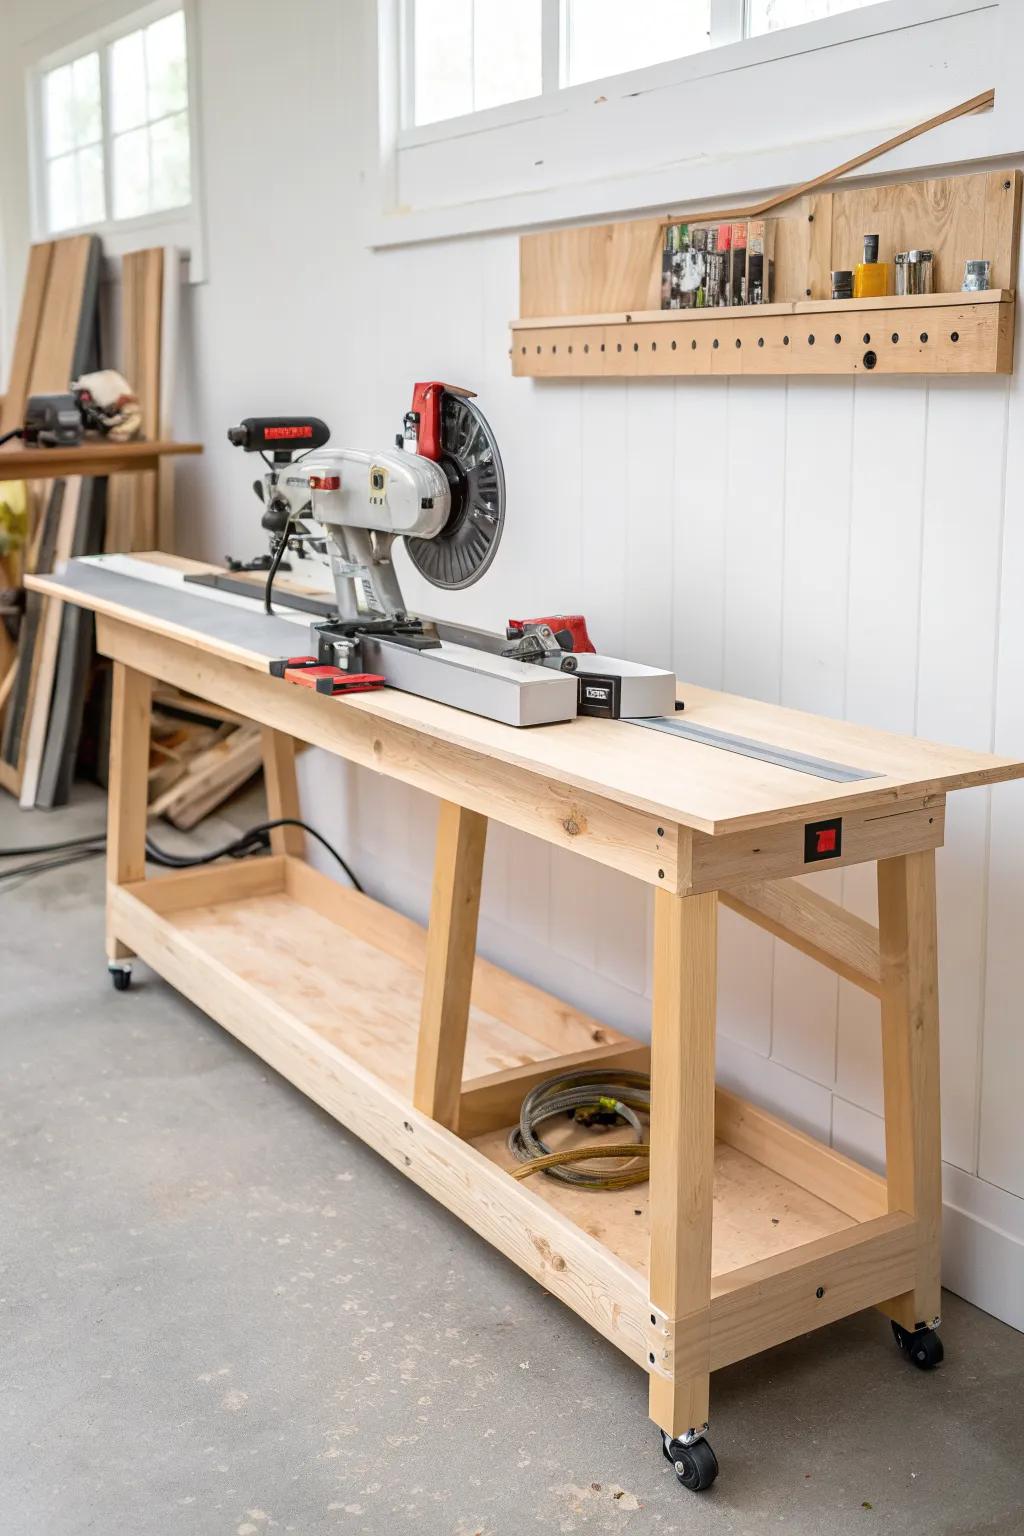
I built a dedicated miter saw station with long wings, and it finally made cutting trim and long boards feel calm instead of chaotic. Adding a fence with a stop block turned repeat cuts into the easiest part of my day.
May just do the trick:
- T-Track System with Stop Block: Upgrade your station with precise measuring capability by installing a versatile track system for consistent, repetitive cuts.
- Heavy-Duty Workshop Caster Set: Make your new workbench mobile and adaptable by adding sturdy locking wheels to easily rearrange your workspace.
- Adhesive Measuring Tape for Workbenches: Simplify your workflow by attaching a durable steel ruler directly to your fence for quick, accurate measurements.
Make Clamp Storage a Feature
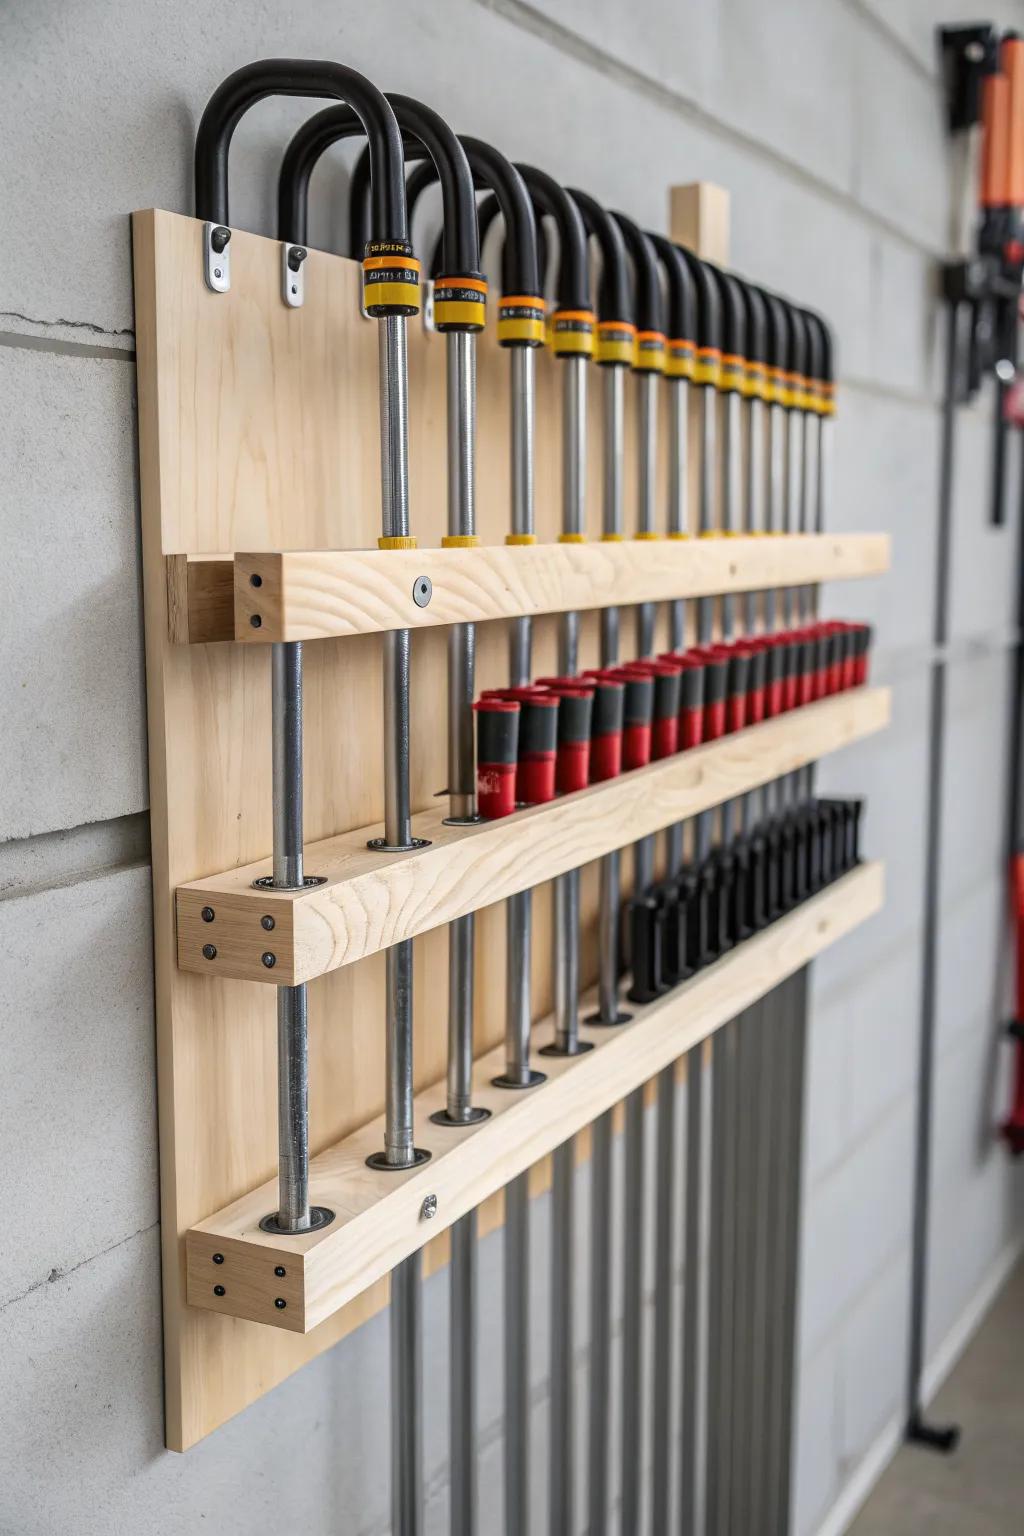
In my shop, clamp storage is basically wall art, because I hang them by type and size like a little metal rainbow. The day I stopped stacking clamps in a pile was the day my assemblies got faster and my mood got better.
A few helpful options:
- F-Style Bar Clamps: Build your clamp collection with these versatile tools, essential for woodworking projects and easy to organize on wall racks.
- Wall-Mounted Clamp Rack: Skip the DIY build and mount this ready-made storage solution to instantly organize your clamps and save space.
- Birch Plywood Sheets: Create a custom storage system like the one pictured using sturdy, high-quality plywood for a clean, professional workshop look.
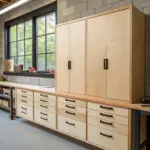


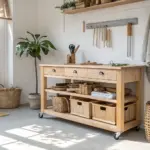
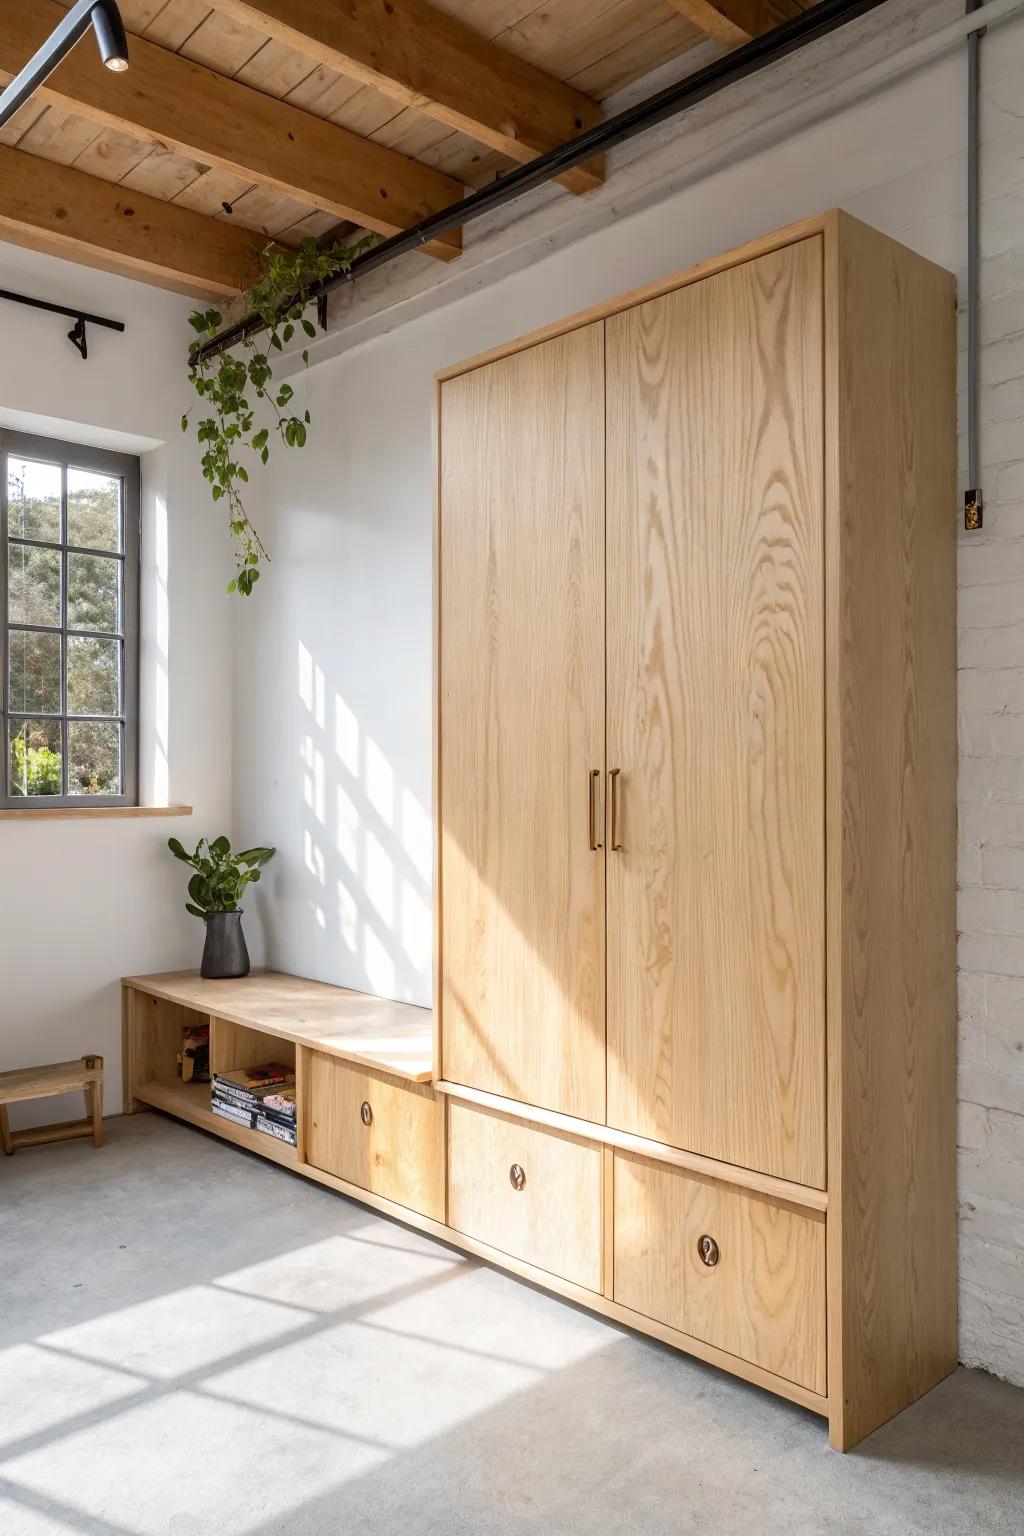
Choose Drawer-Heavy Base Storage
I love shallow drawers for bits, blades, and measuring tools, because I can find things without playing the “mystery box” game. I built mine from plywood offcuts, and they hold way more than they look like they should.
These products might help:
- Wooden Multi-Drawer Organizer Cabinet: Organize your small tools and hardware efficiently with a stylish wooden cabinet featuring multiple shallow storage drawers.
- Drawer Slide Hardware Set: Build your own custom shallow drawer unit using smooth-gliding hardware to ensure easy access to every tool.
- Flat File Cabinet or Map Chest: Secure your measuring tools and blades in professional-grade shallow drawers designed specifically for thin, flat items.
Put Tools on Mobile Carts
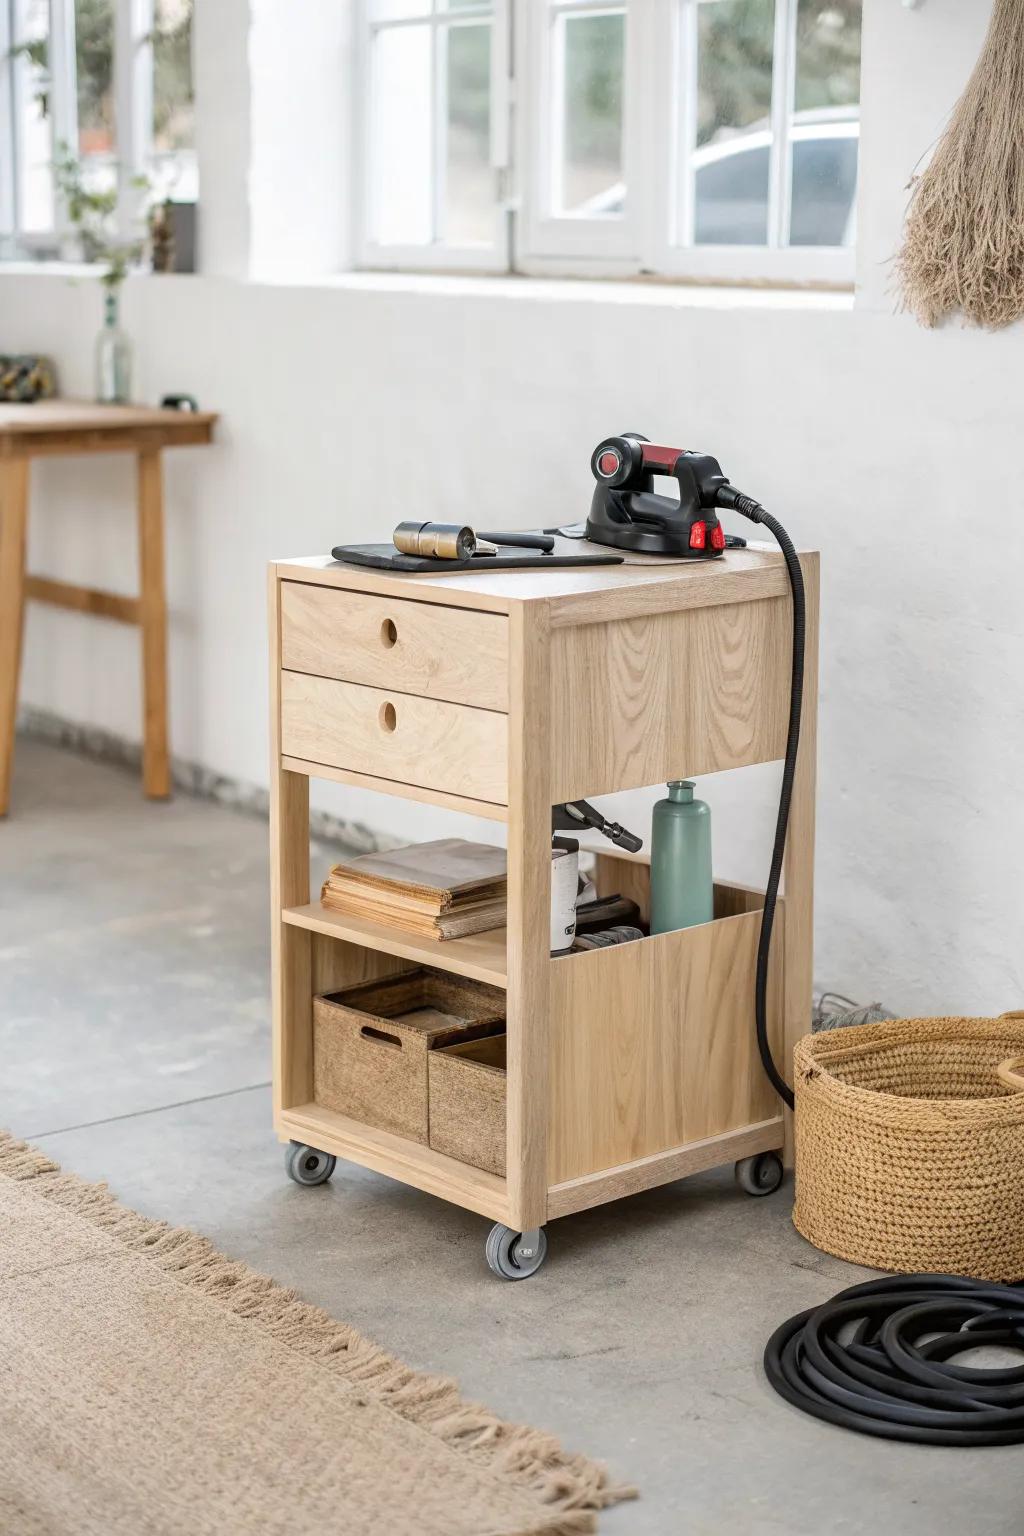
Anytime I put a tool on a mobile cart, my workshop suddenly feels twice as flexible. I’ve rolled my sanding setup right next to the door on sunny days, and it’s honestly one of my favorite little luxuries.
Useful items to consider:
- Wooden Rolling Storage Cart: Upgrade your workspace organization by adding a versatile wooden cart to keep essential tools within easy reach.
- Industrial Caster Wheels Set: Attach these durable swivel casters to your existing cabinets or tables to instantly make your workshop mobile.
- Fabric Storage Bins: Keep loose items tidy on your cart shelves with these structured organisers, perfect for holding smaller supplies.
Layer Lighting for Zero Shadows
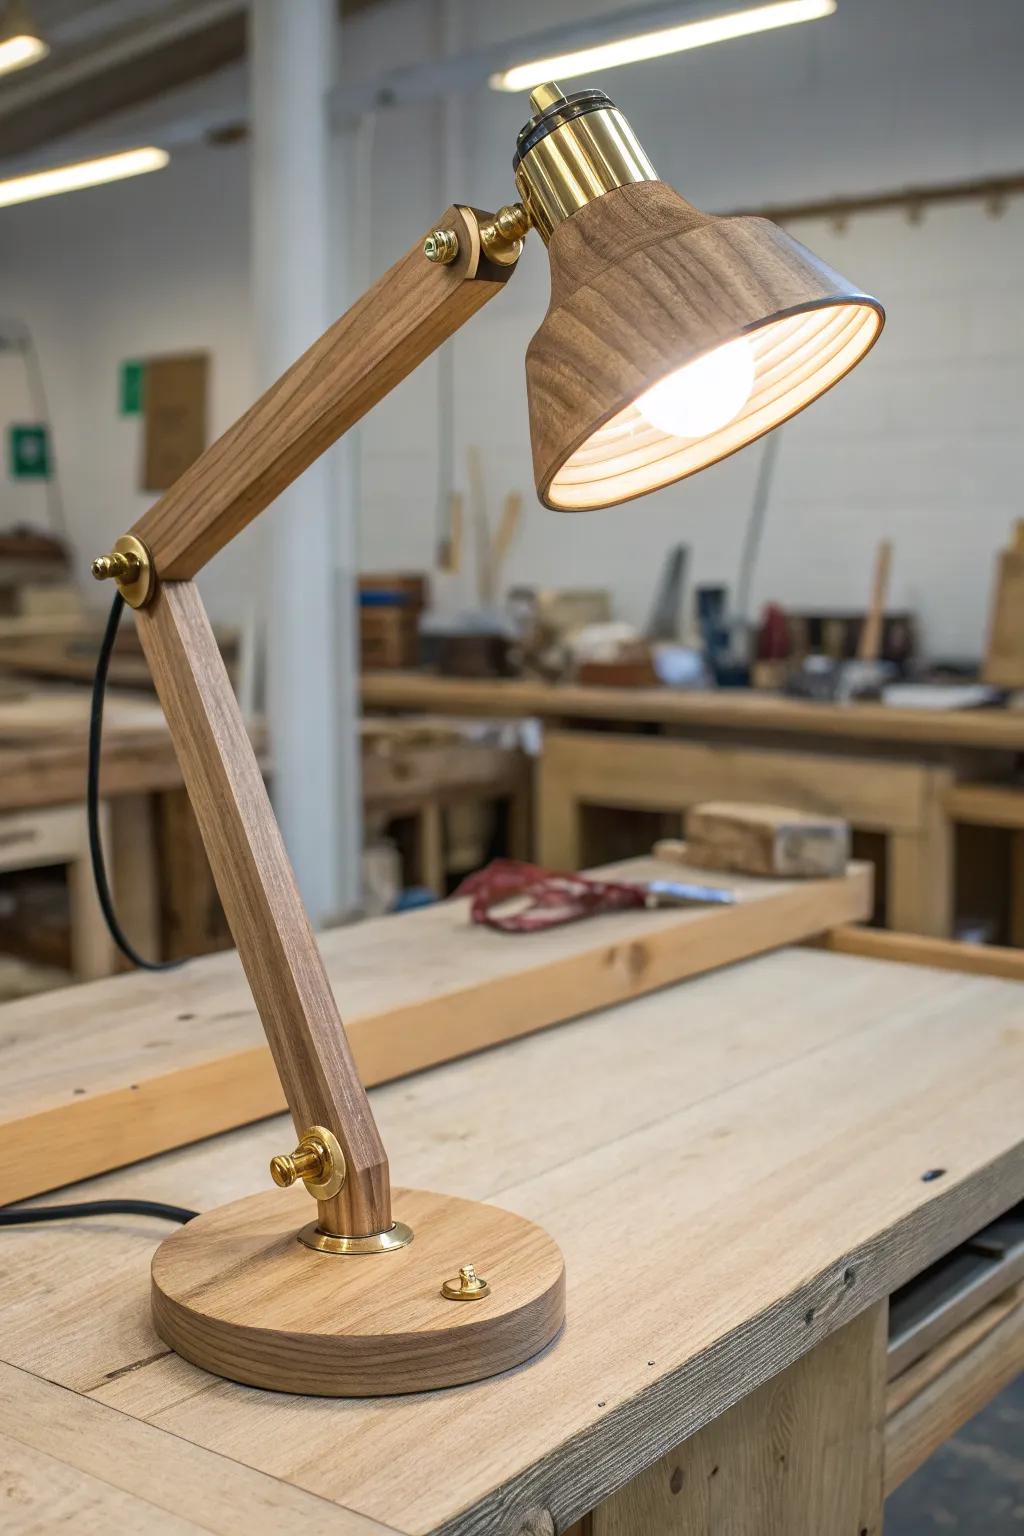
I learned the hard way that one overhead light is never enough, so I layer bright overhead lighting with task lights at the bench. Once I did that, my joinery got cleaner and my finishing mistakes dropped a lot.
Check if these fit your needs:
- Adjustable Wooden Desk Lamp: Replicate the precise look of the image with a stylish, adjustable wooden lamp for focused task lighting.
- Vintage LED Edison Bulb: Achieve that warm, classic workshop glow while maintaining energy efficiency in your new desk lamp setup.
- LED Shop Light Fixtures: Install these bright overhead lights to eliminate general shadows and complement your focused bench work lamp.
Add a Perch for Long Sessions
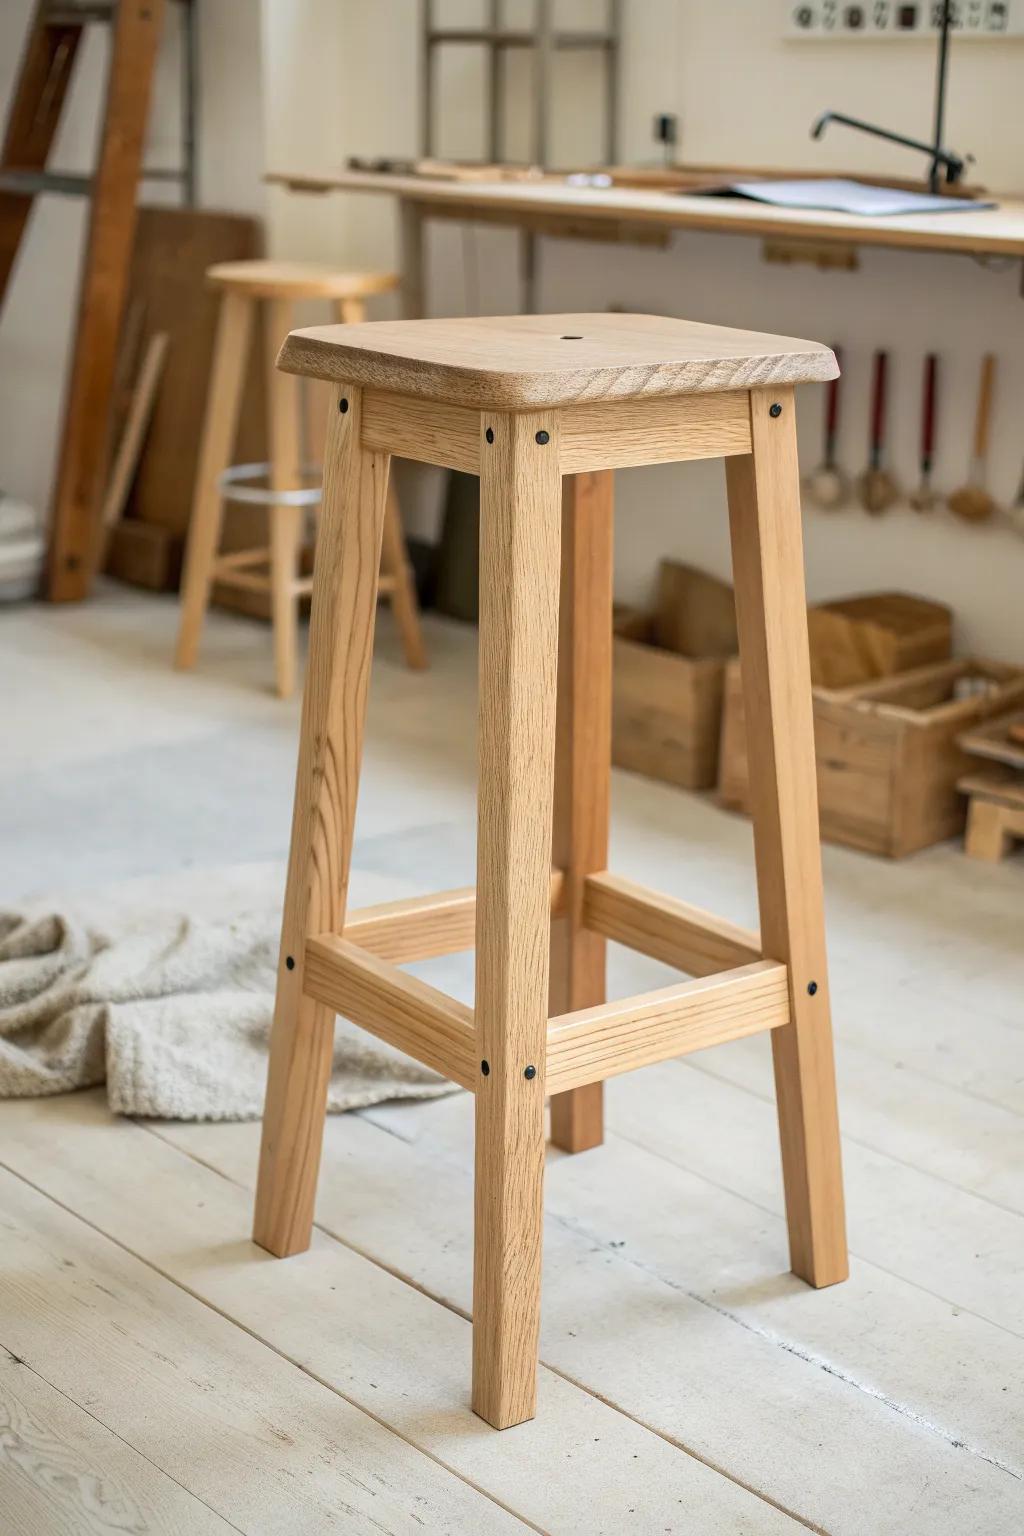
A simple shop stool (or even a standing perch) near the bench saves my back during sanding marathons. I added a little footrest bar under my bench, and I use it way more than I expected.
Give these a look:
- Modern Wooden Bar Stool: Add reliable seating to your workbench with a stool that offers stability and clean, simple lines.
- Anti-Fatigue Standing Mat: Protect your joints and back during long standing tasks by placing a cushioned mat under your new stool.
- Adjustable Metal Footrest: Create an ergonomic setup under your bench to rest your feet comfortably while you work seated or standing.
Create Floor Zones That Clean Fast
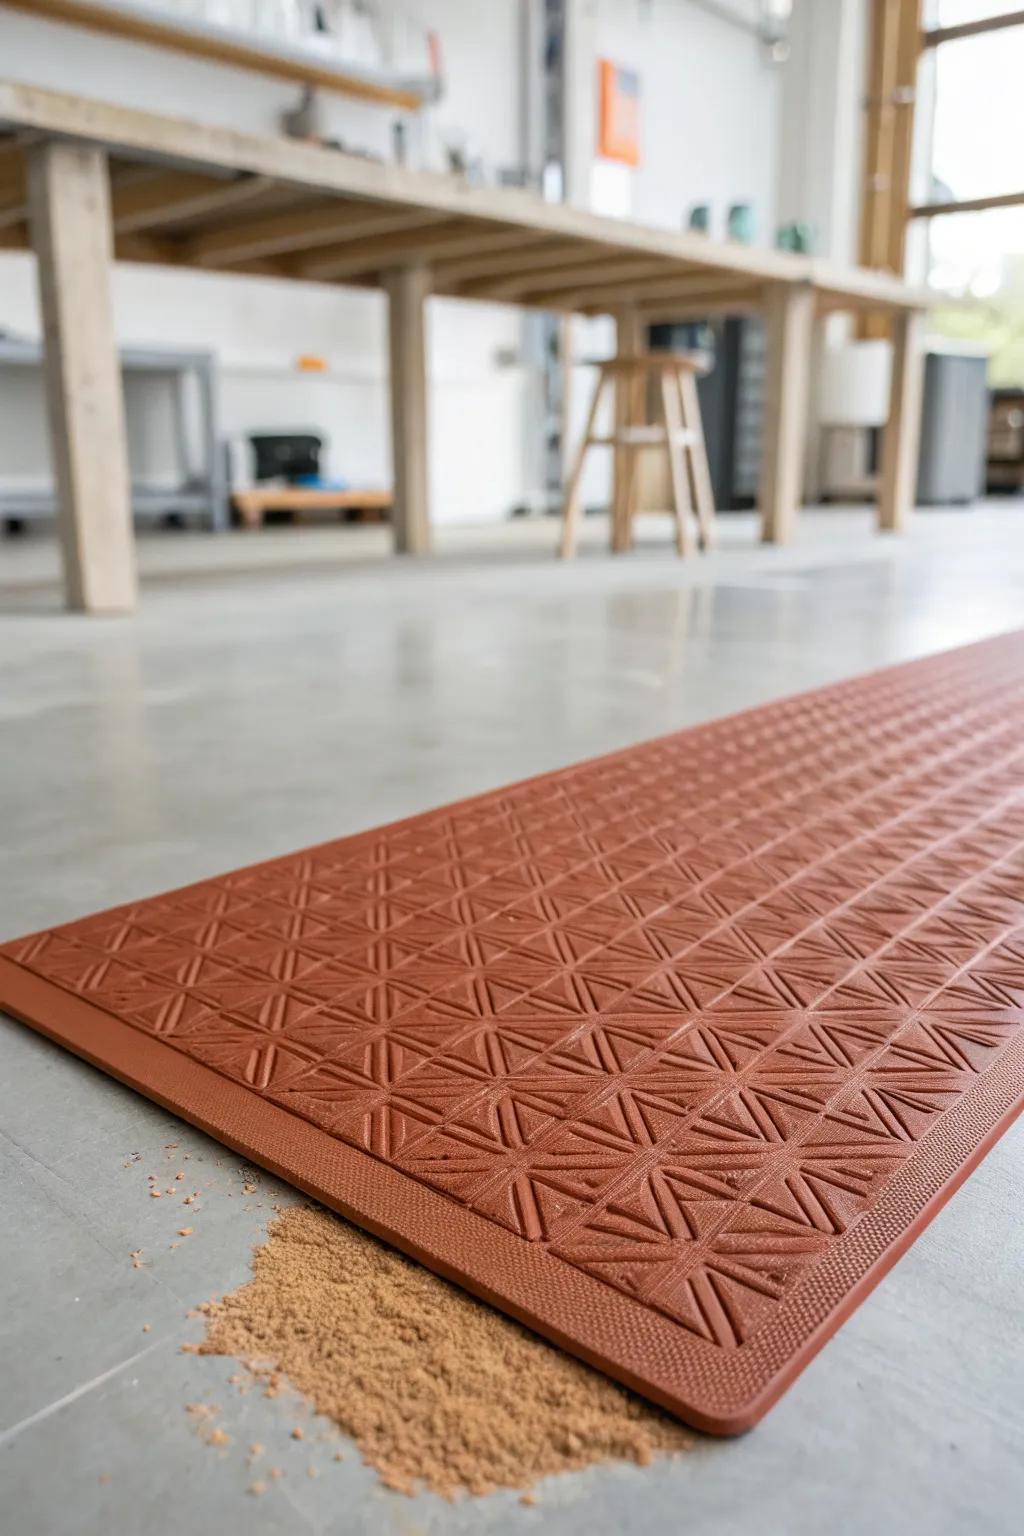
I use anti-fatigue mats at the bench and the saw, and it makes the shop feel more comfortable and more “intentional.” I also keep a dedicated sweep-up corner, because having a home for sawdust keeps it from becoming a personality trait.
Check these products out:
- Industrial Anti-Fatigue Floor Mat: Reduce leg strain during long woodworking sessions and define your workspace zones with a durable, comfortable standing mat.
- Heavy-Duty Workshop Broom: Keep your shop floor clean and manage sawdust efficiently with a sturdy broom designed for rough workshop debris.
- Dust Pan and Brush Set: Quickly tidy up your designated sweep-up corner and workbench areas with a reliable dustpan and hand brush set.
Hide a Fold-Down Bench Behind a Sliding Panel
One of my favorite “wow” workshop interior ideas is a fold-down workbench that disappears behind a sliding wall panel—it’s like a secret room for making. I tried this in a tight corner, and it gave me an extra work surface without sacrificing precious floor space.
A few things you might like:
- Heavy-Duty Low-Profile Sliding Door Hardware Kit: Install a smooth-gliding track system to easily hide your workspace behind a sleek wooden panel.
- Wall-Mounted Folding Workbench Brackets: Use sturdy, collapsible brackets to create a solid work surface that tucks away instantly when finished.
- Flush Recessed Pull Handles: Add low-profile handles to your sliding panel for easy access that won’t protrude or snag clothing.


