
A little trim work can take a plain box of a room and make it feel like it has history and intention. These are the ideas I keep coming back to in my own projects when I want that custom, finished look without a full remodel.
Two-Tone Trim Work for Bold Contrast
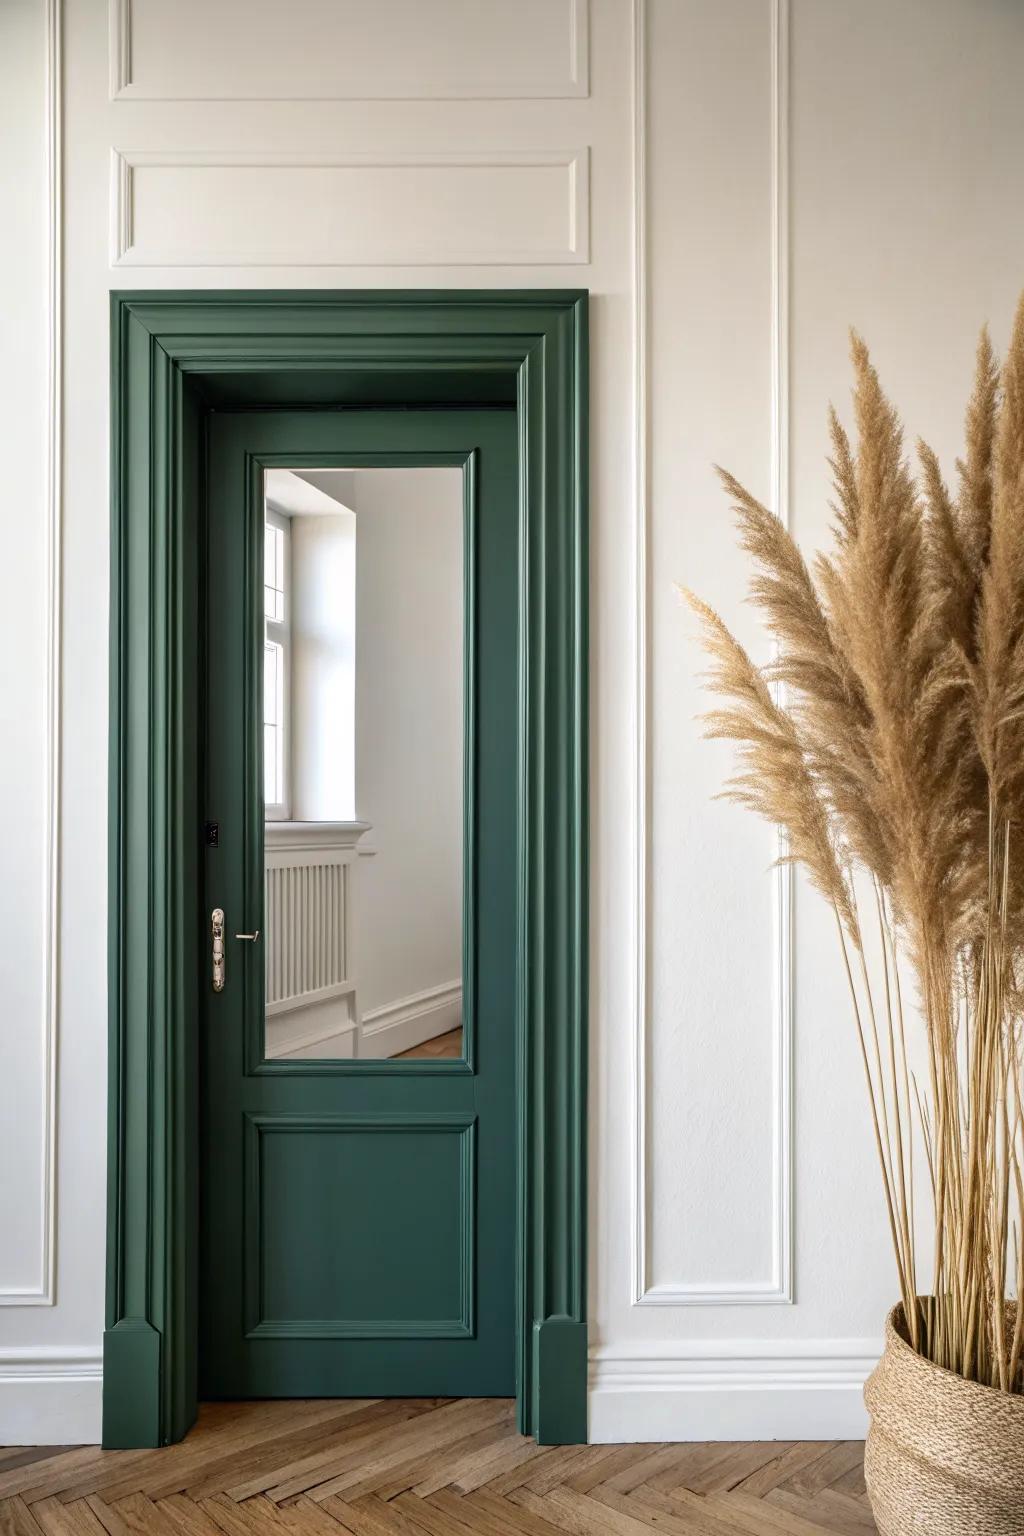
Painting trim work one color and the wall another is the quickest way I know to make the details pop. I’ve tried two-tone paint with moody trim and a lighter wall, and the room felt richer without adding more stuff.
Possibly helpful picks:
- Angled Sash Paint Brush: Achieve crisp, clean lines on your trim work by using a high-quality angled brush for precise cutting-in.
- Detailed Wall Molding Kit: Add architectural interest to plain walls with easy-to-install molding kits that mimic custom wainscoting and paneling effortlessly.
- Tall Decorative Dried Grass: Soften your bold paint choices and add texture to the room with tall, natural dried plumes in a basket.
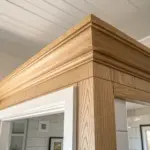


Classic Crown Molding Upgrade
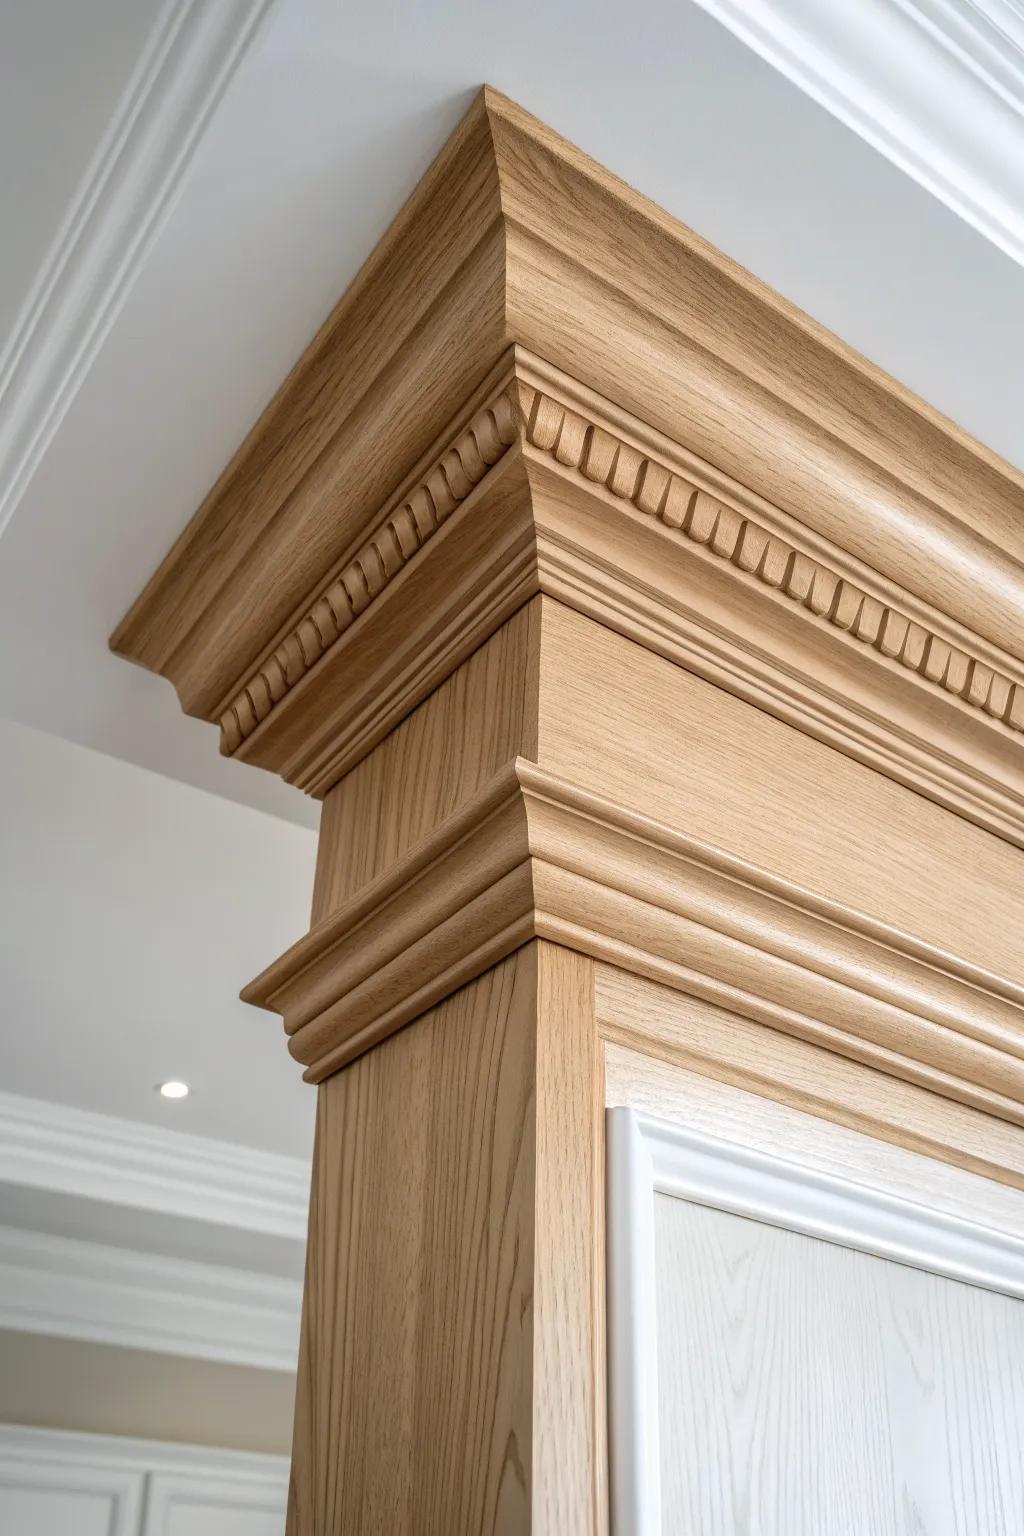
When I add crown molding, I like to size it up just a bit more than feels “safe,” because that’s what gives the room that high-end lift. I’ve even stacked a simple profile with a smaller piece below it, and the layered ceiling trim instantly looked more architectural.
Explore these options:
- Wide Crown Molding Profile: Choose wider molding profiles to create that dramatic height and luxury feel your ceilings deserve.
- Detail Dentil Trim: Layer this decorative dentil trim beneath your main crown molding for an intricate, custom-built architectural look.
- Brad Nailer Kit: Secure your layered trim effortlessly and precisely with a reliable brad nailer perfect for finishing work.


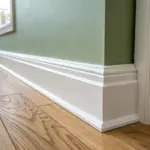
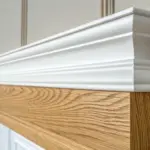
Taller Baseboards for Instant Luxury
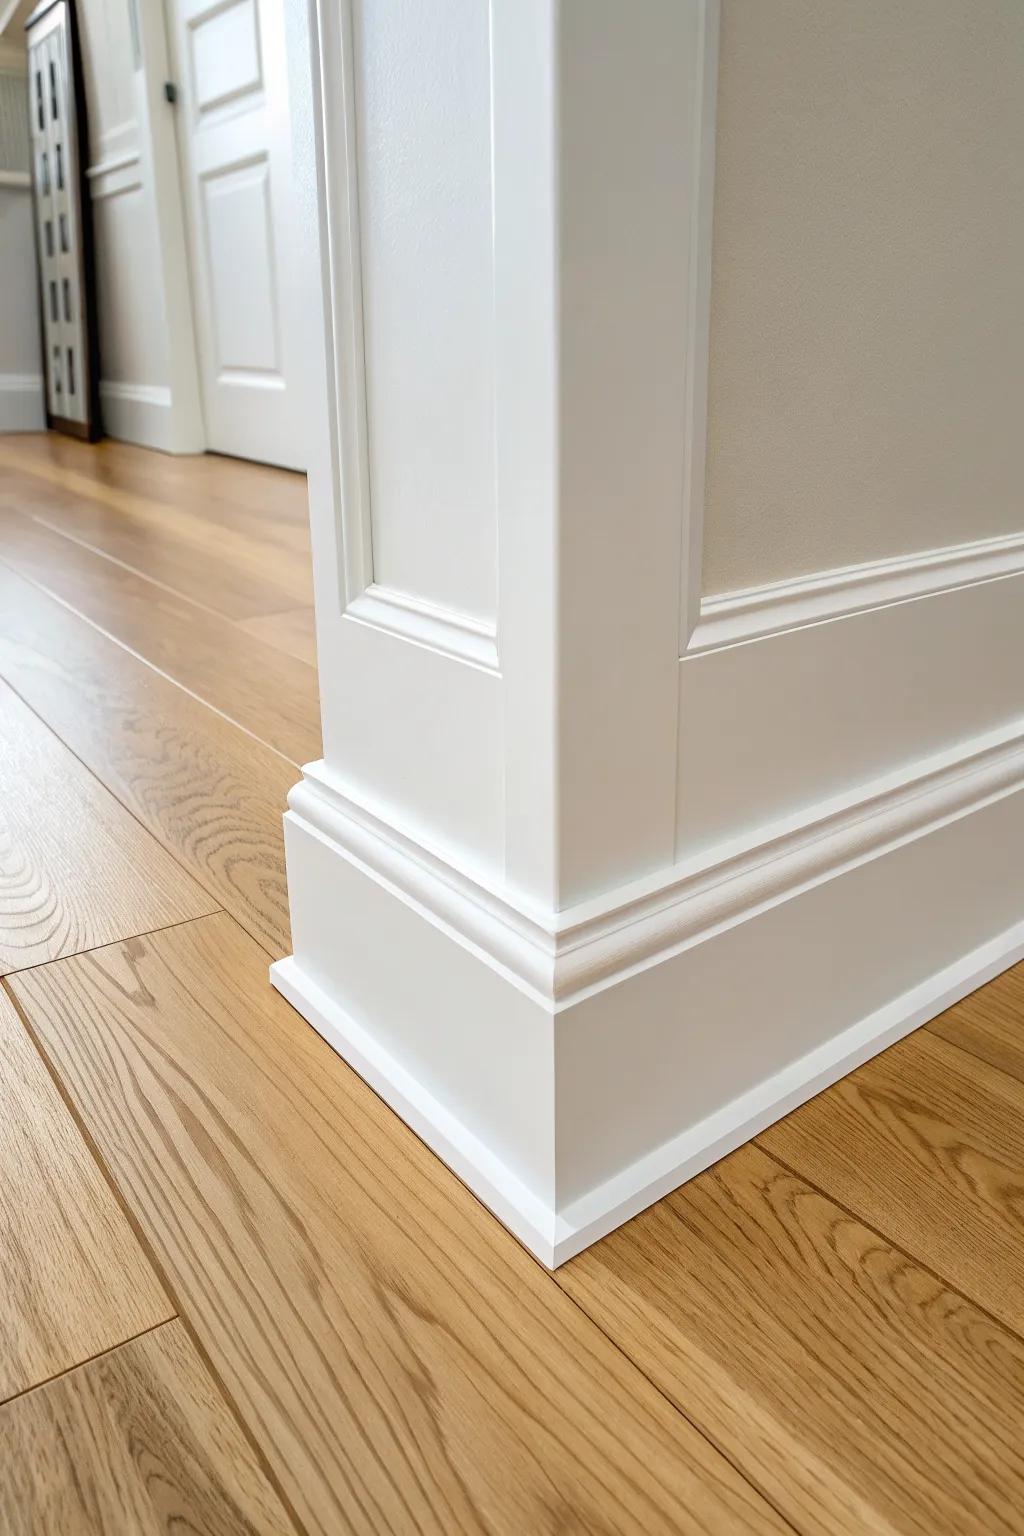
Swapping to tall baseboards is one of the fastest ways I’ve found to make a room feel finished, especially in newer homes. I’ve done this in a hallway and couldn’t believe how much calmer the walls looked once that stronger floor trim line was in place.
These products might be useful:
- Primed White Tall Baseboard Molding: Upgrade your space with substantial white molding that creates a polished, high-end foundation for any room.
- Miter Saw for Precise Angles: Ensure clean, professional-looking corners on your new trim project with a reliable saw for accurate cuts.
- Paintable White Wood Filler: Hide nail holes and corner gaps seamlessly to give your new baseboards that flawless, custom-built appearance.


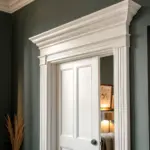
Chunky Door Casing With Backband
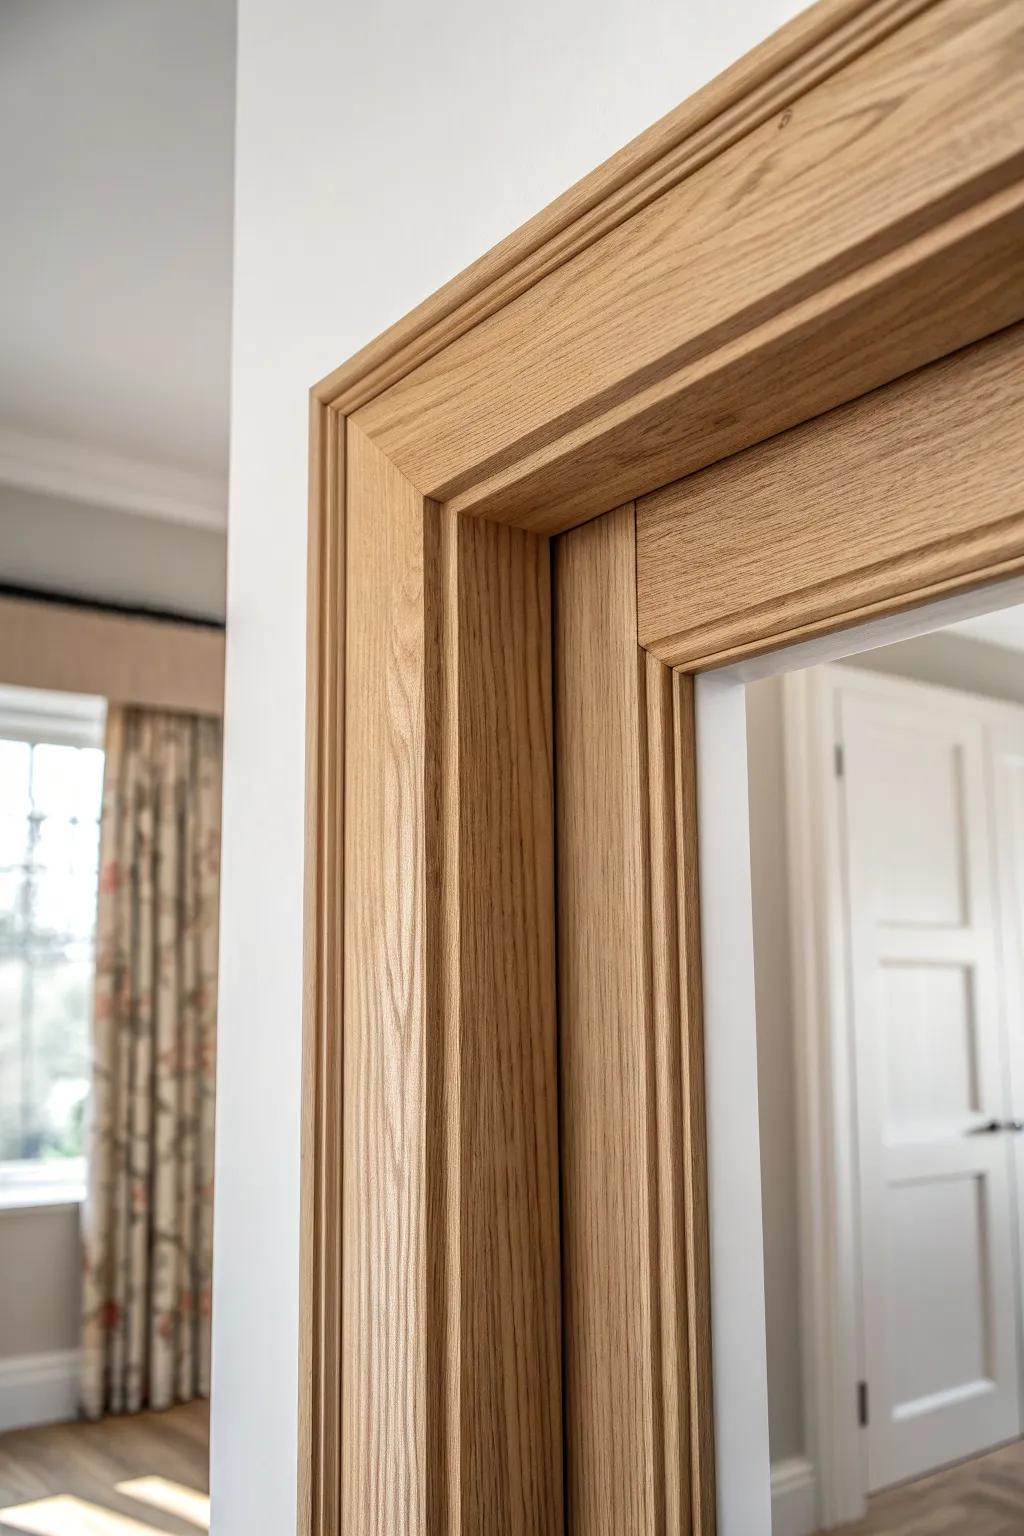
I love beefing up door casing with a simple backband trim because it gives you that old-house detail without getting fussy. The first time I tried it, I stood back and thought, “Okay, that door finally looks important.”
A few helpful options:
- Wood Backband Molding: Add depth and a thicker profile to your existing trim instantly with this easy-to-install decorative molding layer.
- Brad Nailer Kit: Secure your new molding precisely without splitting the wood using this essential pneumatic or electric finish nailer.
- Miter Box and Saw: Achieve perfect 45-degree corners on your door casing with this affordable manual cutting tool for precise joinery.
Window Casing With Stool and Apron
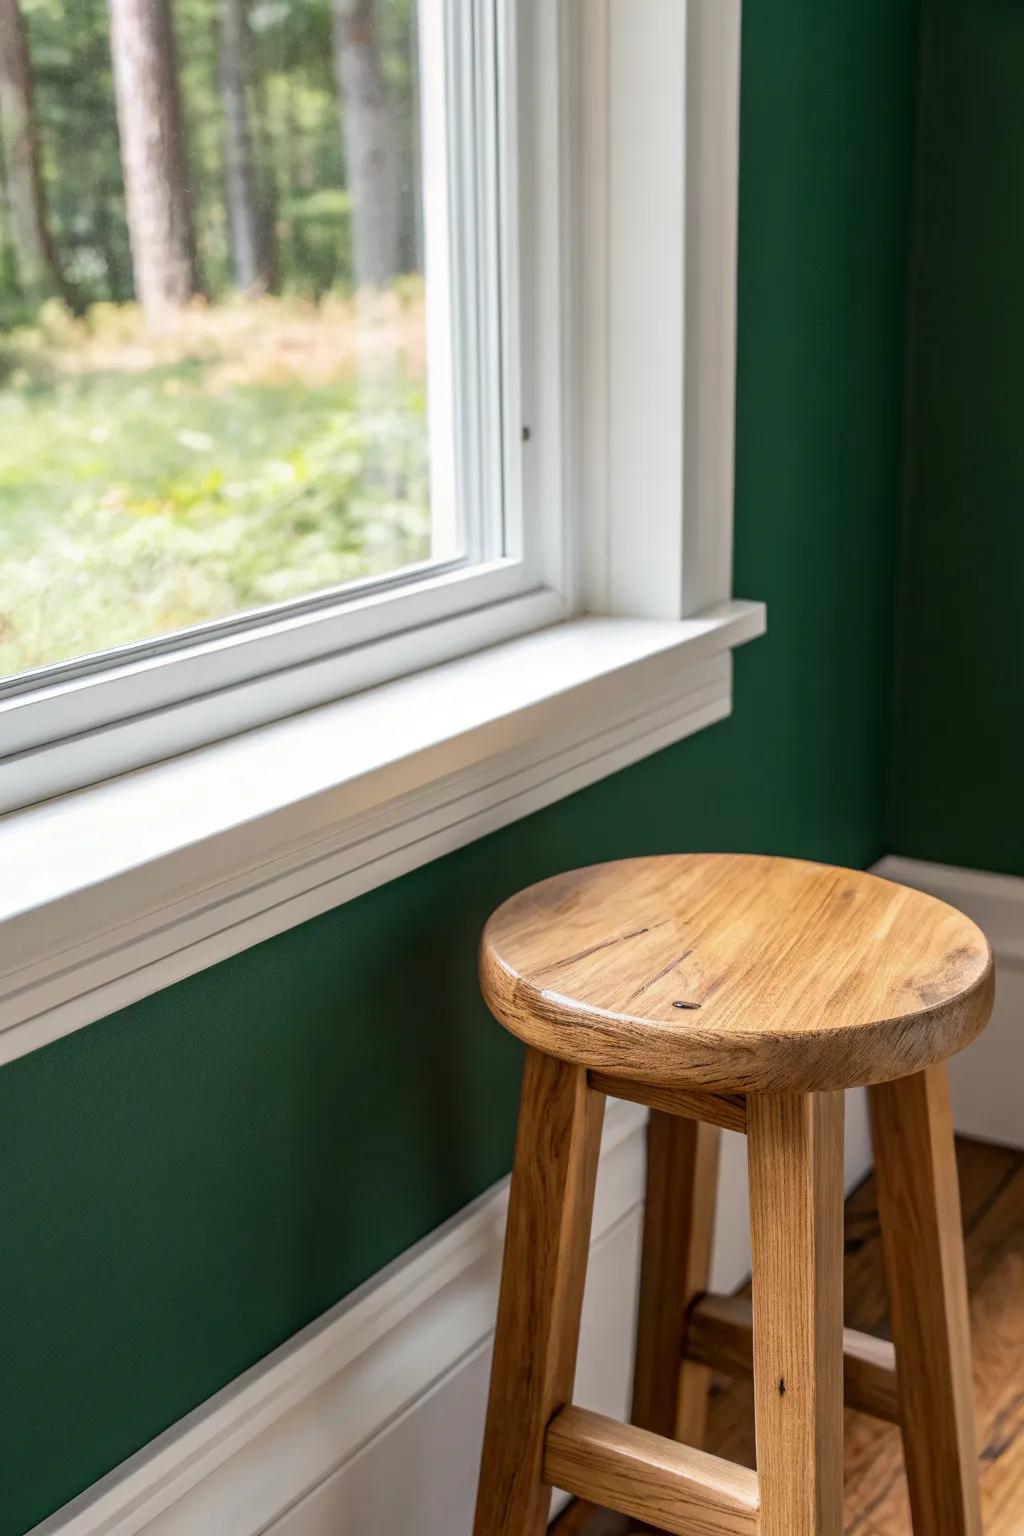
Adding window trim with a real stool and apron makes windows feel deeper and more “built,” even if they’re basic builder-grade. I’ve done it with clean, square stock and it still read as custom the second I caulked and painted.
A few relevant products:
- Primed MDF or Pine Boards (1×4, 1×6): Use these versatile boards to build your stool and casing for a clean, custom-finished window look.
- Brad Nailer Kit: Secure your trim pieces neatly with minimal damage, making the final finish work much easier.
- Paintable Acrylic Latex Caulk: Seal any gaps between your new trim and the wall for a seamless, professional-grade painted finish.
Simple Chair Rail for Two Finishes
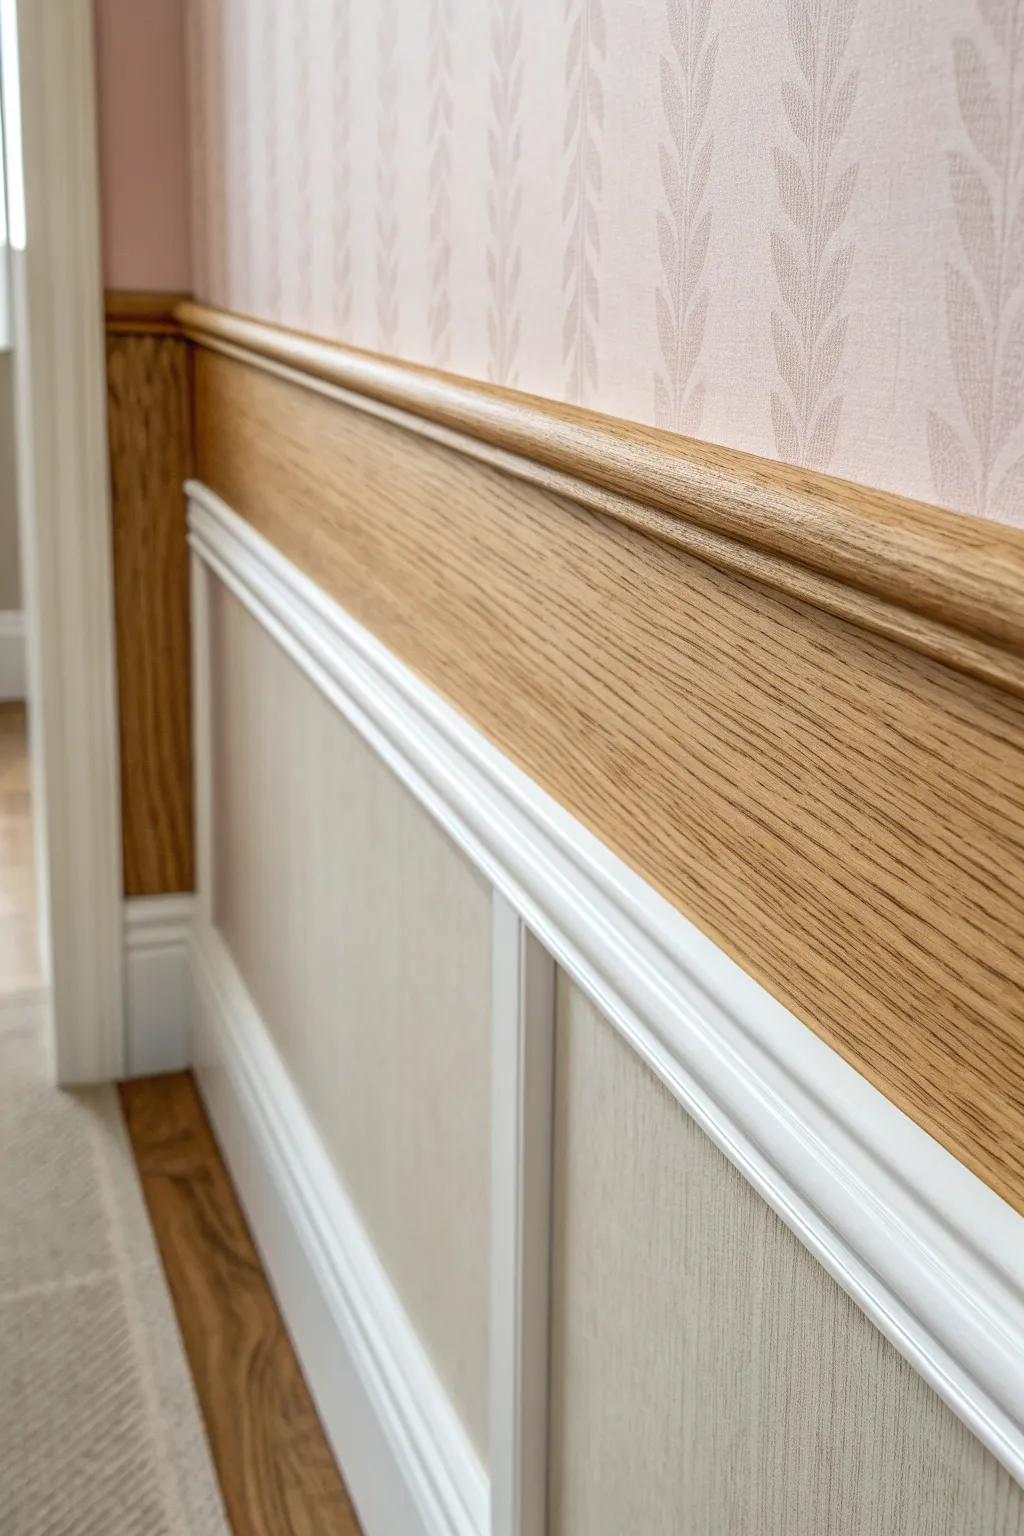
A straight chair rail is my go-to when I want to split paint and wallpaper (or two paint colors) without overthinking it. I installed one in a small room and it instantly felt taller and more pulled together because the wall trim gave the eye a break.
Might be a good match:
- Oak Wood Chair Rail Moulding: Upgrade your room’s division instantly with durable wood moulding suitable for staining or clear coating.
- Brad Nailer Kit: Secure your new trim firmly and cleanly with a nailer designed for precision finish carpentry work.
- Wood Stain and Finish: Enhance the natural grain of your new oak rails by applying a rich, protective wood stain.

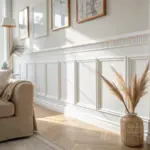
Dining Room Wainscoting That Feels Timeless
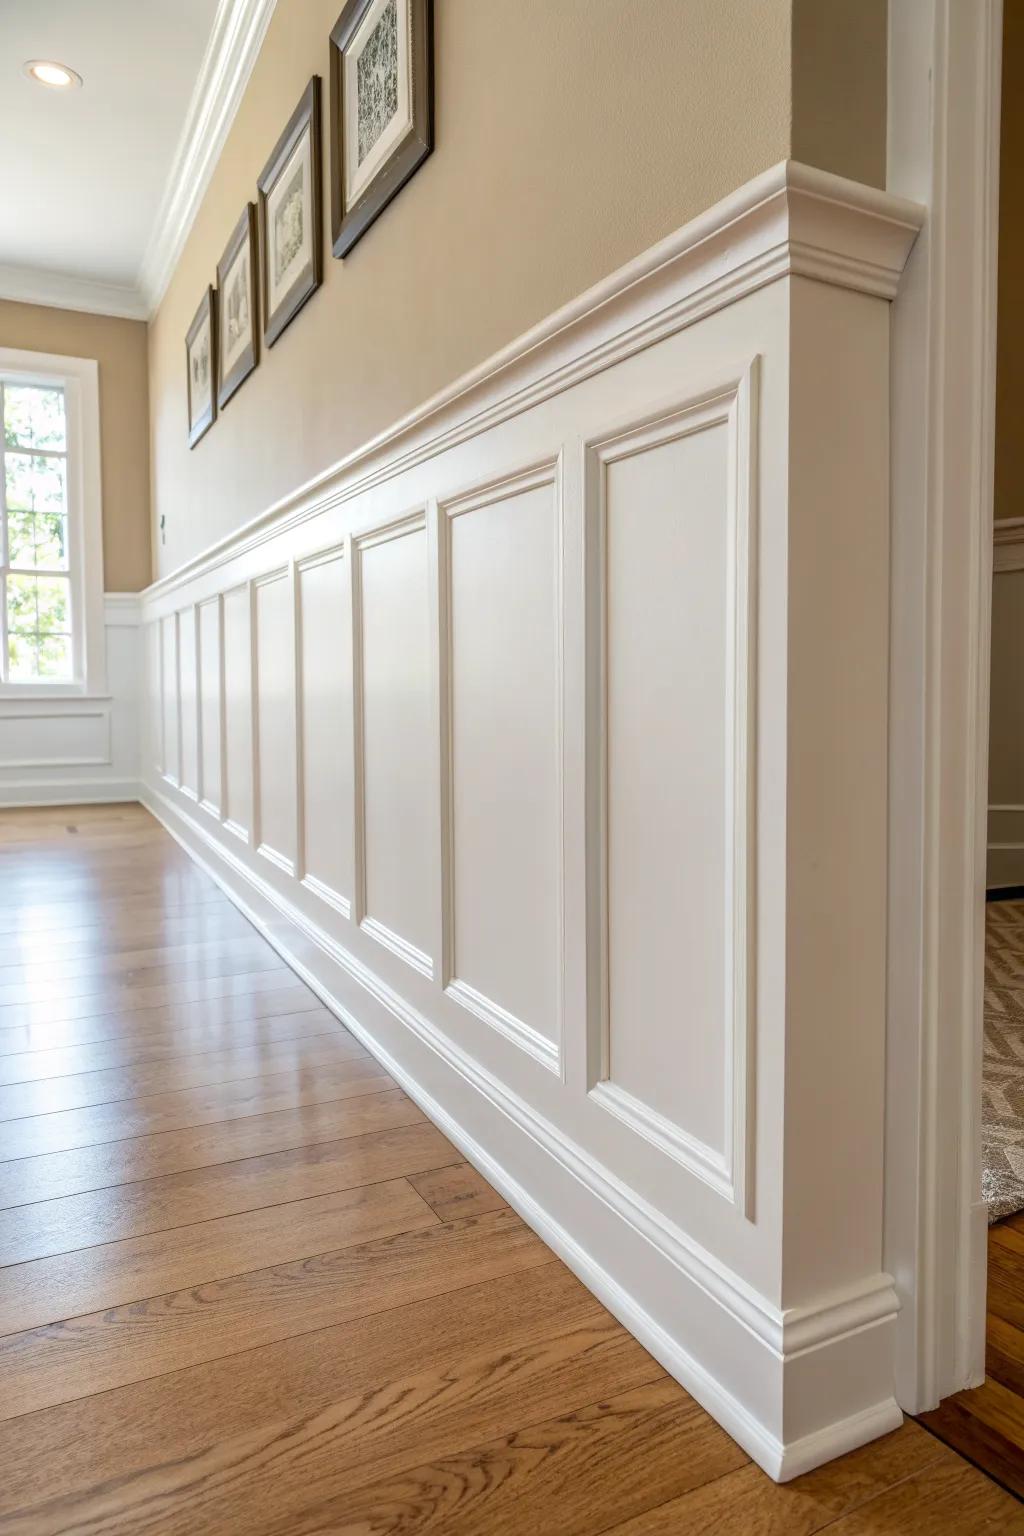
Wainscoting is classic for a reason—it protects the lower wall and adds that formal “this room matters” vibe. I’ve built it with simple rails and stiles, and once it’s painted, the whole space feels like it came with the house.
You might like:
- Chair Rail Moulding: Define the top edge of your wainscoting perfectly to create that clean, enduring separation between wall finishes.
- Brad Nailer Kit: Secure your rails and stiles efficiently without splitting the wood, ensuring a professional and sturdy installation.
- Interior Semi-Gloss Paint: Give your new trim a durable, stunning finish that resists scuffs and highlights the architectural details.
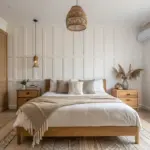
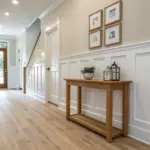
Beadboard Trim for Cozy Cottage Charm
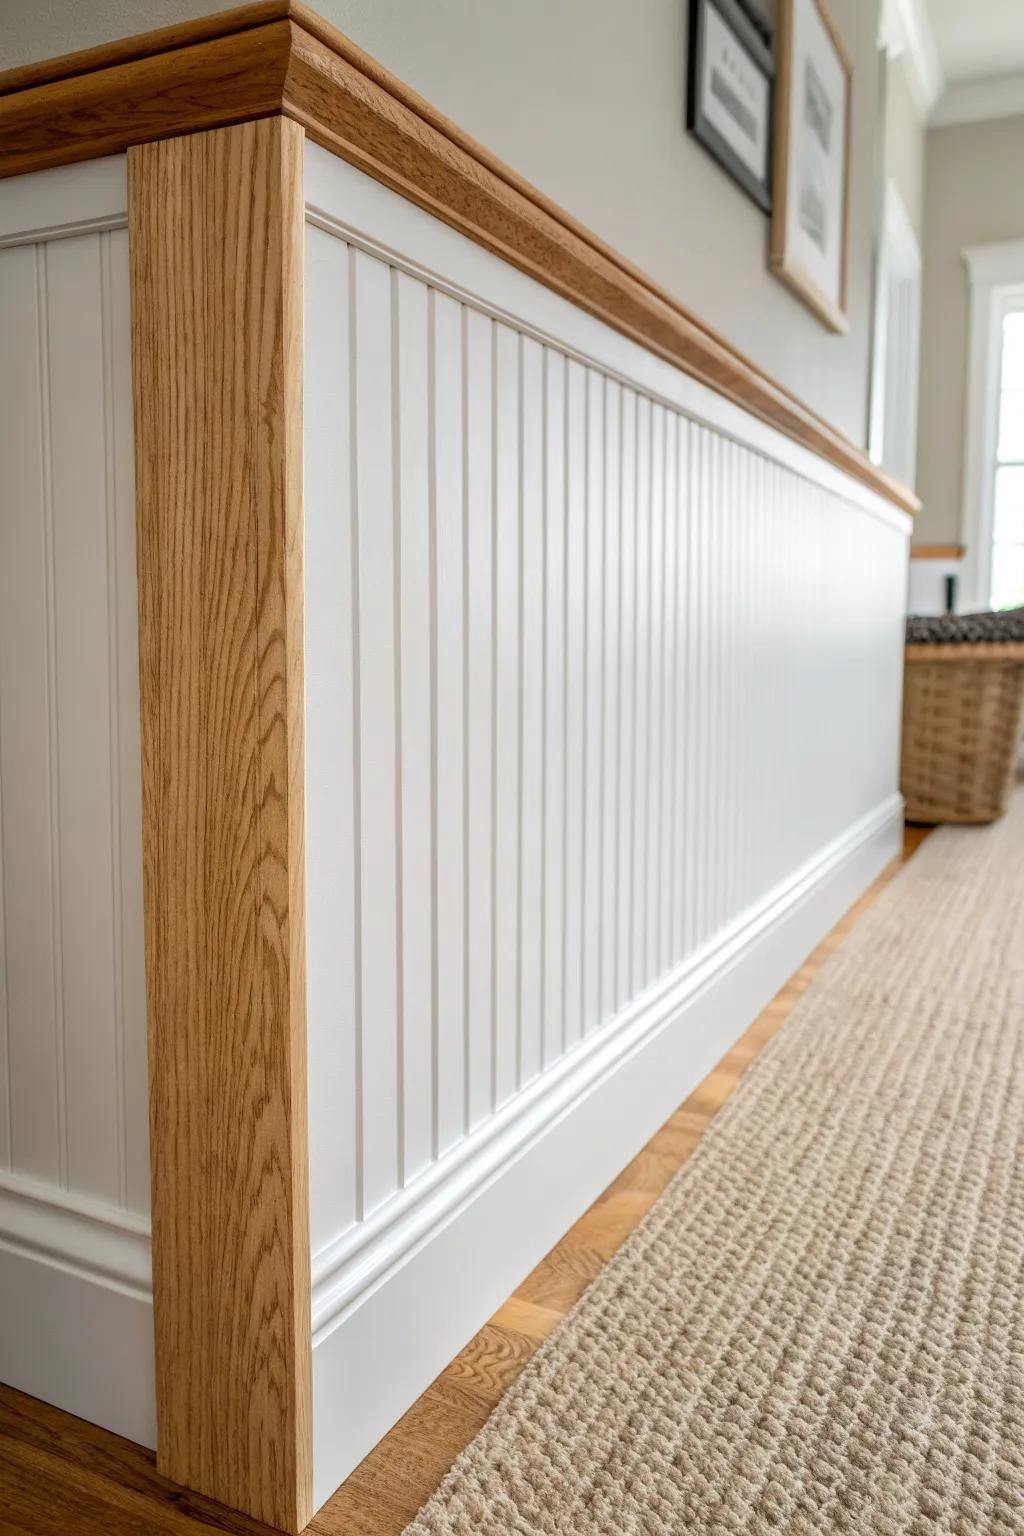
Beadboard paneling paired with a clean cap rail is my shortcut to that warm, lived-in look. I’ve used it in a small entry area, and that simple panel trim detail made the space feel instantly more welcoming.
Possibly handy products:
- Beadboard Paneling Kit: Create a classic foundation for your walls with pre-cut panels that simplify installation and instantly add cottage character.
- Natural Wood Chair Rail Cap: Top your beadboard with a natural wood molding to replicate the warm, finished edge seen in this design.
- Brad Nailer Tool: Secure your trim work neatly and professionally with a reliable nail gun designed for delicate molding projects.
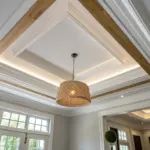
Ceiling Trim Frames Around a Light Fixture
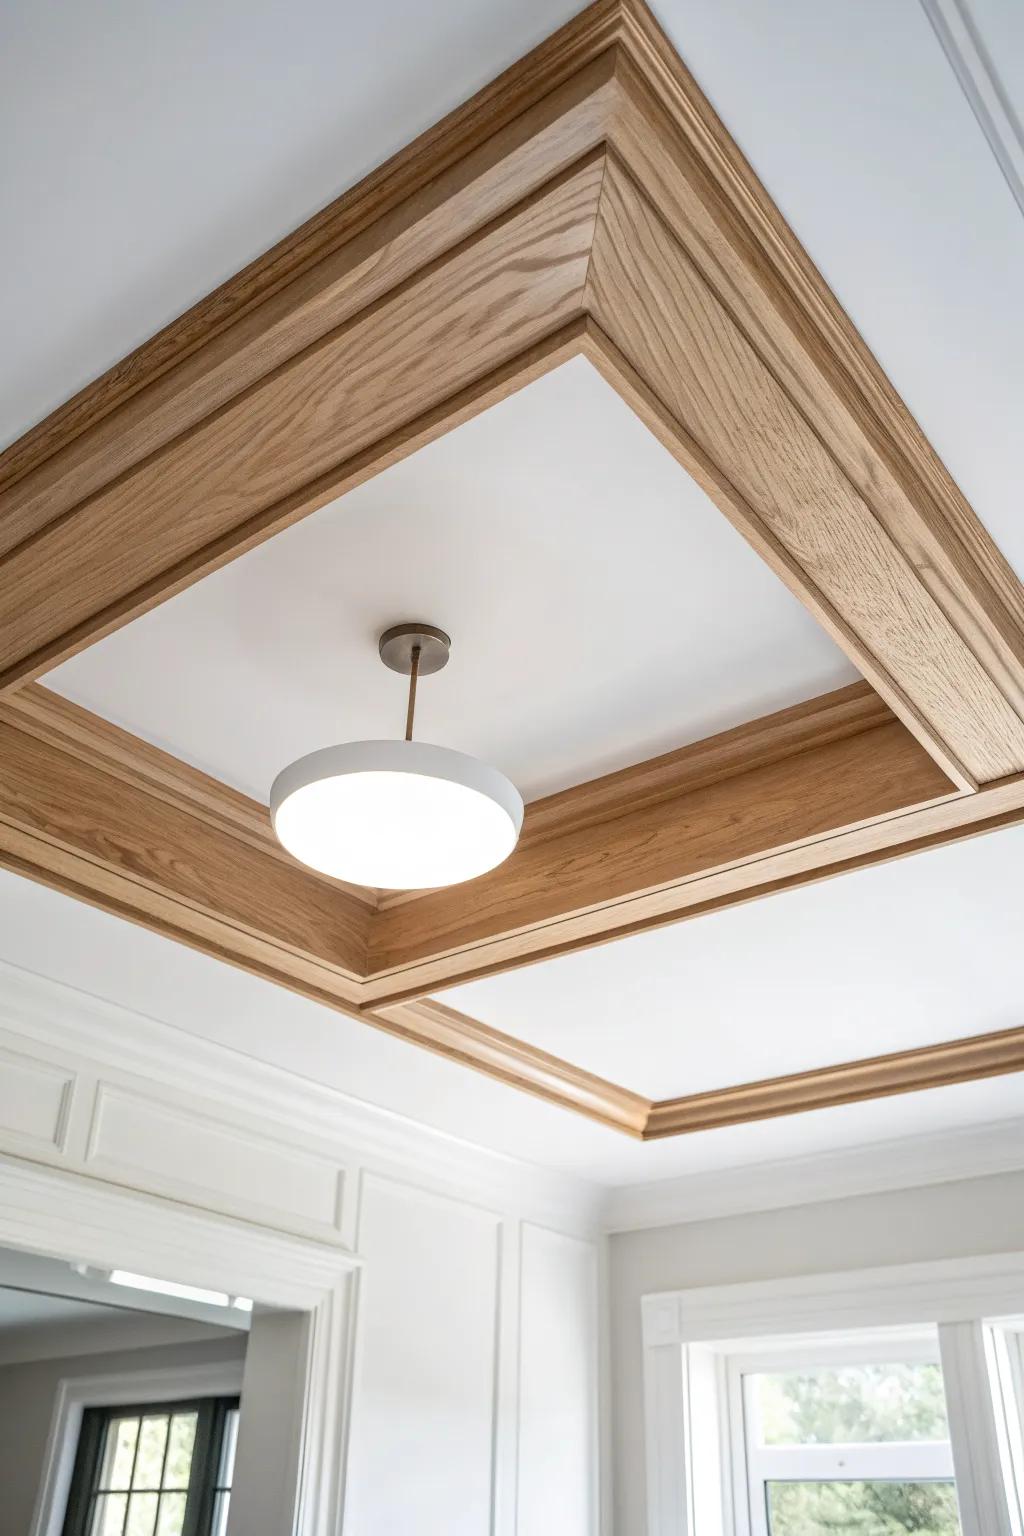
Try building a simple ceiling trim rectangle (or square) to “frame” a light fixture—it’s like adding jewelry overhead. I tested this in a plain room and the trim detail pulled your eyes up in a really satisfying way.
You might give these a try:
- Hardwood Crown Molding: Choose unfinished real wood molding to create a sophisticated, custom frame that stains beautifully to match your decor.
- Wood Stain and Sealer: Enhance the natural grain of your new trim work with a high-quality stain that offers lasting protection.
- Modern Drum Semi-Flush Mount Light: Update your lighting with a sleek fixture that fits perfectly inside your newly installed ceiling trim frame.
Coffered Ceiling Lite With Simple Beams
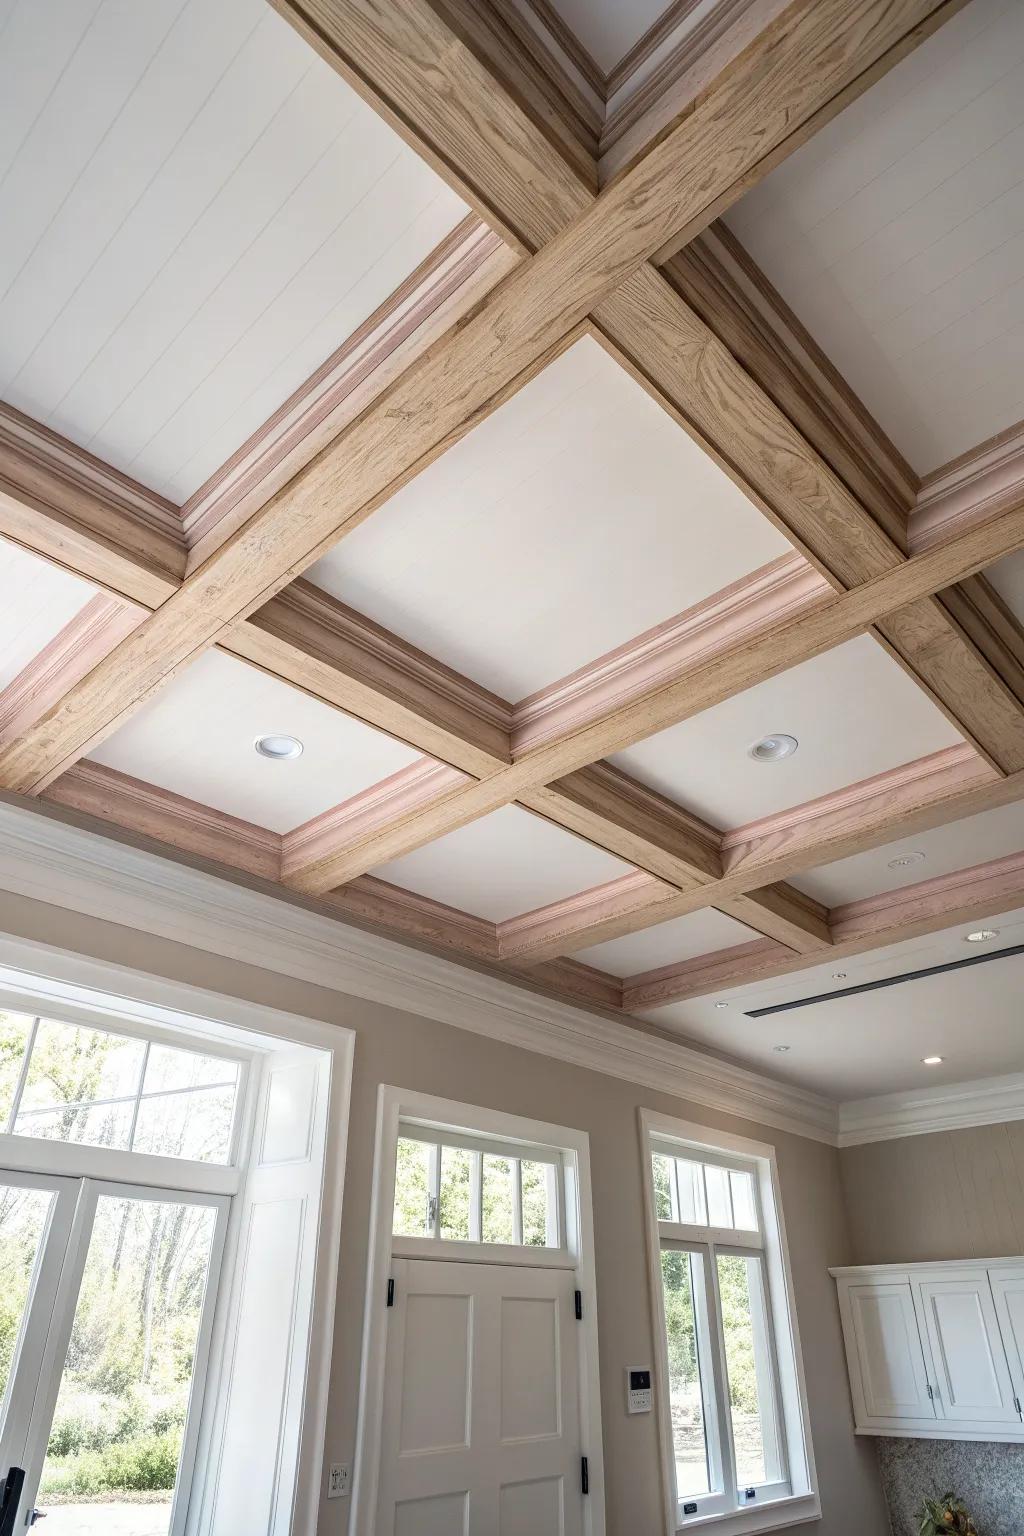
You can fake a coffered look with lightweight “beams” made from trim and clean boards, and it’s way less scary than it sounds. I’ve done a simplified coffered ceiling trim pattern and it made the whole room feel like a custom build.
Check if these fit your needs:
- Brad Nailer Kit: Secure your lightweight ceiling beams quickly and precisely with this essential pneumatic tool for delicate trim work.
- Primed MDF Boards: Create smooth, uniform beam structures easily using pre-primed boards that are ready for your custom paint finish.
- Crown Molding: Add elegant depth inside each ceiling coffer to achieve that high-end, custom architectural look visible here.
Fireplace Surround Built From Layered Trim
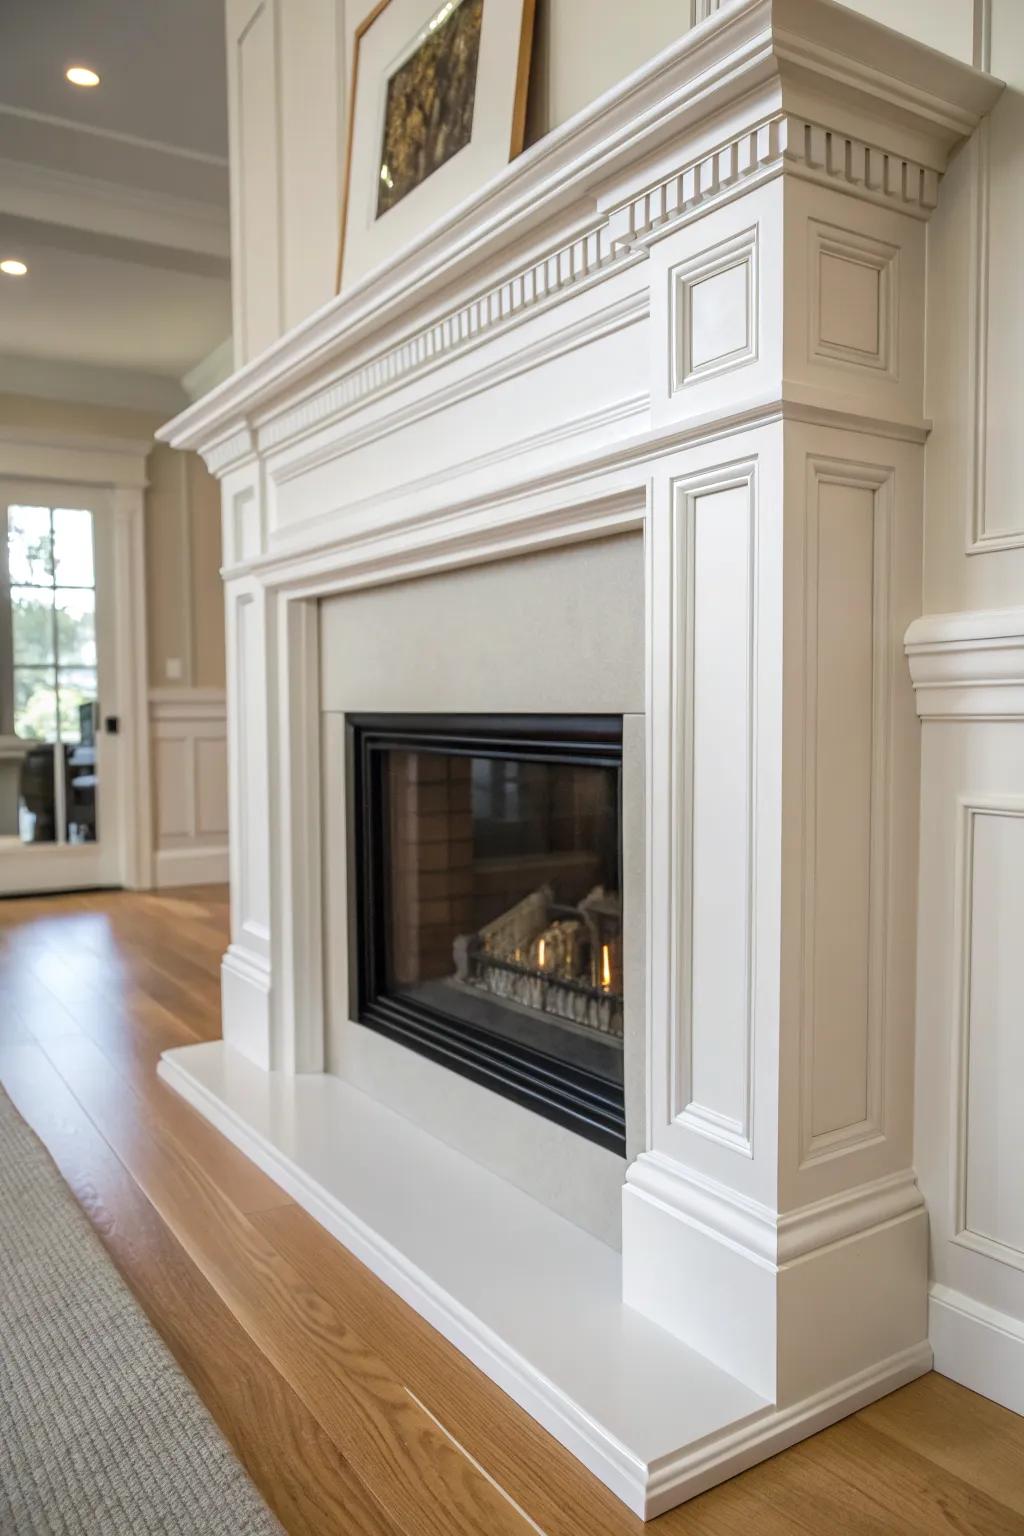
Layered fireplace trim (thin, medium, then chunky) gives you that built-up depth that makes a surround feel expensive. I’ve done this with simple profiles, and once painted, the mantel trim looked like it belonged there from day one.
Items that may come in handy:
- Dentil Molding Strips: Add classic, ornate detail beneath your mantel shelf to instantly elevate the sophistication of your fireplace surround.
- Primed Baseboard Molding: Use wide, flat baseboards as the foundation layer to create the substantial, chunky look of custom pillars.
- Decorative Panel Molding: Create elegant framed boxes on the legs and header of your mantel to add dimension and traditional style.
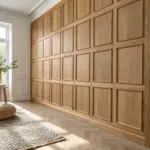
Natural Wood Trim Against Painted Walls
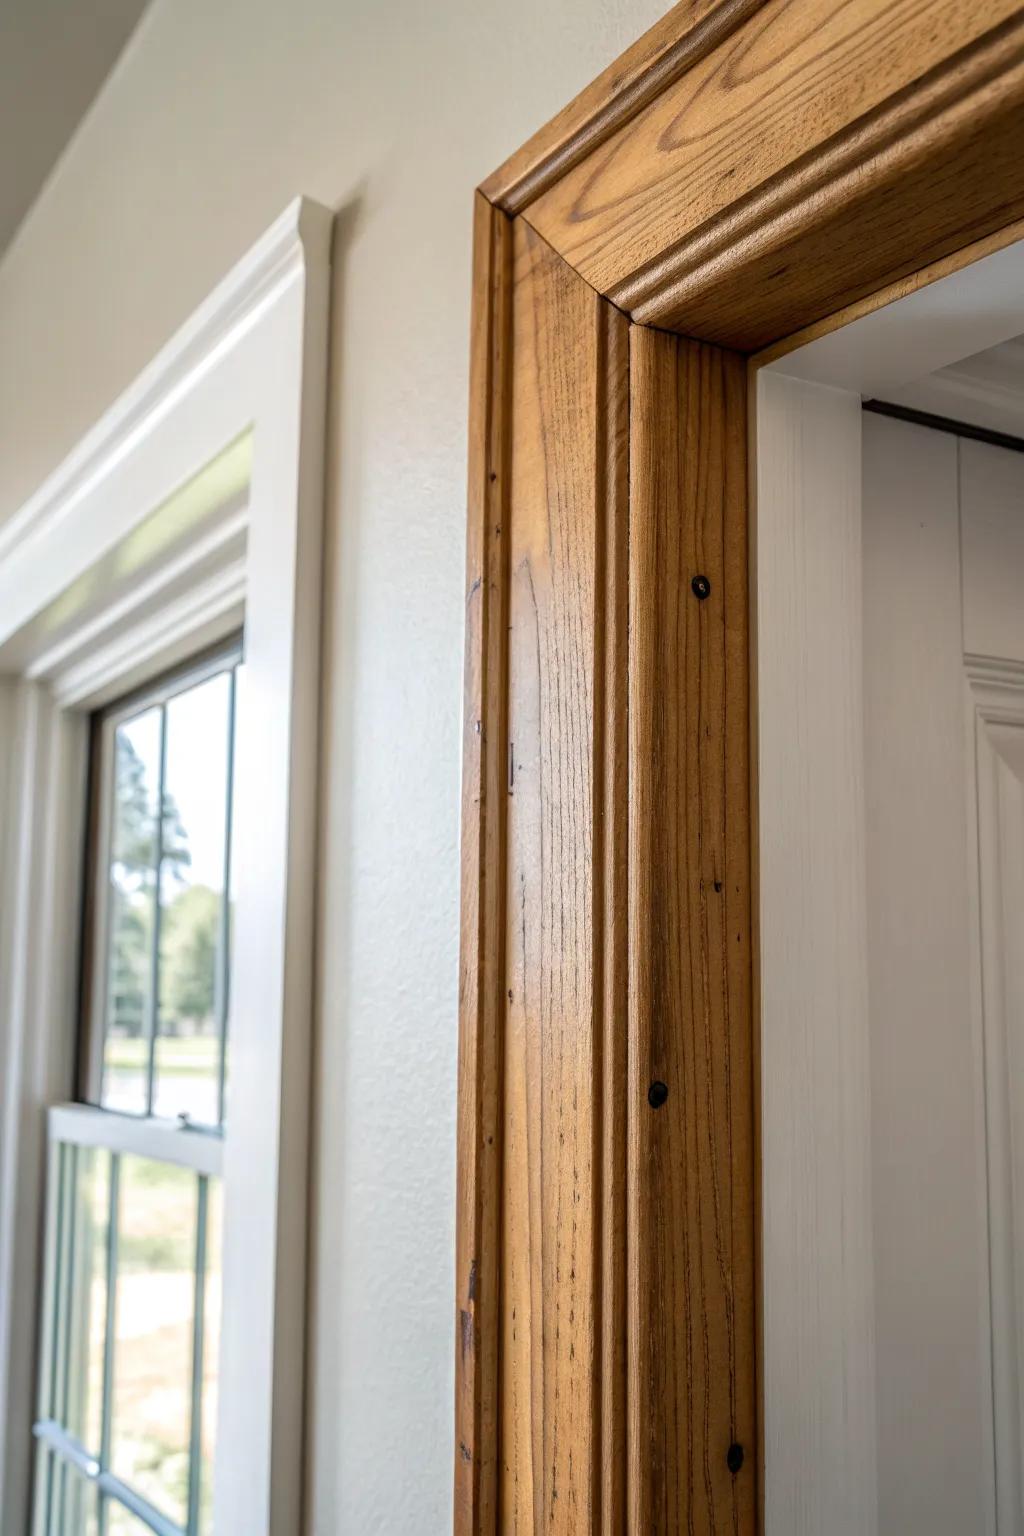
Leaving wood trim natural (or lightly stained) while painting the walls is such a pretty way to show off grain and warmth. I’ve used reclaimed wood trim for this, and all those little knots and saw marks turned into the feature.
Give these a look:
- Clear Matte Wood Sealer: Protect your natural wood trim without altering its color, keeping the authentic grain and warmth visible.
- Brad Nailer Kit: Secure your new trim pieces efficiently and neatly with a reliable nailer designed for finish work.
- Reclaimed Wood Planks: Add instant rustic character to your doorways by installing authentic barn wood planks with unique textures.
Dowel Trim Bands for Soft Texture

One of my favorite “wow, what is that?” moves is adding evenly spaced dowels as trim bands—it reads like a modern take on classic molding. I tried it as wall trim around a focal area, and the shadow lines were unreal in afternoon light.
These products might help:
- Half-Round or Full Wood Dowels: Create those signature shadow lines by selecting smooth hardwood dowels ready for measuring, cutting, and installing.
- Construction Adhesive: Ensure a seamless, nail-free look by attaching your trim securely to the walls with heavy-duty mounting glue.
- Miter Saw or Miter Box: Achieve professional-grade corners and perfectly flush cuts on your dowel trim with this essential cutting tool.
Scalloped or Serrated Trim Border
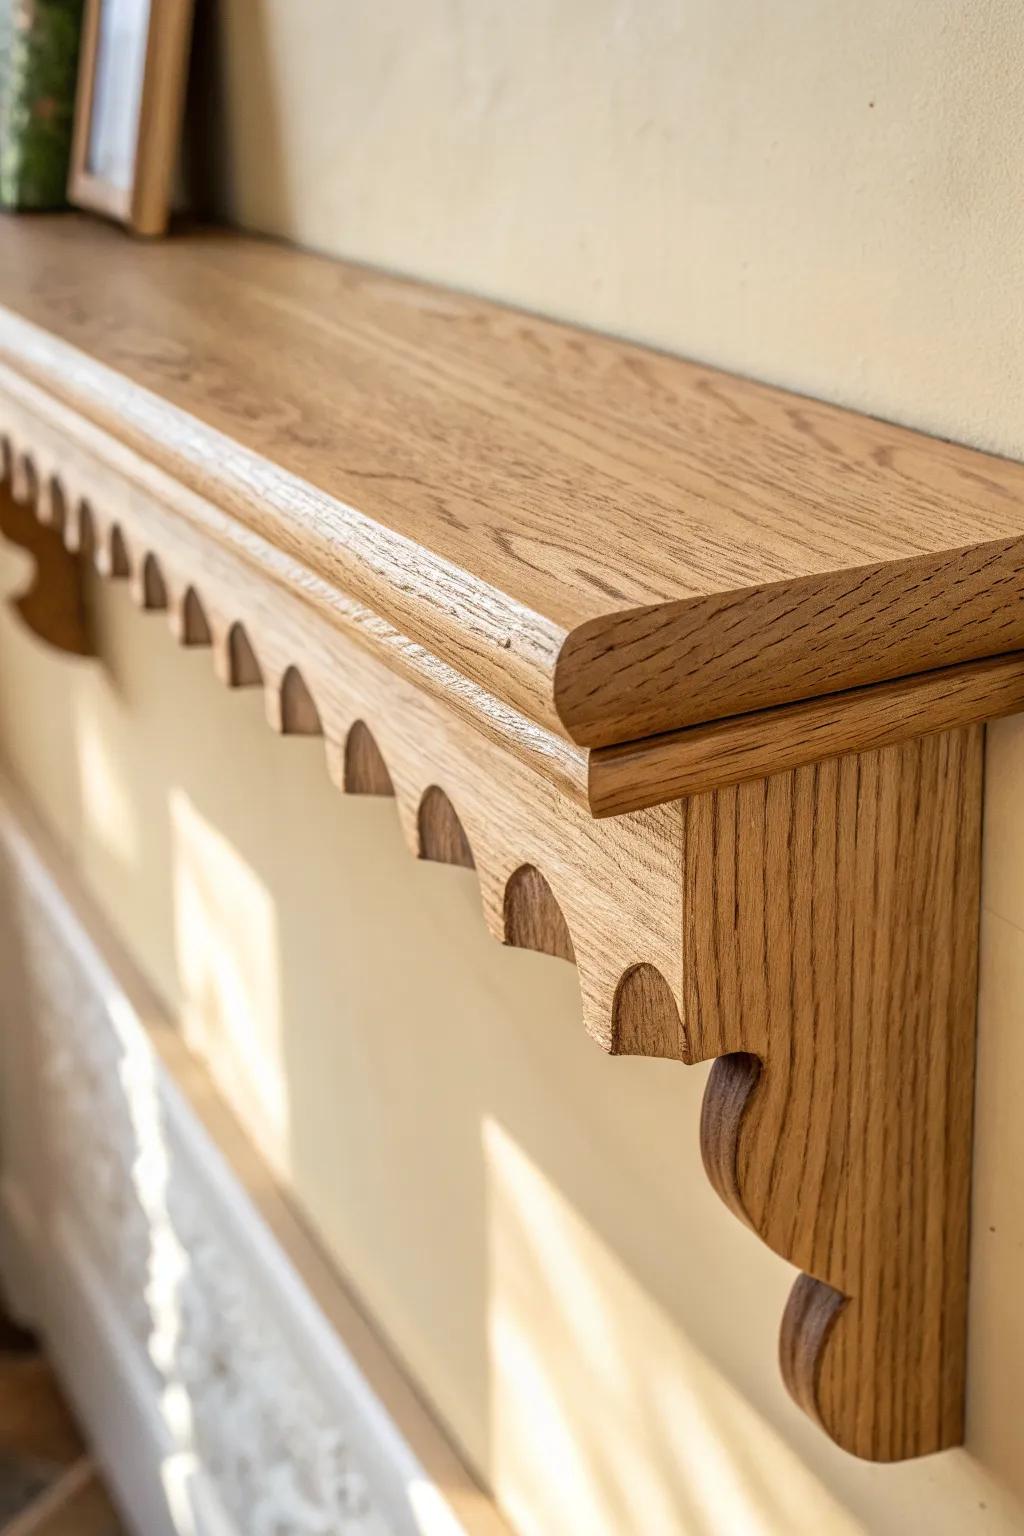
If you want playful trim work, cut repeating curves or tiny triangles to make a scalloped trim (or serrated) border as a cap rail or shelf ledge detail. I experimented with this on a small wall section and that quirky molding detail became the first thing everyone talked about.
Some handy options:
- Jigsaw for Curve Cutting: Create precise scalloped curves and unique designs easily by cutting your own custom wood trim patterns.
- French Curve Template Set: Draw consistent, repeating scallop shapes along your timber before cutting to ensure a uniform molding design.
- Oak Wood Board Lumber: Start your project with high-quality hardwood material that provides the beautiful grain shown in the inspiration photo.


