
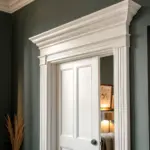
If you love the look of big, fancy crown but your budget says “nope,” using baseboard as crown molding is the sweetest little trim hack.
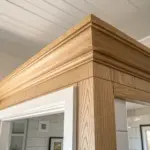
Chunky Craftsman Square Crown Using Baseboard
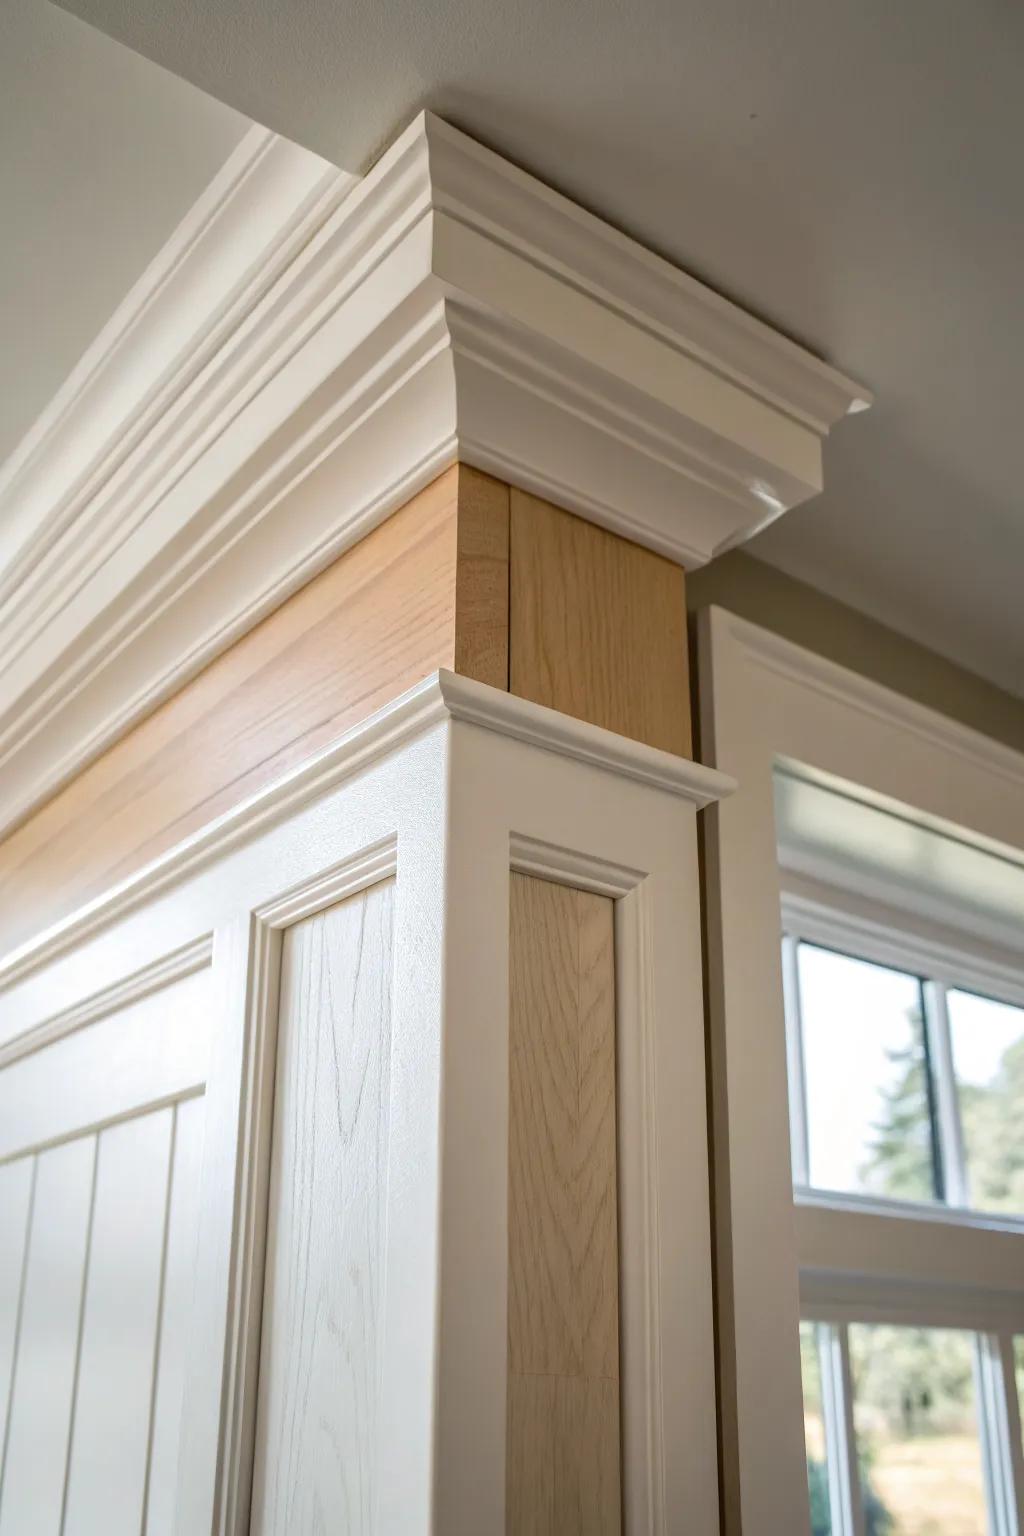
For a clean look, I use baseboard at the ceiling with a square-edged cap so it feels modern and sturdy, not fussy. It’s my favorite when I’m working around straight lines and simple window casings.
Some ideas to consider:
- Primed MDF Baseboard Molding: Create the substantial vertical face of your craftsman cornice with smooth, paint-ready baseboards for easier installation.
- General Purpose Construction Adhesive: Secure heavy trim pieces firmly to the wall and ceiling joists to prevent sagging or gaps.
- Square Edge Primed Pine Board: Top off your baseboard stack with a crisp square cap to achieve that sturdy, modern profile.
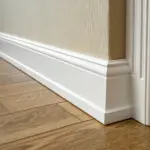

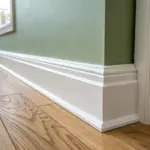
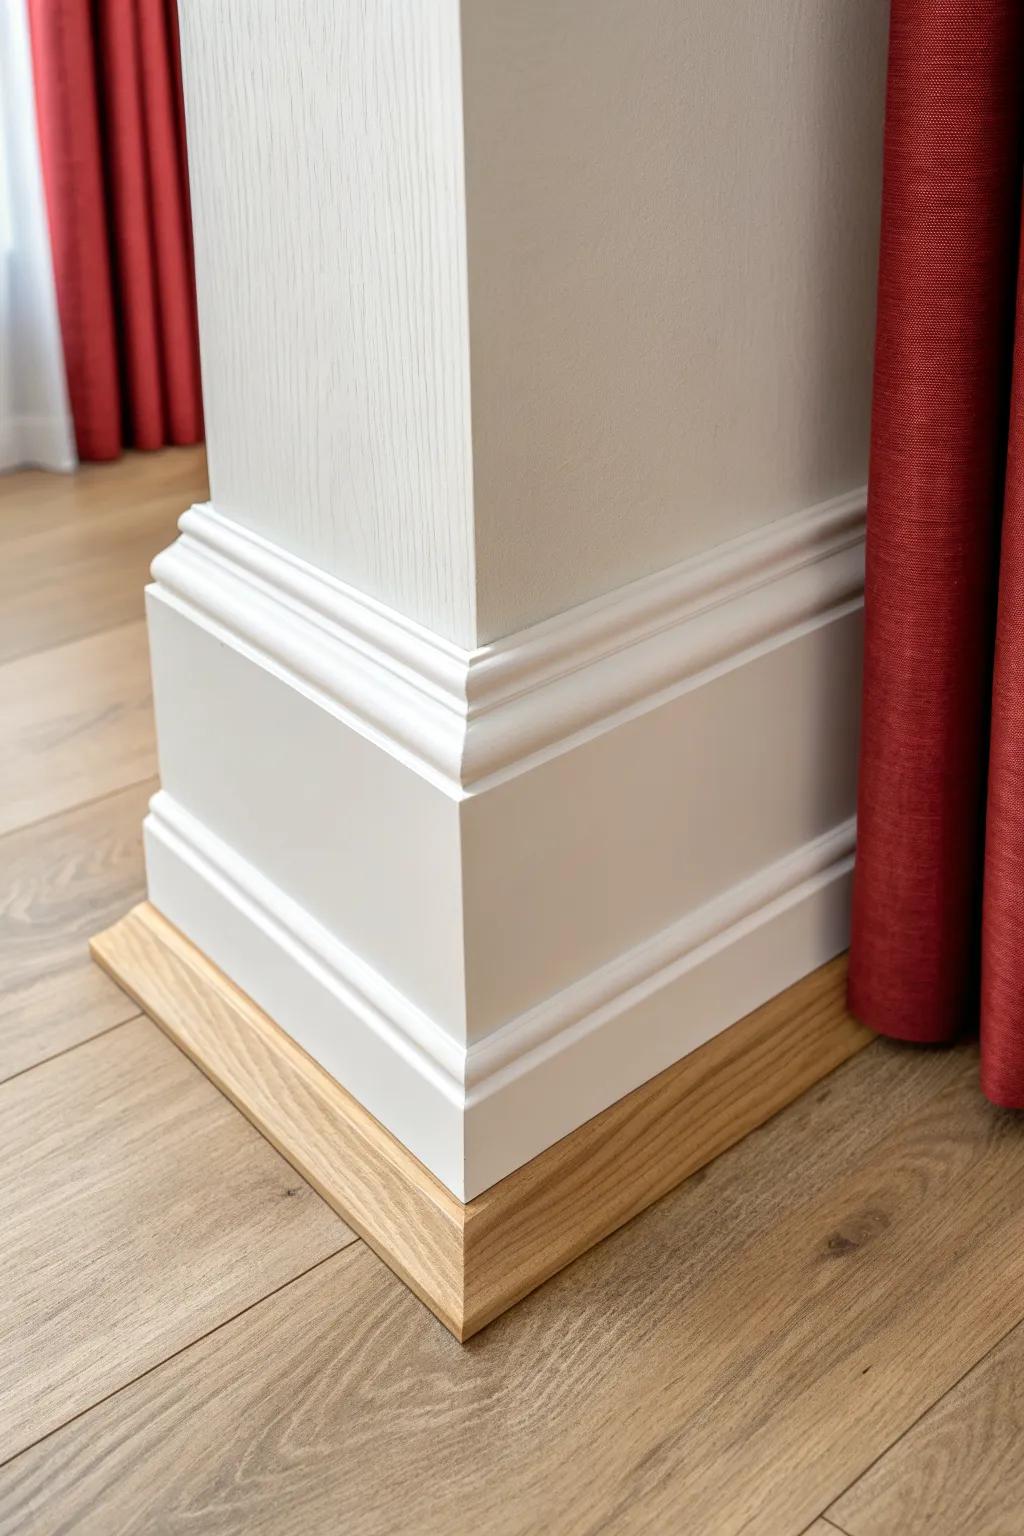
The Classic Upside-Down Baseboard Hack
I flip a standard baseboard molding upside down at the ceiling so the profile reads like a chunky crown without the chunky price. The first time I tried it, I couldn’t stop staring at how much taller the room felt.
Give these a look:
- Primed Baseboard Molding: Choose a wide, primed profile to install upside down for an instant, budget-friendly custom molding look.
- Decorative Trim Molding: Add a small decorative trim piece beneath your baseboard to create a layered, expensive-looking architectural detail.
- Paintable Caulk and Gun: Ensure seamless joints and gaps disappear for a professional finish with this essential finishing tool set.

Seamless Hallway Runs With Baseboard Crown
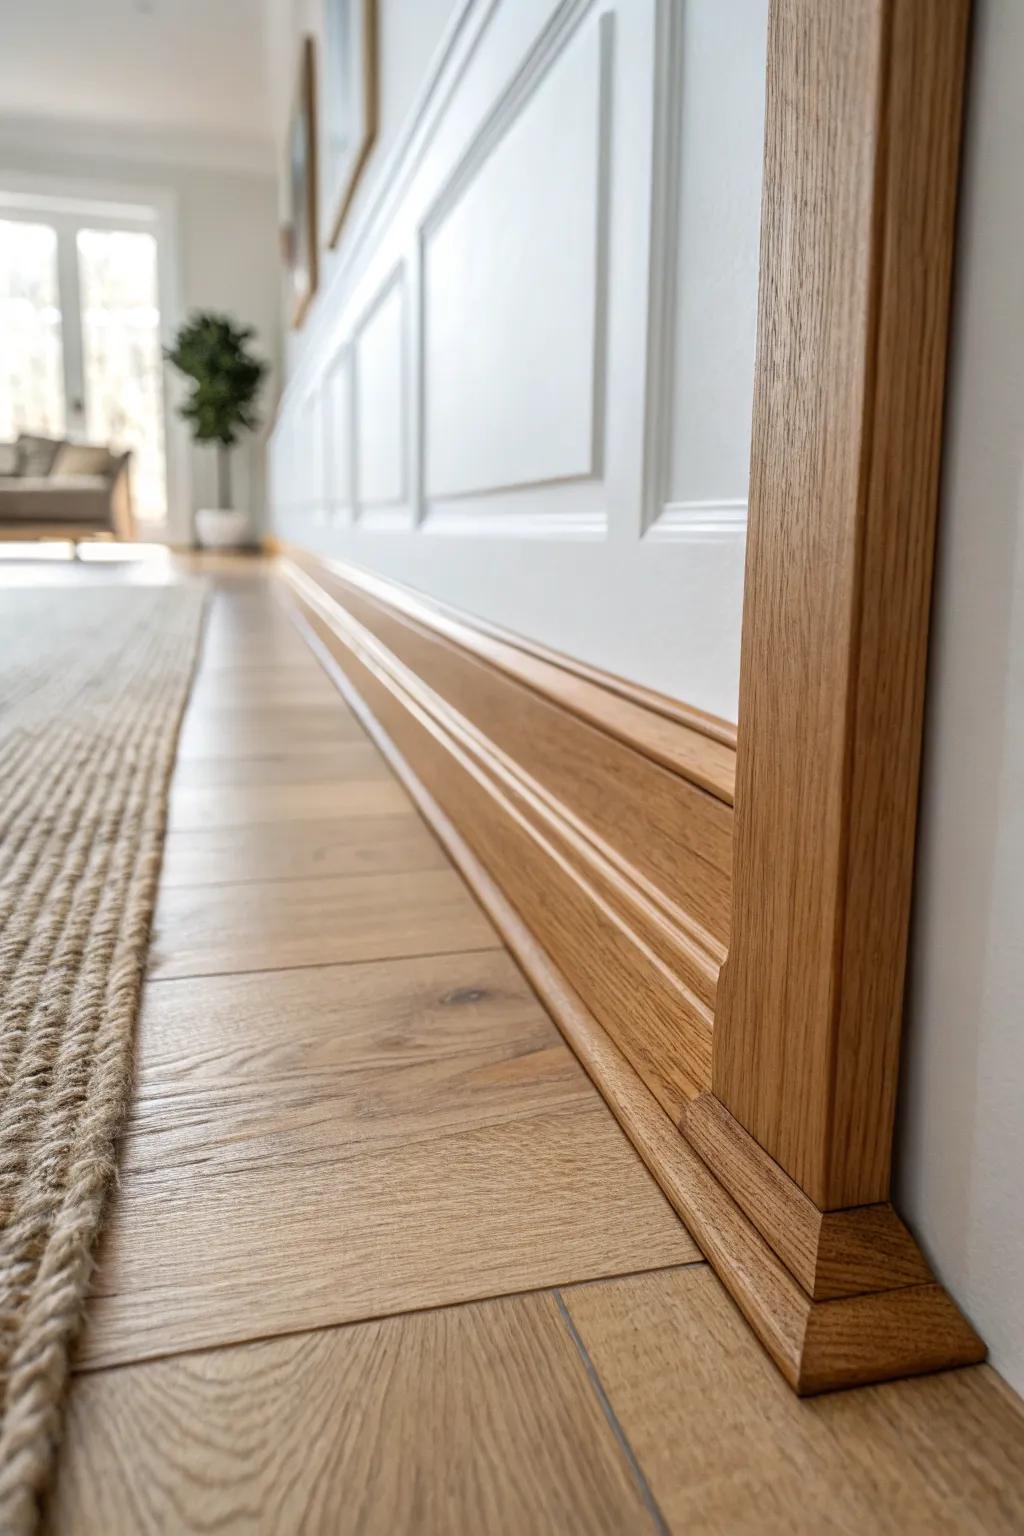
Hallways are where I really notice trim, so I run baseboard crown molding in long, clean lines and plan my seams where they’ll be least visible. I’ve learned the hard way that careful layout beats “winging it” every single time.
These products might be useful:
- Carpentry Angle Finder Tool: Ensure your hallway corners and joints are flawlessly tight by measuring exact angles before cutting any trim.
- Wood Filler for Oak Trim: Conceal unavoidable seams and nail holes in your wooden baseboards for a seamless, professional-looking final finish.
- Natural Jute Runner Rug: Complement your new wooden baseboards and define the hallway space with a durable, textured natural runner.


Clean Doorway Returns Near the Ceiling
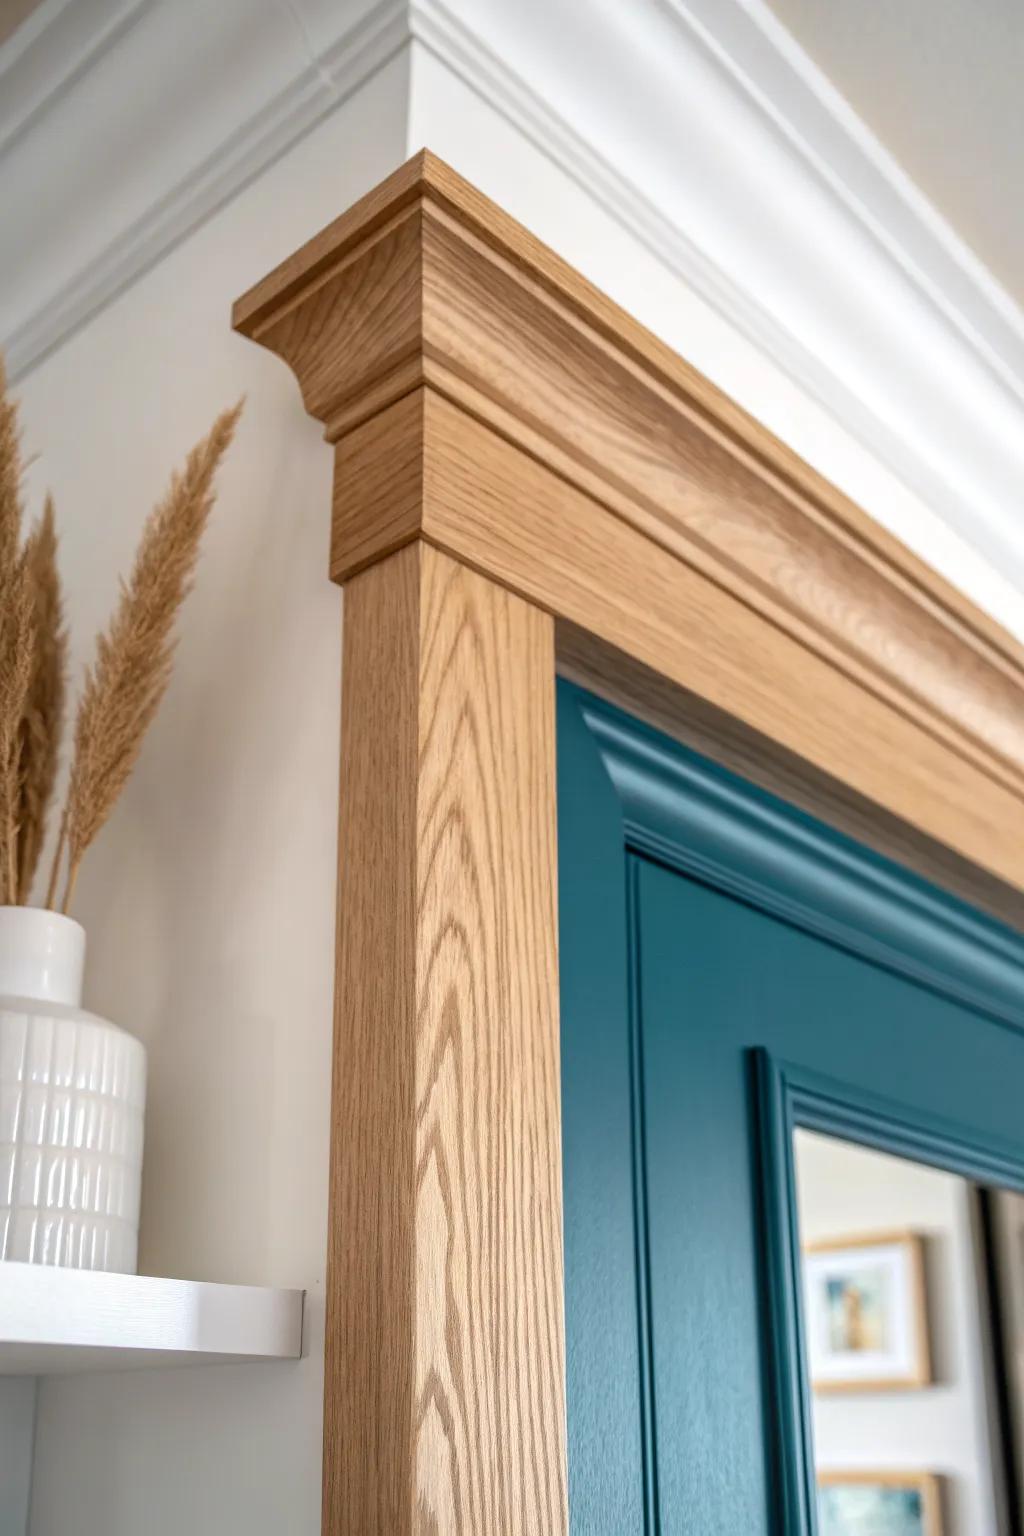
Where baseboard crown meets a doorway, I like a tight little return so the trim doesn’t look “chopped off.” I started doing this after one project felt unfinished, and now I never skip it.
You might give these a try:
- Miter Glues and Accelerators: Secure your small return pieces instantly with a strong CA glue and activator for perfectly tight, gap-free joints.
- Fine-Finish Pull Saw: Achieve precise, splinter-free cuts on delicate molding pieces by using a high-quality manual pull saw for detailed work.
- High-Grit Sanding Sponges: Smooth out your mitered edges and returns effortlessly to prepare the wood surface for a flawless stain or paint finish.
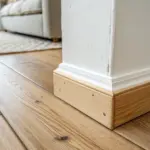
Outside Corner Fixes for Bullnose or Square Walls
For tricky outside corners (especially bullnose), I’ve had better luck with small transition pieces than forcing perfect miters. It’s one of those details that saves your sanity and still looks crisp from across the room.
Explore these options:
- Wooden Plinth Transition Blocks: Use simple decorative corner blocks to eliminate complex miter cuts and create instant, seamless outside corner transitions.
- Bullnose Corner Gauge & Trim Tool: Accurately measure your specific corner radius or angle before cutting to ensure tight, gap-free baseboard joints.
- Wood Filler & Putty Kit: Fill small gaps in your miters or returns for a flawlessly smooth finish that matches your wood tone.
Corner Blocks to Avoid Fussy Miters
When I’m doing baseboard crown molding in a room with lots of corners, I’ll use corner blocks so everything butts in cleanly. I love this trick because it’s beginner-friendly and still reads really traditional.
Products that could assist:
- Wood Plinth Blocks: Use these wood blocks at doorways or corners to create a clean transition without needing complicated miter cuts.
- Baseboard Molding Trim: Select a classic baseboard profile that butts cleanly against corner blocks for a timeless, custom-finished appearance.
- Construction Adhesive: Ensure a secure, long-lasting hold for your baseboards and corner blocks with strong construction adhesive.

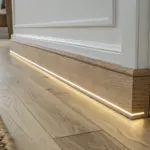

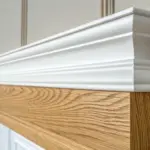
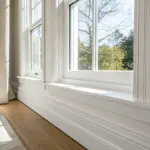
Modern Shadow-Line Reveal With Baseboard
I’ve left a deliberate gap between the upside-down baseboard and the top trim to create a shadow-line reveal that feels fresh and architectural. It’s subtle, but it makes the crown look more “designed” and less cookie-cutter.
May just do the trick:
- Primed MDF Baseboard Molding: Choose smooth, primed baseboards to create the substantial foundation needed for this layered architectural look.
- Small Decorative Panel Moulding: Add this smaller trim piece above your main baseboard to create the distinct shadow gap effect.
- Precision Spacers or Shims: Use these essential tools to ensure your shadow-line gap remains perfectly consistent during installation.
Two-Tone Painted Baseboard Crown
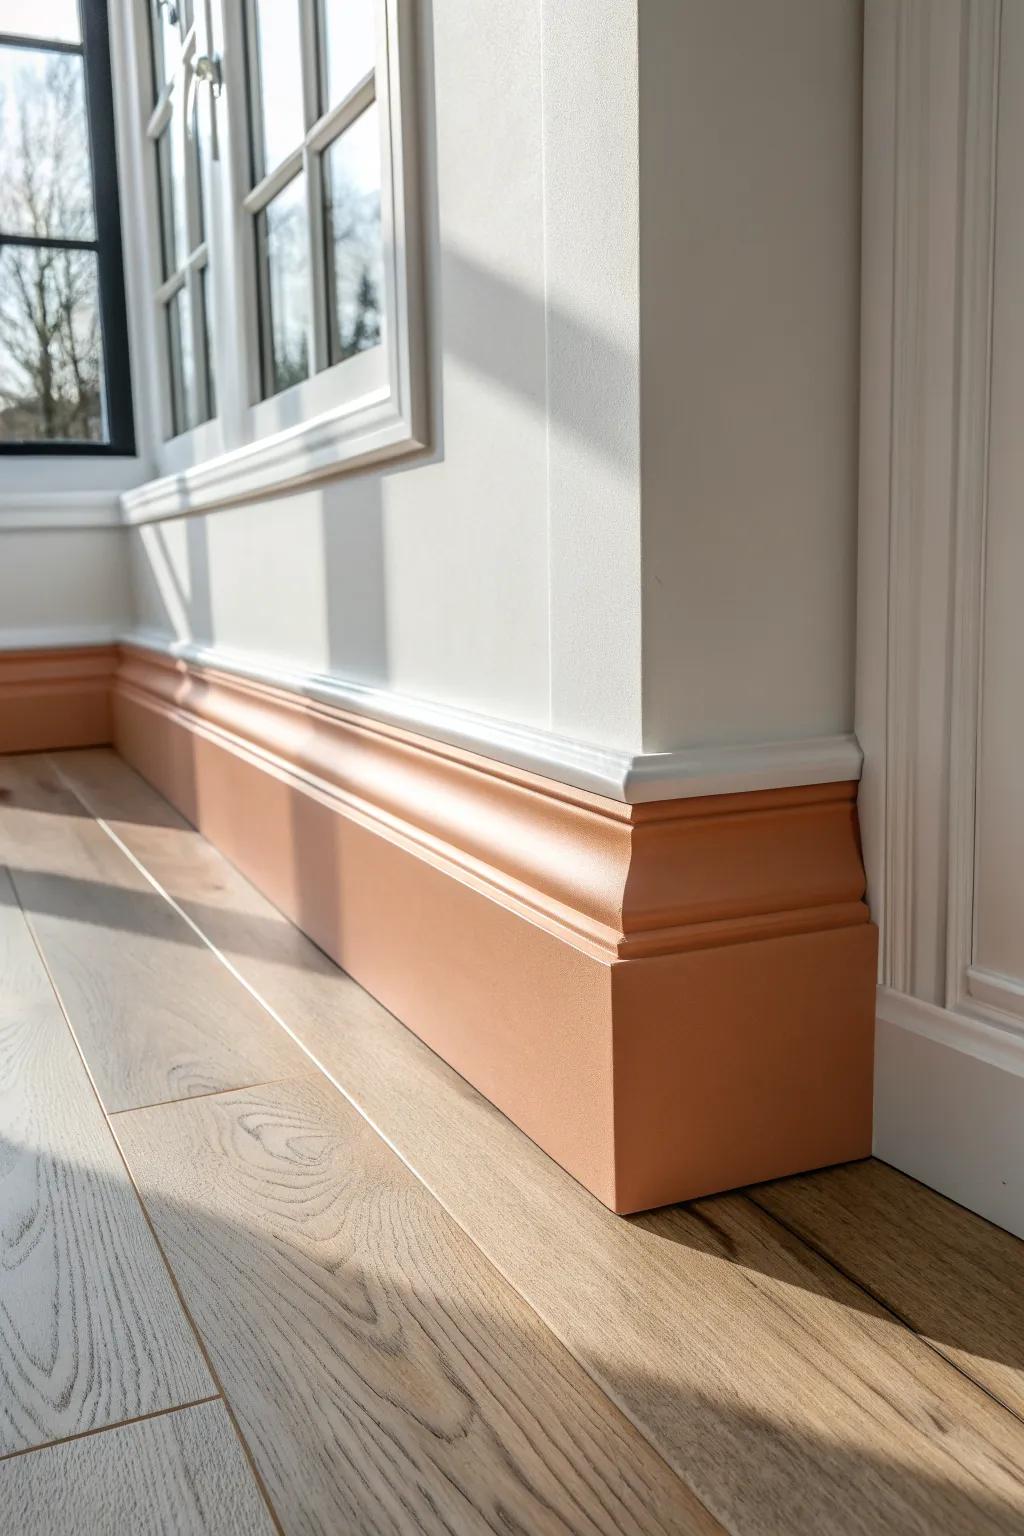
Painting the baseboard crown a slightly different tone than the wall is my favorite low-effort way to make it pop. I’ve done this in dining spaces and it instantly adds depth without adding more trim.
A few choices to try:
- High-Density Foam or Polyurethane Baseboard Molding: Create elegant architectural depth easily by installing these durable, paint-ready baseboards which mimic traditional wood trim perfectly.
- Professional Painter’s Tape for Crisp Lines: Achieve that flawless separation between your wall and baseboard tones with tape designed to prevent paint bleed.
- Angled Sash Paint Brush for Trim: Master detailed trim work using an angled brush that allows for precise control when painting intricate molding profiles.
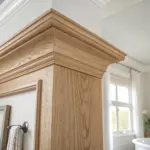
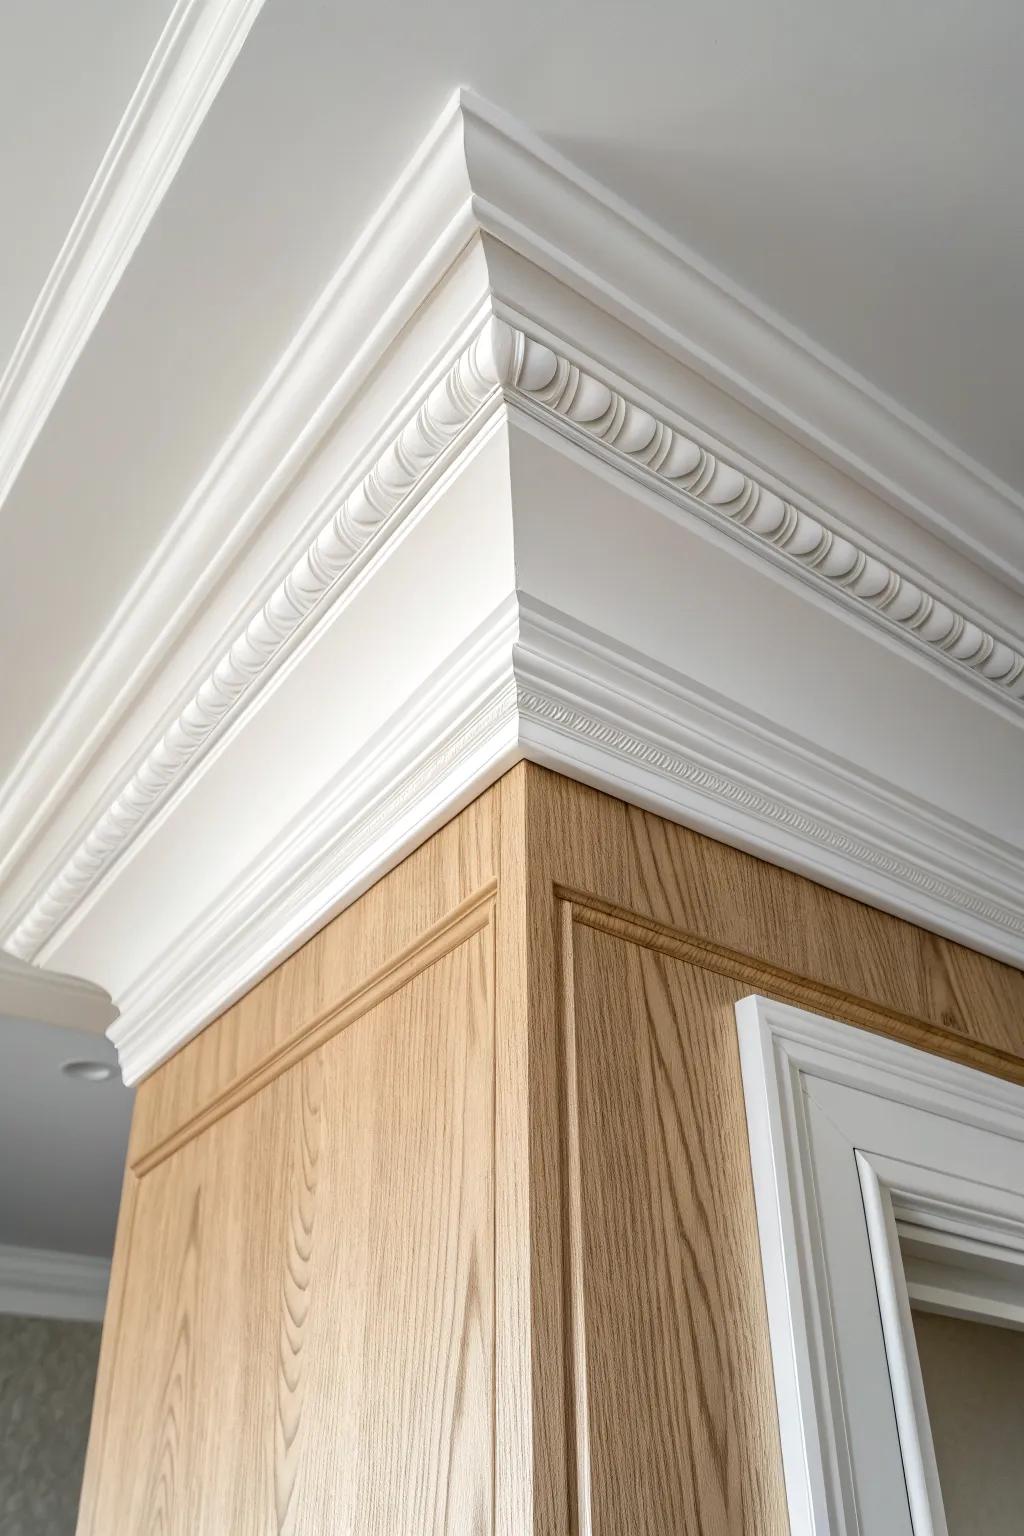
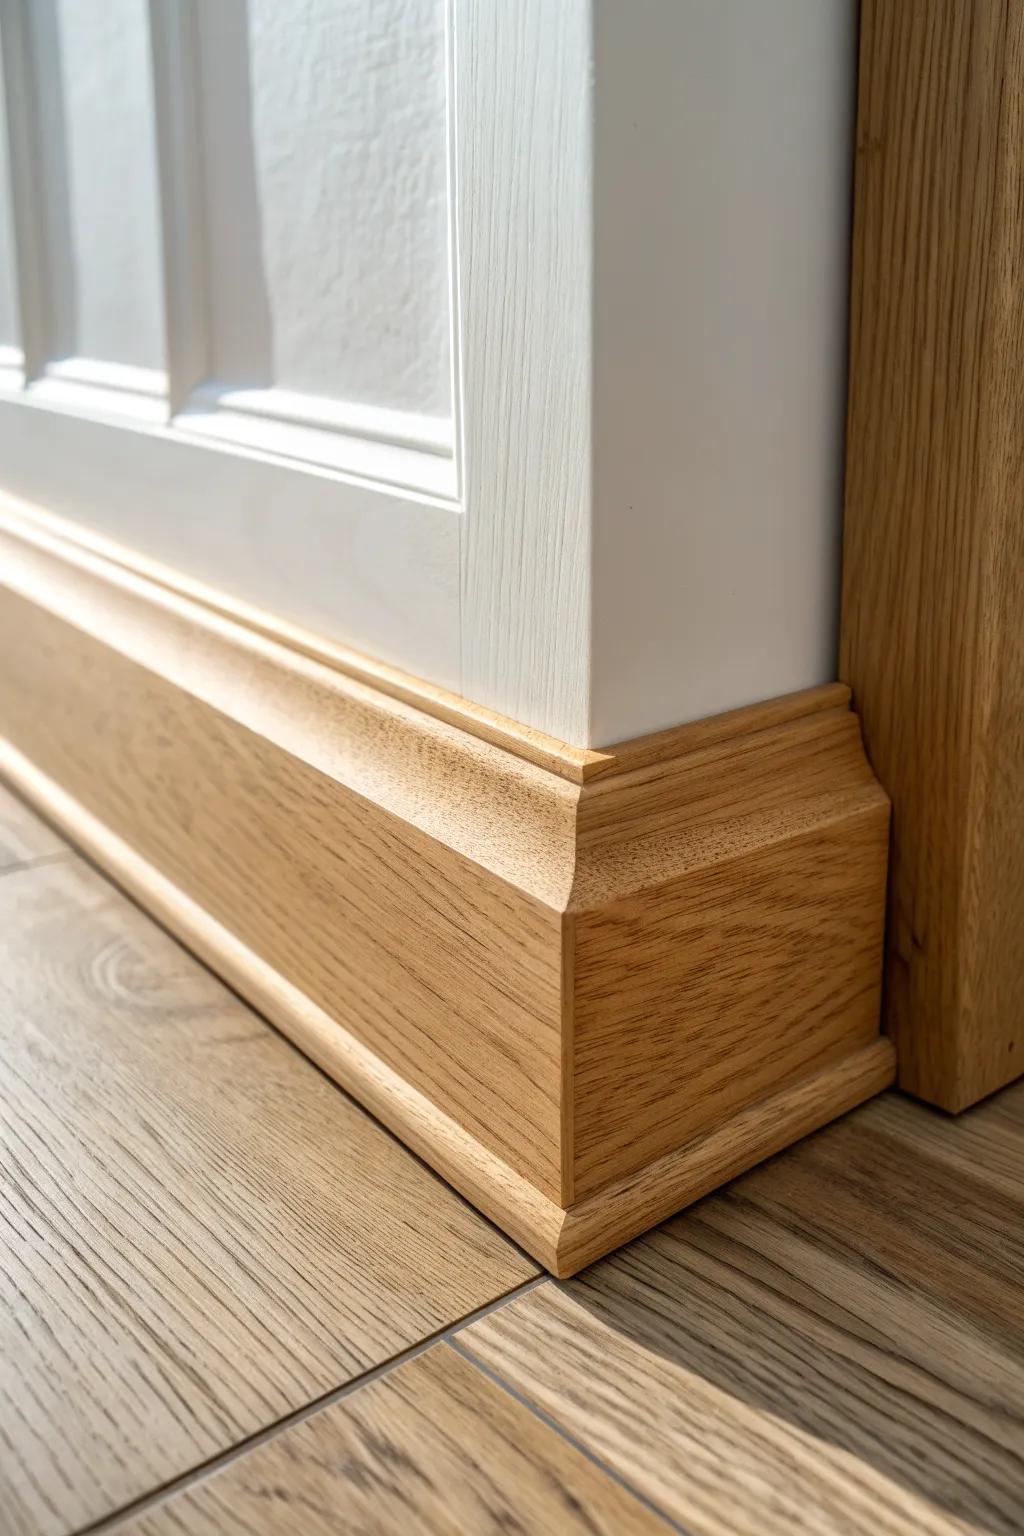
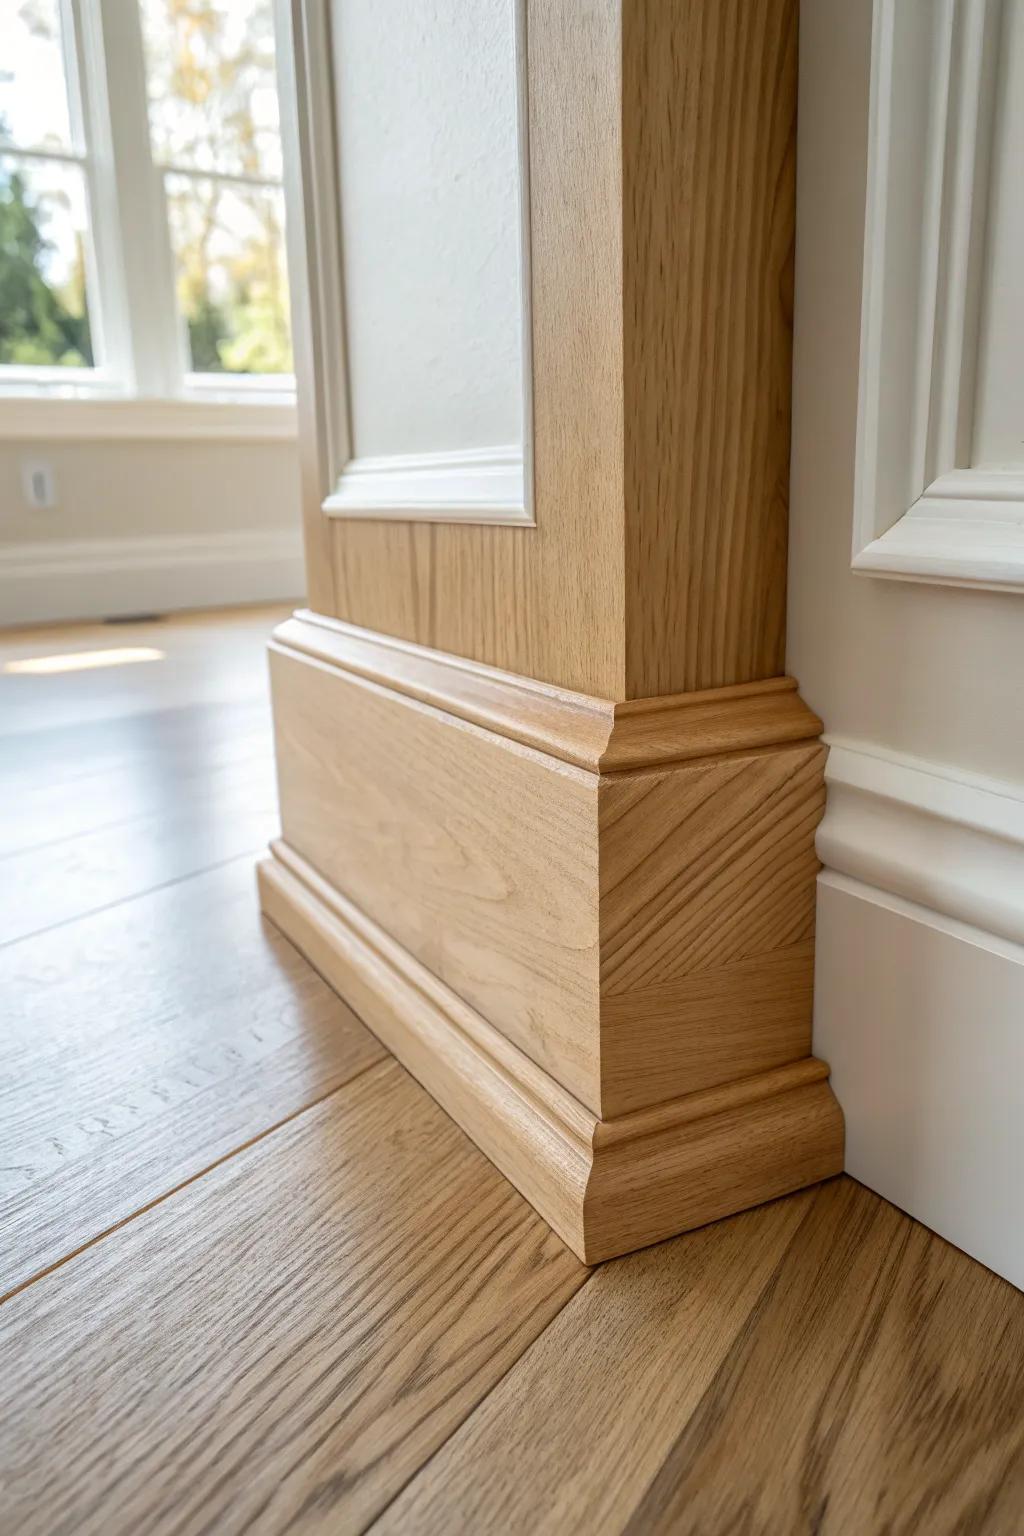
Natural Wood Baseboard Crown for Warmth
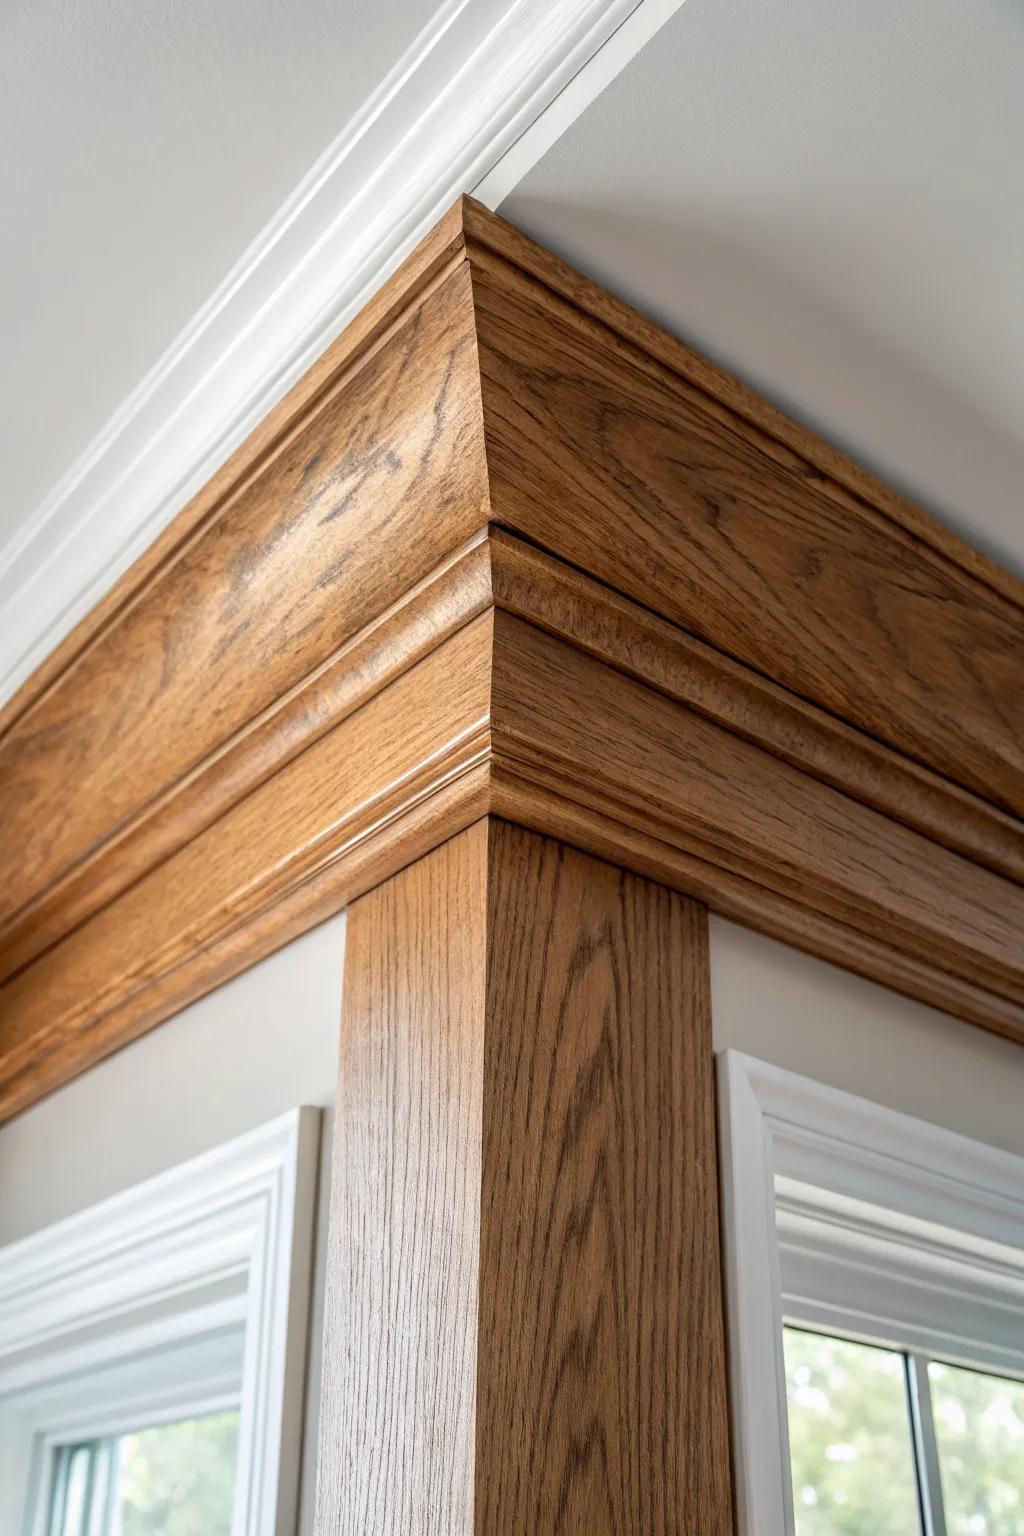
If you love grain, try staining or clear-coating a baseboard crown molding build-up while keeping walls lighter. I’ve used salvaged wood for this, and the warmth up near the ceiling makes the whole room feel cozy.
Maybe worth checking out:
- Clear Wood Finish or Polyurethane: Protect your wood moldings and enhance the natural grain pattern with a durable, clear protective coat.
- Interior Wood Stain: Add warmth and depth to raw wood trim by applying a rich, golden or medium-toned stain.
- Brad Nailer Kit: Secure your crown molding pieces easily and cleanly for a professional finish without large hammer marks.


