
A good floor threshold is that little detail that makes two rooms feel like they actually belong together. I’ve learned in my shop that the best thresholds aren’t just pretty—they also protect edges, hide gaps, and keep toes from catching.
Curved Threshold for Soft, Organic Flow
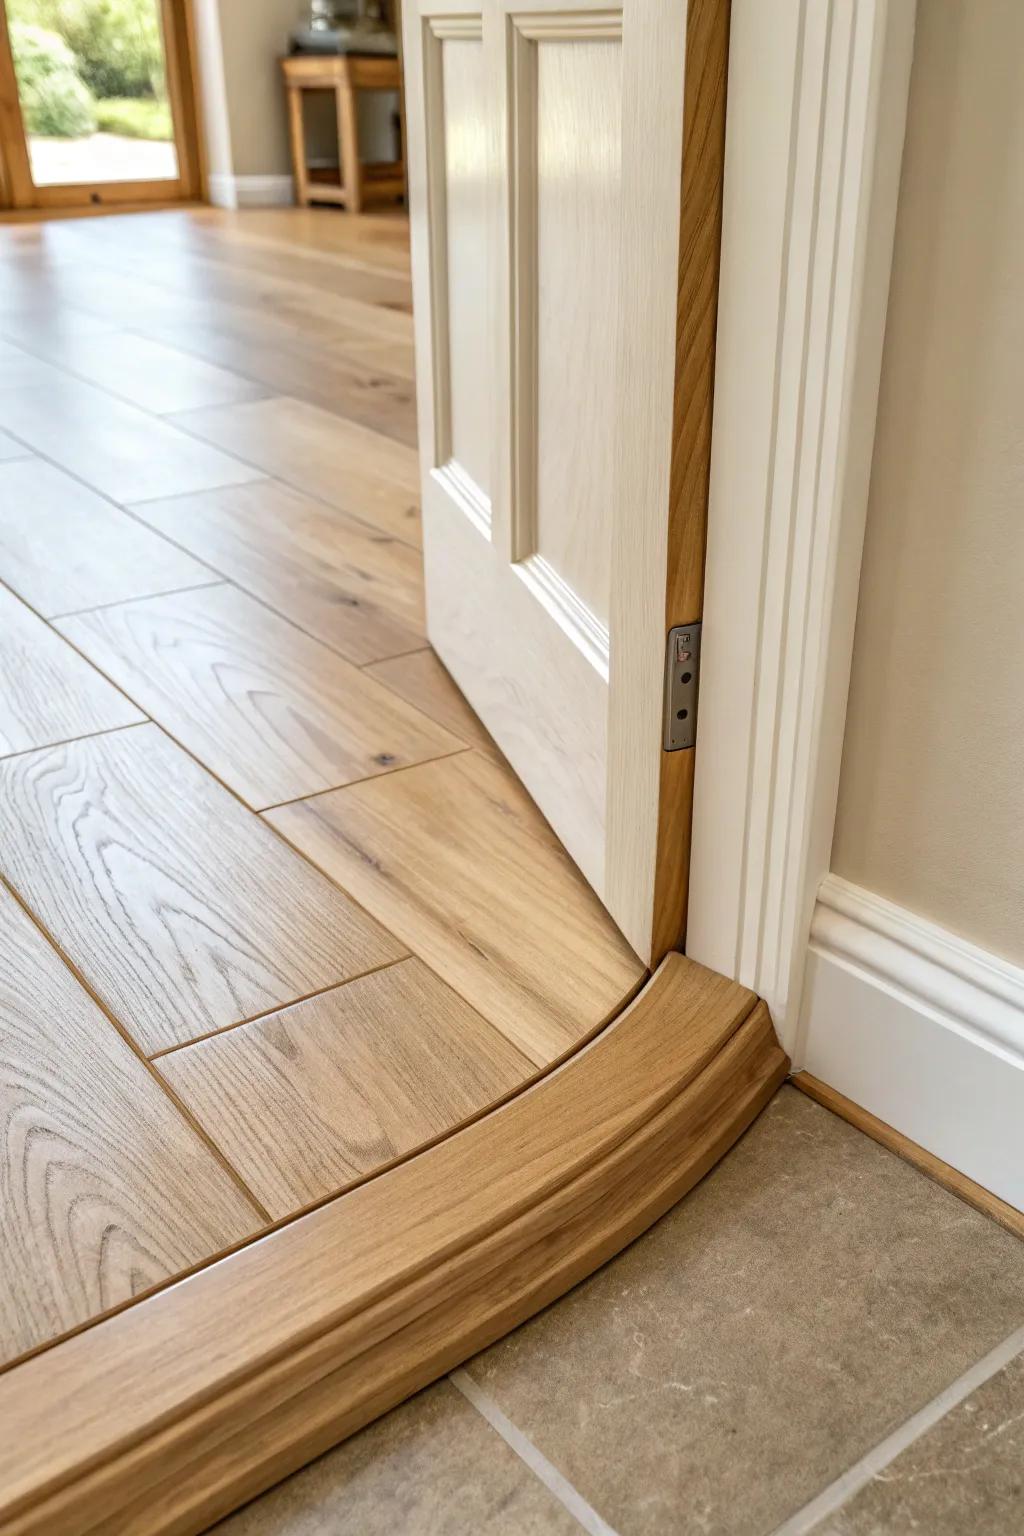
For open-plan transitions, I’ve made a curved floor threshold that gently sweeps between wood and tile, and it’s a total showstopper. It’s more scribing and patience, but the result feels relaxed and high-end at the same time.
You might give these a try:
- Flexible Curve Template Tool: Capture complex curves precisely with this adjustable guide, making your custom threshold scribing significantly easier and more accurate.
- Contour Gauge Profile Tool: Duplicate irregular shapes and floor contours instantly to ensure your custom wood transition piece fits the gap perfectly.
- Solid Oak Lumber Board: Source high-quality hardwood material necessary to cut, shape, and sand down your own bespoke curved threshold transition.
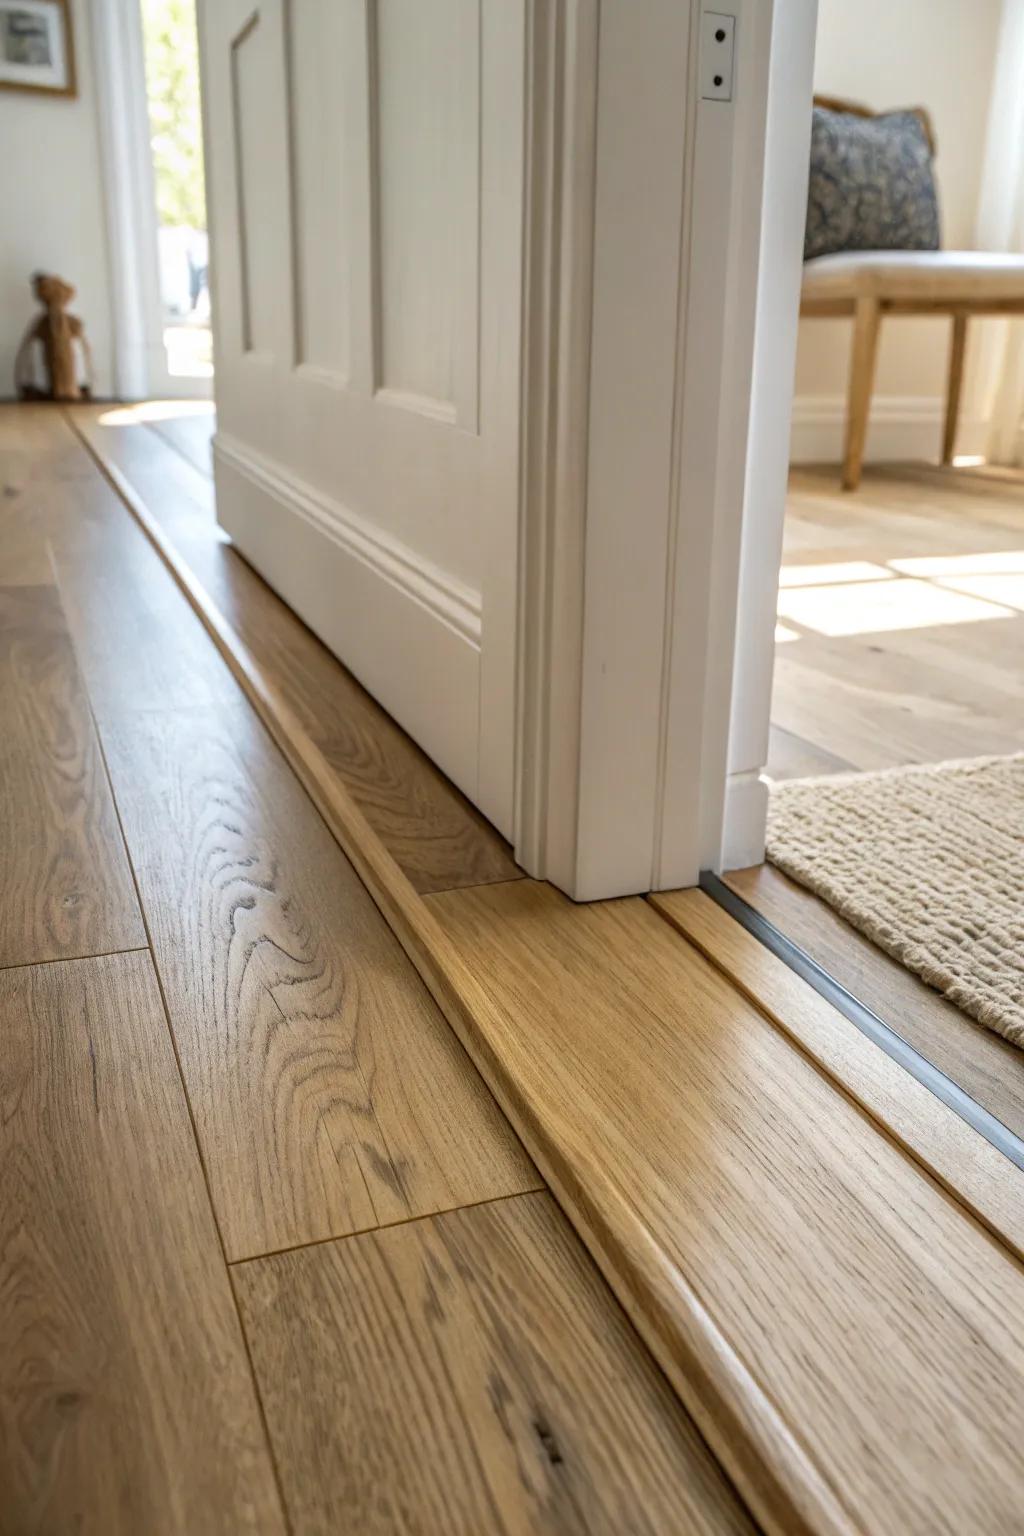
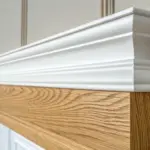
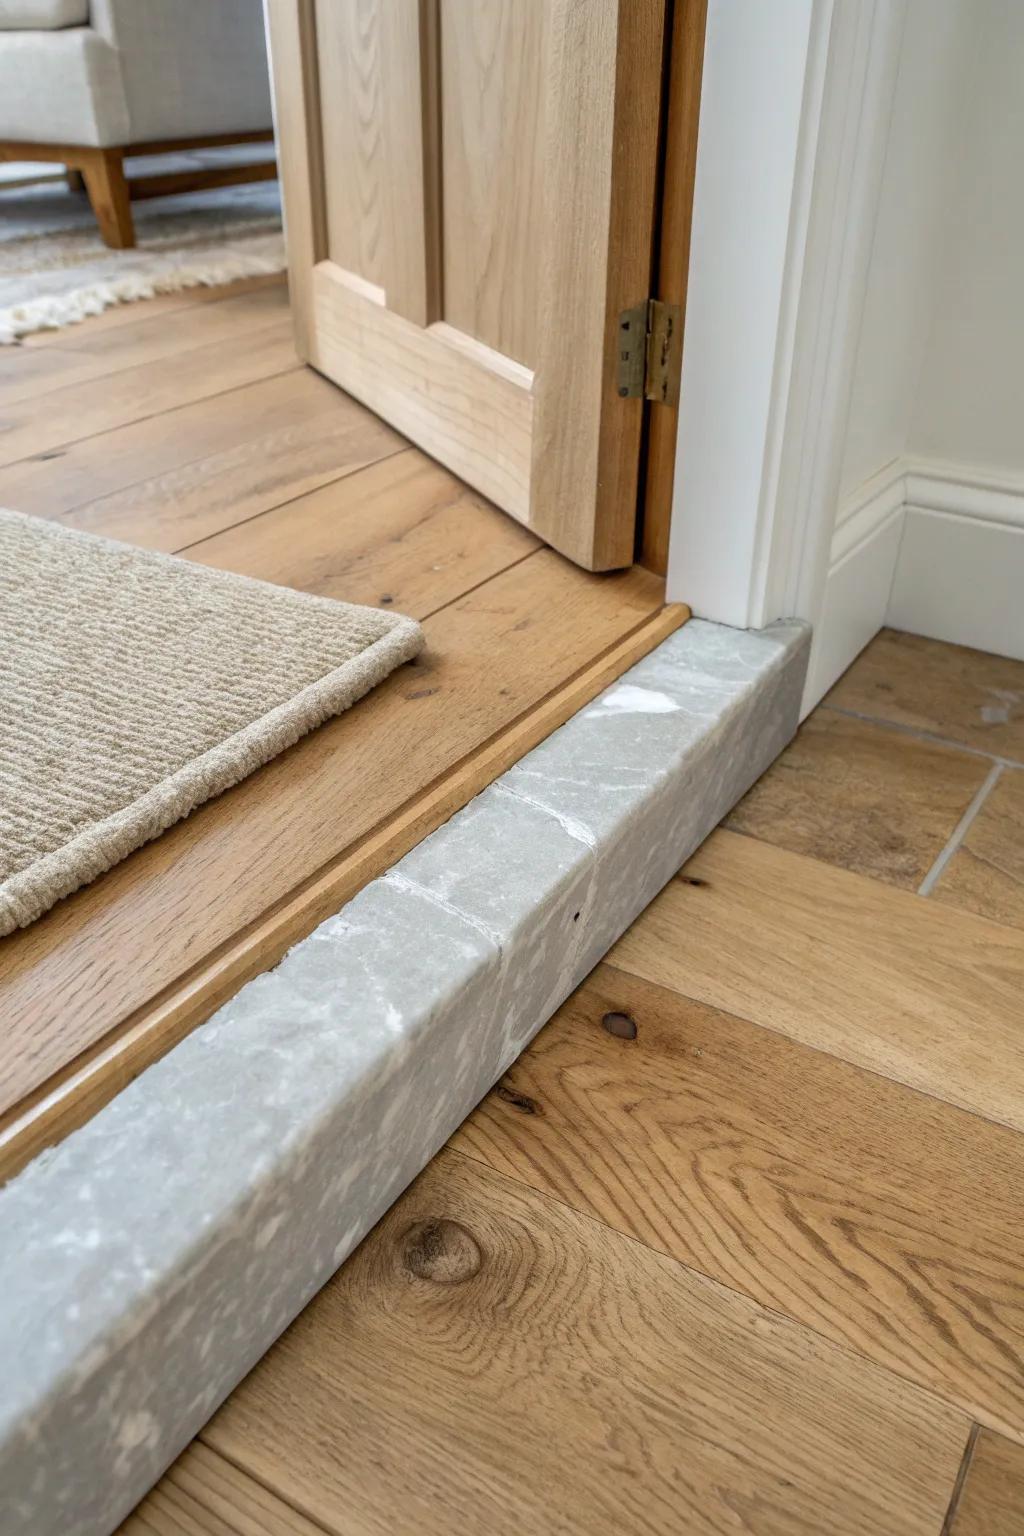
Classic Wood Saddle Threshold
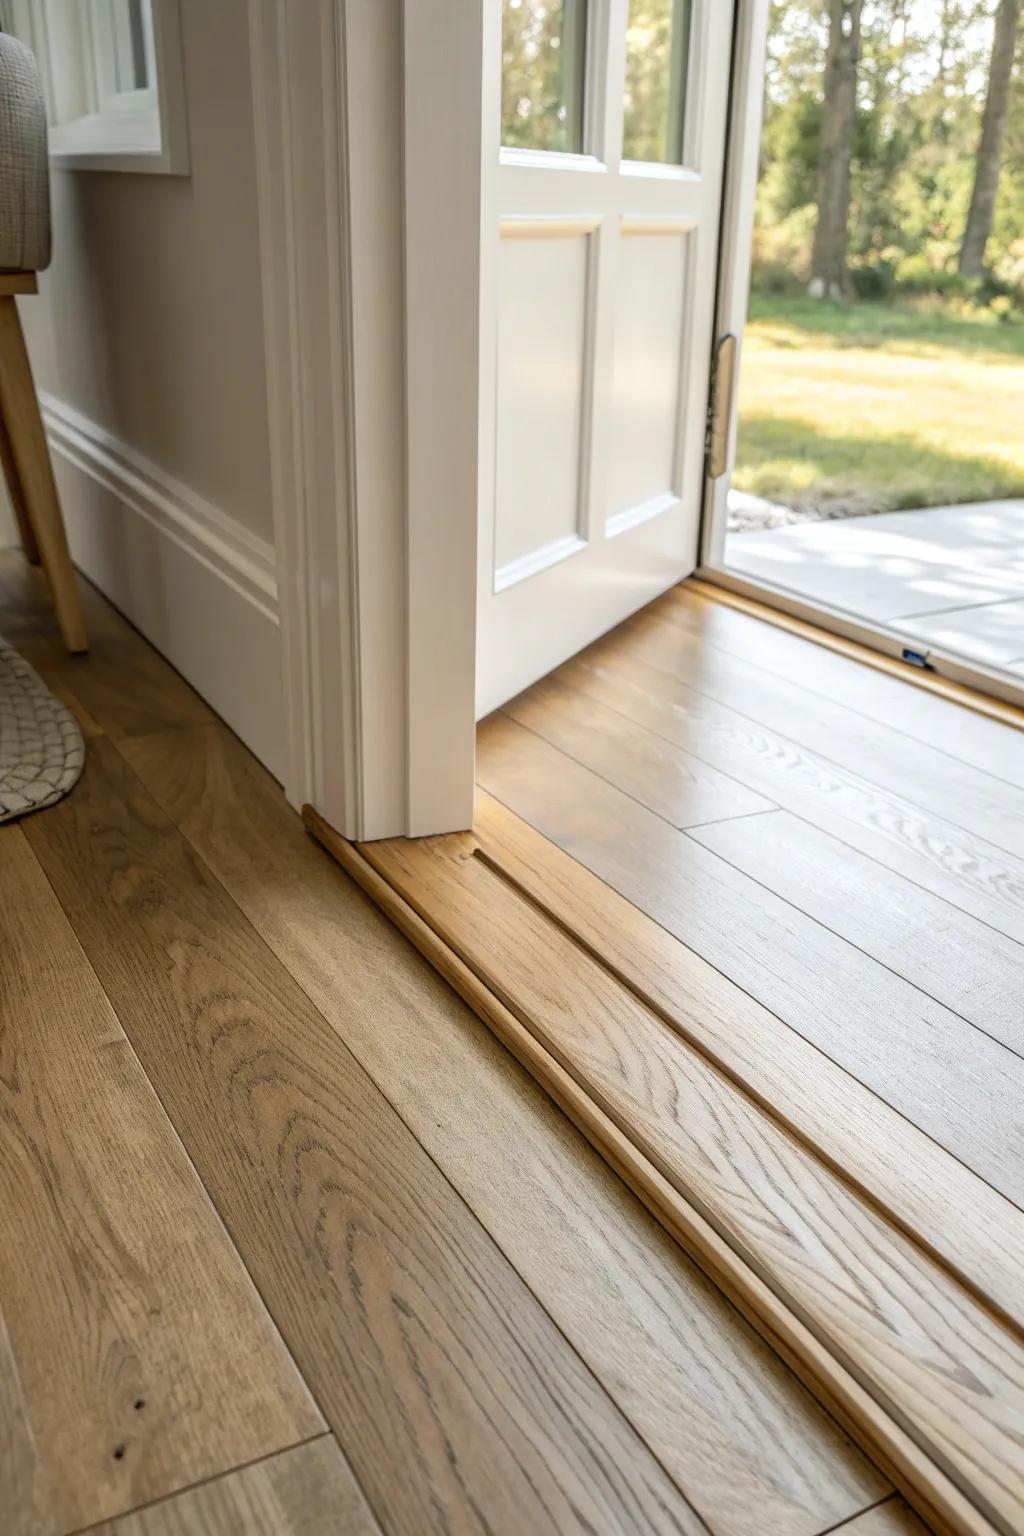
When I need a timeless fix in a doorway, I mill a simple wood saddle threshold with softly eased edges, and it instantly looks “finished.” I like using white oak or walnut because they take a durable finish and handle daily traffic like champs.
Possibly helpful picks:
- Hardwood Saddle Threshold: Create a seamless transition between rooms with this durable hardwood threshold that can be stained to match your existing floors.
- Polyurethane Wood Finish: Protect your new threshold from daily foot traffic by applying a high-quality finish for long-lasting durability and shine.
- Wood Finish Applicator Pad: Ensure a smooth, professional-looking coat on your new threshold with these easy-to-use applicator pads designed for detailed work.


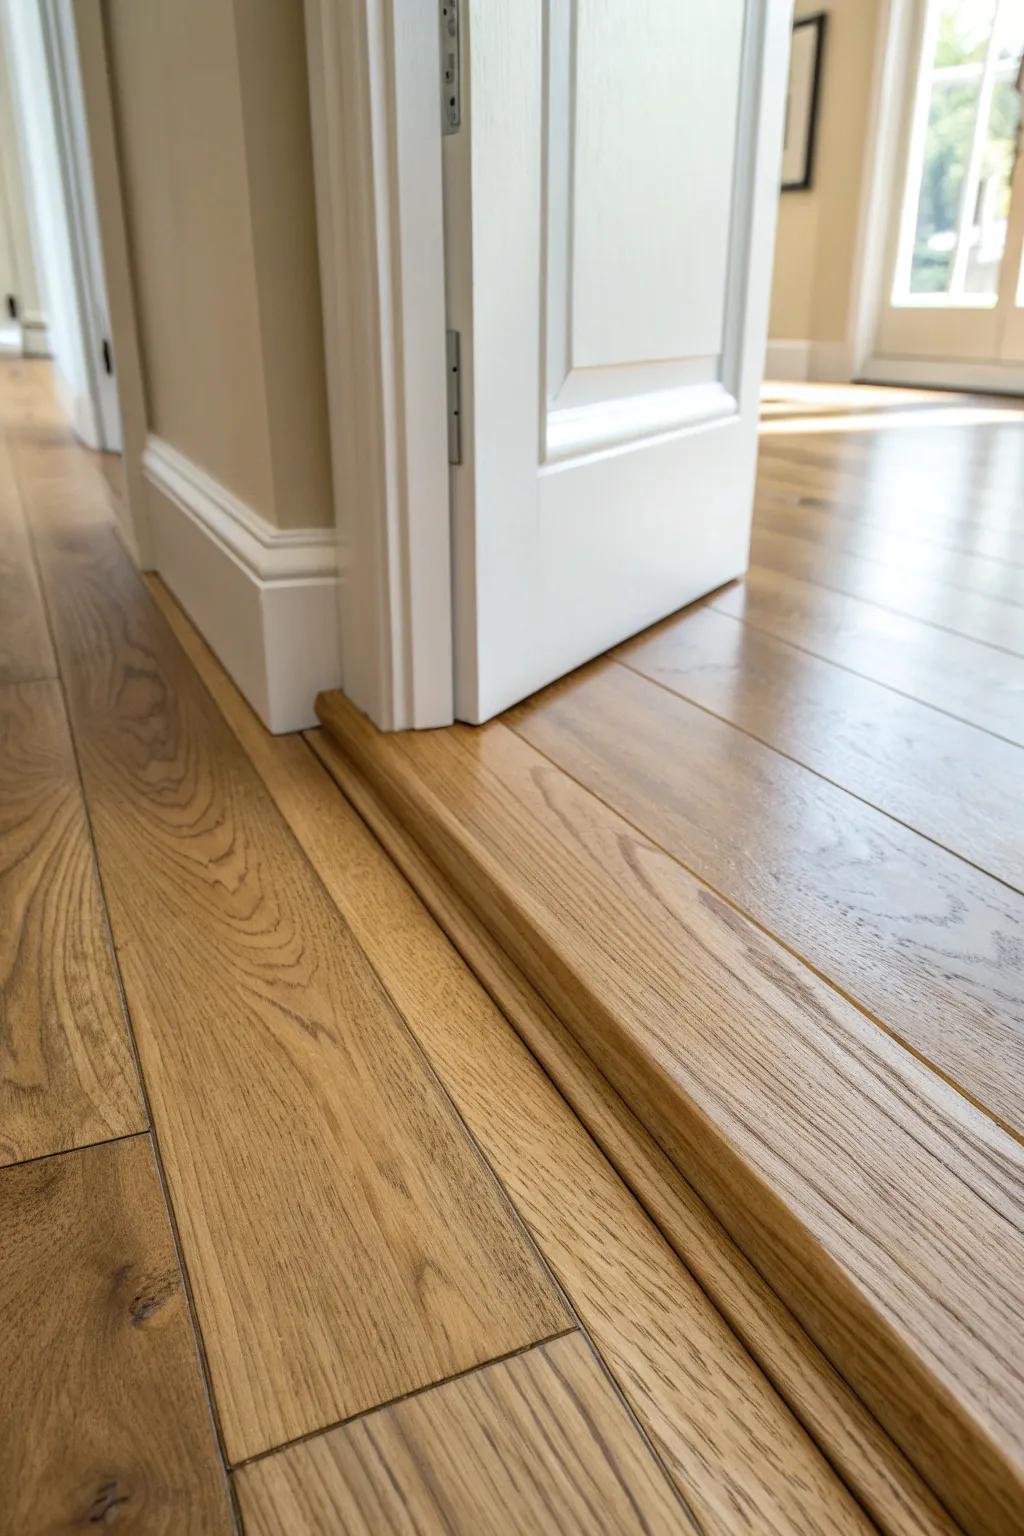
Flush T-Molding Between Equal Floors
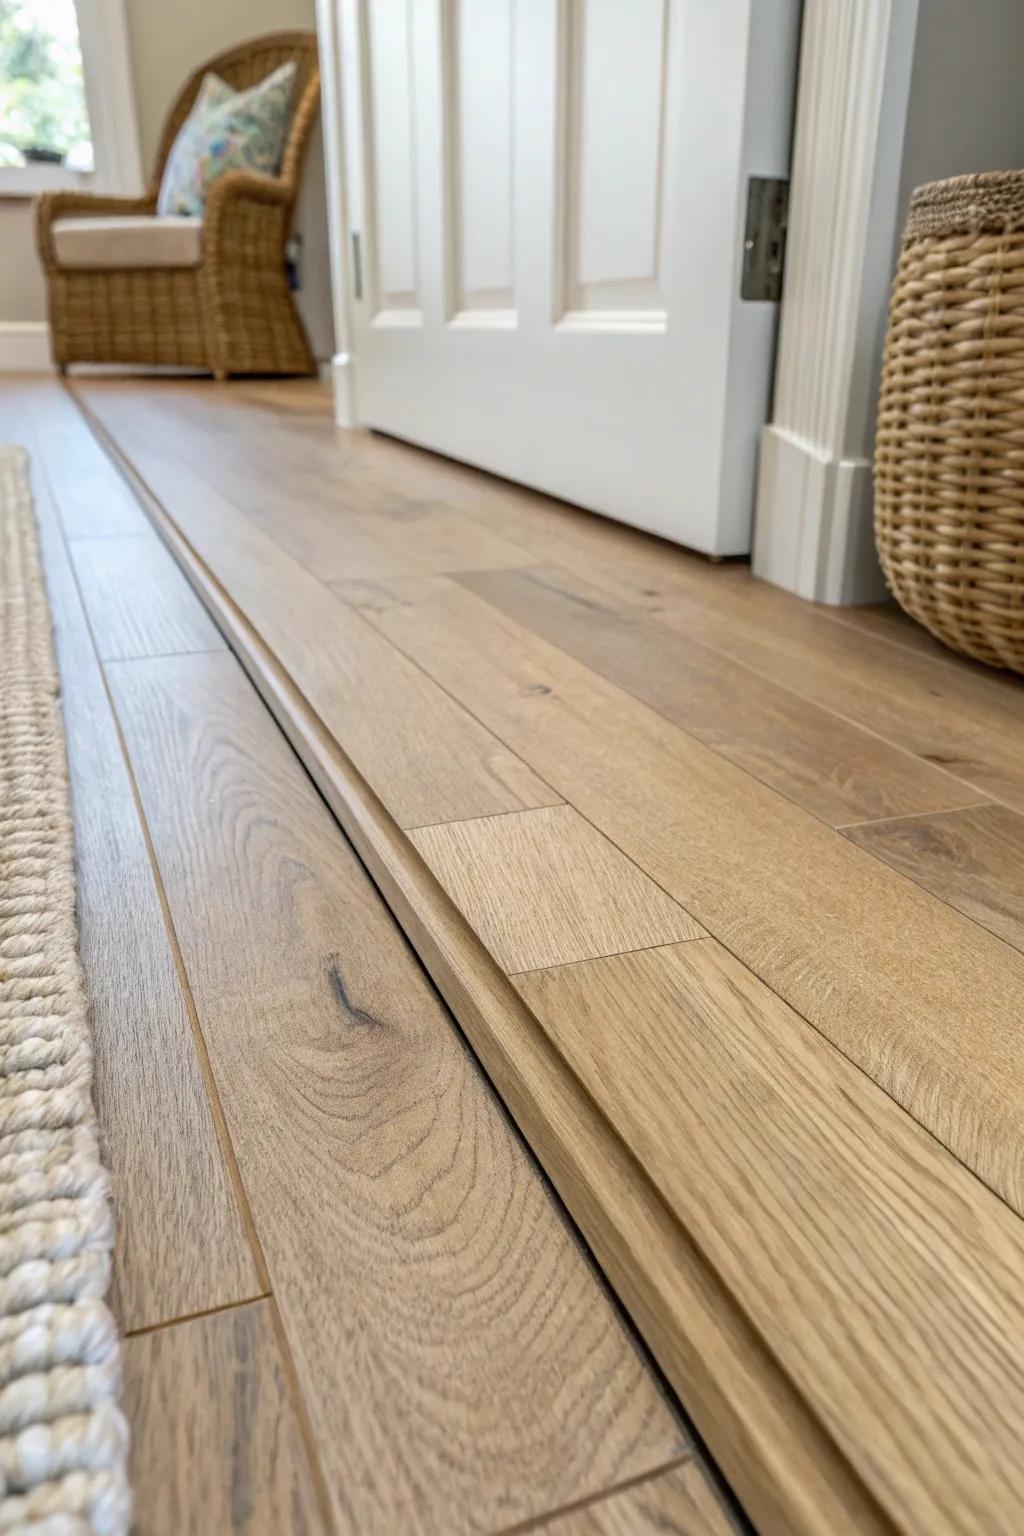
If both floors sit at the same height, I reach for a flush T-molding so the transition feels smooth underfoot. I’ve had the best luck dry-fitting first and sneaking up on the cut so the reveal stays crisp and intentional.
A few suggestions:
- Wood T-Molding Transition Strip: Create a seamless bridge between two level floors with this transition strip for a smooth, professional finish.
- Heavy-Duty Construction Adhesive: Secure your molding firmly in place without visible nails by using a strong, long-lasting construction adhesive.
- Fine-Tooth Pull Saw: Achieve clean, precise cuts on your molding edges to ensure a perfect, gap-free fit during installation.

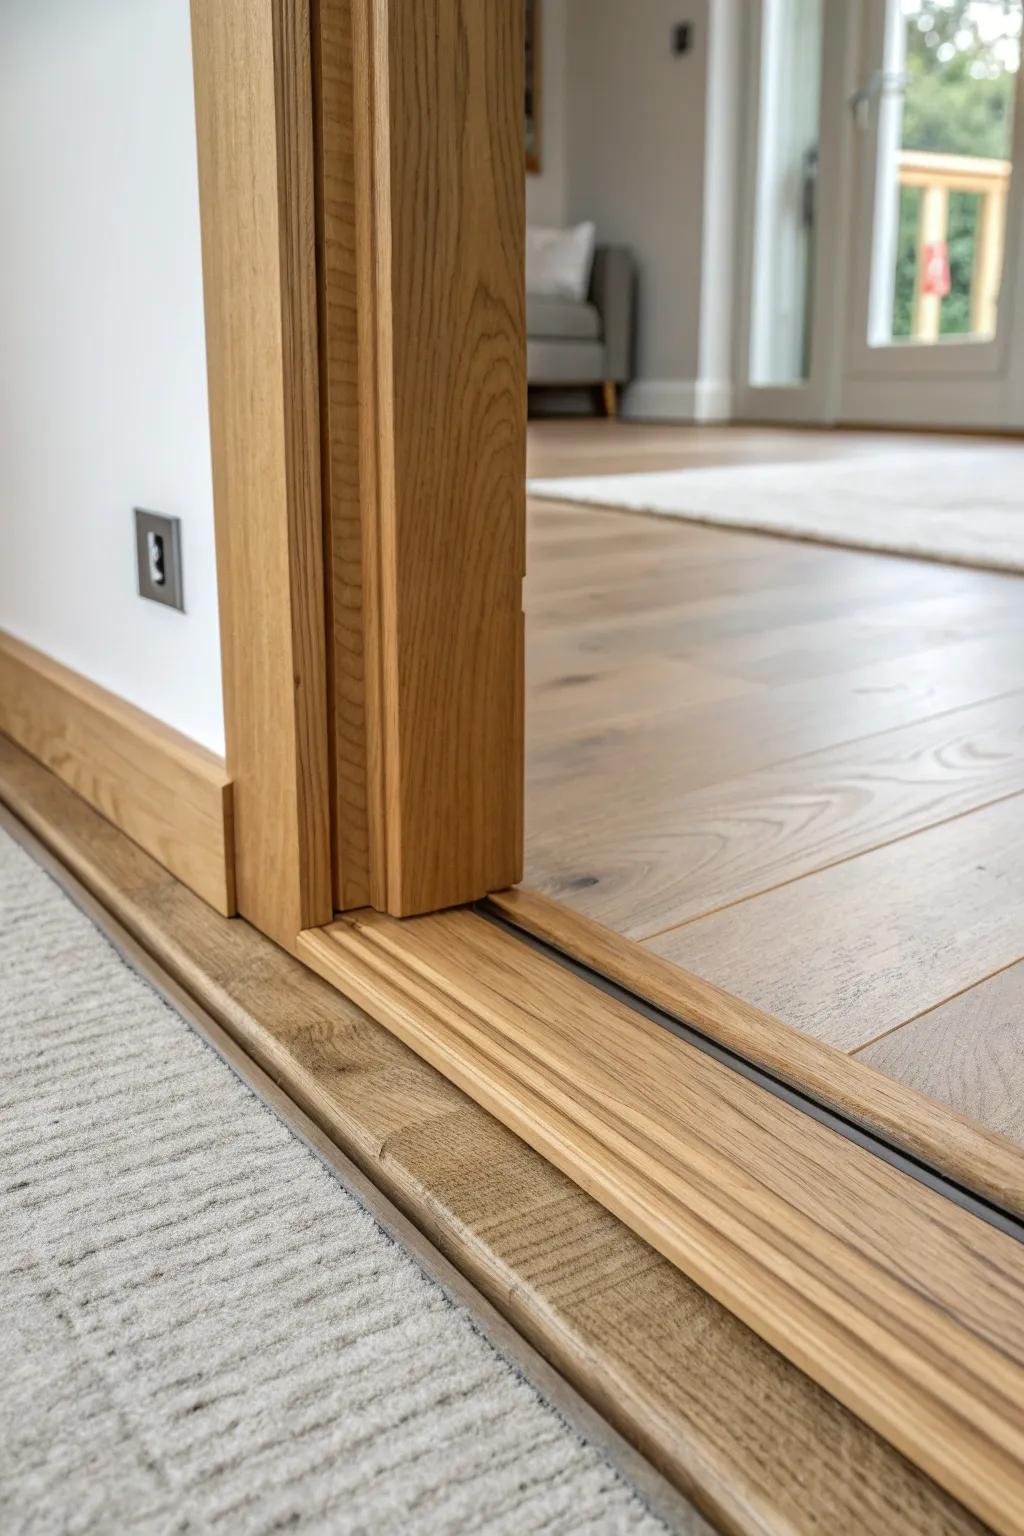
Color-Matched Threshold That Disappears
For a clean, quiet look, I stain and finish the threshold to match the wood floor so the floor threshold basically vanishes. I’ve done this in tighter hallways where I wanted the eye to flow straight through without stopping at the doorway.
These products might be useful:
- Unfinished Hardwood Threshold: Choose an unfinished natural wood threshold that allows you to apply your own custom stain matching your floors.
- Wood Stain to Match Flooring: Select a high-quality wood stain that closely mimics the color and tone of your existing hardwood planks.
- Polyurethane Wood Finish: Protect your newly stained threshold and match the sheen of your floor with a durable clear coat finish.
Bold Contrasting Wood Strip
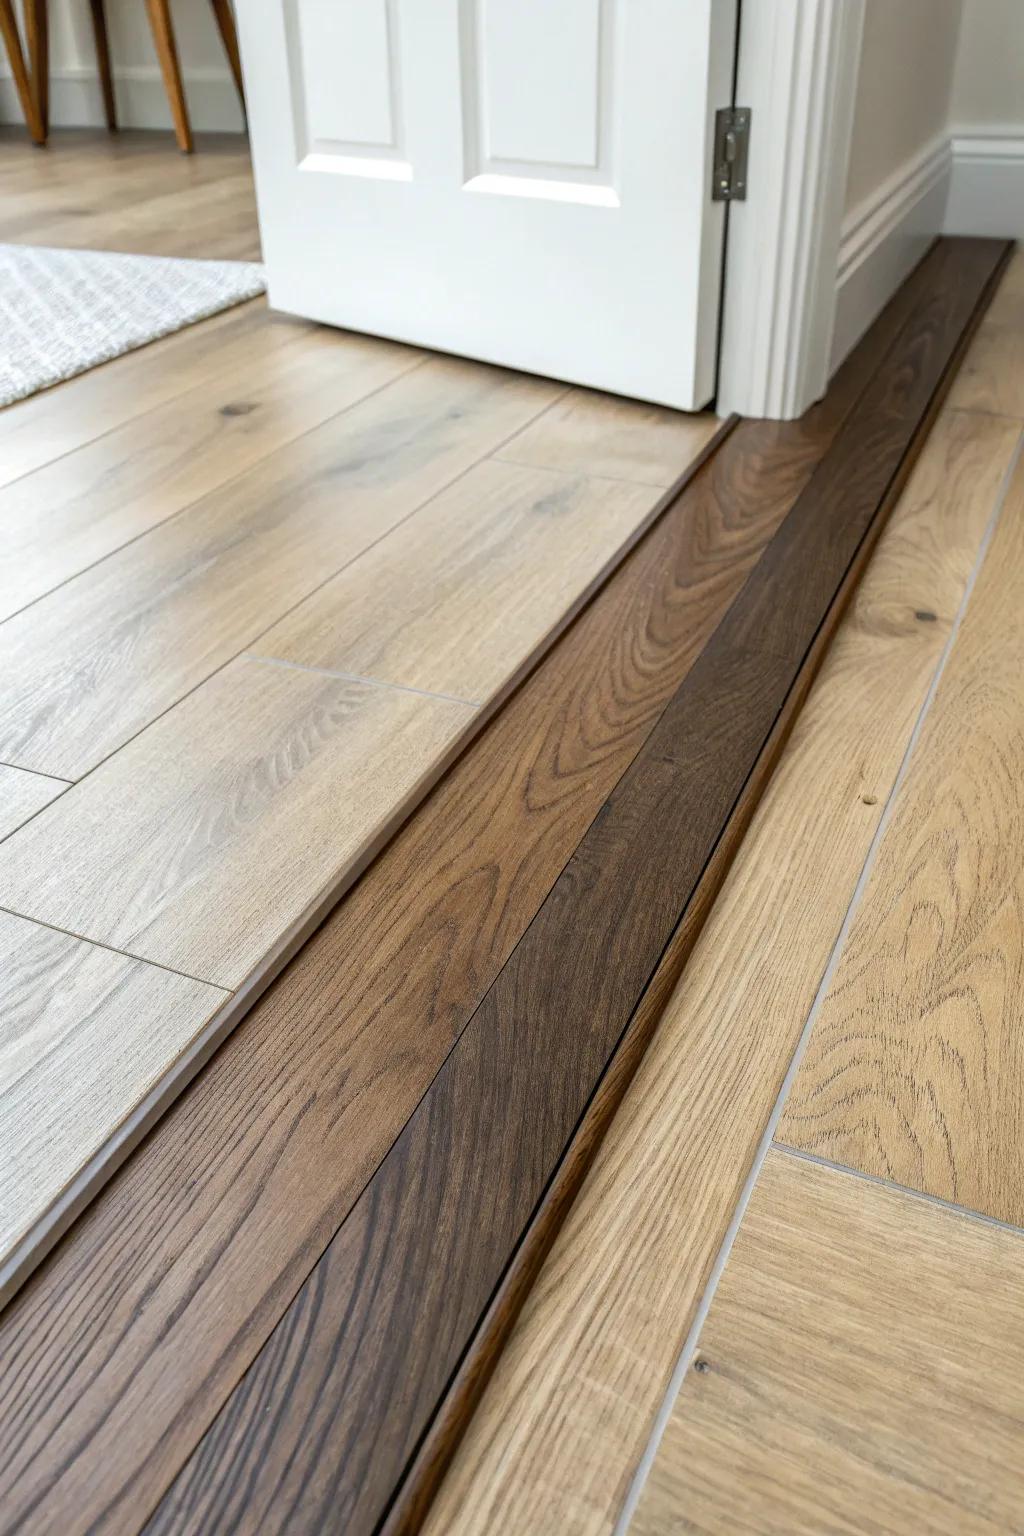
If you actually want the transition to pop, I’ll use a contrasting species—think light floor with a dark walnut threshold—so it looks like a deliberate design line. I’ve used this trick to visually “frame” a room and it always gets noticed in a good way.
Products that could assist:
- Dark Walnut Solid Wood Threshold: Add a striking visual border between rooms with this durable, dark hardwood threshold strip.
- Self-Adhesive Dark Floor Transition Strip: Easily create a defined, contrasting floor line without tools using this simple peel-and-stick option.
- Prefinished Hardwood T-Molding: Bridge the gap between even-height floors with this dark molding for a polished, finished look.
Tile-to-Wood Straight-Line Threshold
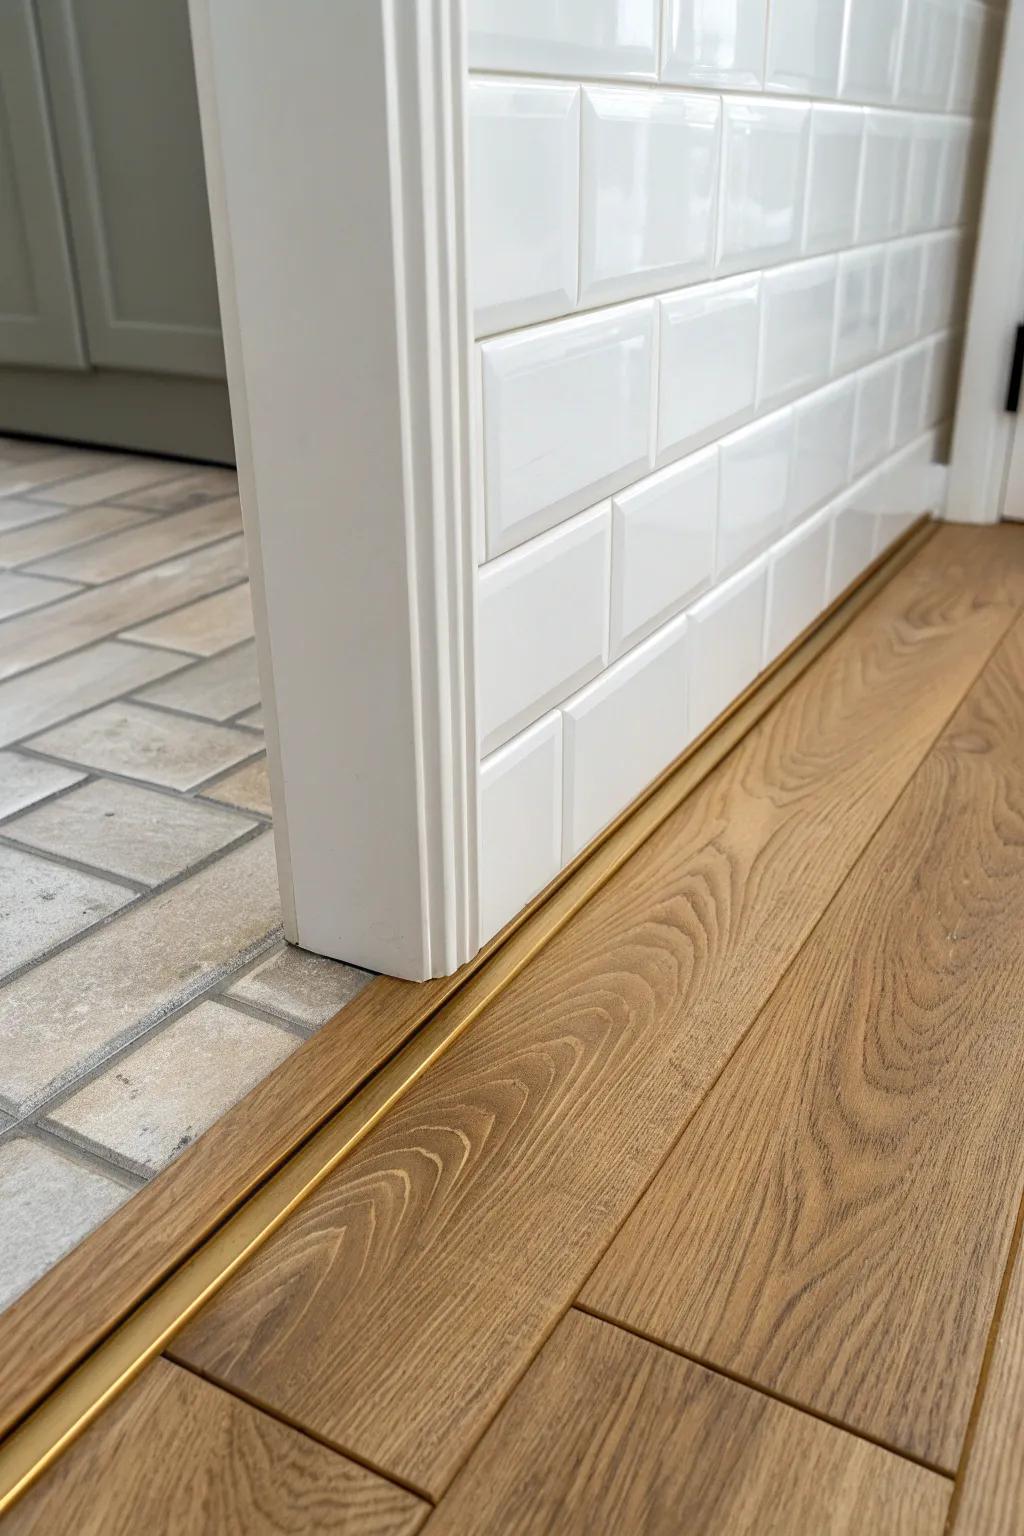
A straight, clean tile-to-wood threshold is my go-to when I want classic and easy to keep tidy. I’ve found the secret is keeping the line dead-straight and protecting the tile edge so it doesn’t chip over time.
Items that may come in handy:
- Brass Floor Transition Strip: Create a seamless, metallic border between floors while protecting edges; adds a subtle but elegant gold accent.
- Metal Tile Edge Trim: Protect your exposed tile edges from chipping and achieve that perfectly straight, professional line during installation.
- Construction Adhesive for Flooring: Ensure your new threshold stays firmly in place without visible nails by using a strong, reliable construction adhesive.

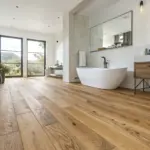
Stone Saddle for Wet Zones
In bathrooms and mudrooms, I’ve installed a stone saddle threshold to handle splashes and grit without babying it. Pairing stone with wood feels elevated, and I love how it gives the doorway a little architectural “pause.”
A few things you might like:
- Marble Threshold Saddle: Create a durable transition between rooms with a classic stone saddle that handles moisture and heavy foot traffic.
- Stone Tile Sealer: Protect your new stone threshold from water stains and grime to keep it looking pristine for years.
- Non-Sanded Grout or Adhesive Caulk: Secure your threshold and fill gaps cleanly with color-matched adhesive designed specifically for stone and tile installations.
Metal-Edge Threshold for Crisp Lines

When I’m blending wood into tile and want a razor-clean seam, I add a thin metal edge threshold detail. I’ve used this in modern farmhouse spaces where the mix of warm wood and clean metal looks purposeful, not industrial.
Useful items to consider:
- Brass L-Shaped Metal Tile Edging Trim: Create a clean, defined transition between flooring types with this sleek metal trim for a polished, modern look.
- Self-Adhesive Gold Flat Transition Strip: Easily bridge gaps between similar height floors without screws using this simple, peel-and-stick metal transition solution.
- T-Shape Metal Floor Divider Profile: Connect two level floor surfaces seamlessly with a T-molding profile that covers expansion gaps while adding style.
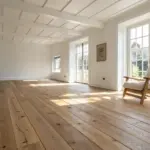
Extra-Wide Threshold for Big Doorways
On wider openings, I build an extra-wide threshold that feels like a real design element instead of a skinny afterthought. I’ve done this between kitchen and living areas, and it helps define zones without adding a wall.
Explore these options:
- Solid Oak Threshold Saddle: Create a substantial, seamless transition between rooms with a durable hardwood threshold that can be stained to match.
- Wide Carpet-to-Hardwood Transition Strip: Bridge the gap between different flooring heights effectively while adding a clean, finished look to your open doorway.
- Wood Stain and Finish Kit: Ensure your new threshold perfectly matches your existing door frame and floors with a high-quality stain and sealer.
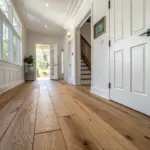
Grain-Matched Threshold From Floor Offcuts
One of my favorite budget-friendly moves is making a custom threshold from leftover floor boards so the grain and tone naturally match. I’ve pulled this off on remodels where “close enough” wouldn’t cut it, and it looks like it was always meant to be there.
Some handy options:
- Table Saw / Circular Saw: Cut your leftover floorboards to the exact width needed for your custom threshold with precision and ease.
- Wood Router with Roundover Bit: Create that smooth, professional rounded edge on your custom threshold to prevent tripping and improve aesthetics.
- Construction Adhesive: Secure your new custom-made wooden threshold firmly in place without using visible nails or screws.
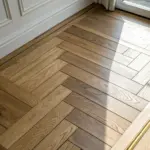
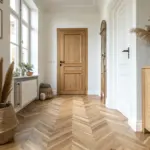
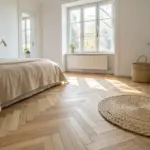
Herringbone-to-Plank Transition Strip
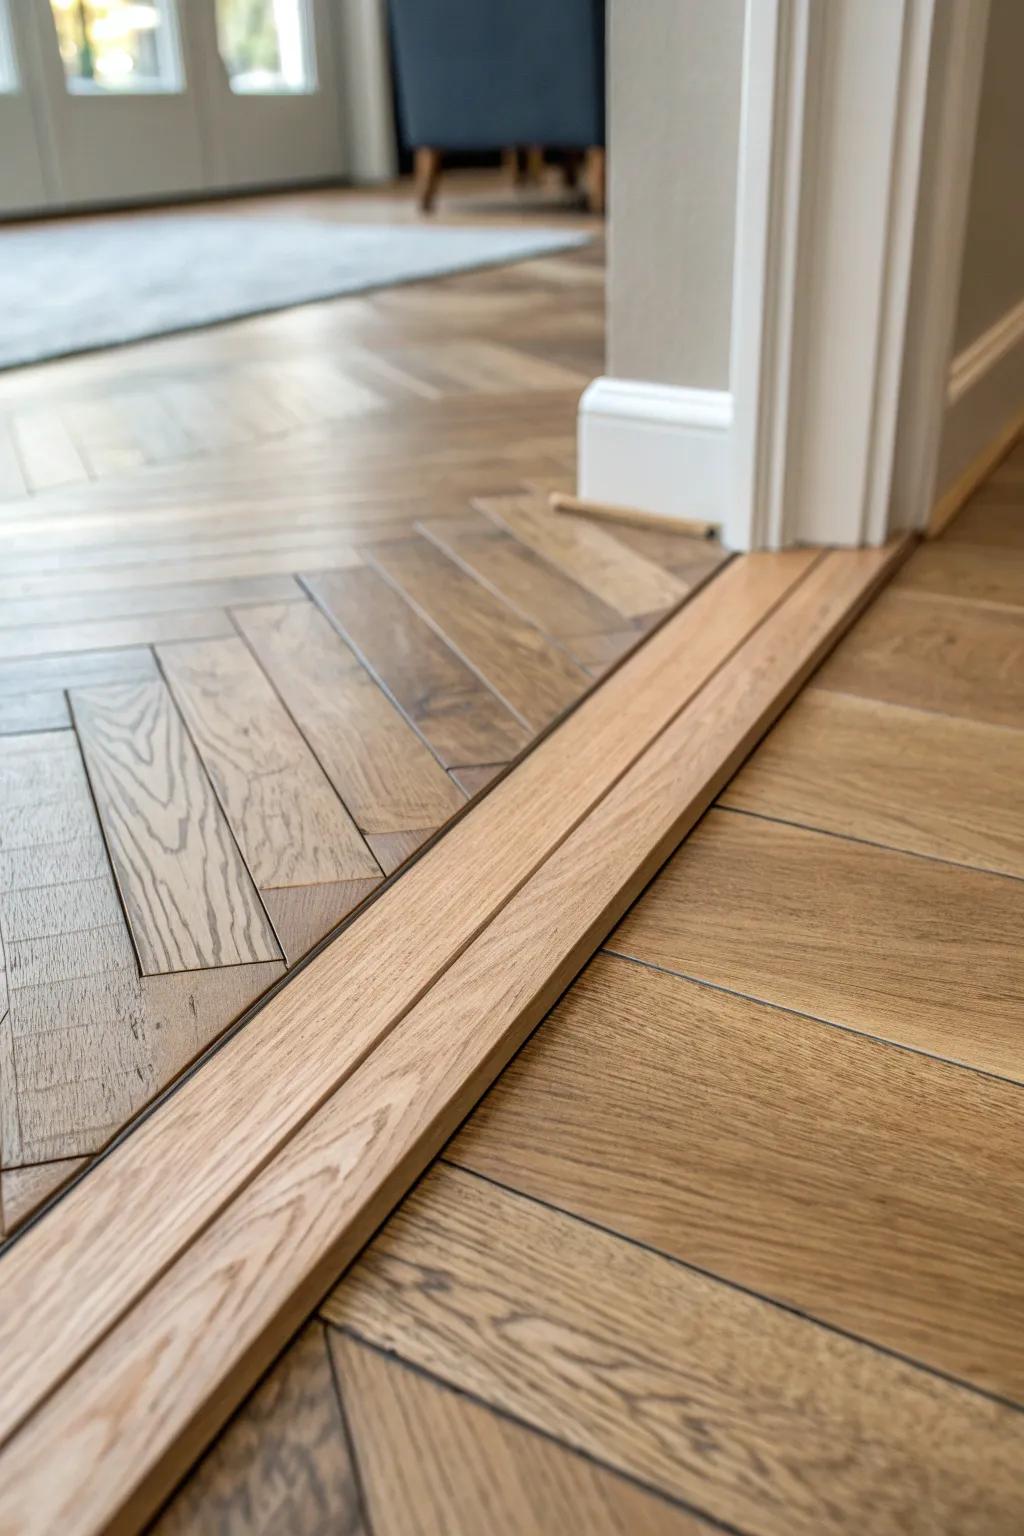
When patterns change—like herringbone to plank—I treat the threshold like a picture frame line to make the shift feel intentional. I’ve used a slim wood strip here and it keeps your eye from getting confused by competing directions.
You might like:
- Solid Oak Flat Transition Strip: Connect your different flooring patterns seamlessly with a durable wood strip that creates a clean, intentional boundary.
- Floor Gap Fixer & Joiner: Securely join two flooring types and cover expansion gaps neatly for a professional and polished finished look.
- Heavy-Duty Construction Adhesive: Ensure your wooden transition strips stay permanently in place without visible nails by using a strong assembly adhesive.
Diagonal Threshold to Add Energy
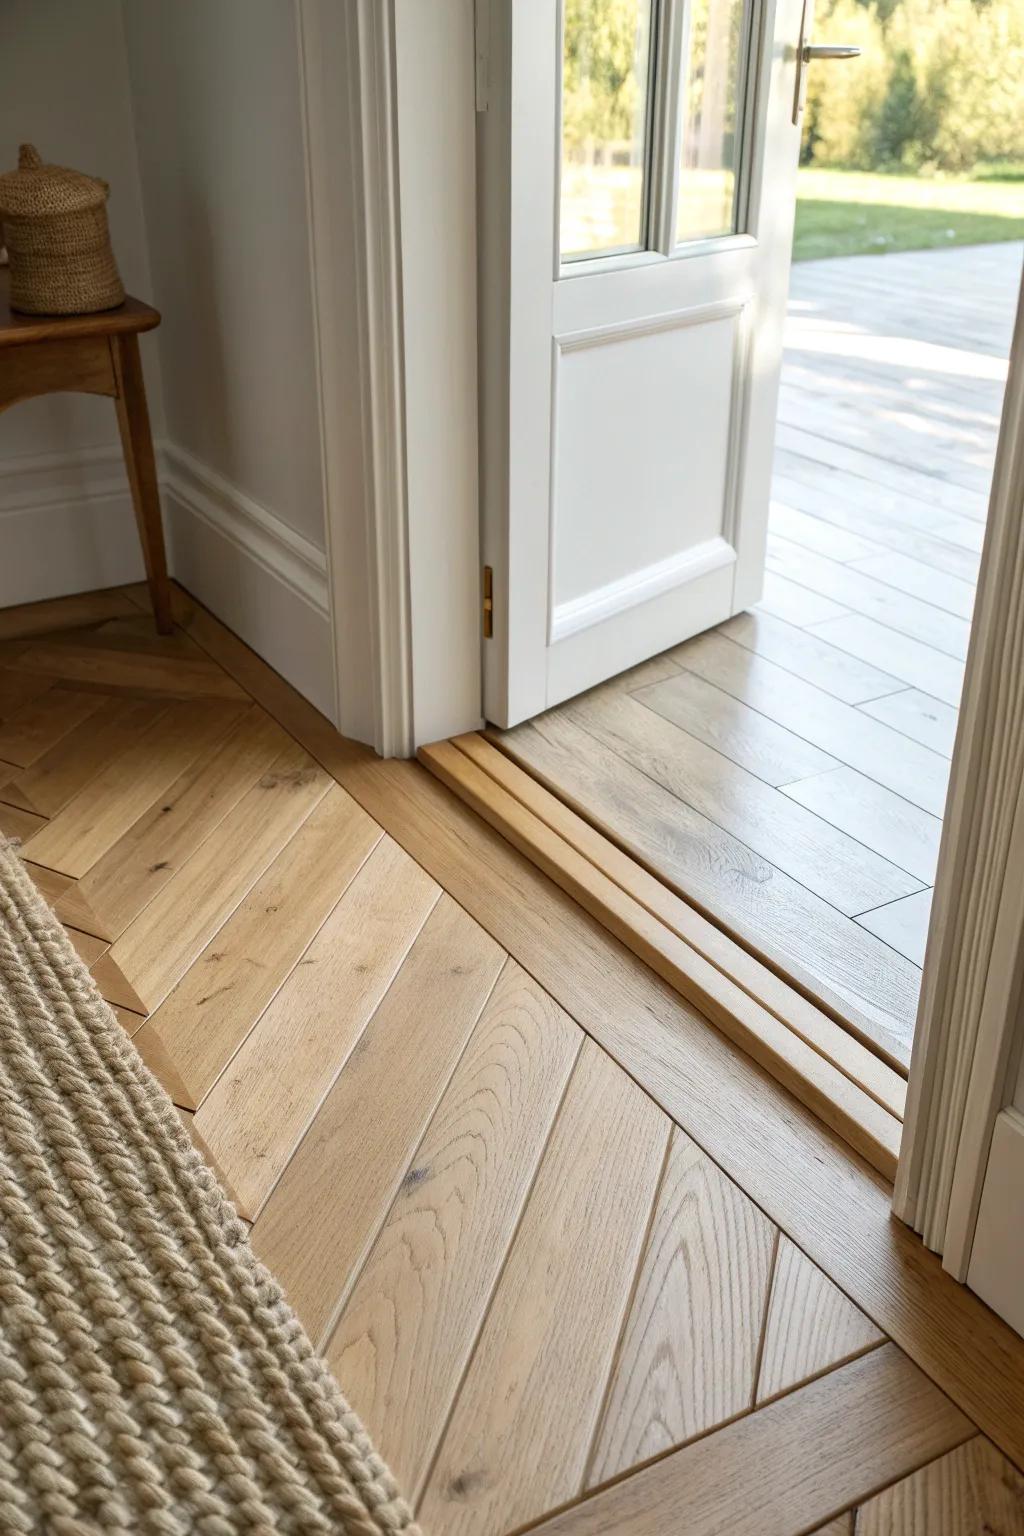
A diagonal threshold is such a fun way to make a basic doorway feel designed, especially when rooms meet at awkward angles. I tried this in a small reno and it instantly made the space feel more custom without adding any clutter.
Check if these fit your needs:
- Hardwood Floor Threshold Transition Strip: Connect your different flooring levels seamlessly and protect edges by installing a durable, custom-fit wooden threshold strip.
- Wood Flooring Installation Kit: Ensure tight seams and a professional diagonal finish with this essential toolkit designed for precise plank placement.
- Adjustable T-Bevel Gauge: Measure and replicate complex diagonal angles accurately for a flawless, gap-free fit against your existing door frame.
Mosaic “Rug” Threshold Inlay
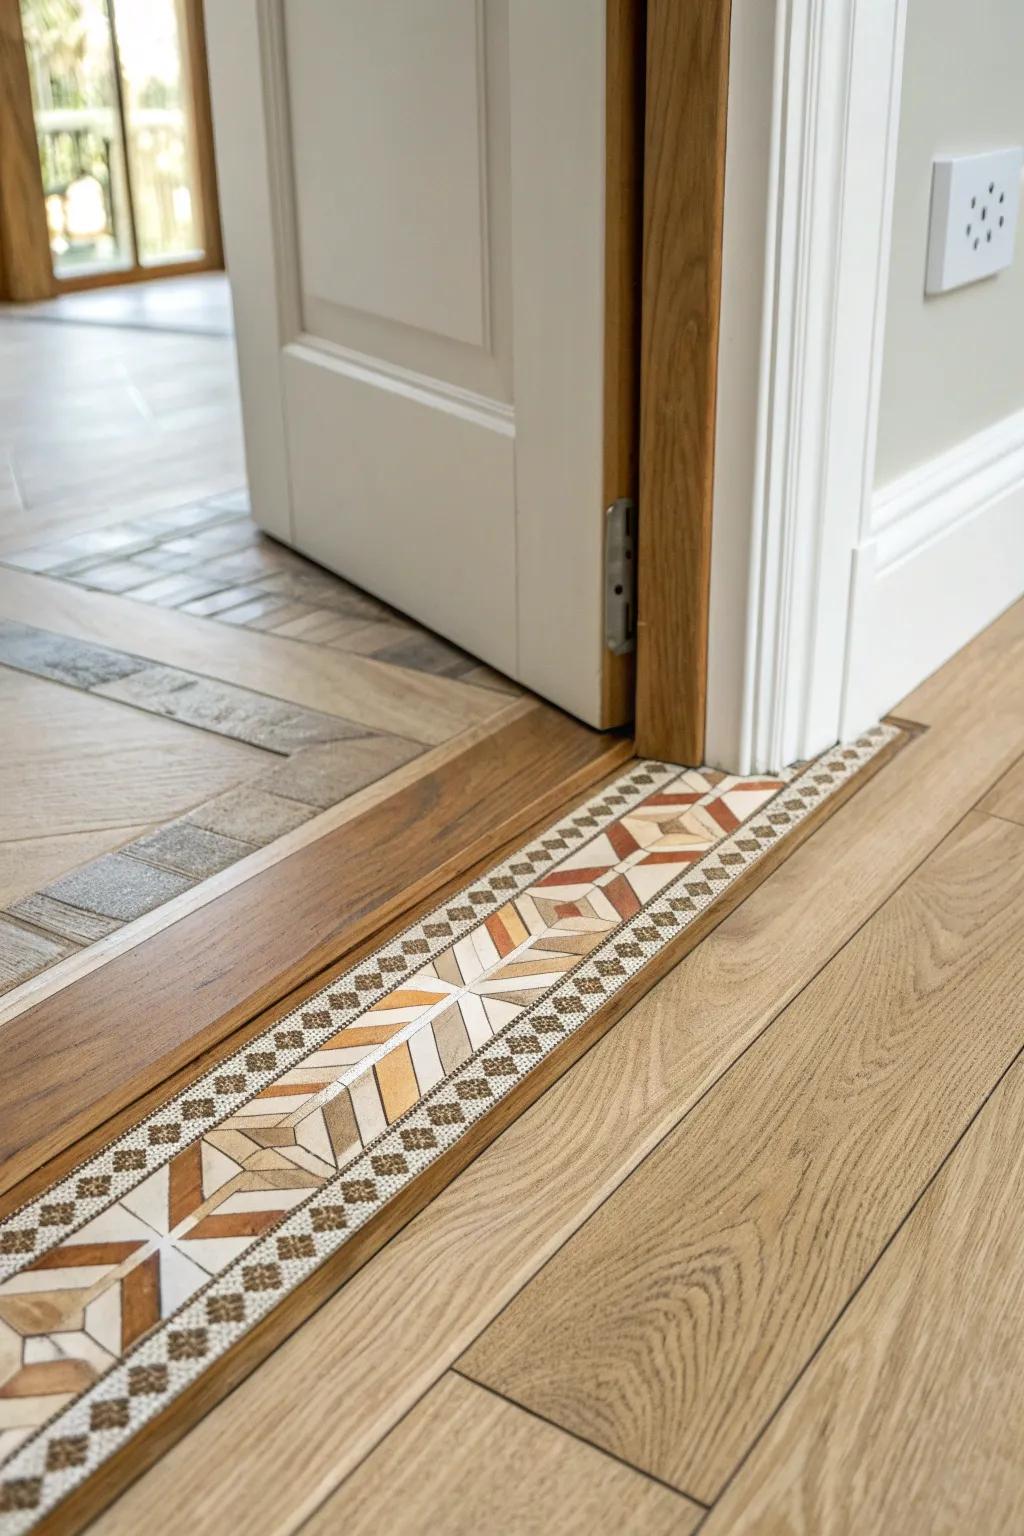
If you want a wow moment, try a mosaic inlay threshold that reads like a tiny rug woven into the floor. I’ve used this between an entry tile floor and wood, and guests always stop to look down—exactly the reaction you want.
Might be a good match:
- Mosaic Wood Parquet Flooring Border: Add an intricate detail to your floor transition by installing a decorative wood inlay strip or border.
- Self-Adhesive Floor Transition Strip: Easily bridge the gap between floors with a patterned transition strip that mimics expensive custom inlay work.
- Patterned Floor Tile Sticers: Create a budget-friendly faux inlay effect by applying durable, high-quality patterned decals over a flat threshold.
Resin River Threshold Between Materials
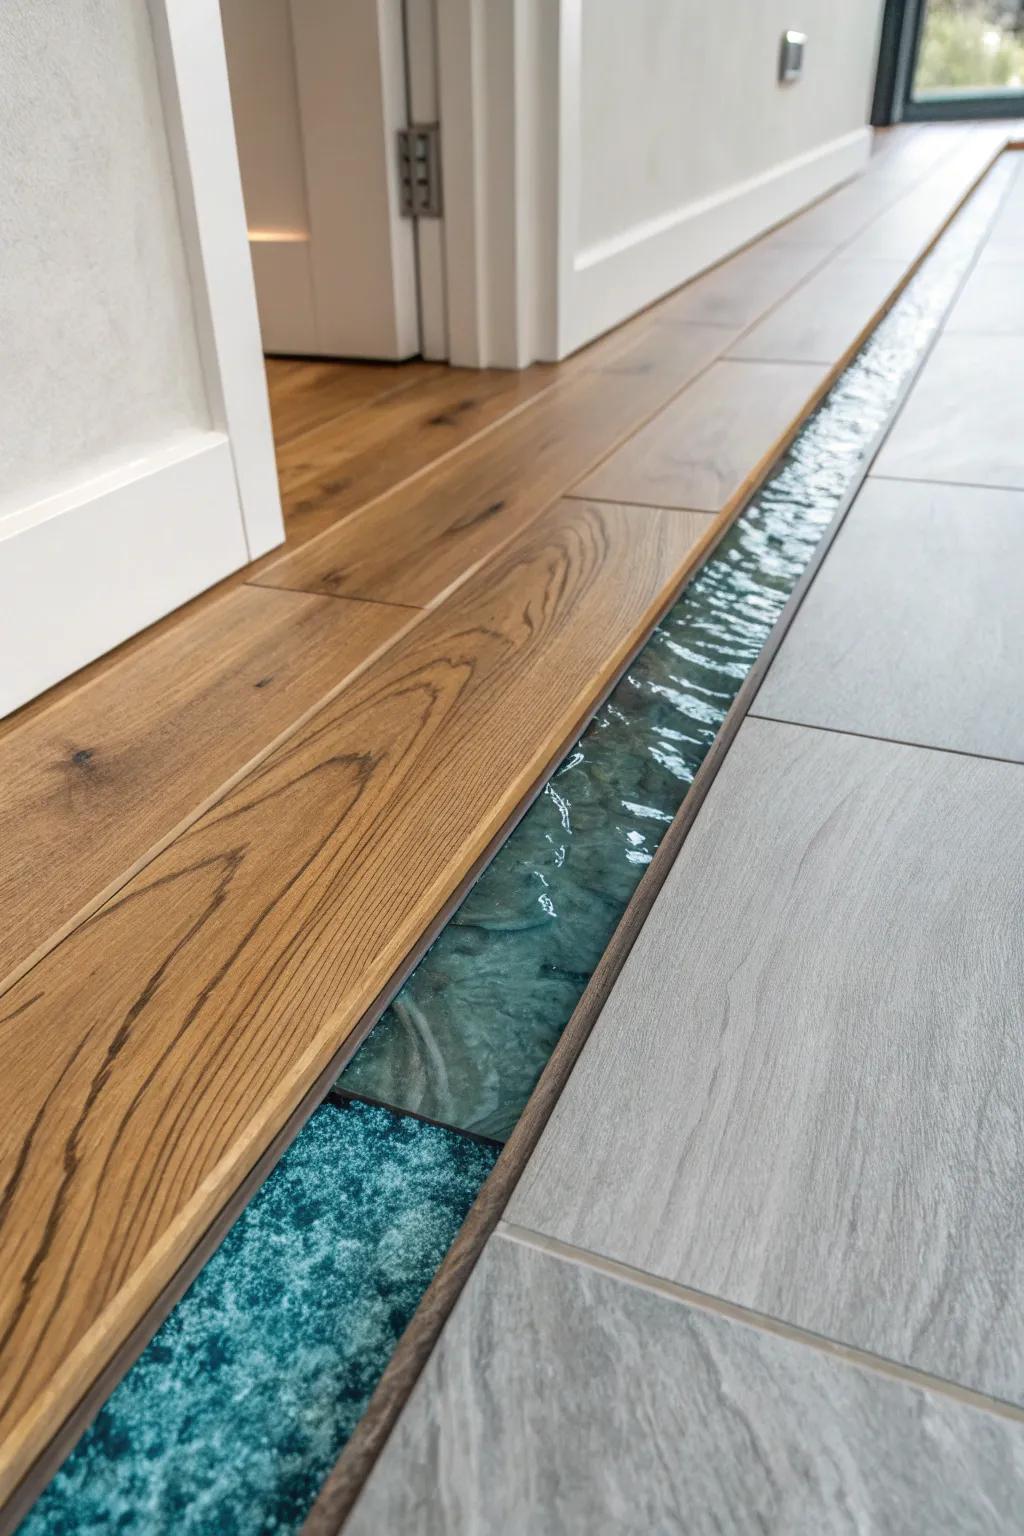
For the boldest statement, I’ve poured a slim resin river threshold between wood and concrete-look surfaces, and it looks like a little stream cutting through the doorway. It’s surprisingly practical too, because it seals the joint while turning a boring seam into art.
Consider these options:
- Clear Deep Pour Epoxy Resin Kit: Create a durable, crystal-clear river effect for your floor transition with this deep-pour formula, perfect for thicker casting.
- Translucent Turquoise Mica Powder Pigment: Achieve that stunning water-like hue in your threshold by mixing this vibrant, shimmering pigment into your epoxy resin.
- Rectangular Metal Mold Housing or Sealing Tape: Ensure your resin stays exactly where needed during the pour with specialized tuck tape or mold framing material.


